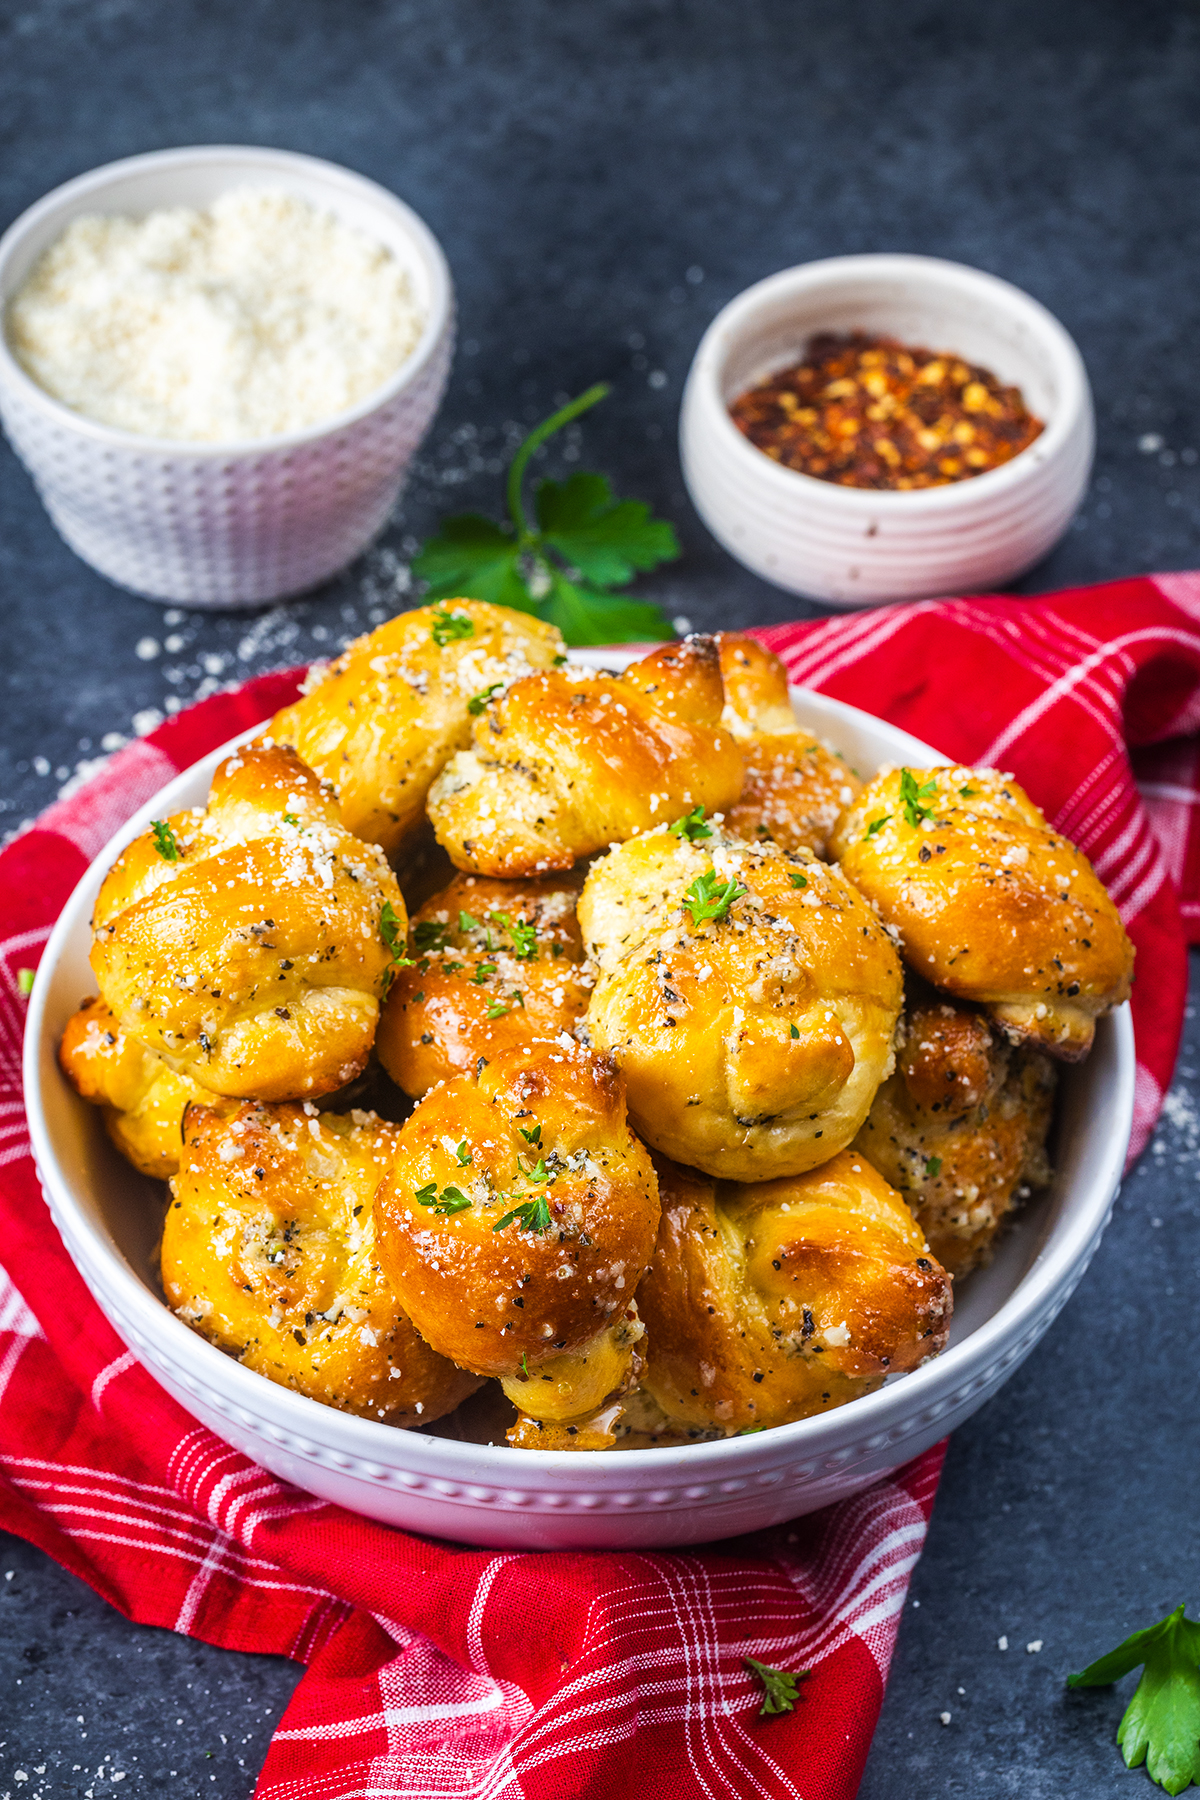
These bread machine garlic knots are the kind of bread you pull apart while they’re still warm because you simply can’t wait. They bake up golden on the outside and unbelievably soft inside. Since the bread maker handles the kneading, this recipe is super easy to make. If you are looking for soft garlic knots, this recipe has a secret ingredient that makes sure they turn out that way every time.

If there is one thing my boys are picky about, it’s garlic knots. They are a hard no for dense or chewy knots. Unless it is soft garlic knots, they aren’t interested.
I tested dough after dough, trying to hit that balance where the dough was soft but still easy to roll and tie.
This bread machine garlic knots recipe is where we finally landed.
These garlic knots are softer than the typical homemade garlic knot you’ll see. They’re buttery, light, and ridiculously good tossed in warm garlic butter. (My slow cooker marinara sauce is an easy recipe perfect for serving on the side.)
If you prefer the chewier style, you might like my pizza dough garlic knots, which use my homemade pizza dough.
But when we want something extra soft, this garlic knots bread machine recipe are always a big hit at my house. Hands down, my kids' favorite side dish.
These garlic knots are the perfect way to elevate your dinner table. Serve them with your favorite pasta dishes, pizza, or as an appetizer.
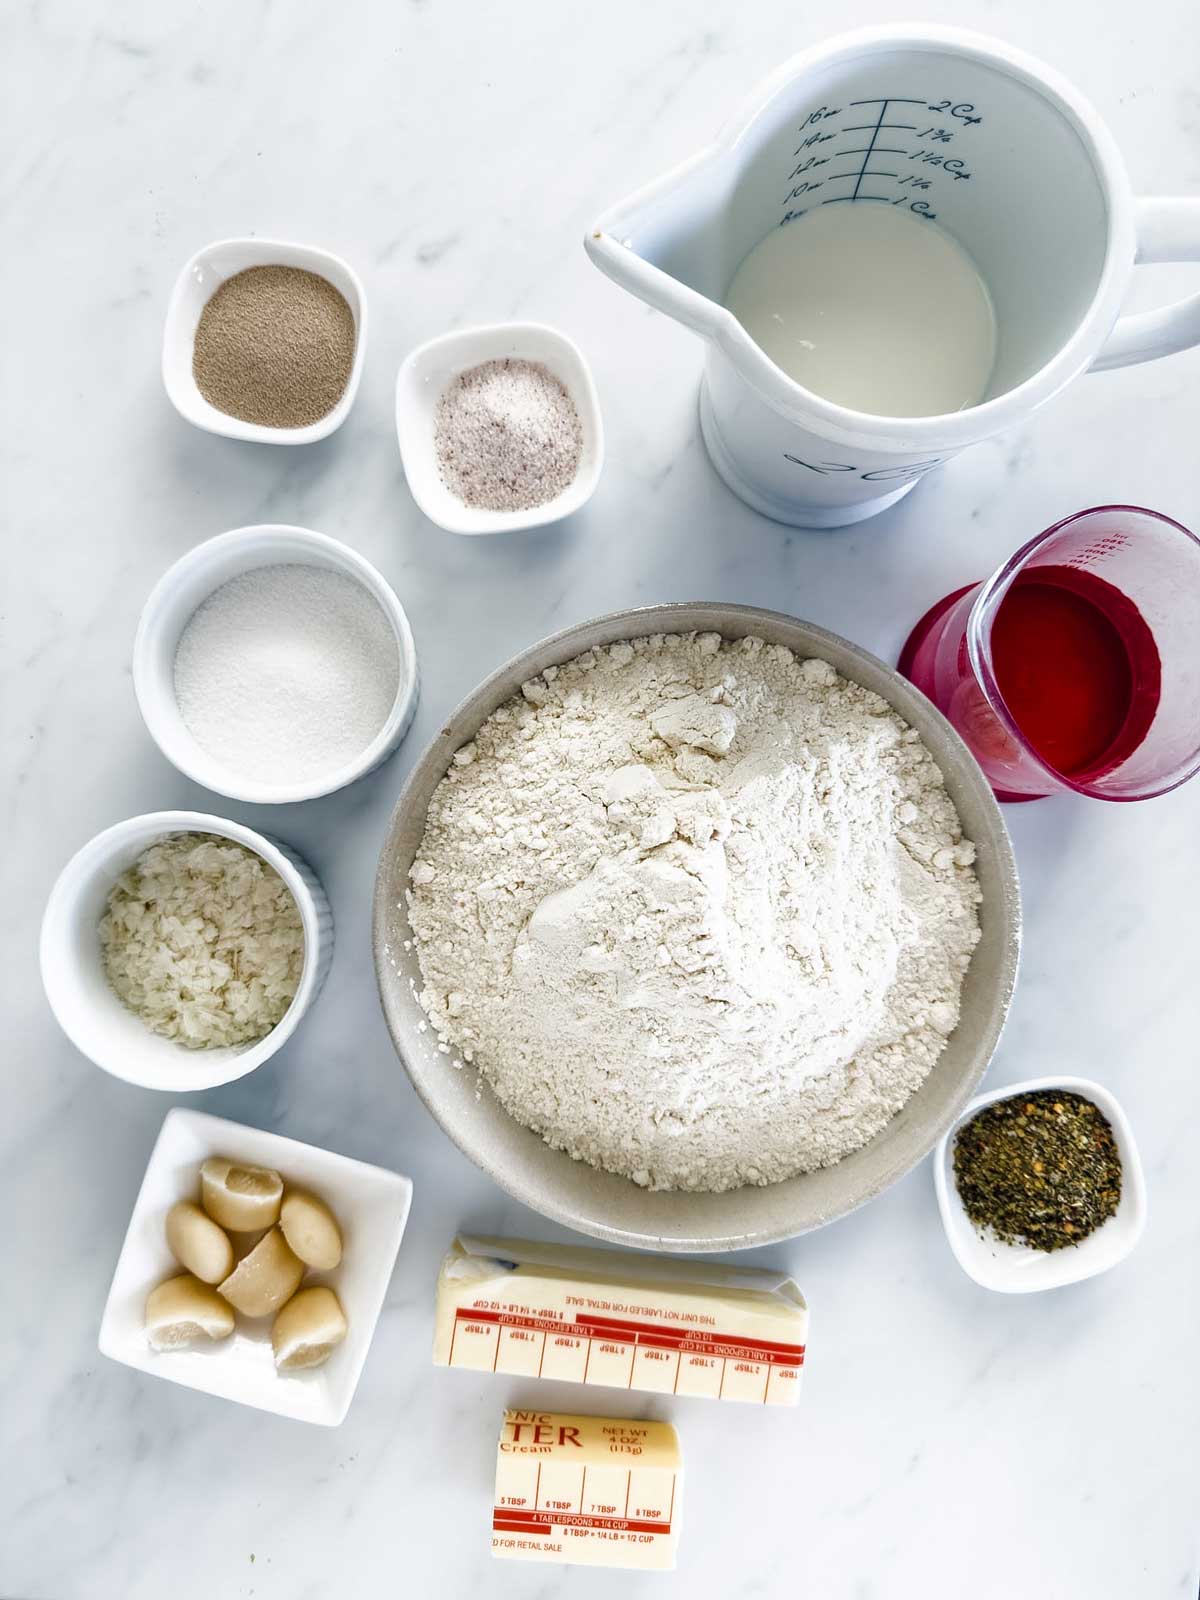
Let’s Talk Ingredients
Potato flakes (aka instant mashed potatoes) hold moisture in the dough and keep the crumb tender. They are the secret ingredient that makes these so soft. You can skip them if you don't have them, but the knots won't be as soft.
Instant yeast or bread machine yeast both work here. I use bread machine yeast because it performs really consistently in the dough cycle.
Make sure you reach for all-purpose flour and not bread flour.
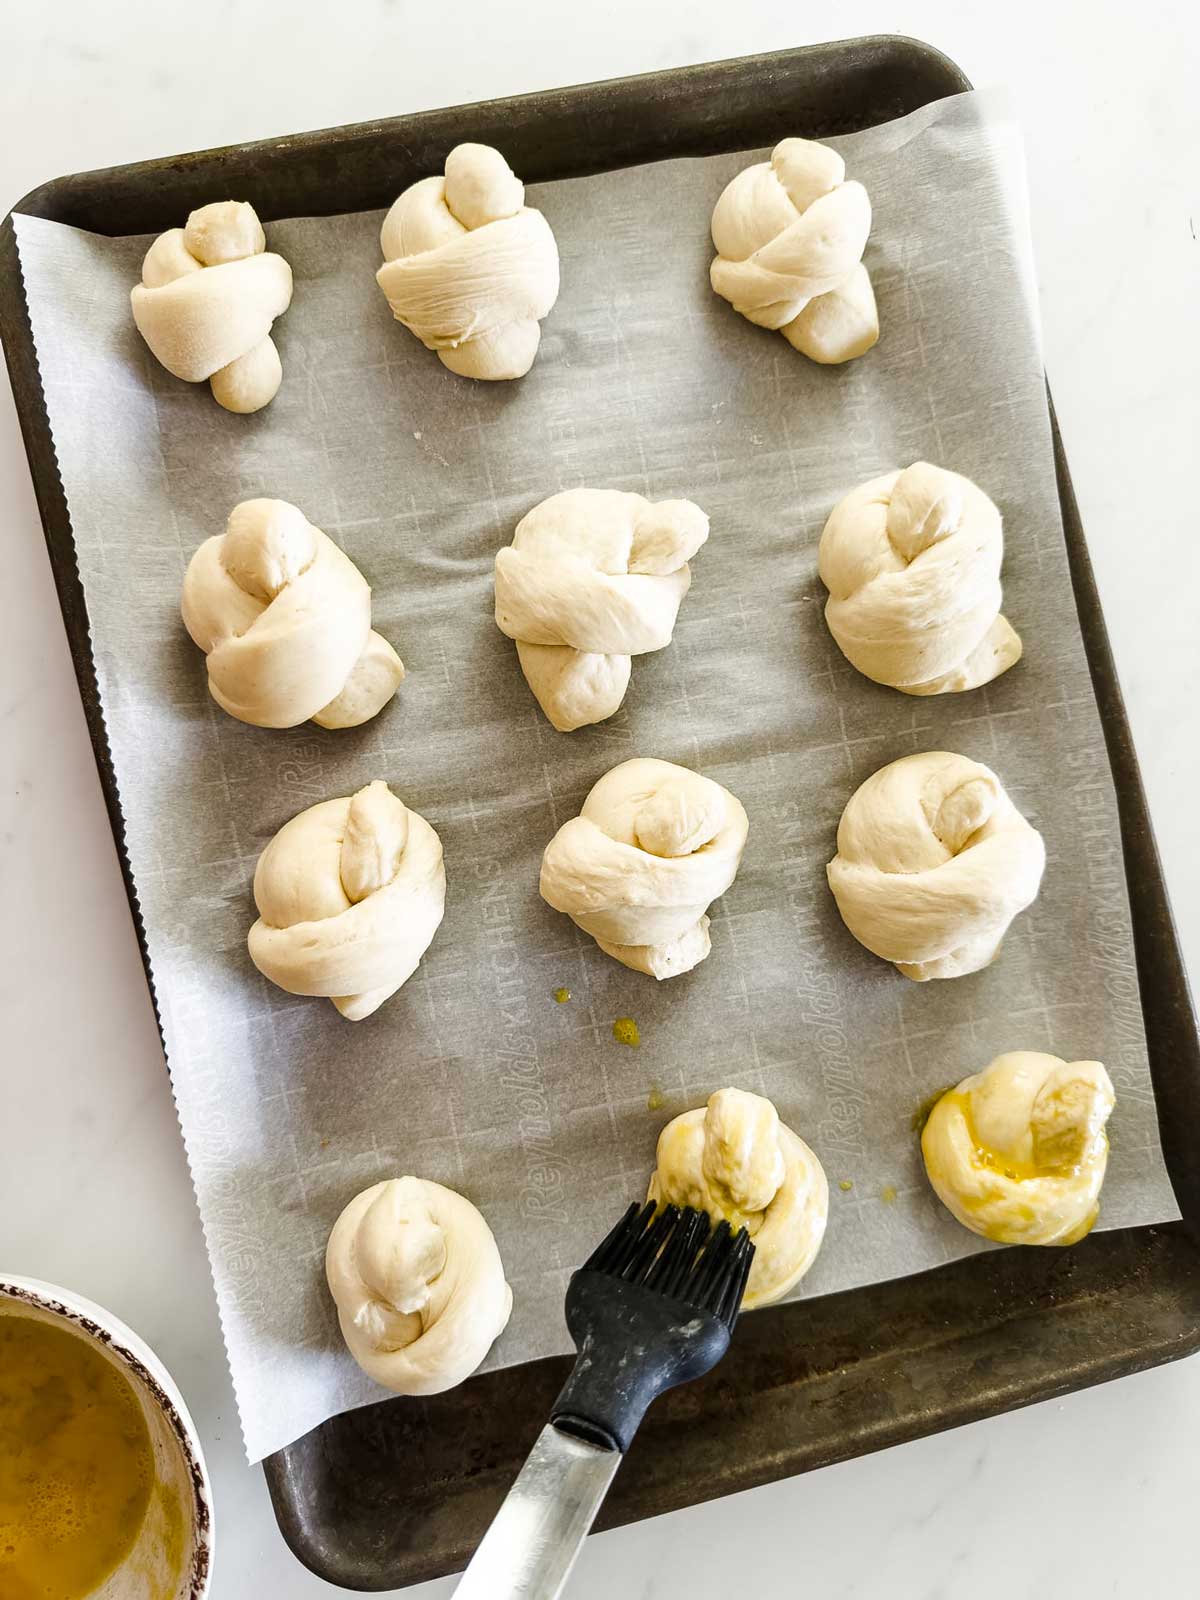
I washed my garlic knots with egg, because I found that brushing them with butter didn't give the golden color I was looking for. (I once burnt a sheet pan full, waiting for the color to develop - it didn't.) If you don't mind pale garlic knots, you can absolutely brush them with butter.
Tips & Tricks
• Tie the knots loosely. Dough that’s pulled tight can’t expand properly while baking, which keeps the interior from staying soft.
• Watch the color during baking. If the tops start getting too dark before the centers finish baking, tent the pan with foil.
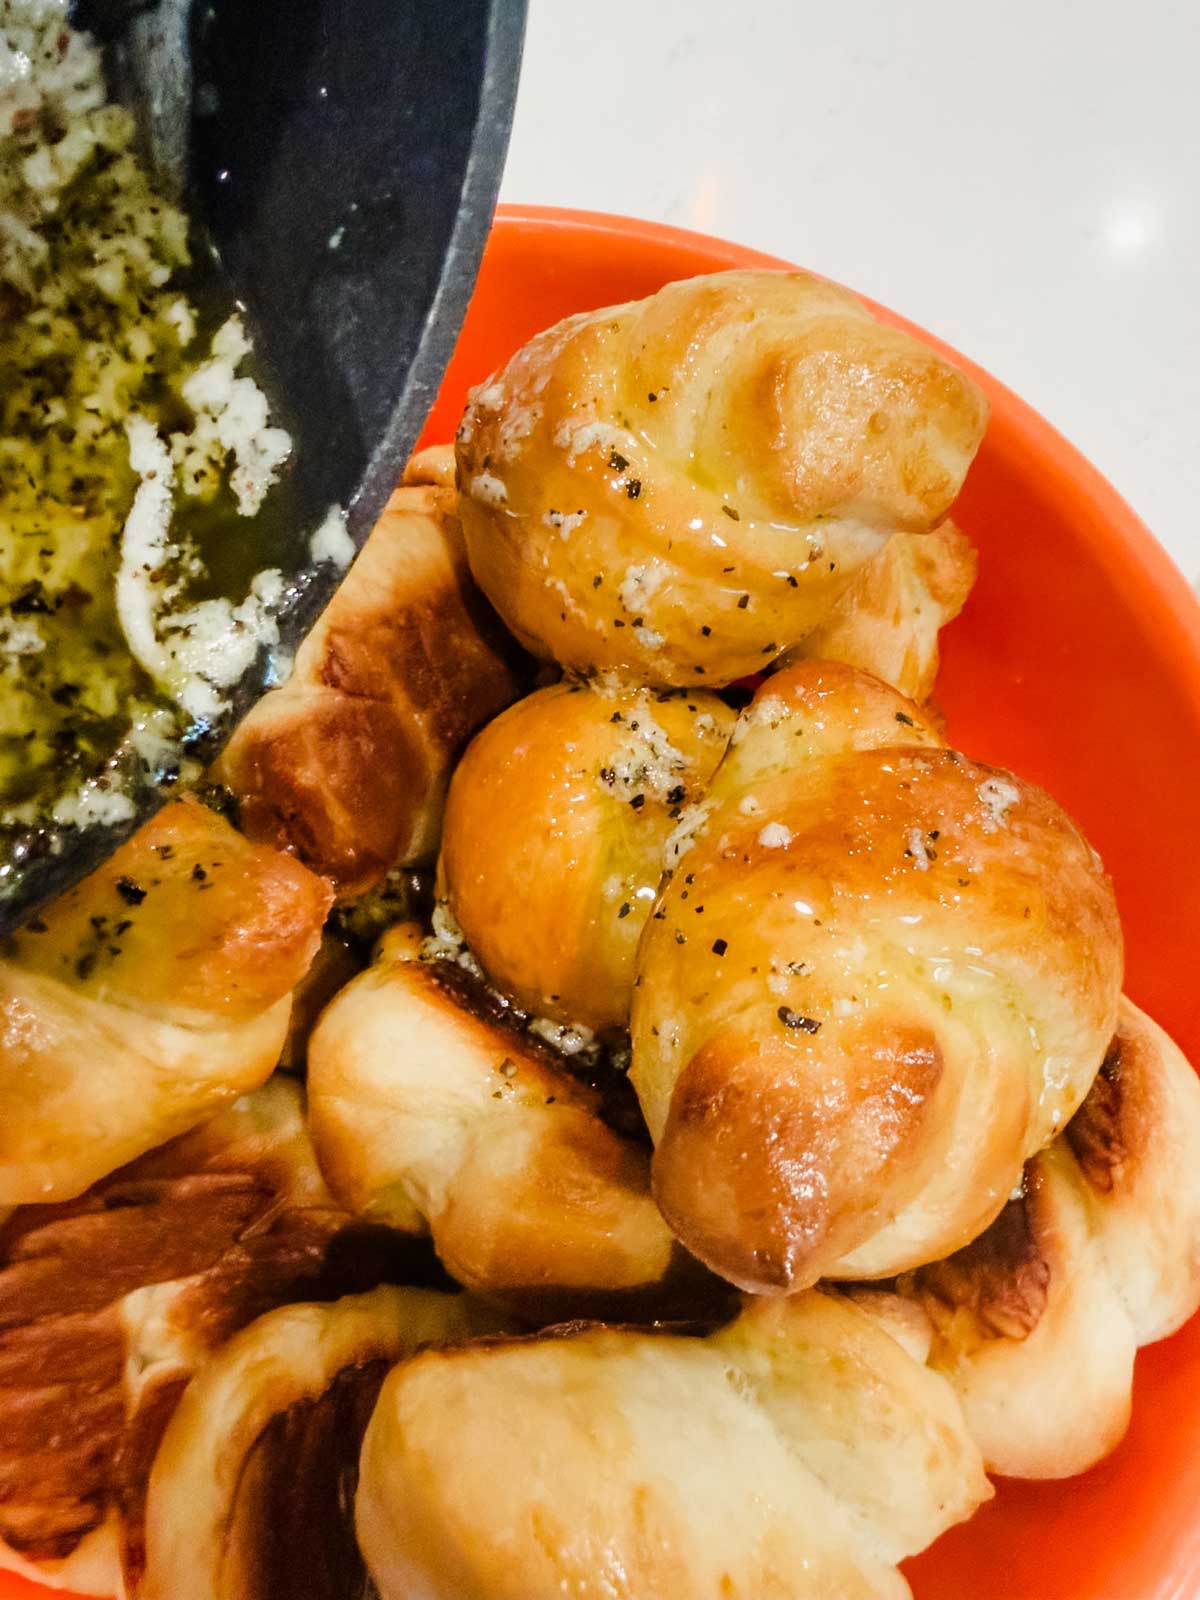
• Toss the knots with the garlic butter while they’re still warm. Warm bread absorbs the butter much better, which coats evenly.
Step by Step

Soft and Buttery Bread Machine Garlic Knots
Equipment
- Bread Machine
Ingredients
- 245 grams whole milk at room temperature (1 cup )
- 120 grams warm water ½ cup, 105 °F to 110 °F
- 57 grams butter melted (4 tablespoons)
- 480 grams all-purpose flour 4 cups
- ¼ cup sugar
- 2 tablespoons potato flakes
- 2 ½ teaspoons bread machine yeast
- 2 teaspoons salt
- 1 egg for egg wash
Garlic Butter
- ½ cup butter
- 2 tablespoons minced garlic
- 2 teaspoons Italian seasoning or pizza seasoning
Instructions
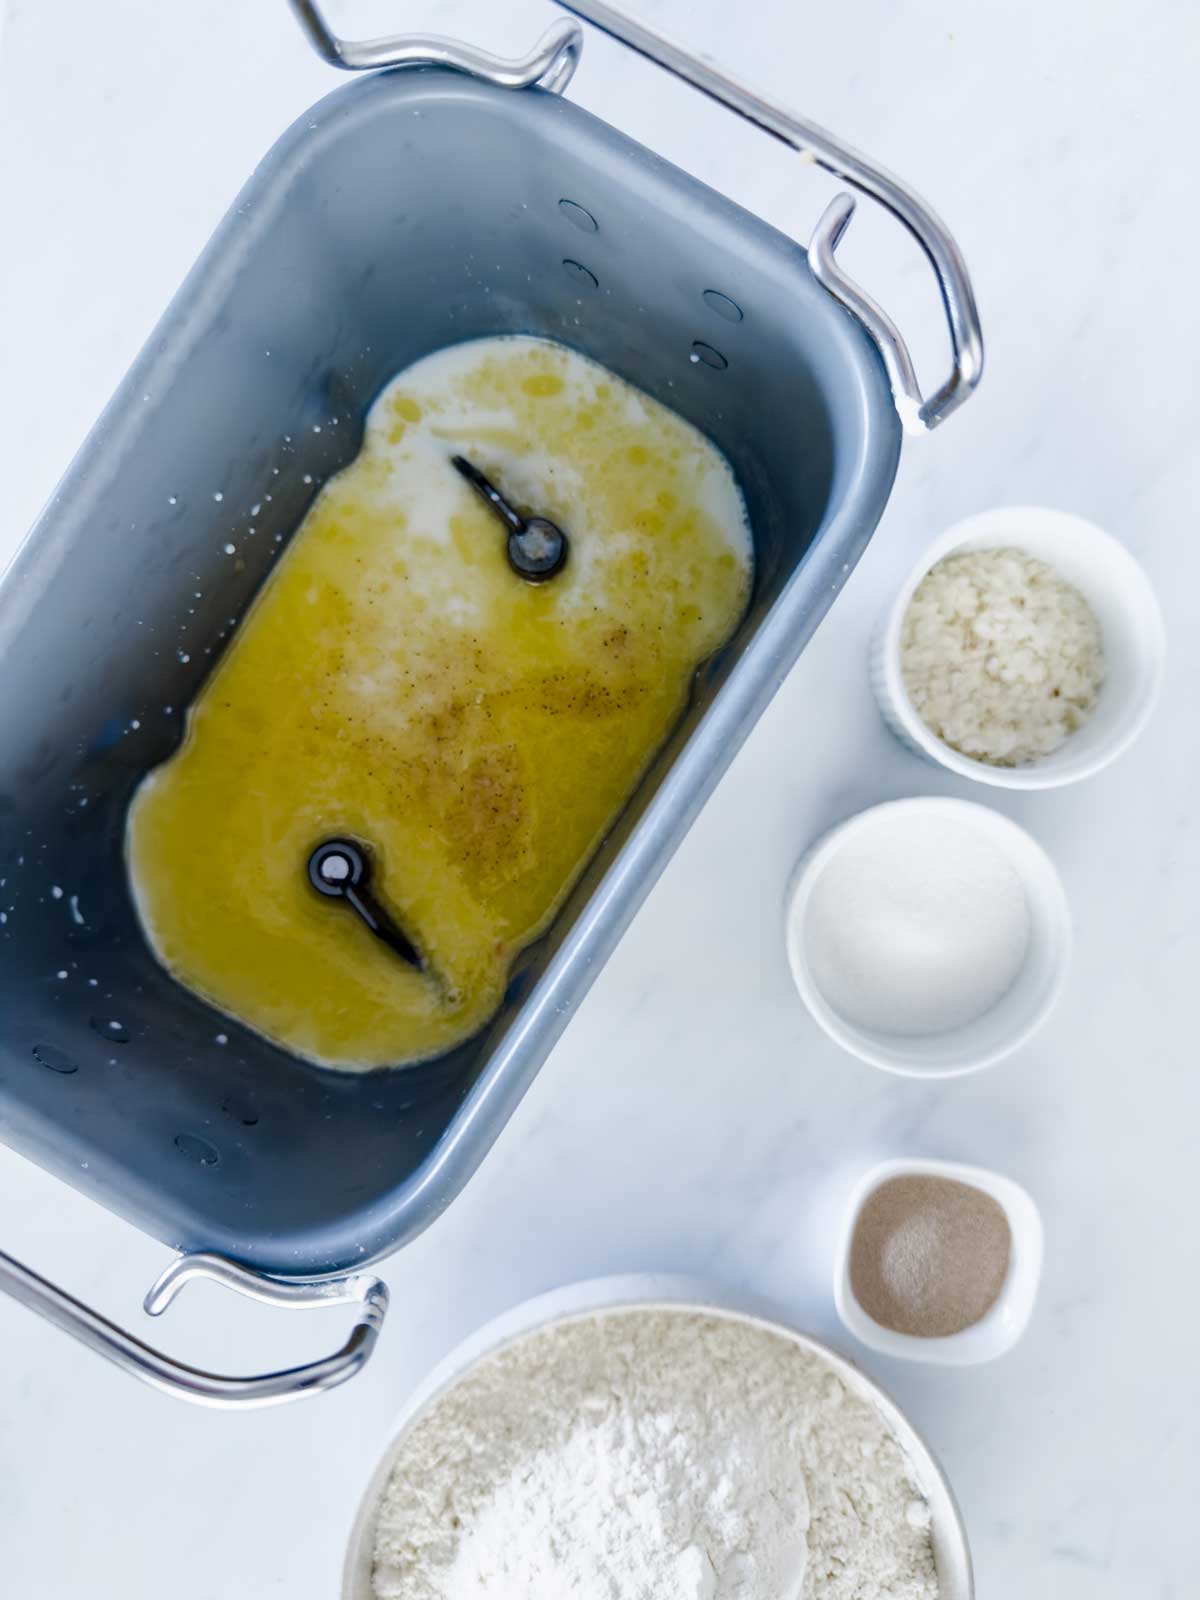
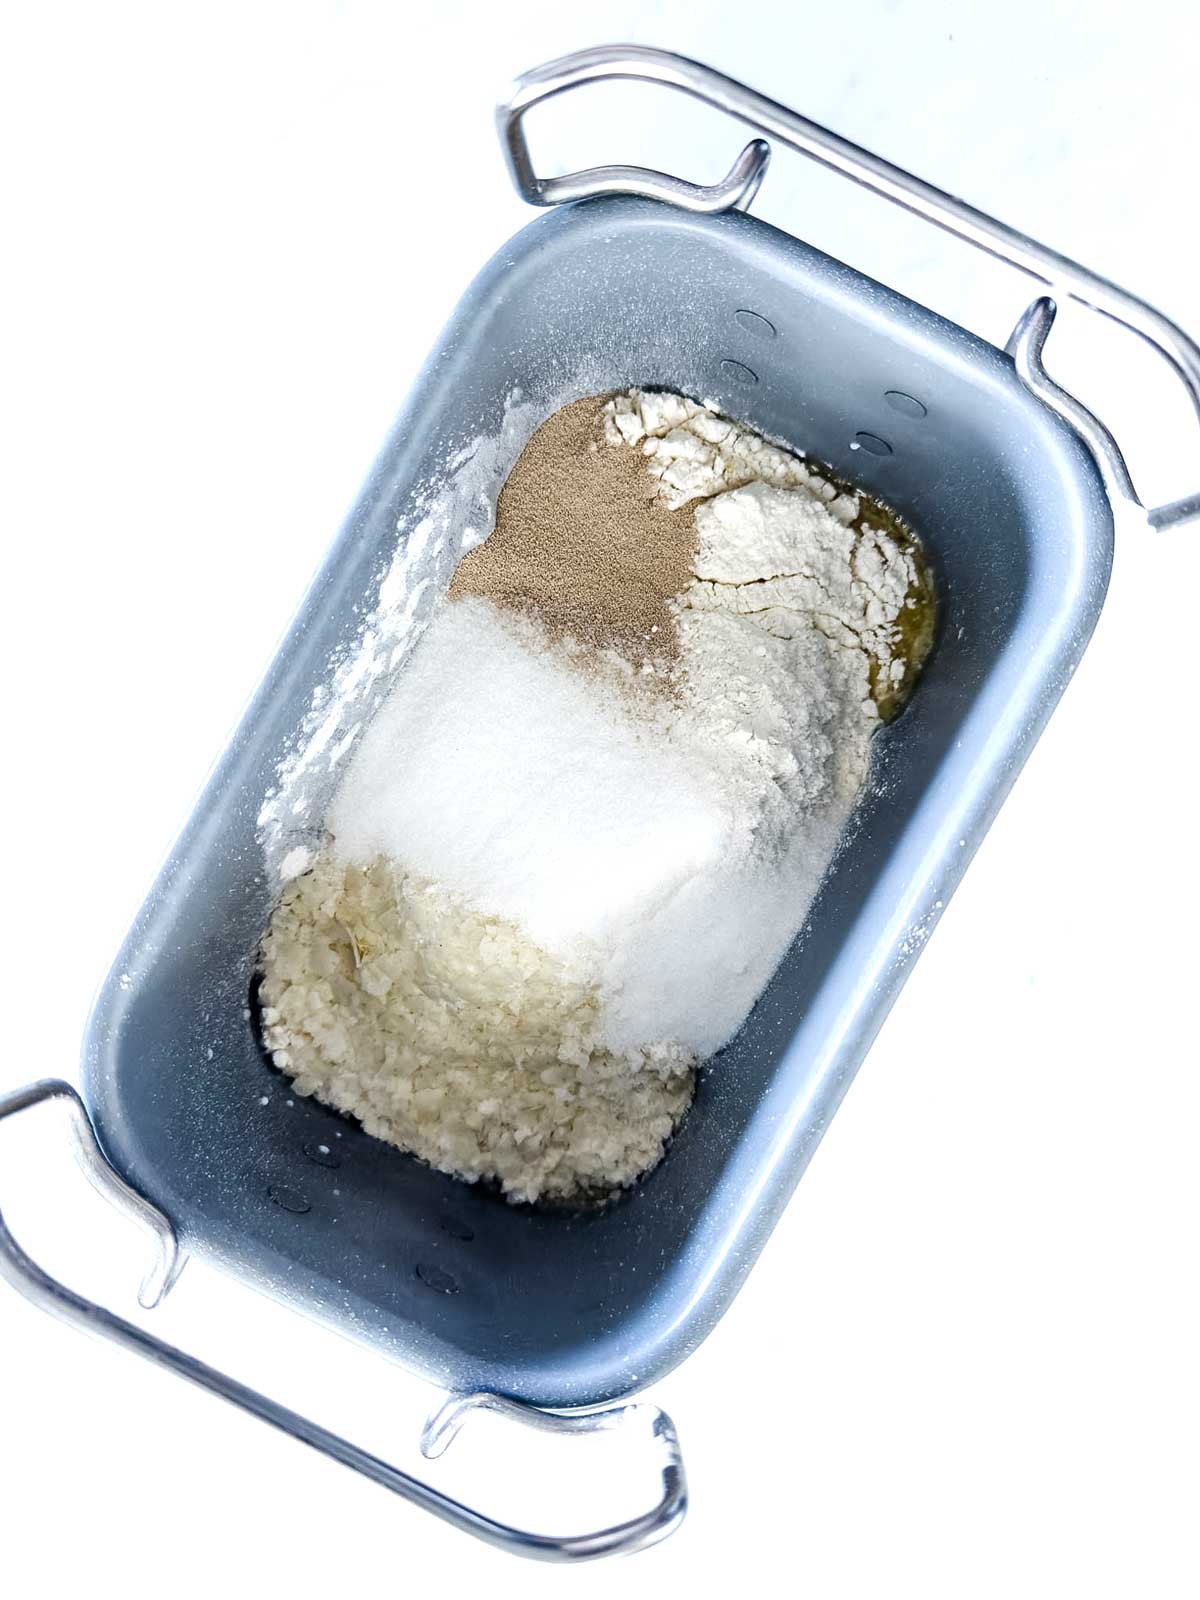
- Place the milk, water, butter, flour, potato flakes, sugar, yeast and salt in your bread machine.
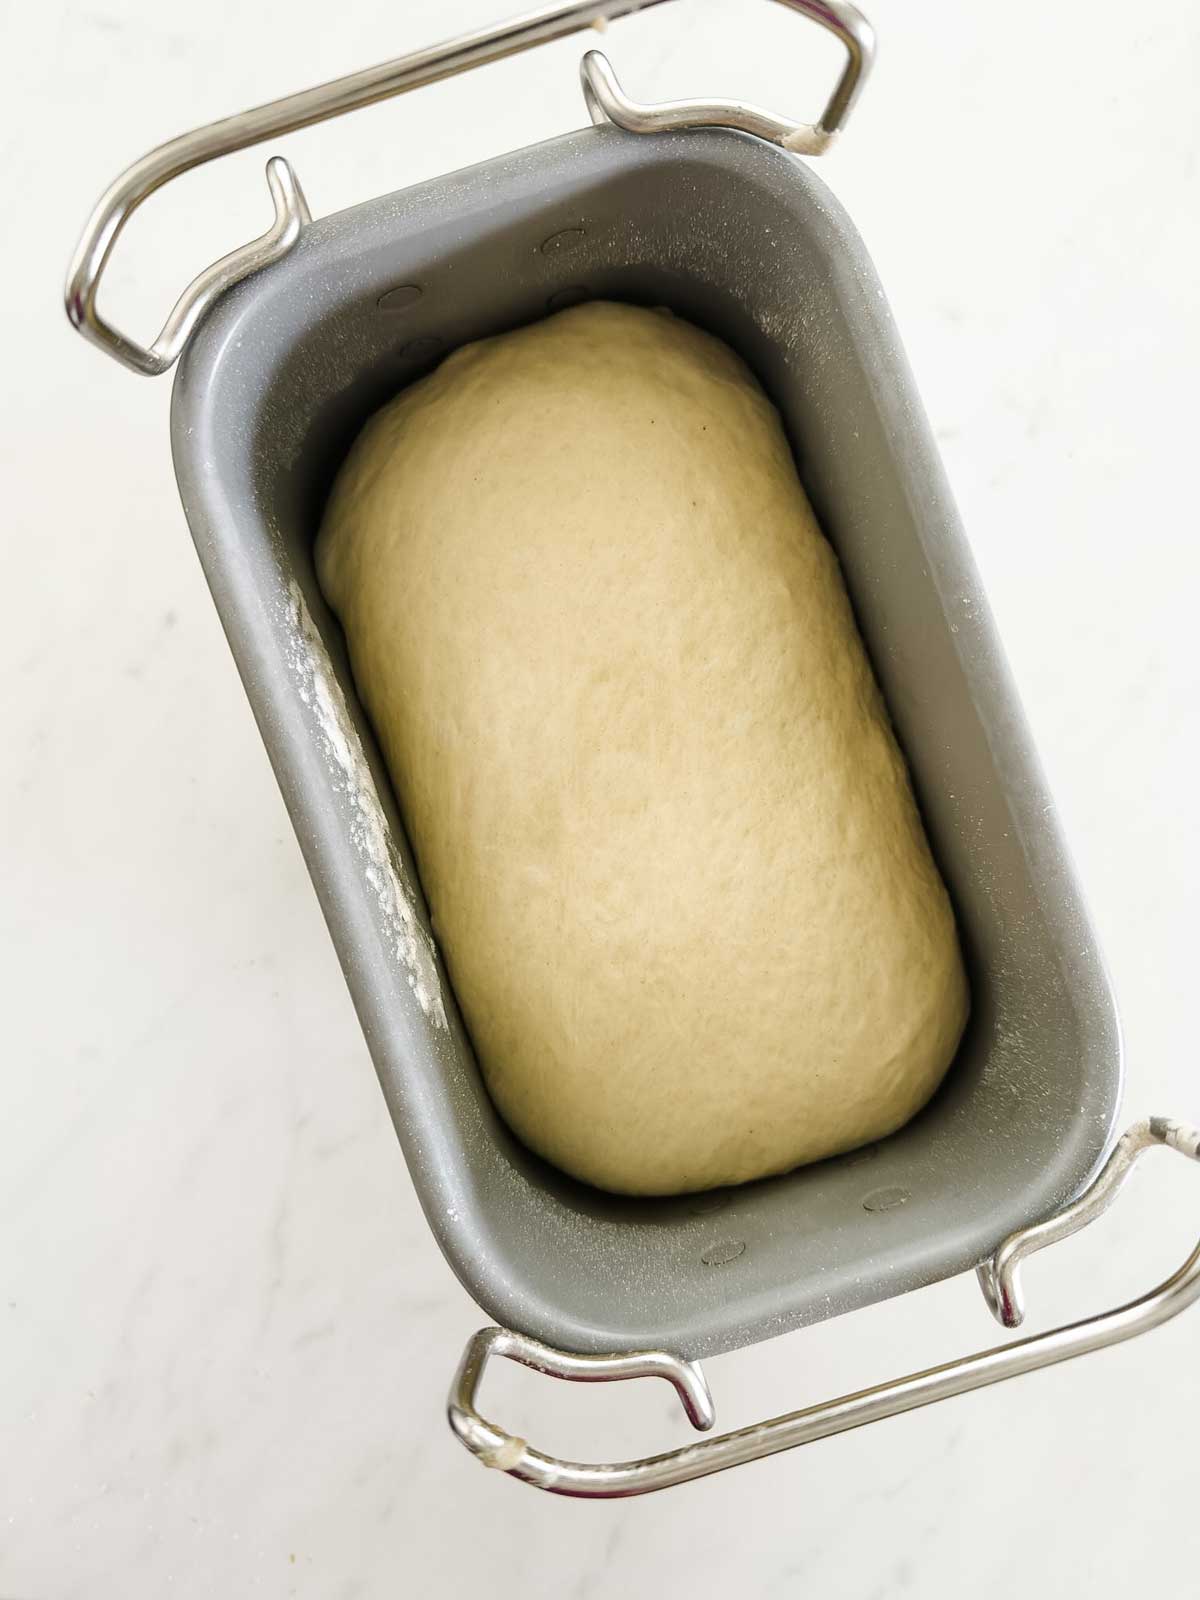
- Process on the dough cycle according to the manufacturer’s instructions.
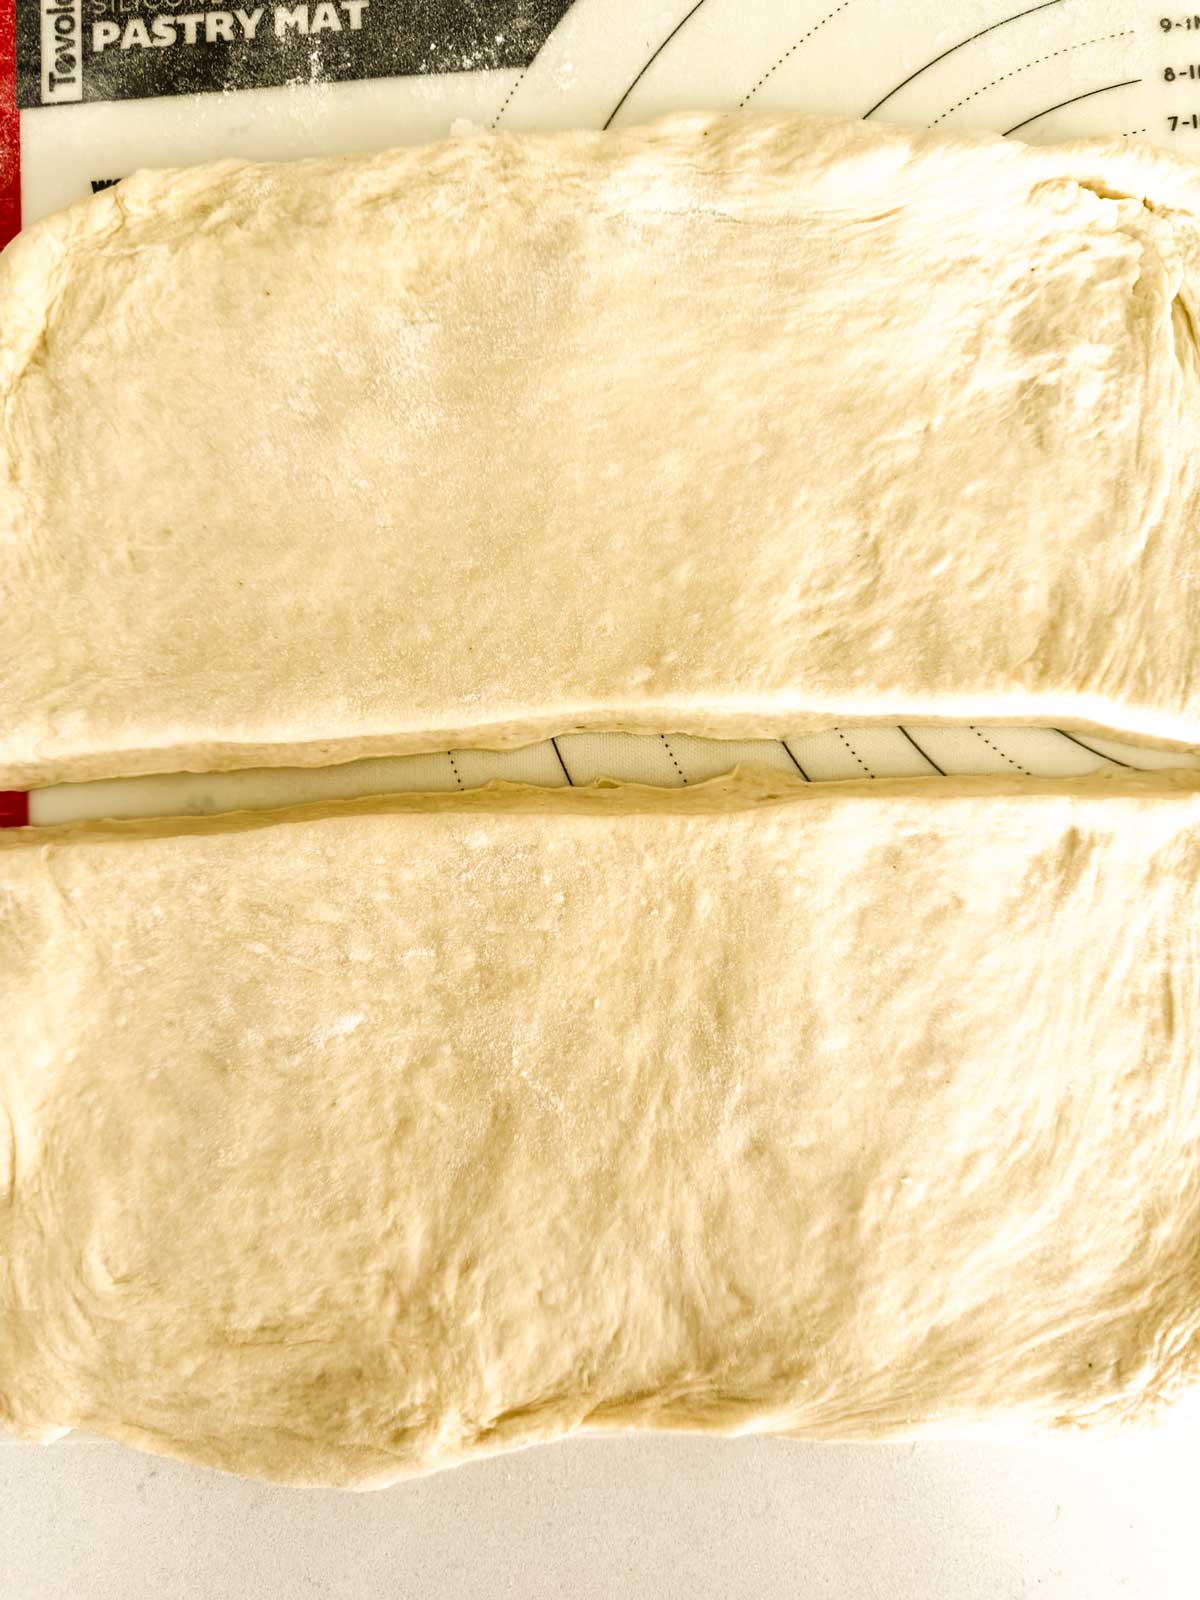
- Transfer the dough to a lightly floured baking surface. Roll into a 12” square.
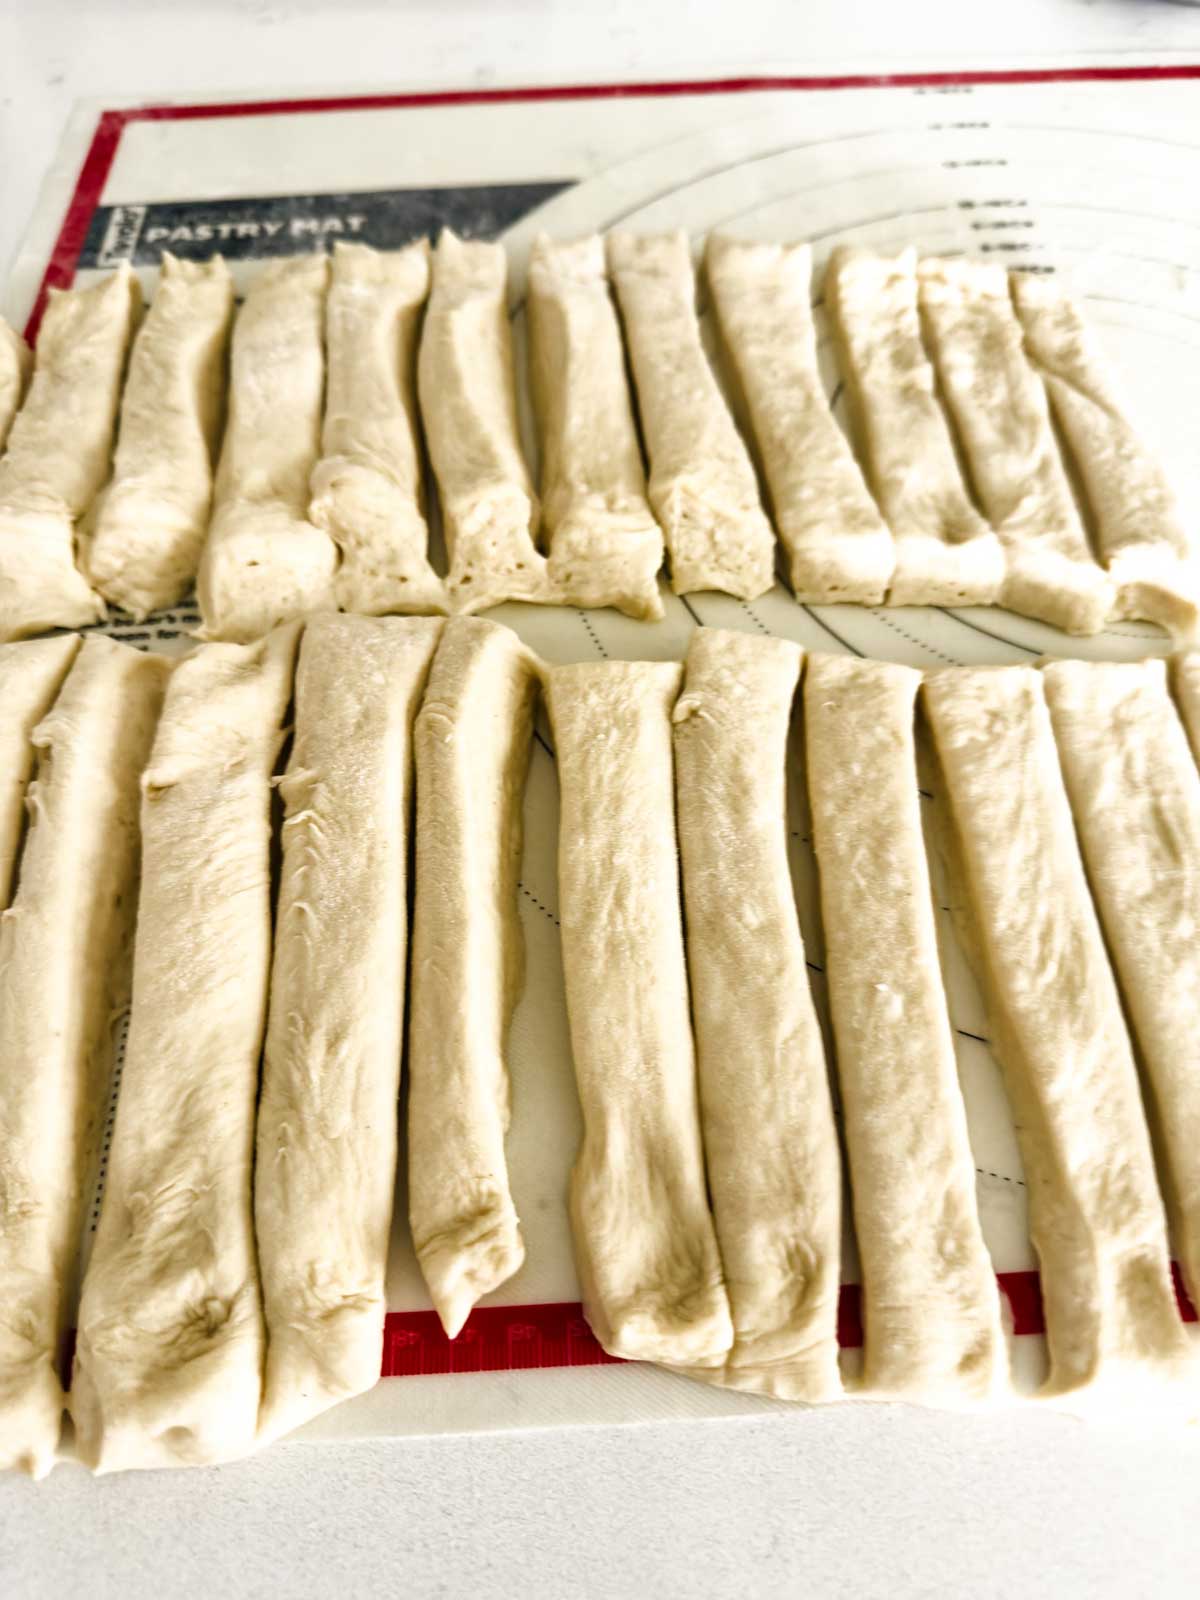
- Cut the dough in half, and then cut each half crosswise into strips. (For 24 stops total)
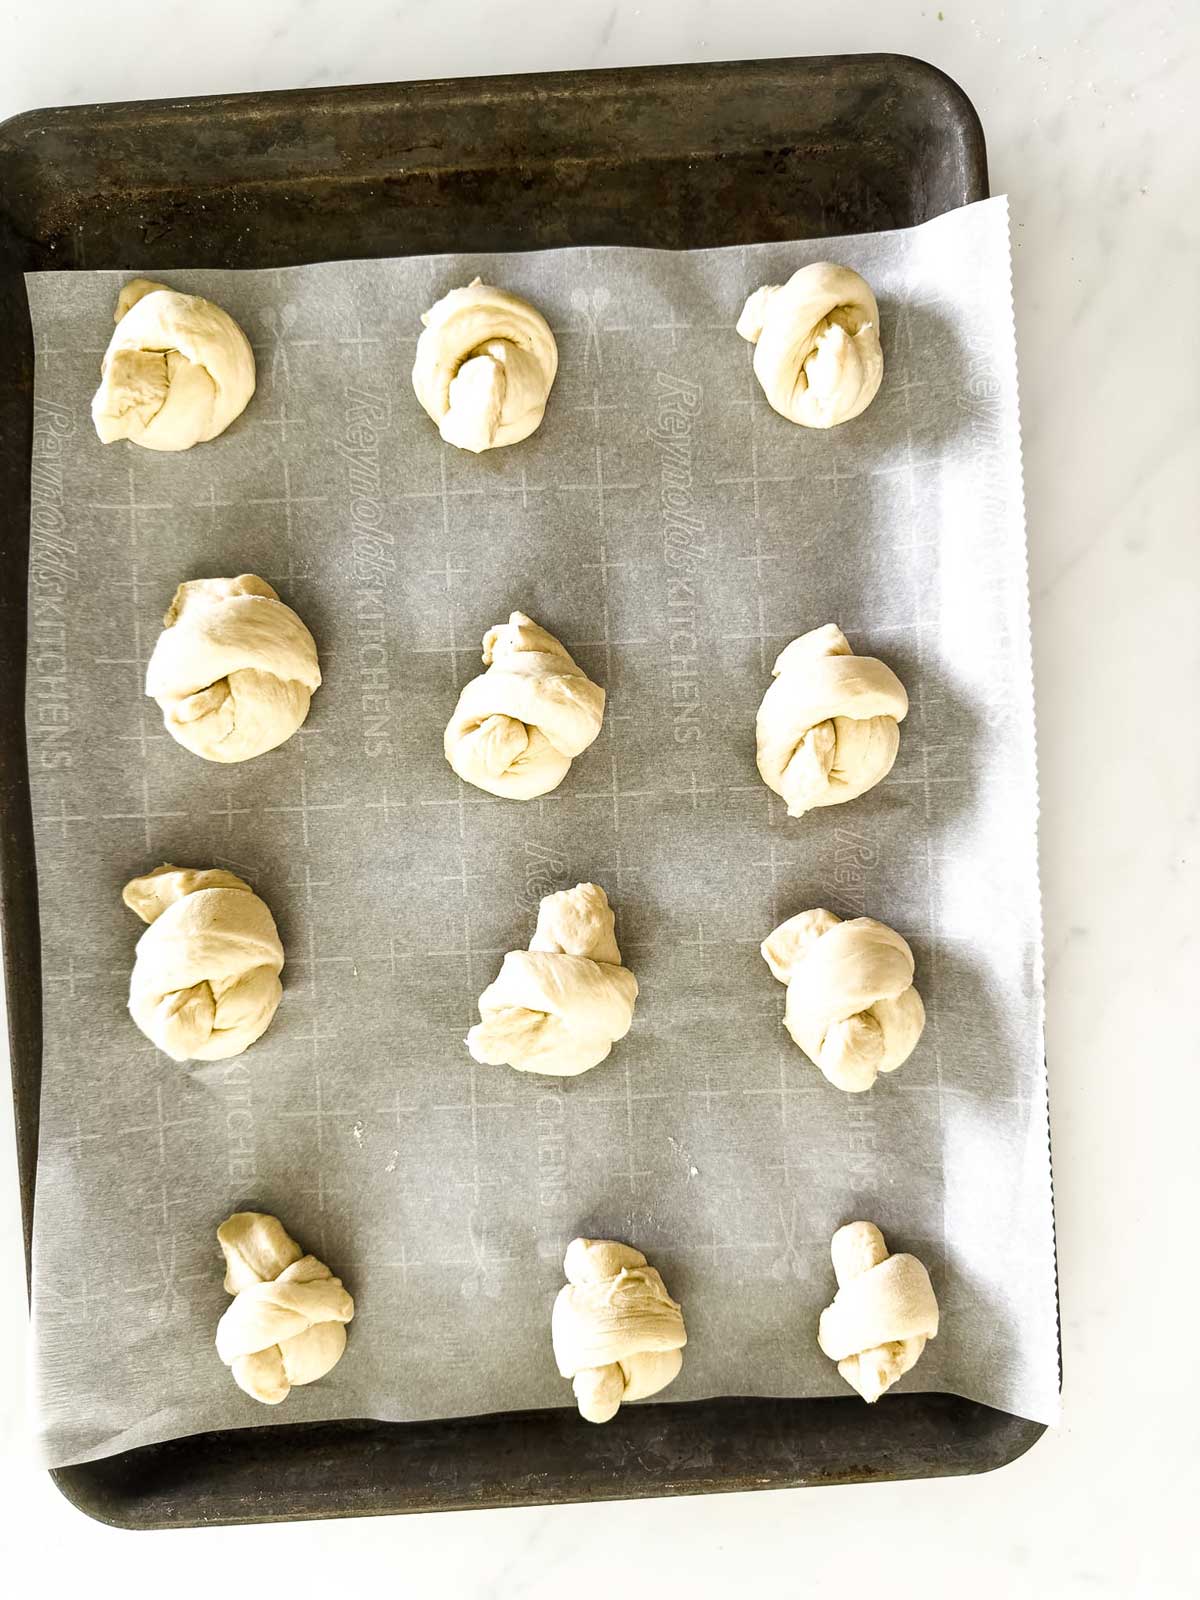
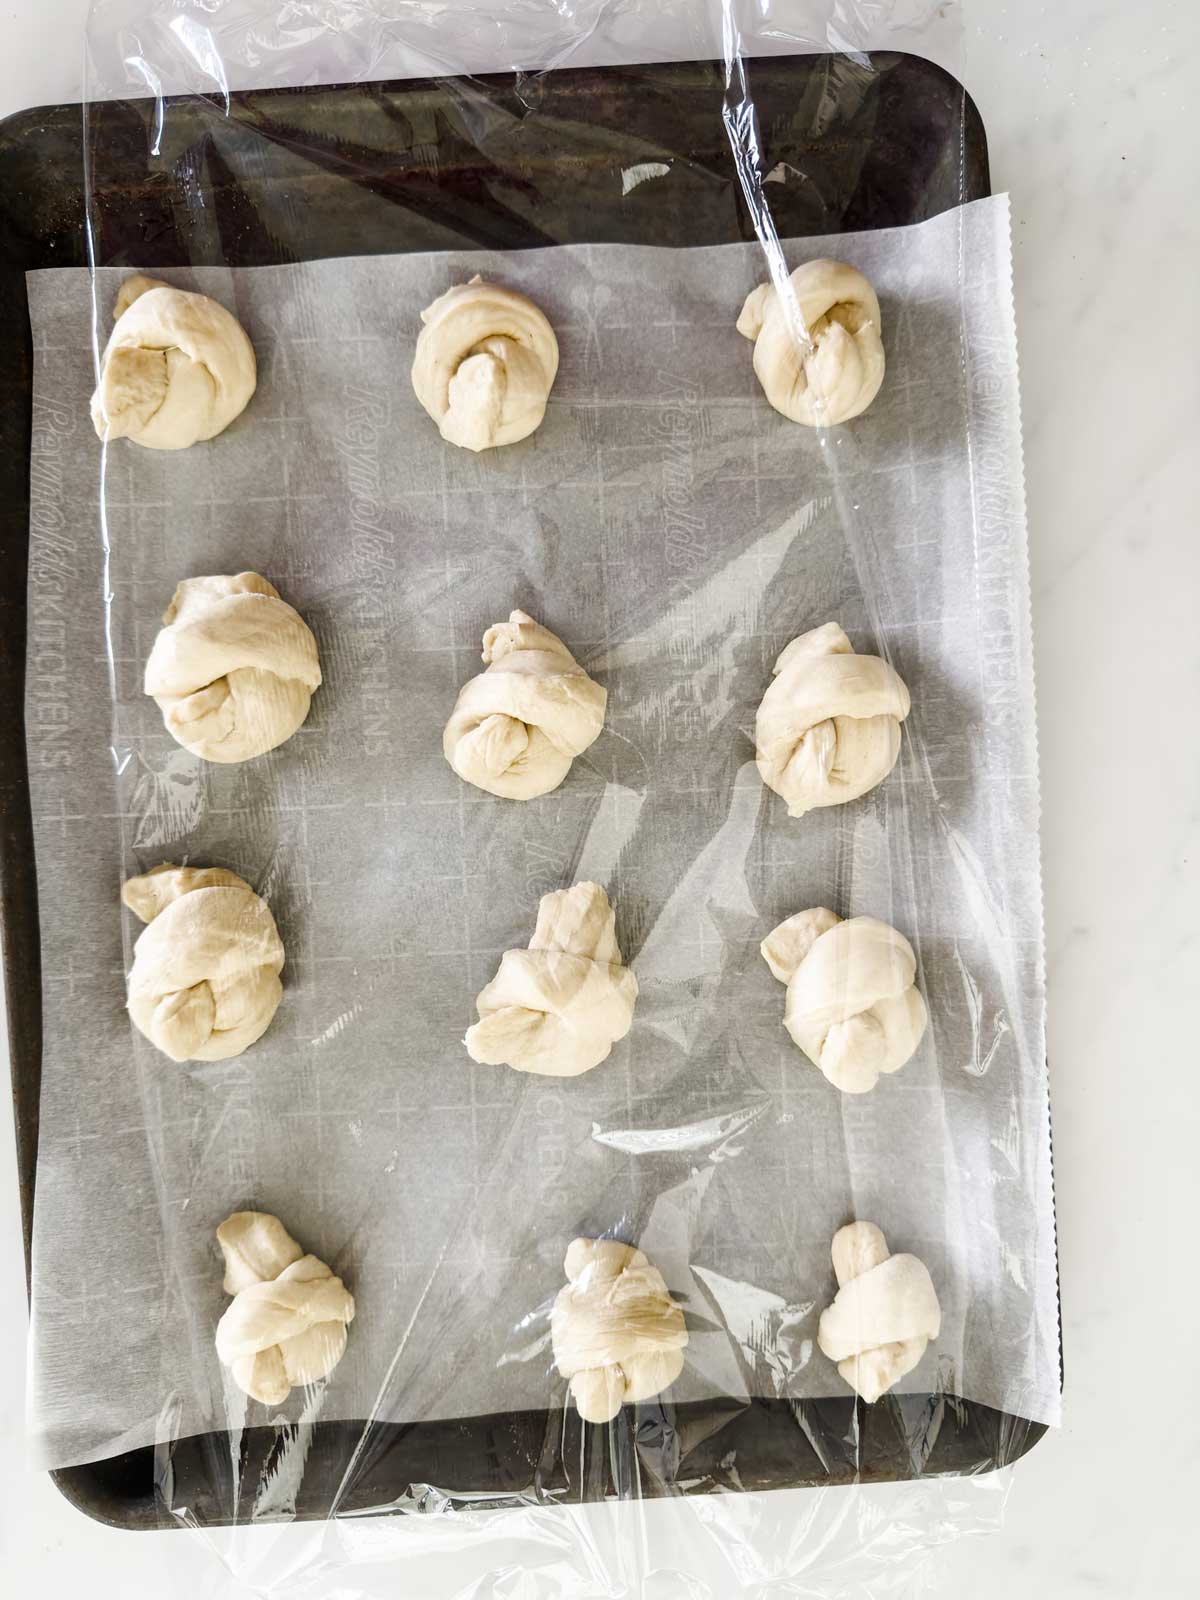
- Line 2 baking sheets with parchment paper. Tie the dough strips into a knot and place on the prepared sheet. Cover with plastic wrap and let rise in a warm place for 1 ½ hours for a second rise.
- Preheat the oven to 375°F. Brush the garlic knots with the egg.
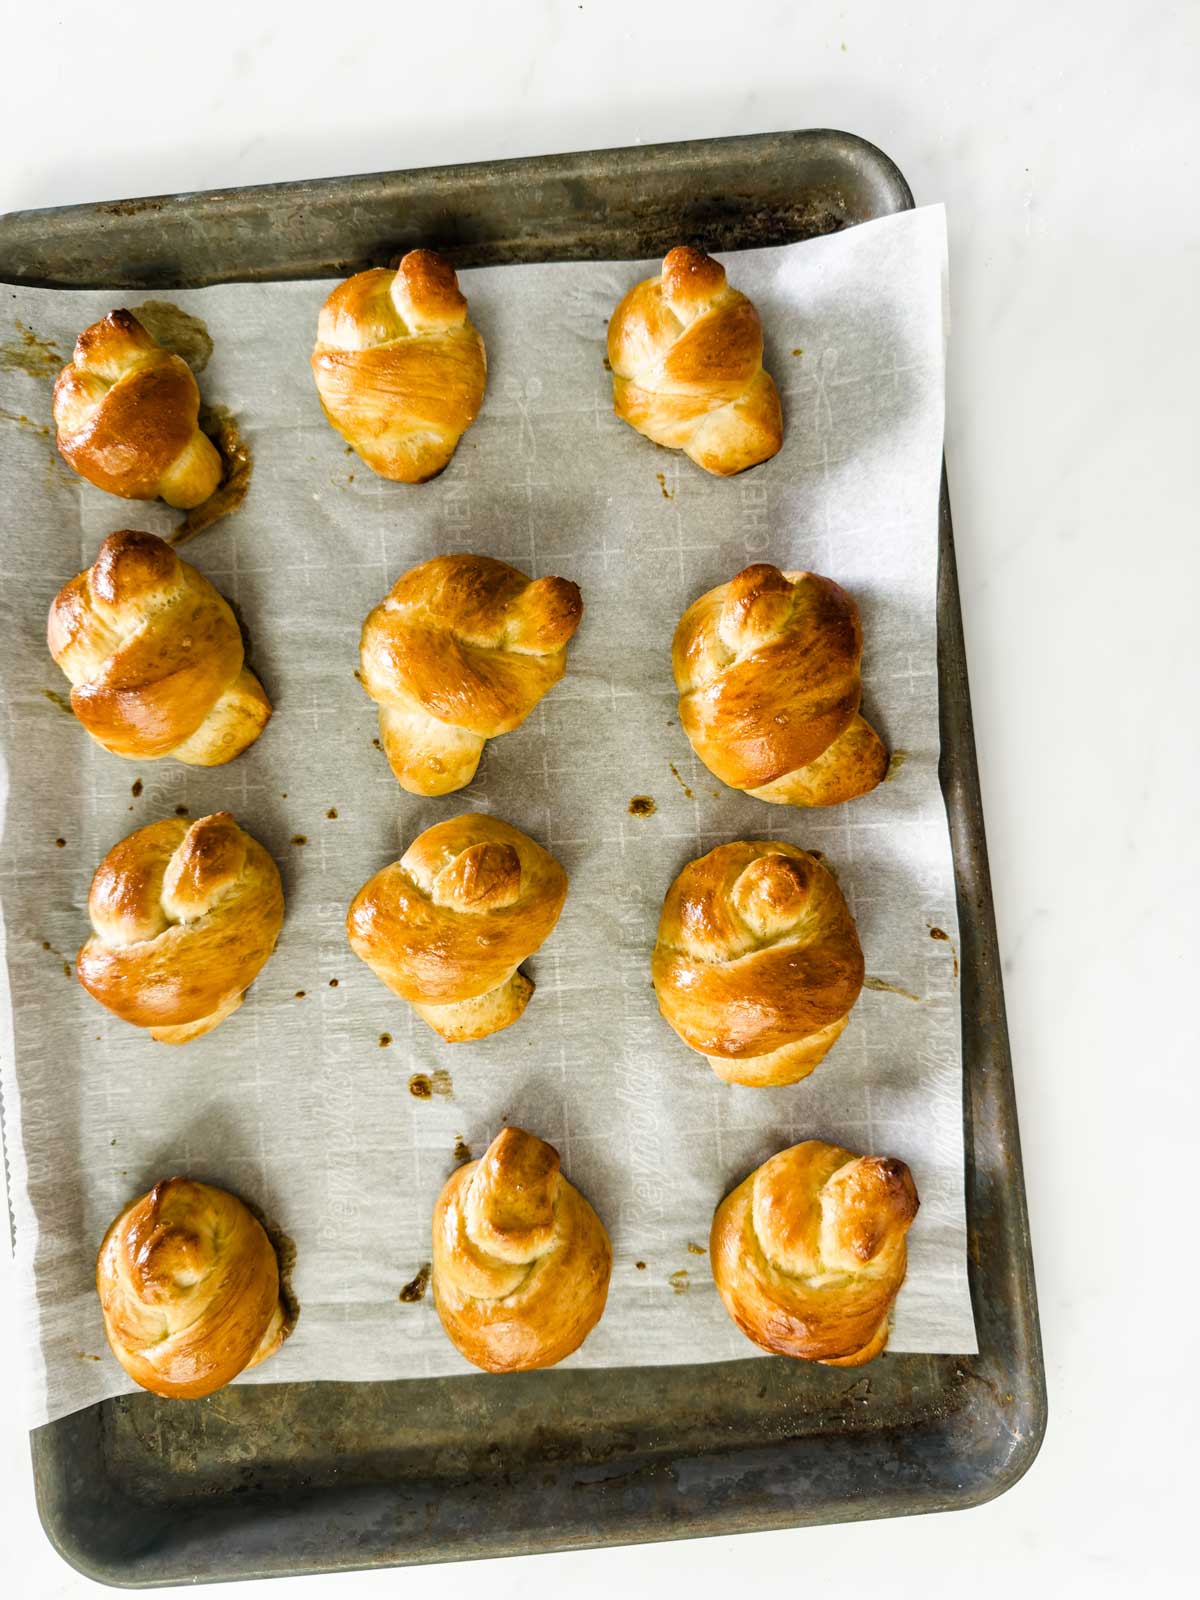
- Bake the garlic knots in the preheated oven until cooked through and golden brown, about 20 to 25 minutes. Tent with foil if they get too brown for your liking.
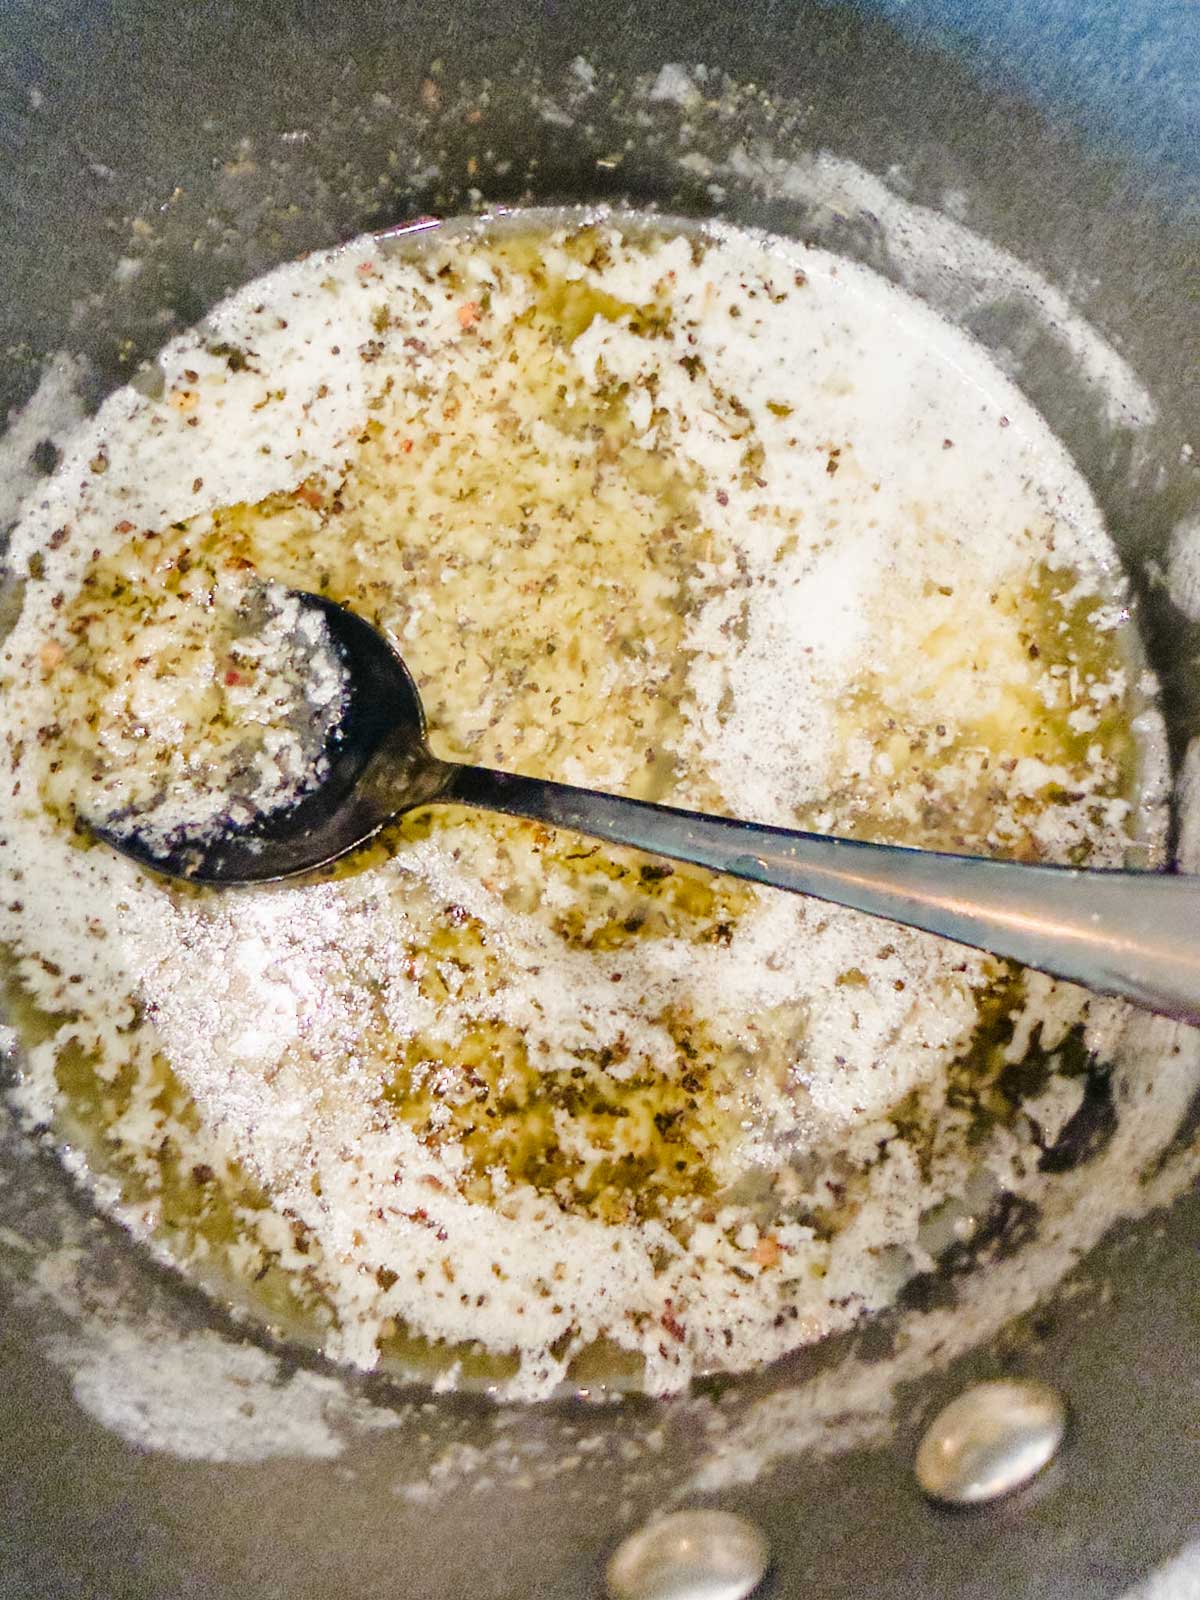
- Heat the butter in a small saucepan over medium heat. Add the garlic and cook for 3 minutes. Remove from heat, at stir in the Italian seasoning.
- Place the garlic knots in a bowl and toss with the butter. Garnish with parsley and parmesan cheese if desired.

Leave a Comment & Rate this Recipe