Air Fryer Mac and Cheese is a deliciously comforting twist on a classic. You are going to fall in love with the creamy, cheesy perfection. Best of all, the entire dish is made right in your air fryer - no oven or stove required.

If you love comfort food as much as I do, this air fried mac and cheese is a must-try!
This easy recipe is family-friendly and perfect whenever you need a side dish that the whole crowd will love.
Did I mention that it is super simple?
You won’t believe how easy it is to make - the entire dish is made right in your air fryer.
Give this air fryer macaroni and cheese a try, and let me know what you think.
Jump to:
Ingredients
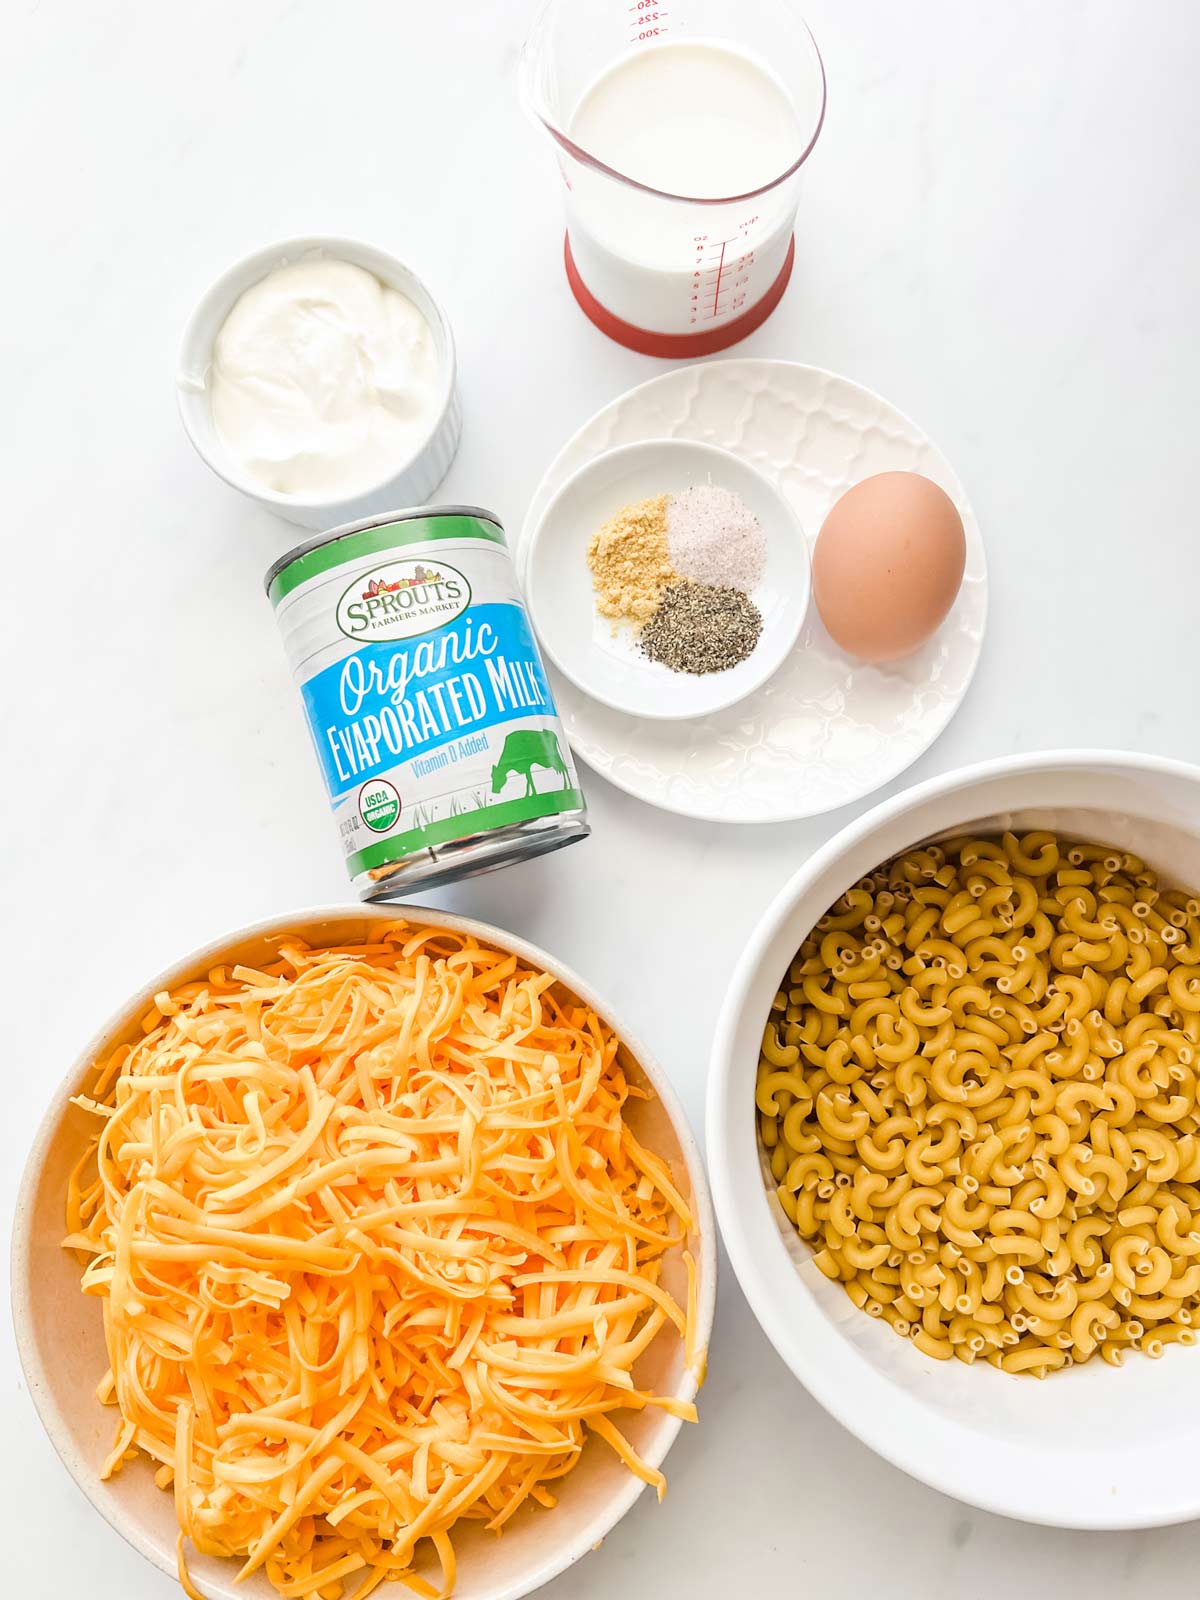
- Pasta: I recommend using elbow macaroni for making mac and cheese in the air fryer, but you could use another short pasta like penne if you like.
- Evaporated Milk: You will find evaporated milk in the baking aisle near the sweetened condensed milk. It is not the same as condensed milk, so don't confuse the two!
- Half and Half: This is just a combination of equal parts whole milk and cream. You could also use all whole milk or heavy cream.
- Sour Cream: I recommend using full-fat sour cream for the best texture in your air fryer mac n cheese..
- Egg: Just one egg is needed to bind everything together and give the mac and cheese a beautiful smooth texture.
- Seasonings: I added salt, dry mustard, and fresh ground black pepper. The mustard provides a bit of bite that intensifies the flavor of this dish. Garlic powder can also be used.
- Shredded Cheese: I use sharp cheddar cheese for this recipe, but you could use any kind of shredded cheese that you like. A combination of cheeses would also be delicious - I sometimes use a blend of cheddar and parmesan cheese.
Tips & Tricks
- Make sure you stir the macaroni well each time the recipe calls for it and scrape any macaroni from the bottoms and the side. This will prevent burnt edges.
- The foil should be on tightly to allow the liquid mixture to cook the pasta without it getting on the fan of your air fryer.
- To prevent the cheese from sticking, you can spray the foil with cooking spray before adding the last of the shredded cheese.
- Keep in mind that every air fryer is a little different and cook times will vary accordingly.
- To make this easy mac and cheese more hearty, stir in bacon or ham.
Serving Suggestions
This simple mac and cheese recipe is delicious on its own, but it would also be great with some roasted chicken or a simple green salad. Other great options include:
Frequently Asked Questions
Do you rinse macaroni for macaroni and cheese?
I do not recommend rinsing the macaroni for this recipe. Rinsing will remove some of the starch from the pasta which is what helps the sauce thicken.
Can you make mac and cheese without evaporated milk?
You could try using all half and half or all whole milk, but I have not tested this so I can't say for sure how it will turn out.
The evaporated milk really helps to thicken the sauce and give it a nice rich flavor.
How do you revive leftover macaroni and cheese?
If leftovers have gotten dry, you can try adding a little bit of milk to it and reheating it in the microwave or air fry it. You could also add some more shredded cheese on top before reheating.
Tools Needed to Make
As an amazon associate, I earn from qualifying sales.
- Air Fryer
- 1 ½ quart dish that fits in your air fryer
- Cooking spray
- Aluminum foil
Storage
Leftover mac and cheese can be stored in an airtight container in the fridge for up to 3 days. Reheat in the microwave or in your air fryer until hot and bubbly.
You can freeze this recipe for up to three months.
How to Make Air Fried Mac and Cheese
For the full recipe with measurements, see the recipe card at the bottom of the post.
First, start by preheating your air fryer.
I set mine to 350°F, but every air fryer is a little different so yours may need to be higher or lower. If you are using an oven-style air fryer, I recommend setting it to 375° F.

Then, grease a 1 ½ quart dish with oil and add the elbow macaroni.
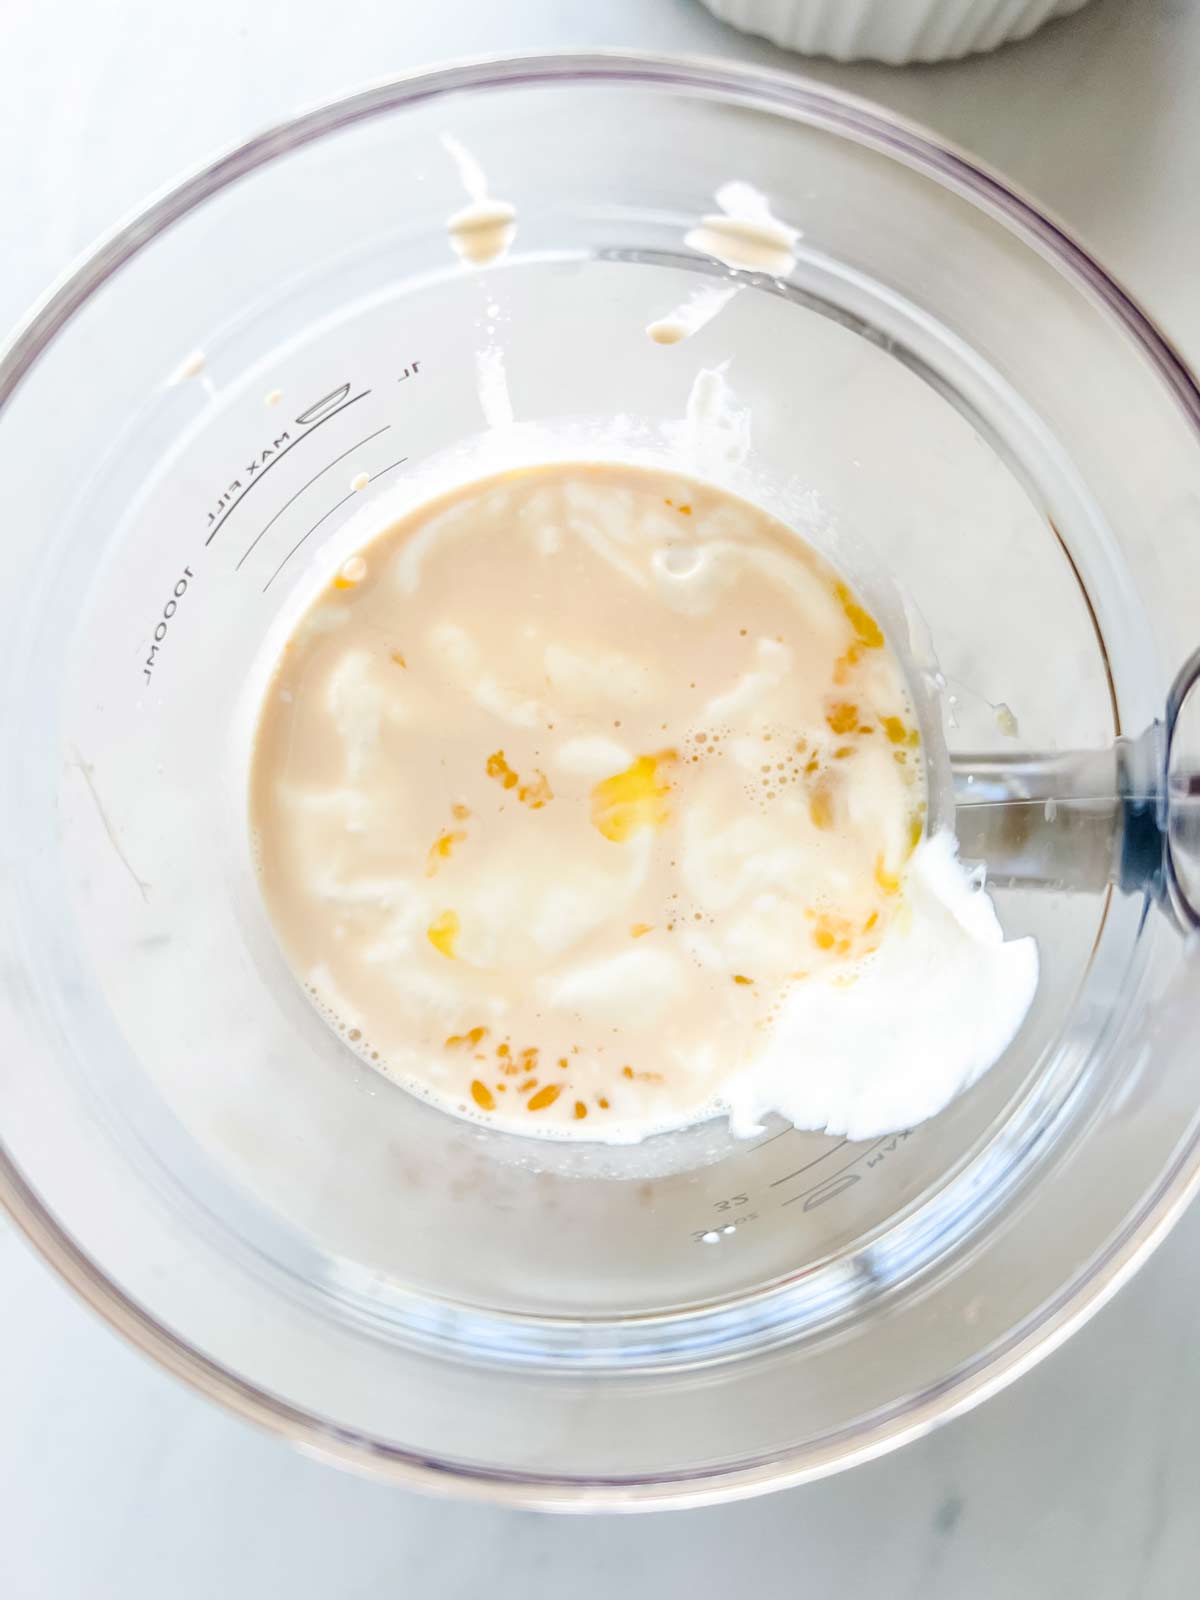
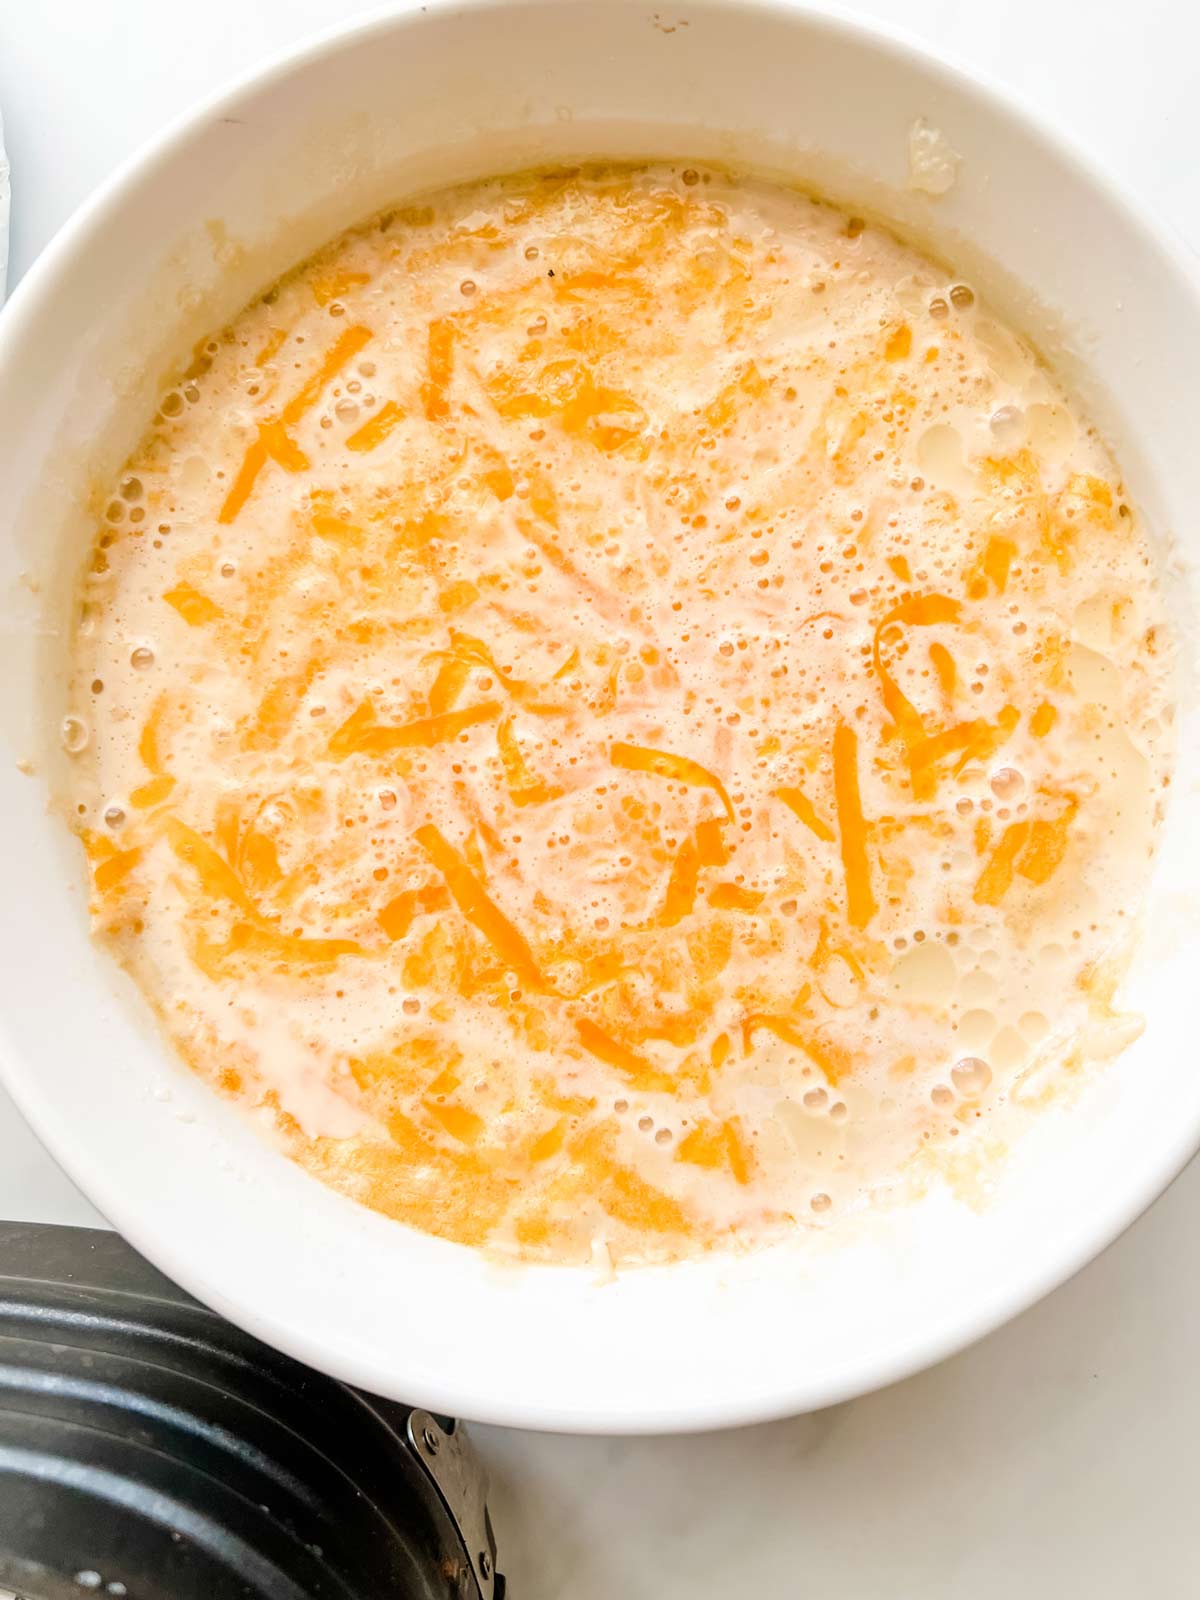
In a medium bowl, whisk together the .
Alternatively, you can blend the mixture in your blender.
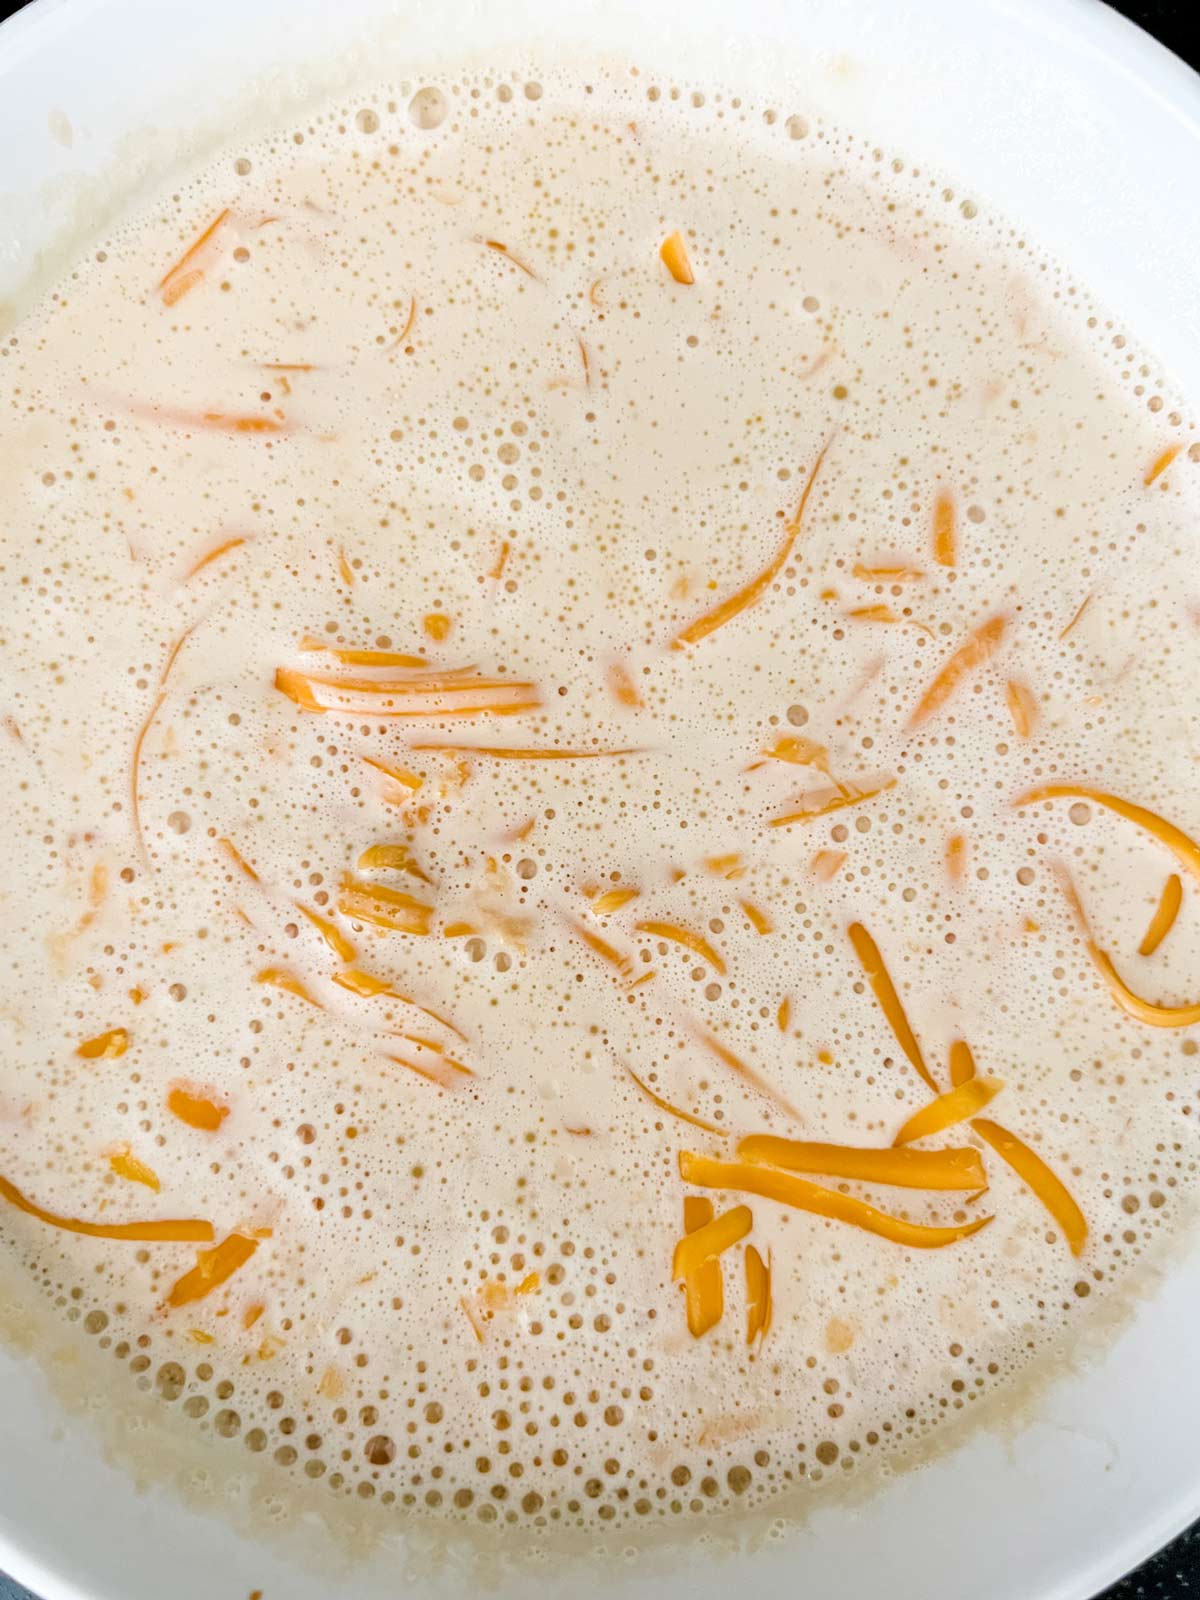
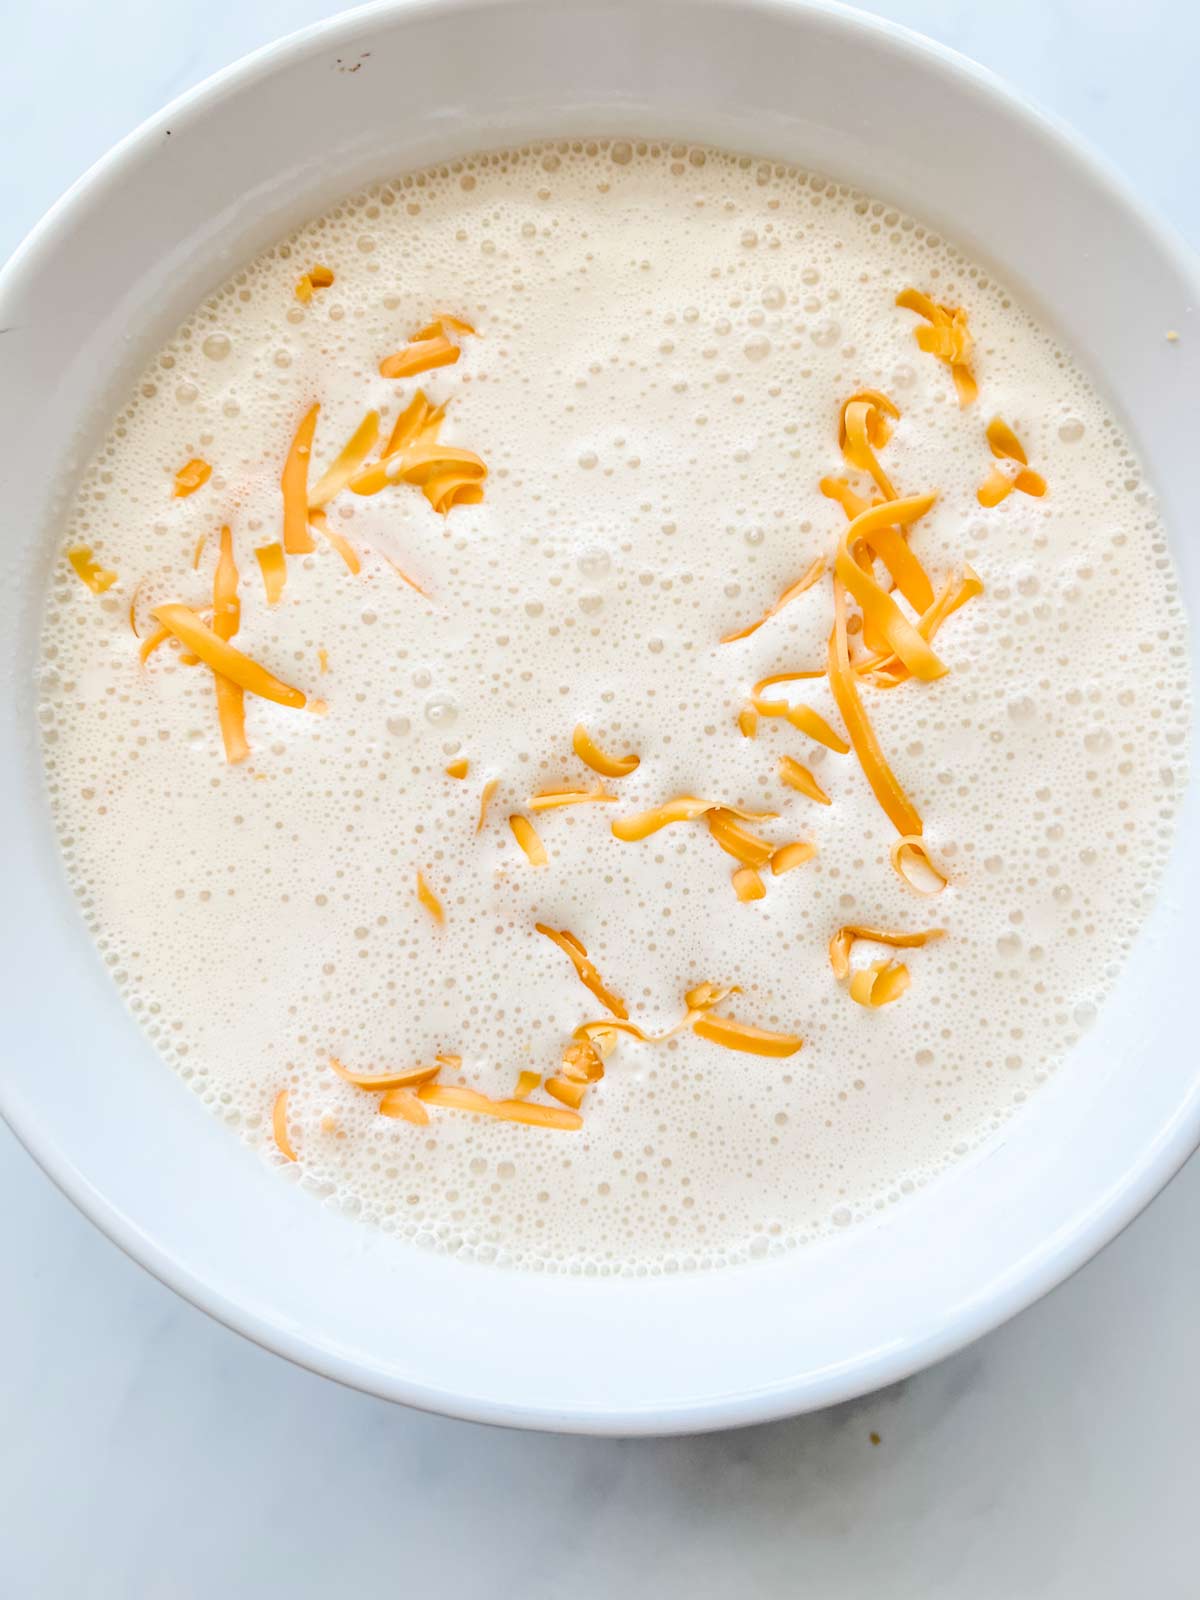
Pour the liquid mixture over the noodles and stir in ½ cup of the shredded cheese.
Cover tightly with foil. Make sure the foil is on tight so that the liquid mixture doesn't get on the fan of your air fryer.
Place the dish in your air fryer basket and cook for 10 minutes.
Then, remove the casserole dish from your air fryer and stir well, making sure to scrape down the sides.
Sprinkle with the remaining cheese and cook for another 10 minutes.

Then, remove from your air fryer and serve. Enjoy!
More Air Fryer Recipes to Try
- Once you make Air Fryer Stuffing, you will wonder why you ever make it any other way.
- Air Fryer BBQ Chicken is a family-friendly meal that you will turn to again and again.
- When you want a delicious, easy-to-make treat, these Air Fryer Oatmeal Cookies are perfect.
- Your family is going to love these Air Fryer Fajitas.
- Snacks don't get any better than these Air Fryer Pecans.


35-Minute Air Fryer Mac and Cheese
Equipment
Ingredients
- 1 ½ cups elbow macaroni
- 10.5 ounces evaporated milk
- ¾ cup half and half
- ½ cup sour cream
- 1 egg beaten
- ½ teaspoon sea salt
- ½ teaspoon dry mustard
- ½ teaspoon fresh ground black pepper
- 2 ½ cups shredded cheddar cheese divided
Instructions
- Preheat the air fryer to 350° F. Grease a 1 ½ quart dish with oil.
- Place the elbow macaroni in the dish.
- In a medium bowl, whisk together the evaporated milk, half and half, sour cream, egg, salt, dry mustard and fresh ground black pepper. Alternatively, you can blend the mixture in your blender.
- Pour the liquid mixture over the noodles and stir in ½ cup of the shredded cheese. Cover tightly with foil.
- Place the dish in the air fryer and cook for 10 minutes.
- Remove from your air fryer and stir well.
- Stir in another 1 cup of the cheese and cook for another 10 minutes.
- Stir and add the final cup of cheese on top of the Mac and Cheese. Cook until browned and bubbly, about 5 to 8 more minutes.
- Allow to sit in the air fryer for 5 minutes before removing.


Leave a Comment & Rate this Recipe