
Apple pie ice cream has all the flavor of apple pie a la mode in a single scoop. With a maple brown sugar custard, loaded with cinnamon apples, toasted walnuts, and caramel, this is the perfect addition to your holiday dessert table.
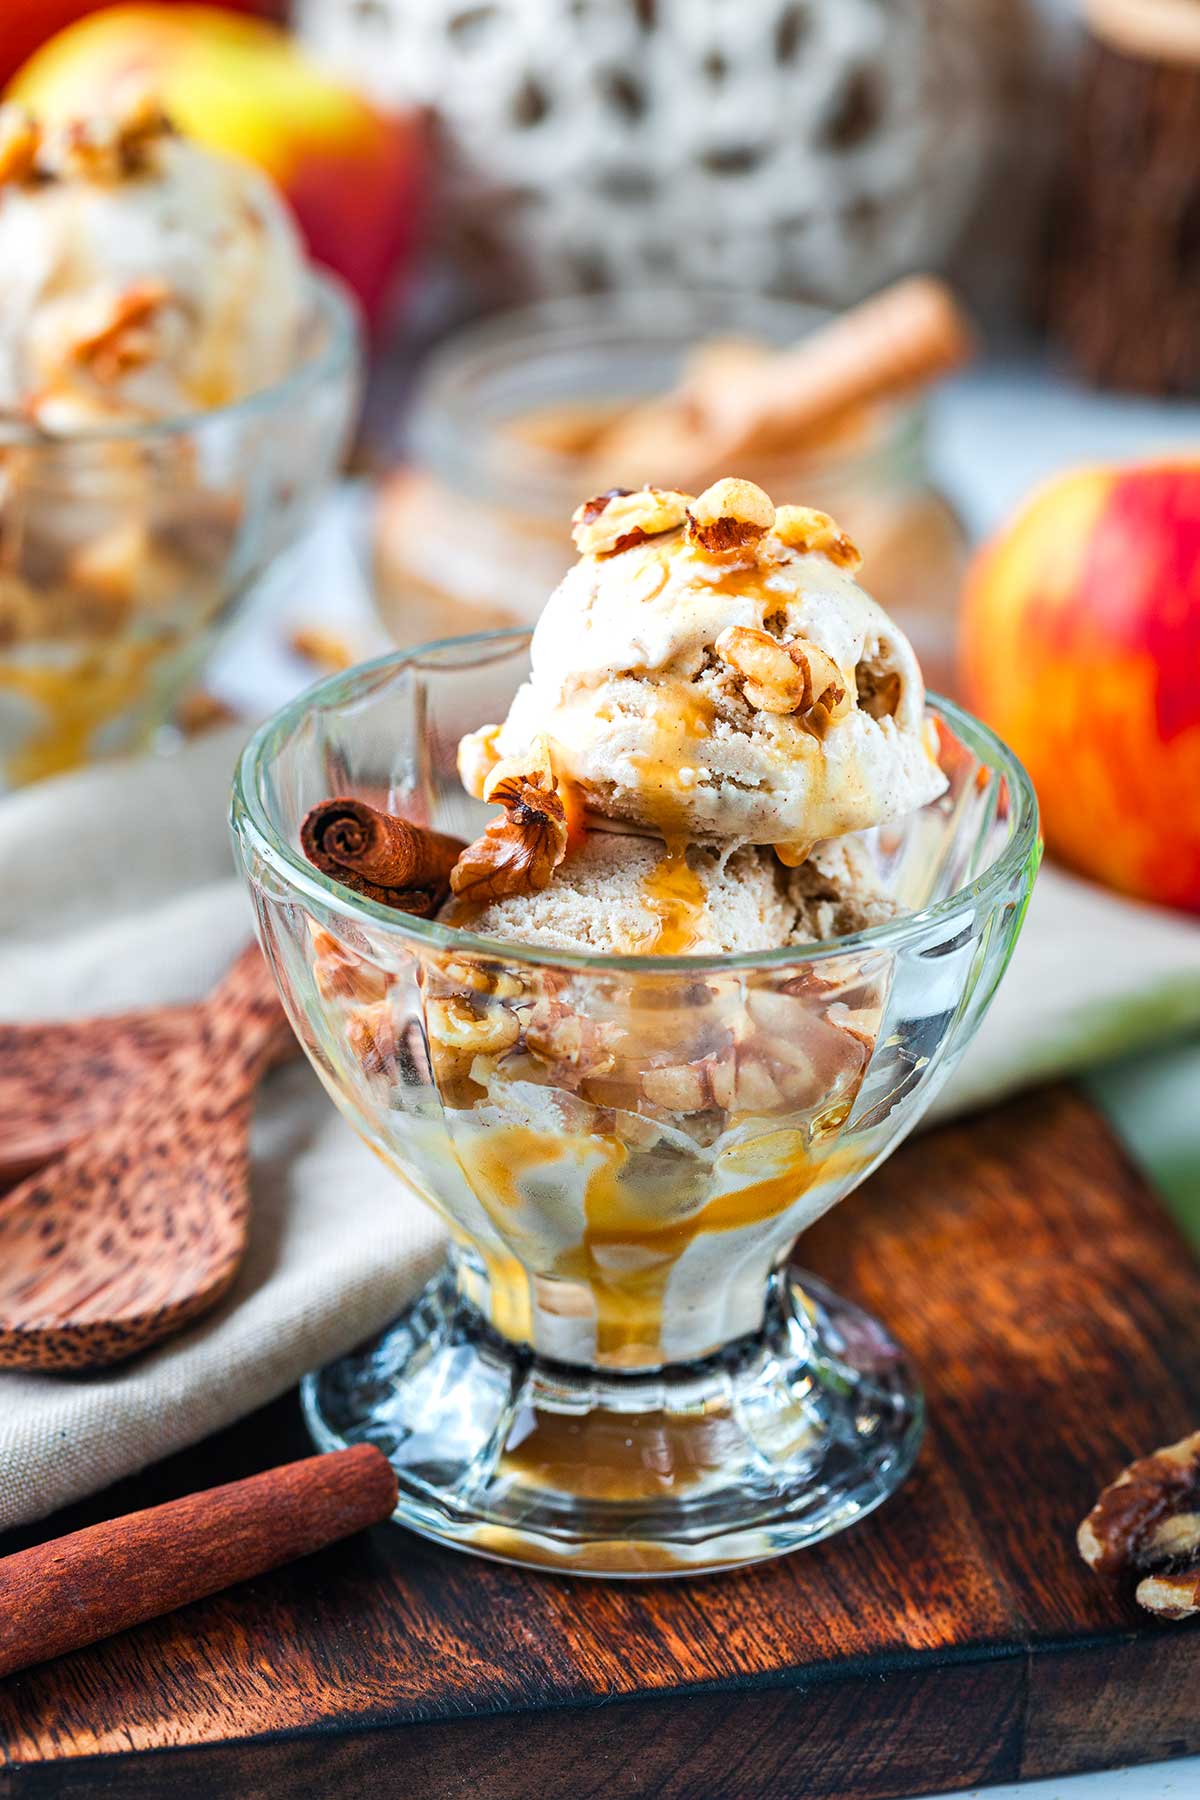
I make a lot of ice cream. This apple pie ice cream is the one that made me text my mom mid-churn to tell her I had a treat she's going to love when she's here for the holidays.
The custard base is where the magic is
It is a cooked custard, but don't let that stop you. It is surprisingly easy once you understand how and why we temper the eggs.
If you pour the hot cream mixture straight into cold eggs, you'll get sweet scrambled eggs. That's not what we are going for.
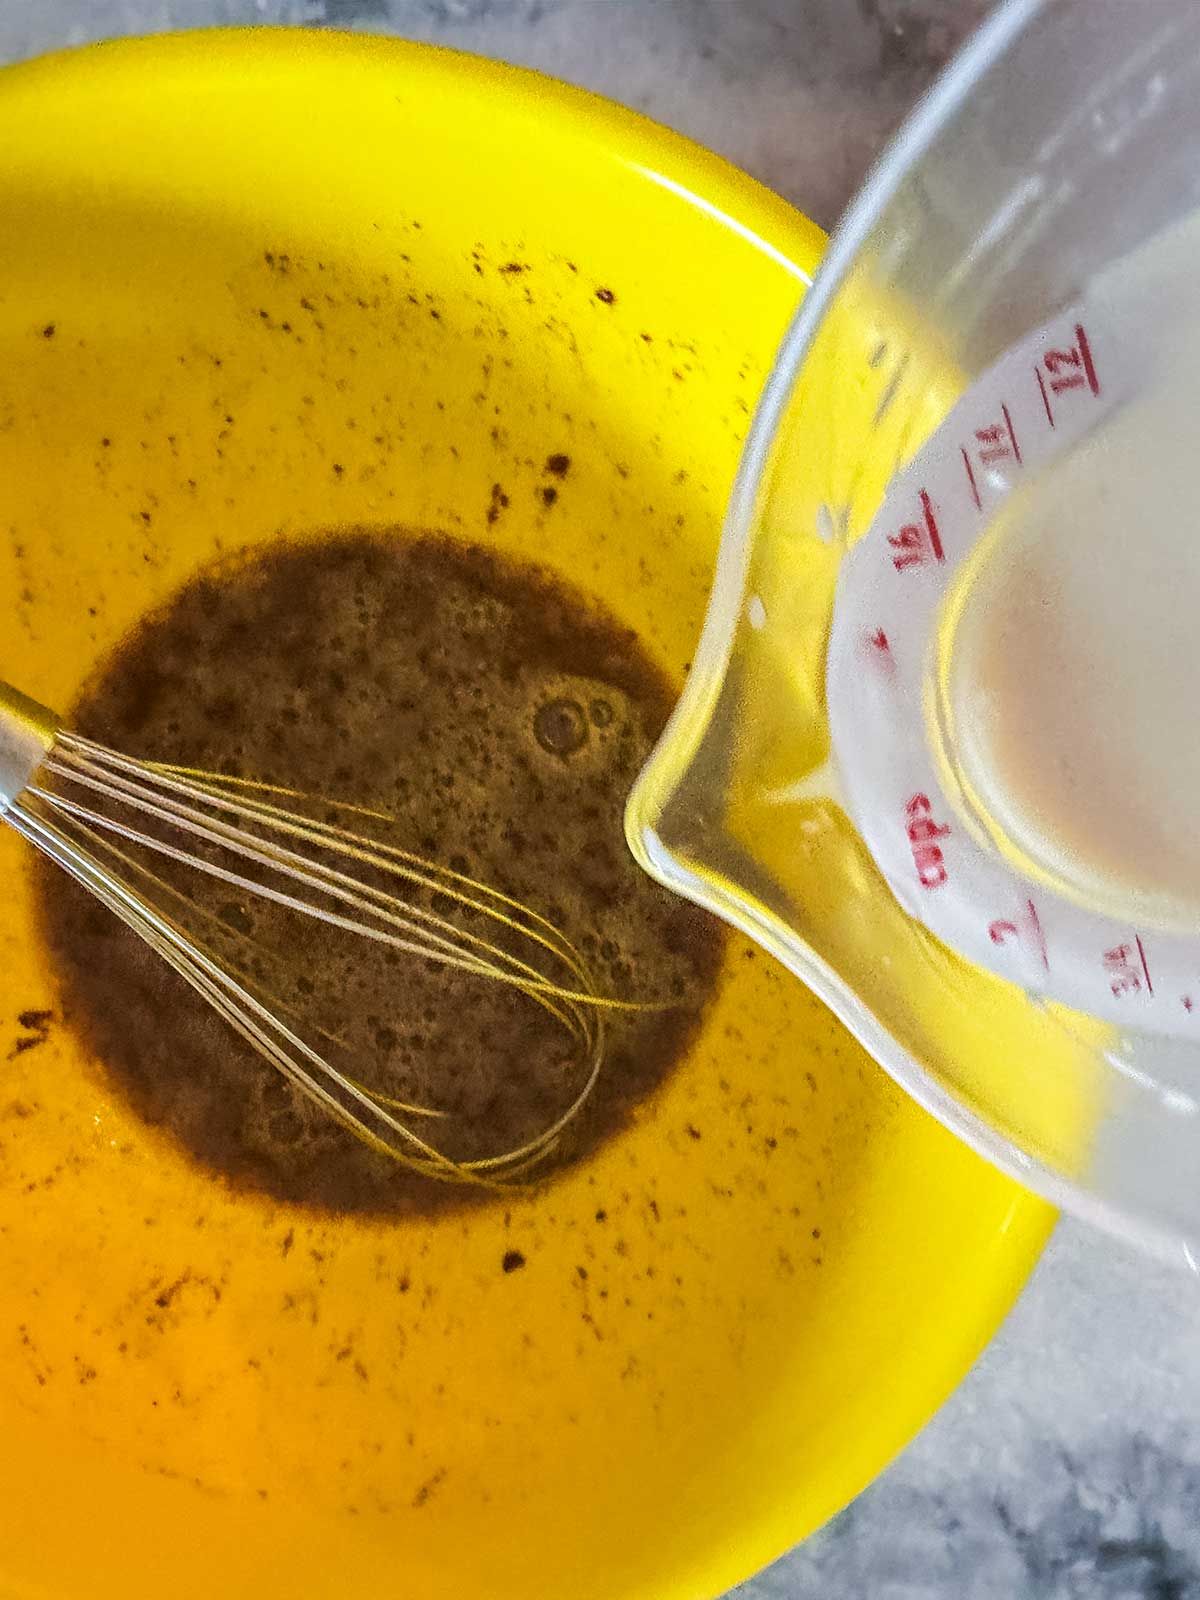
So you'll ladle just a little of the cream into the eggs, whisking the whole time. This will heat them slowly. Then they can go back into the pot.
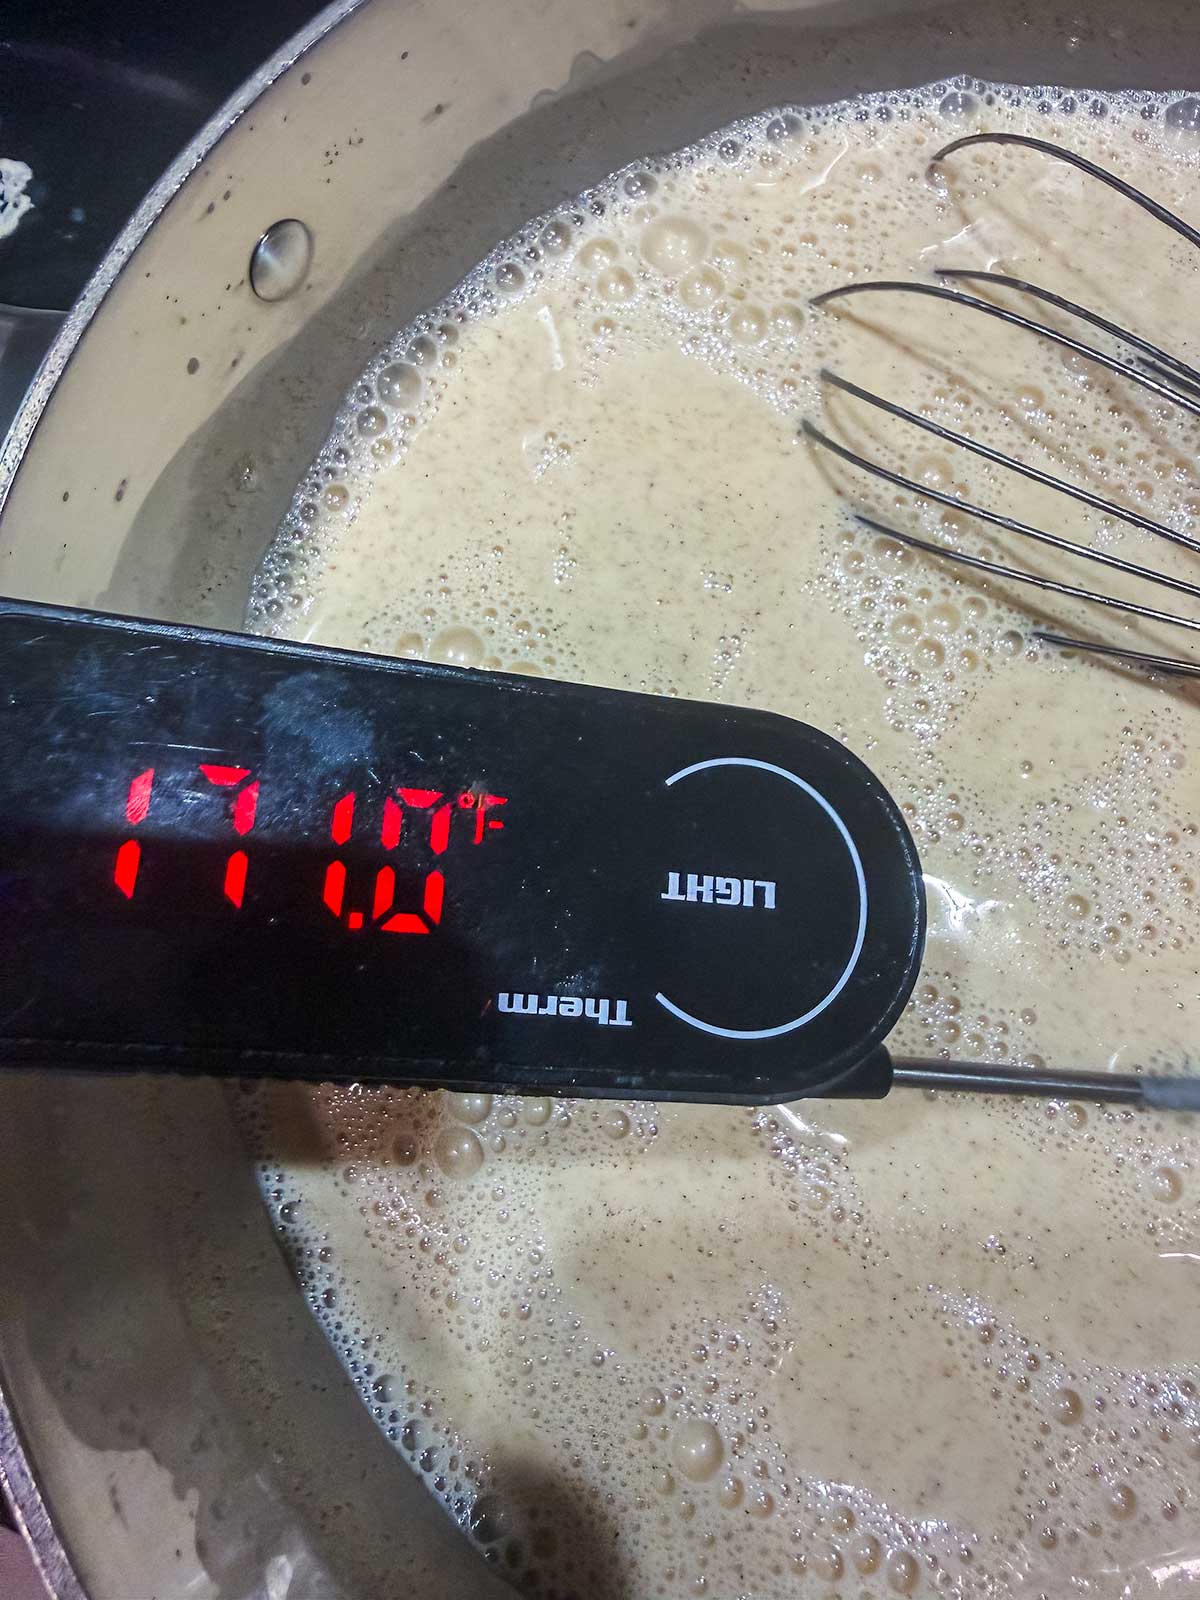
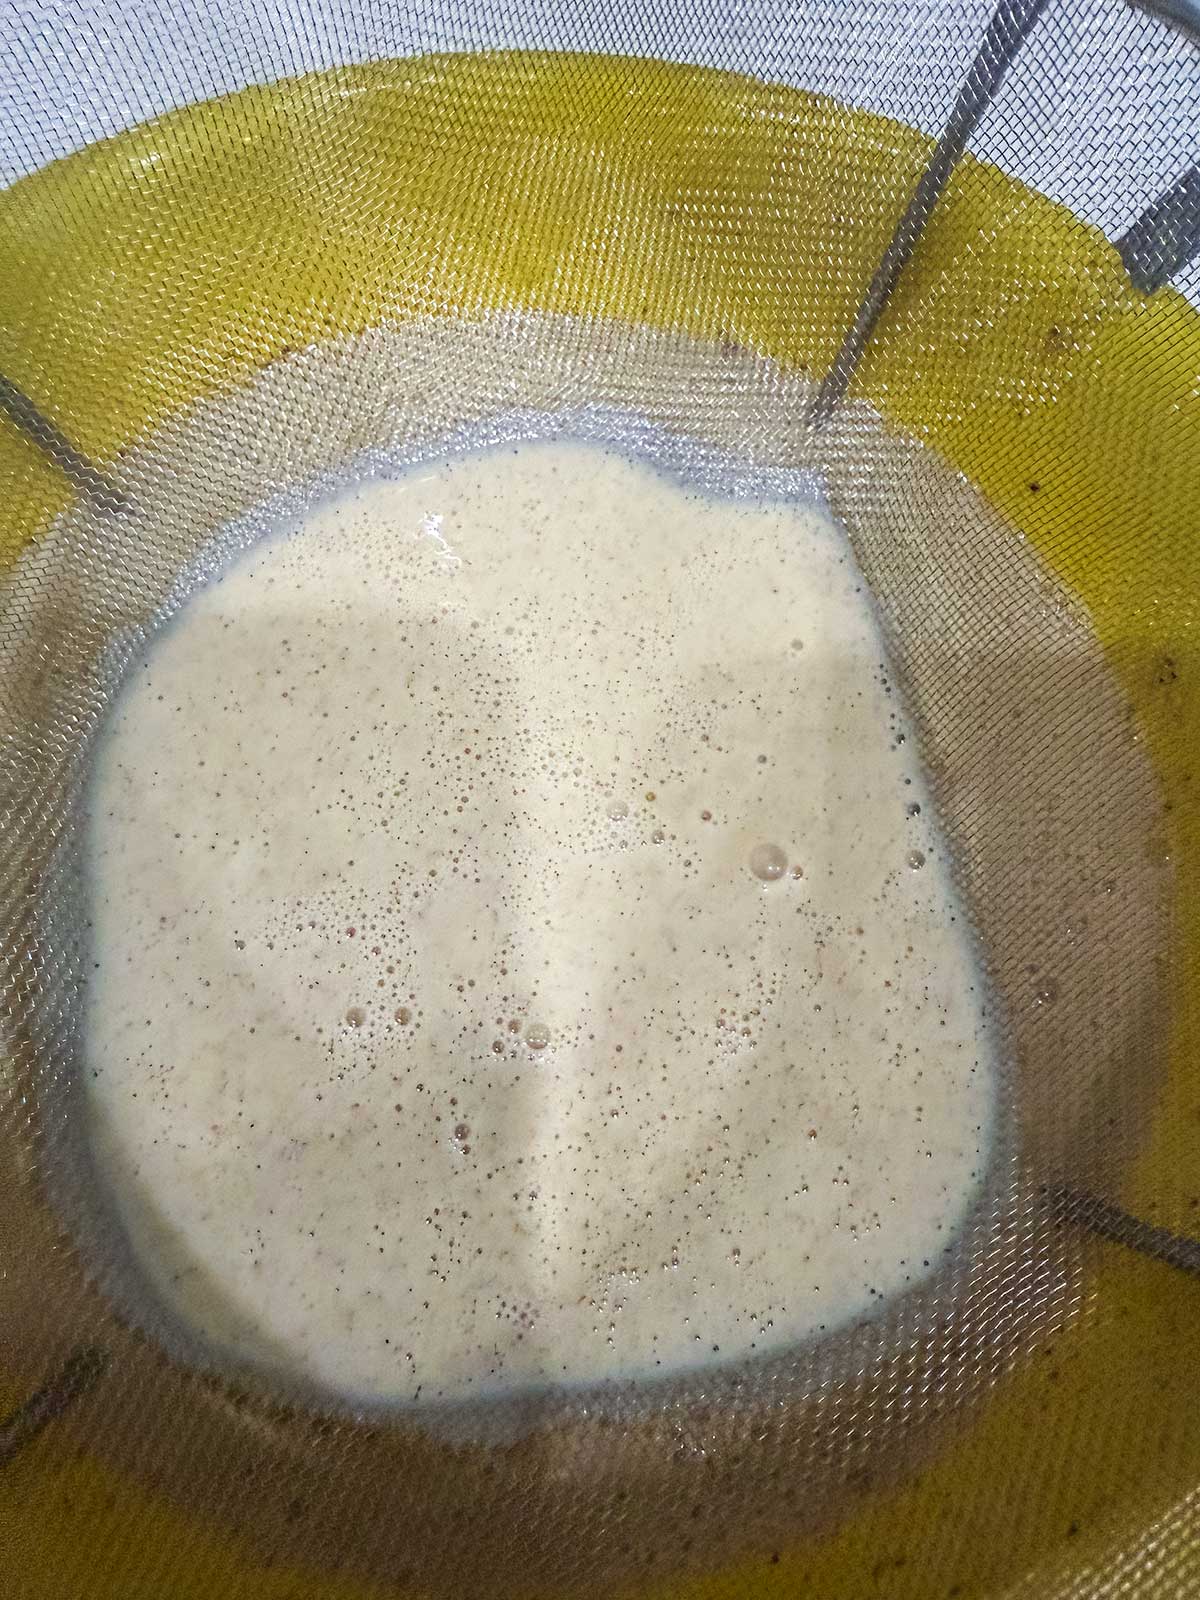
Cook it to 170 to 175°F, stirring the whole time, until it coats the back of a spoon and a finger swiped through leaves a clean line. Do not let it boil. Boiling curdles it. Then strain it, just in case, and this catches any stray cooked bits.
Chill it overnight
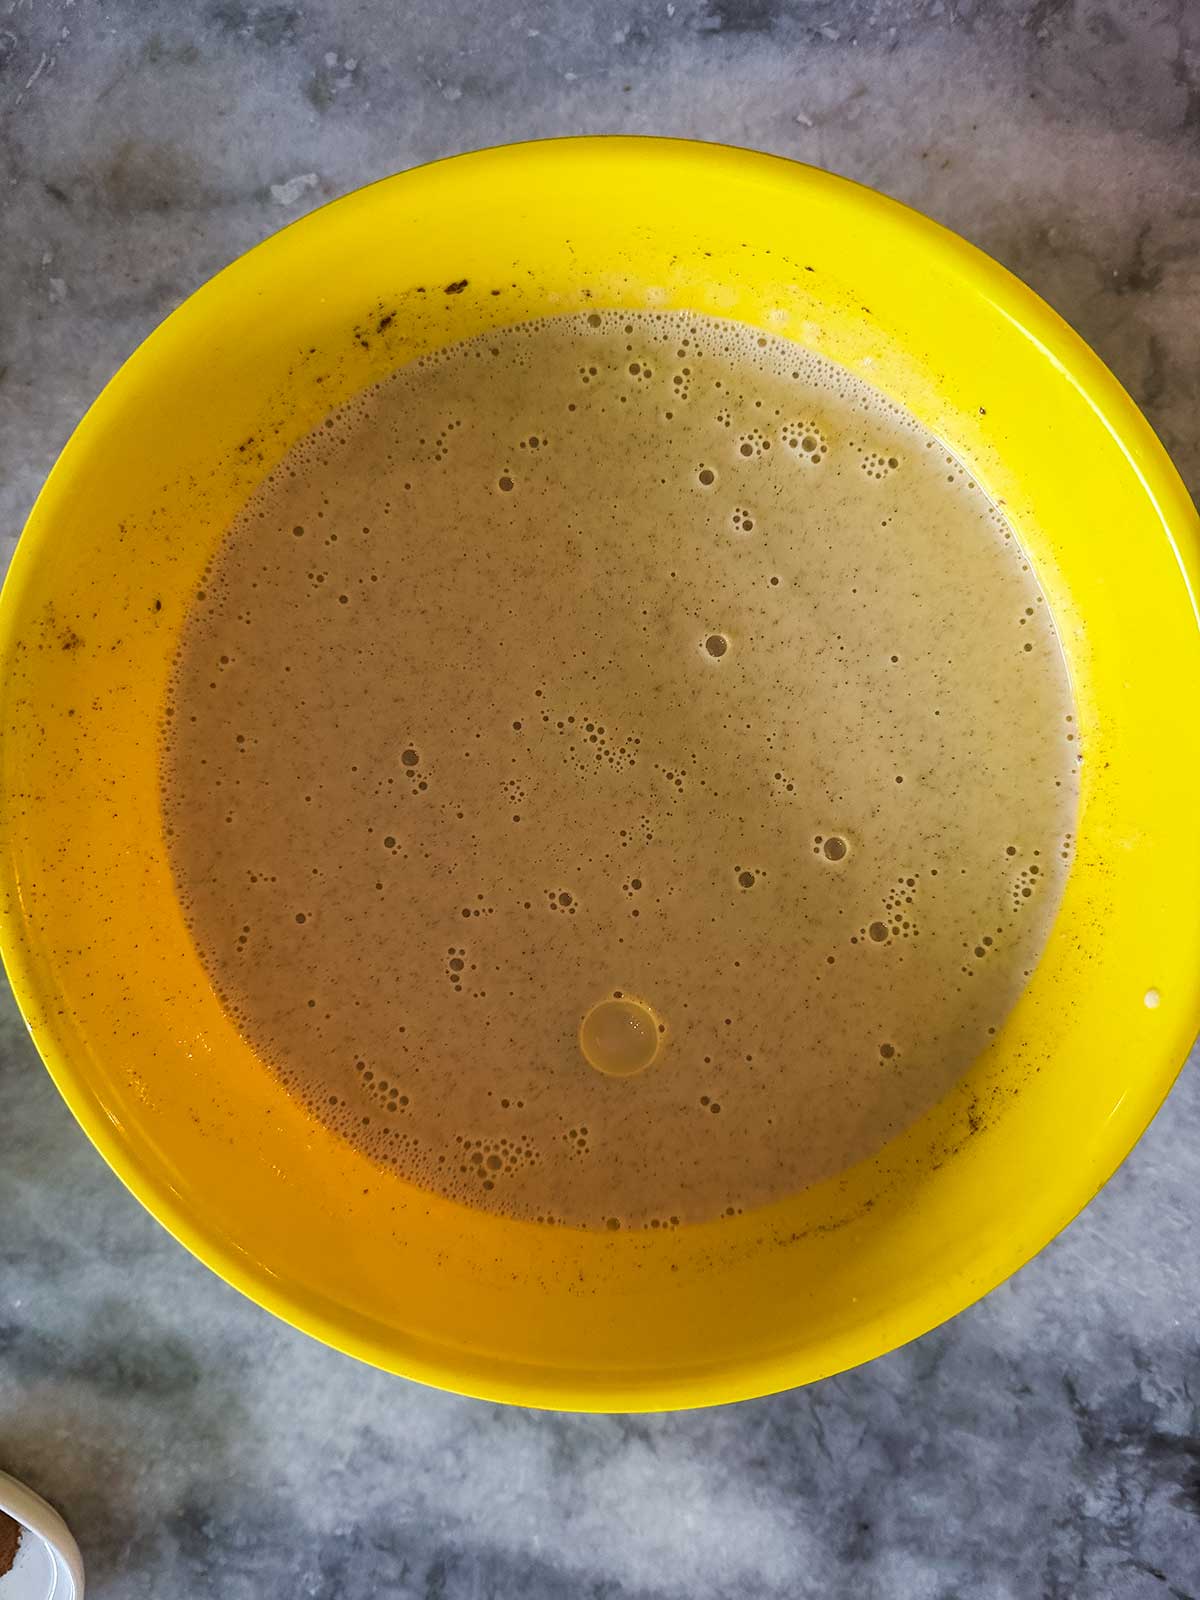
Yes, it is a process. But you need to get that warm base cold before you churn it because if it is warm, it will stay soupy and then turn icy. I recommend overnight, or at least eight hours.
The Apple Trick
If you've ever tried homemade apple ice cream with raw apples, you know it isn't a great experience. Raw apples freeze solid and eat like little ice cubes.
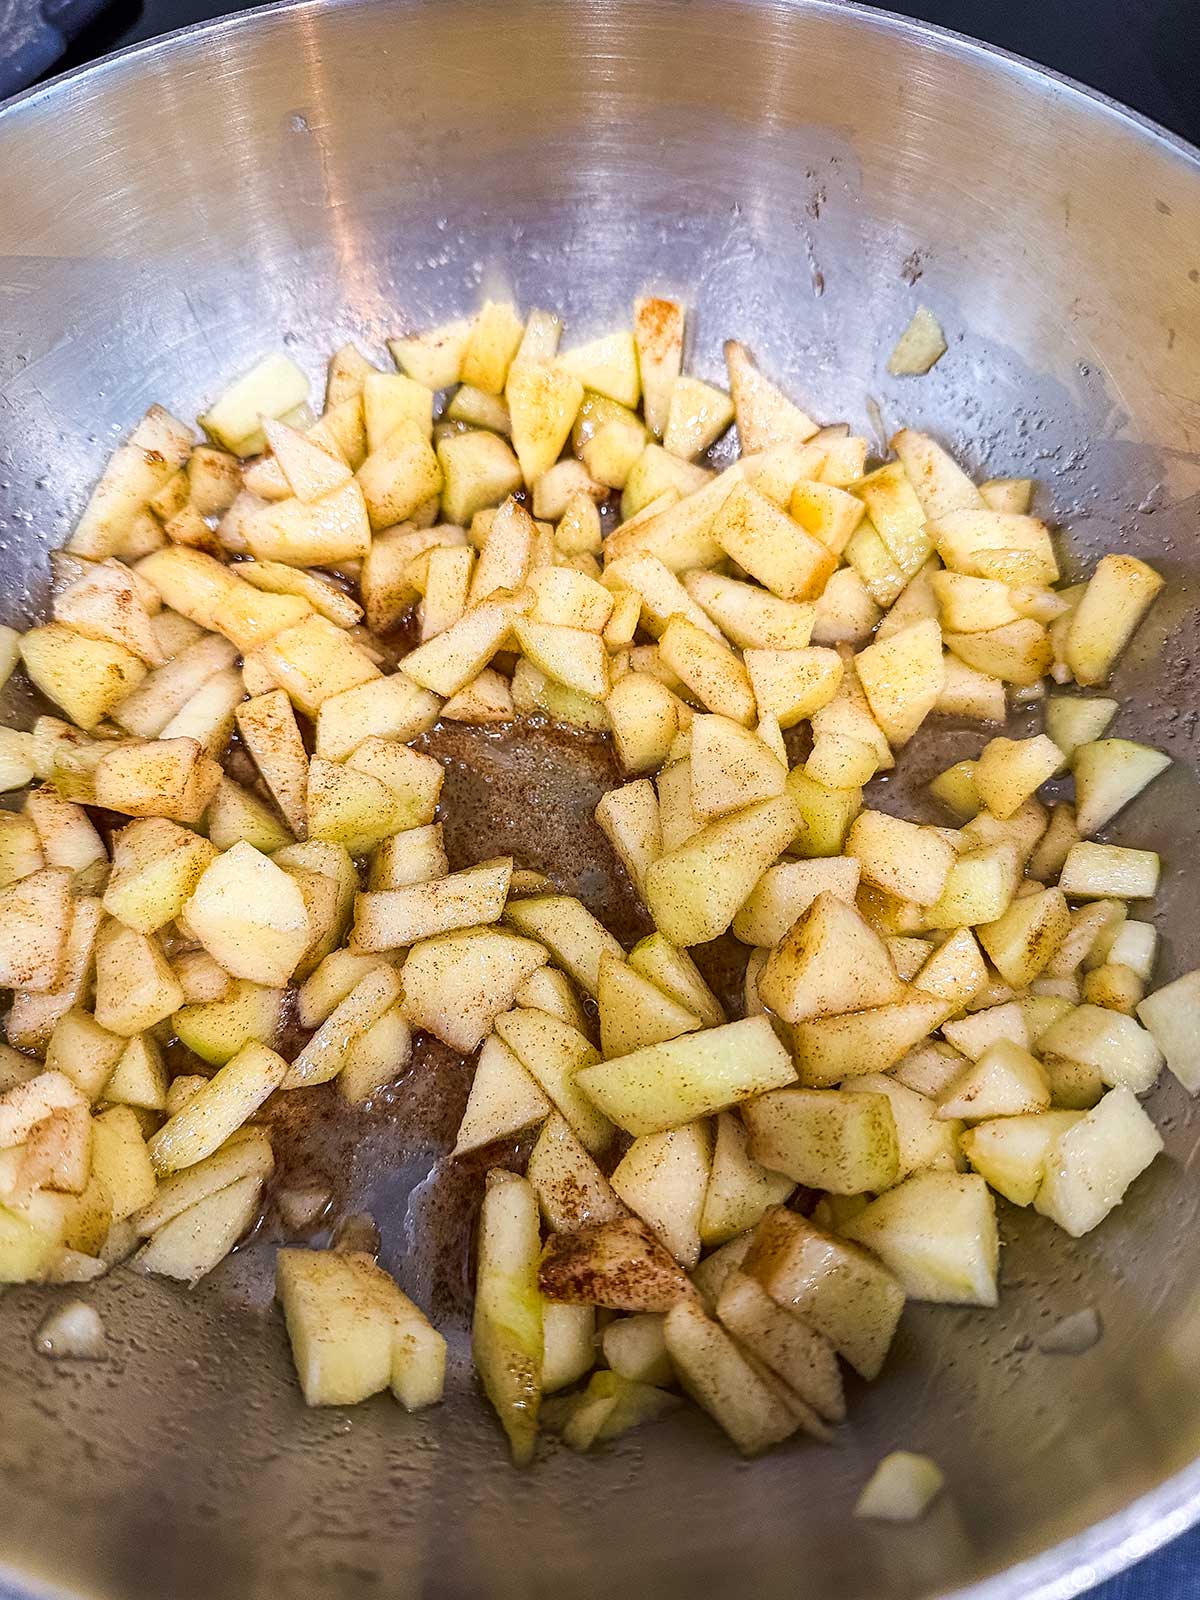
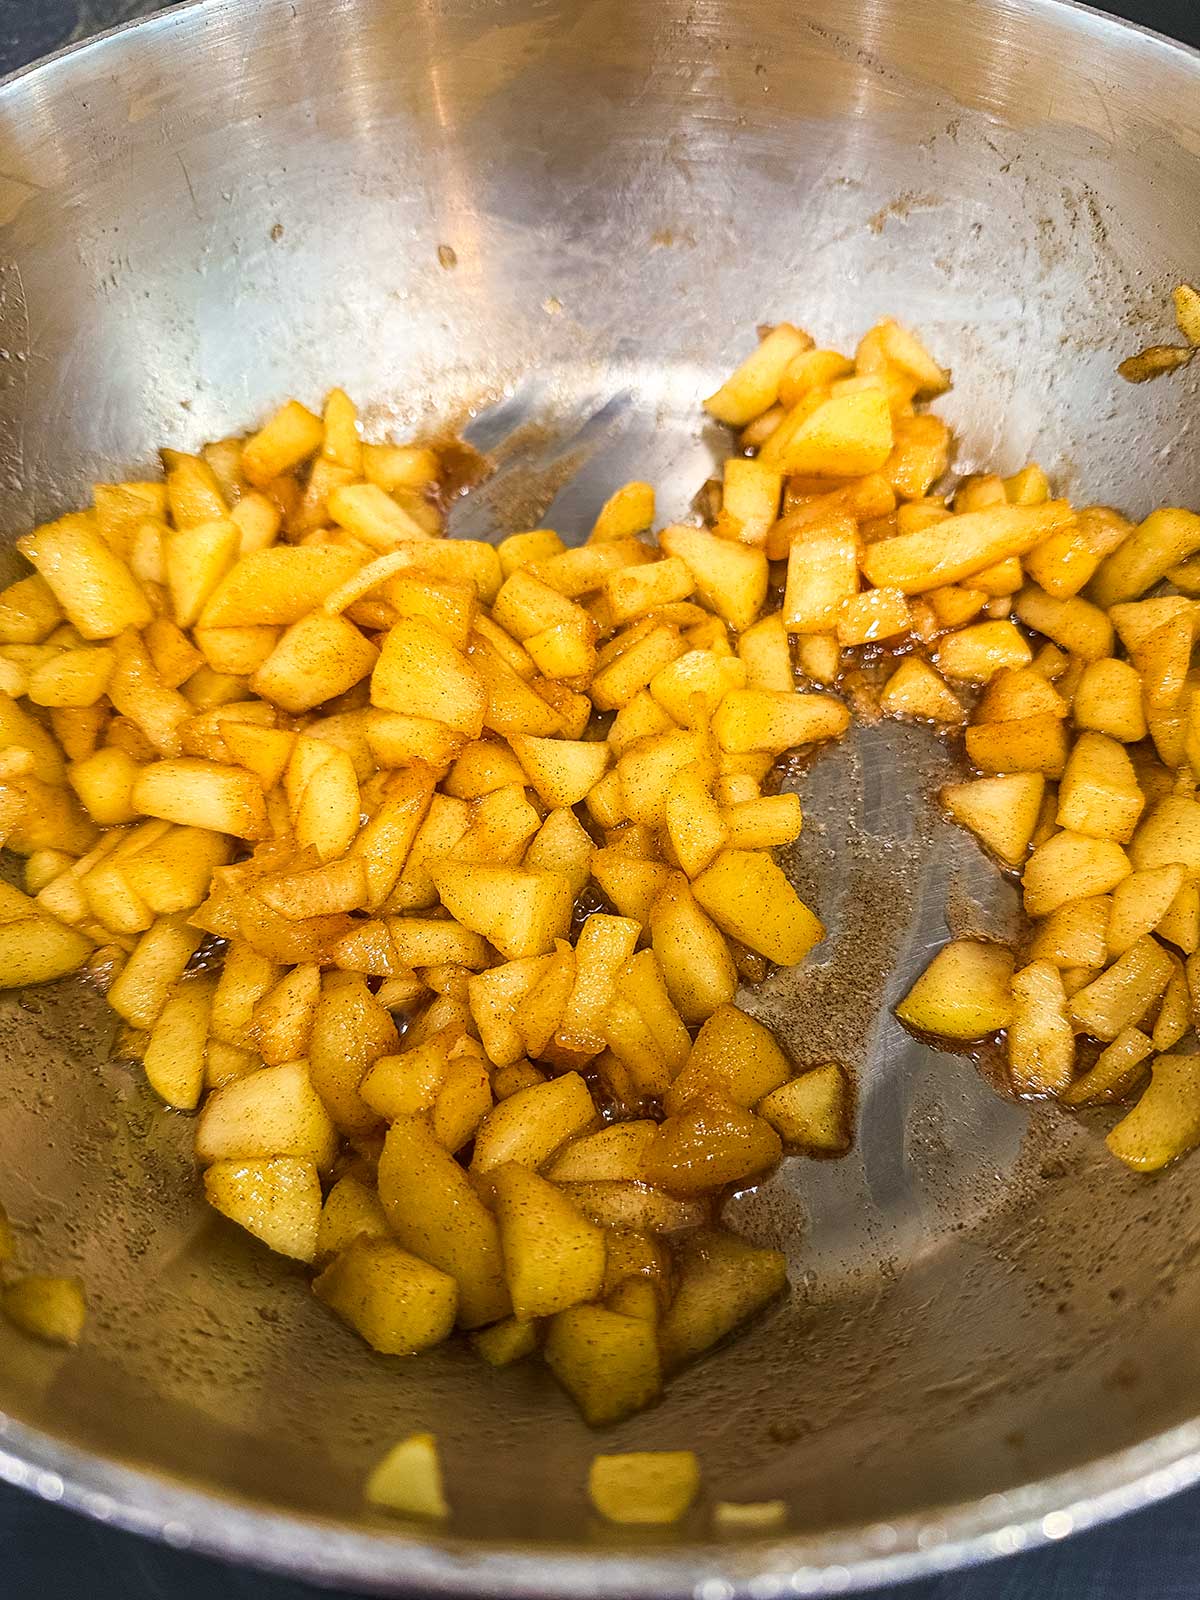
That is one reason we cook them first. The other is that coating them with butter, cinnamon, and sugar gives them those apple pie vibes we are after.
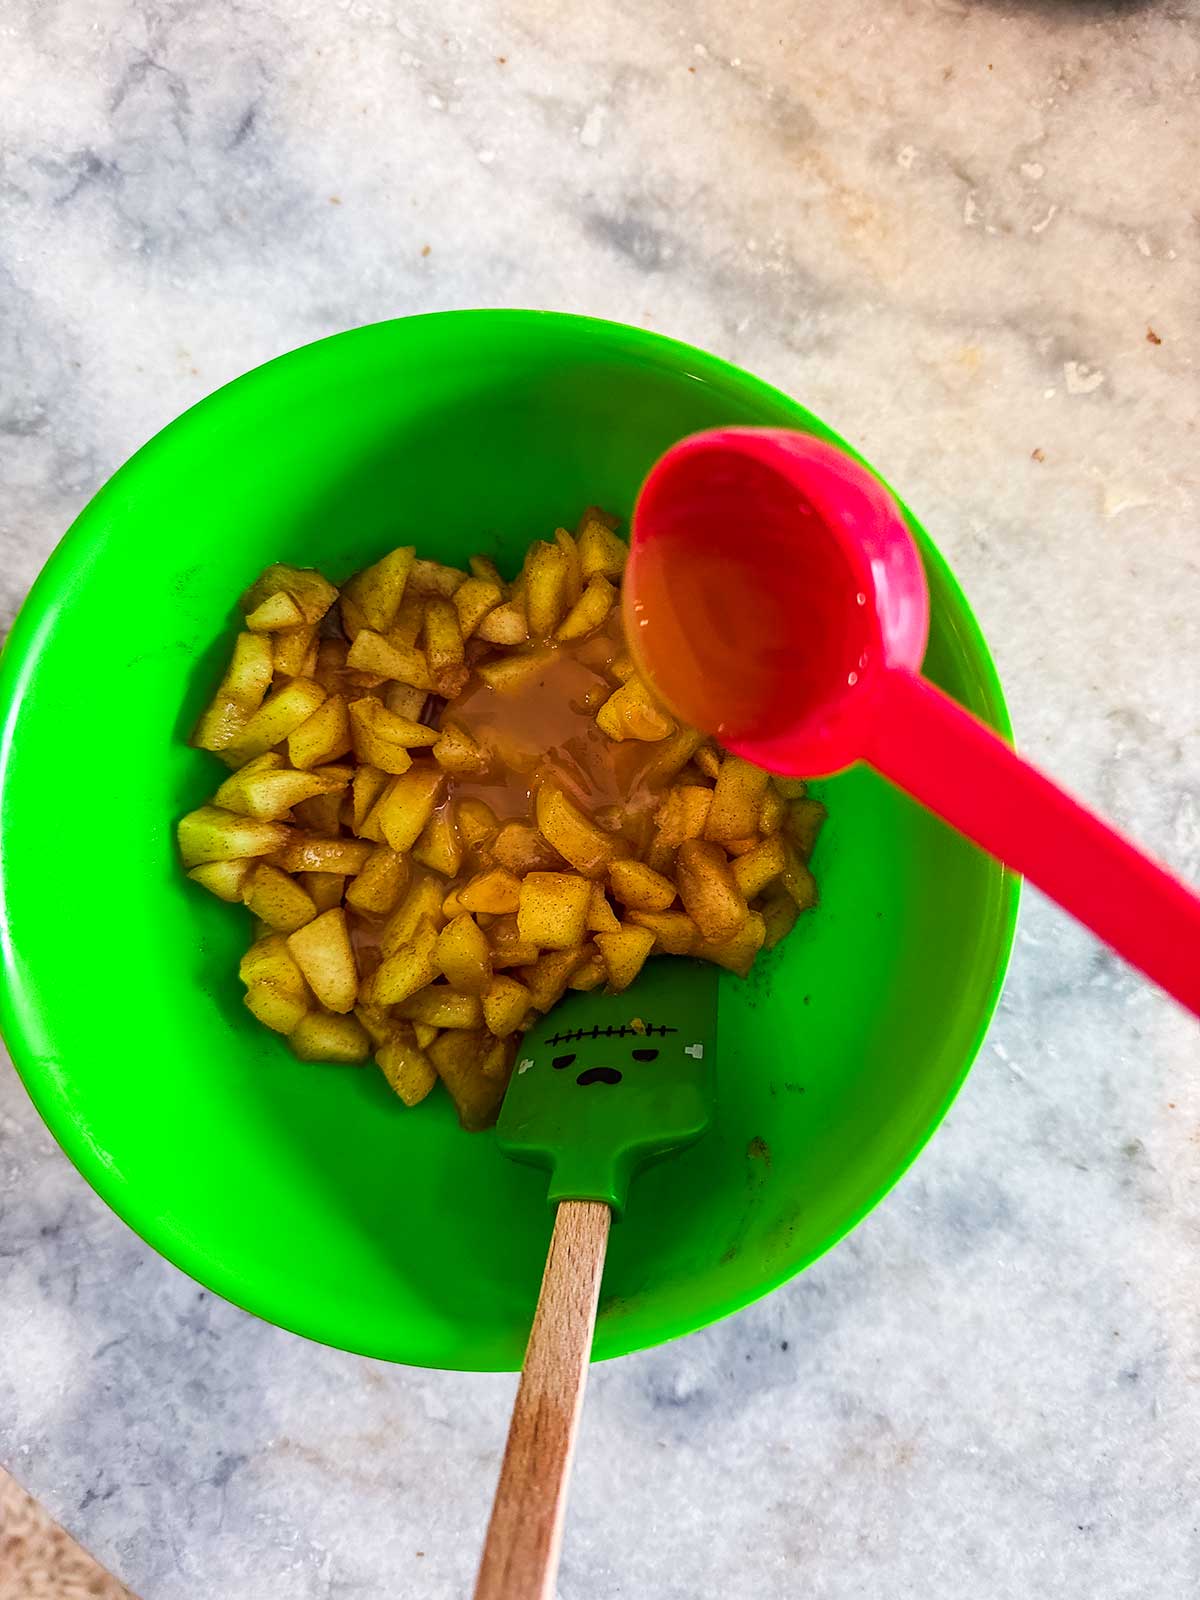
Do make sure you plan ahead and chill the apples before you add them to your cold base. Otherwise, your cinnamon apple ice cream will melt right before you are ready to enjoy it.
Soft Serve Now, Scoop it Later
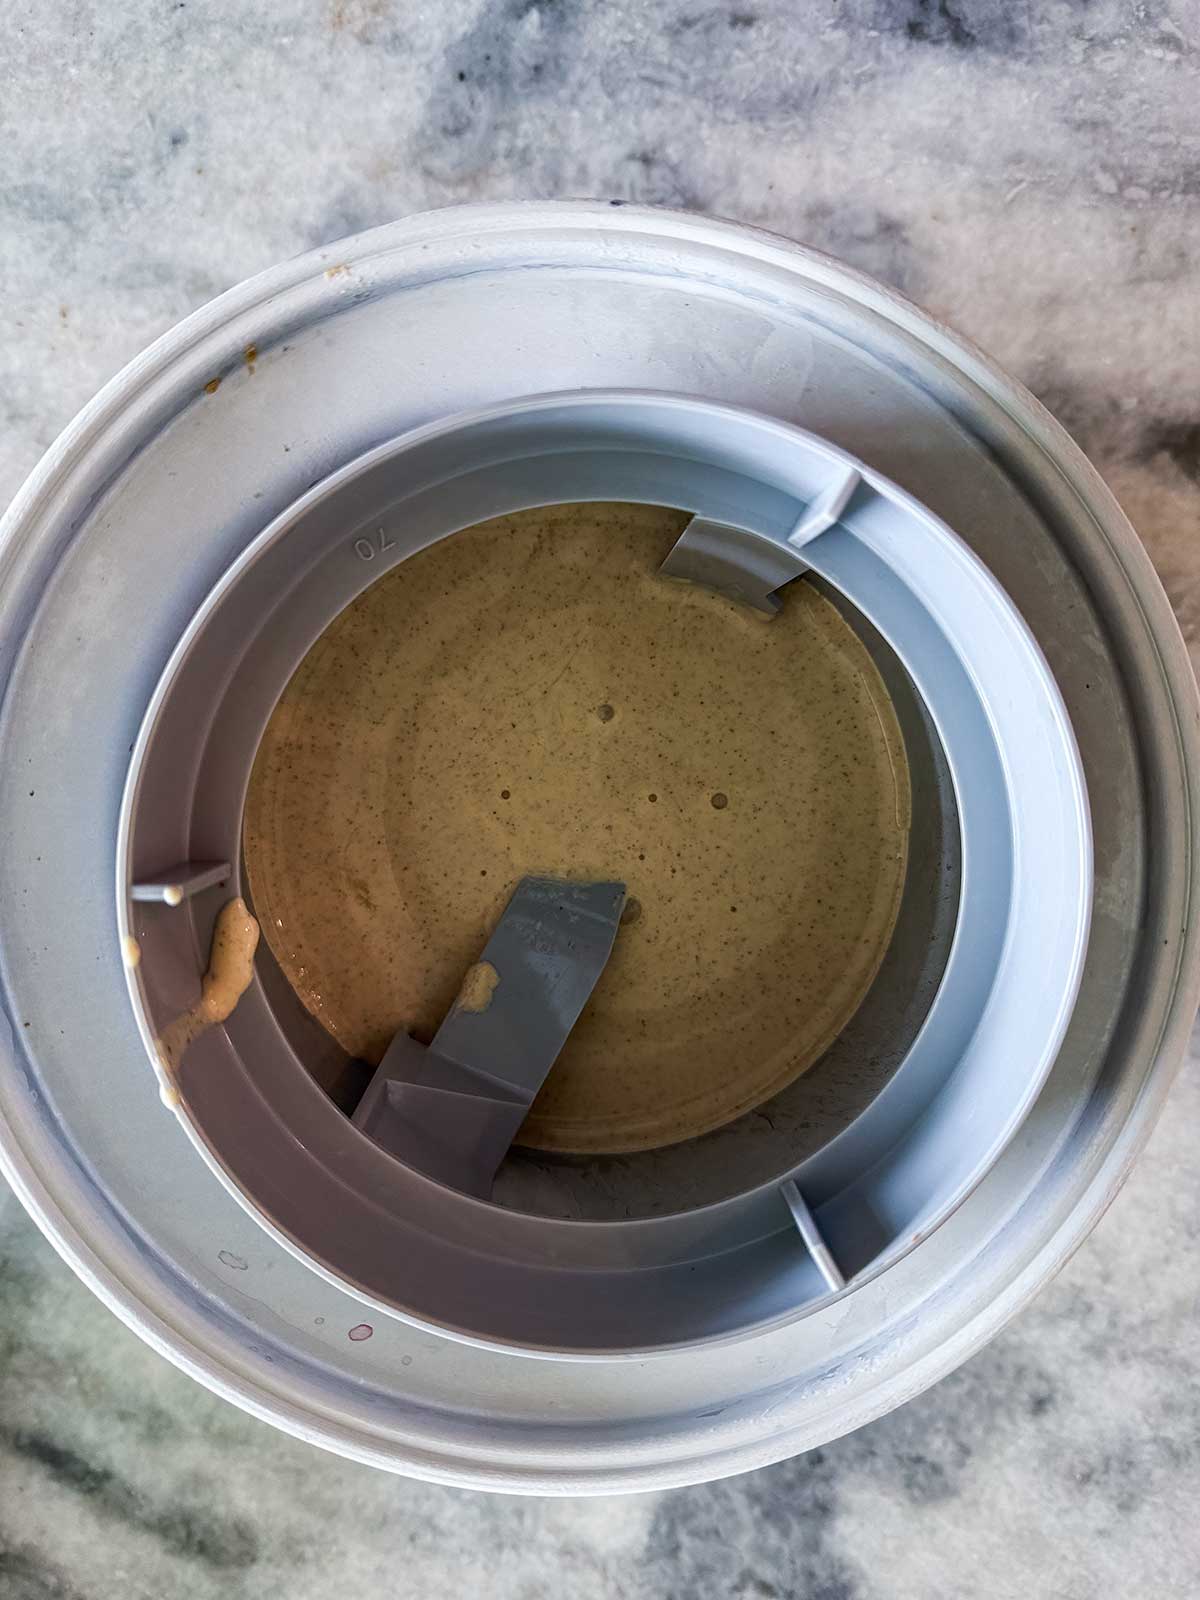
Right after you churn this, it will be more like soft serve, and even if you aren't a soft-serve fan, it will be hard to beat.
But if you want real scoops, pack it into an ice cream container (or any freezer-safe container with a lid) and freeze until firm. Once it is fully firm, I find I enjoy it most if I let it sit on the counter for about 10 minutes before scooping.
Make It Ahead
This is the perfect make-ahead holiday dessert. You can churn it days ahead, and the only thing left to do is scoop. Serve it on its own or over caramel apple cobbler, slow-cooker apple crisp, or pear apple crisp. And if you are building a dessert table, pumpkin ice cream, pistachio ice cram, and peppermint ice cream are fabulous additions.
Step by Step
Apple Pie Ice Cream
Ingredients
Ice Cream Base
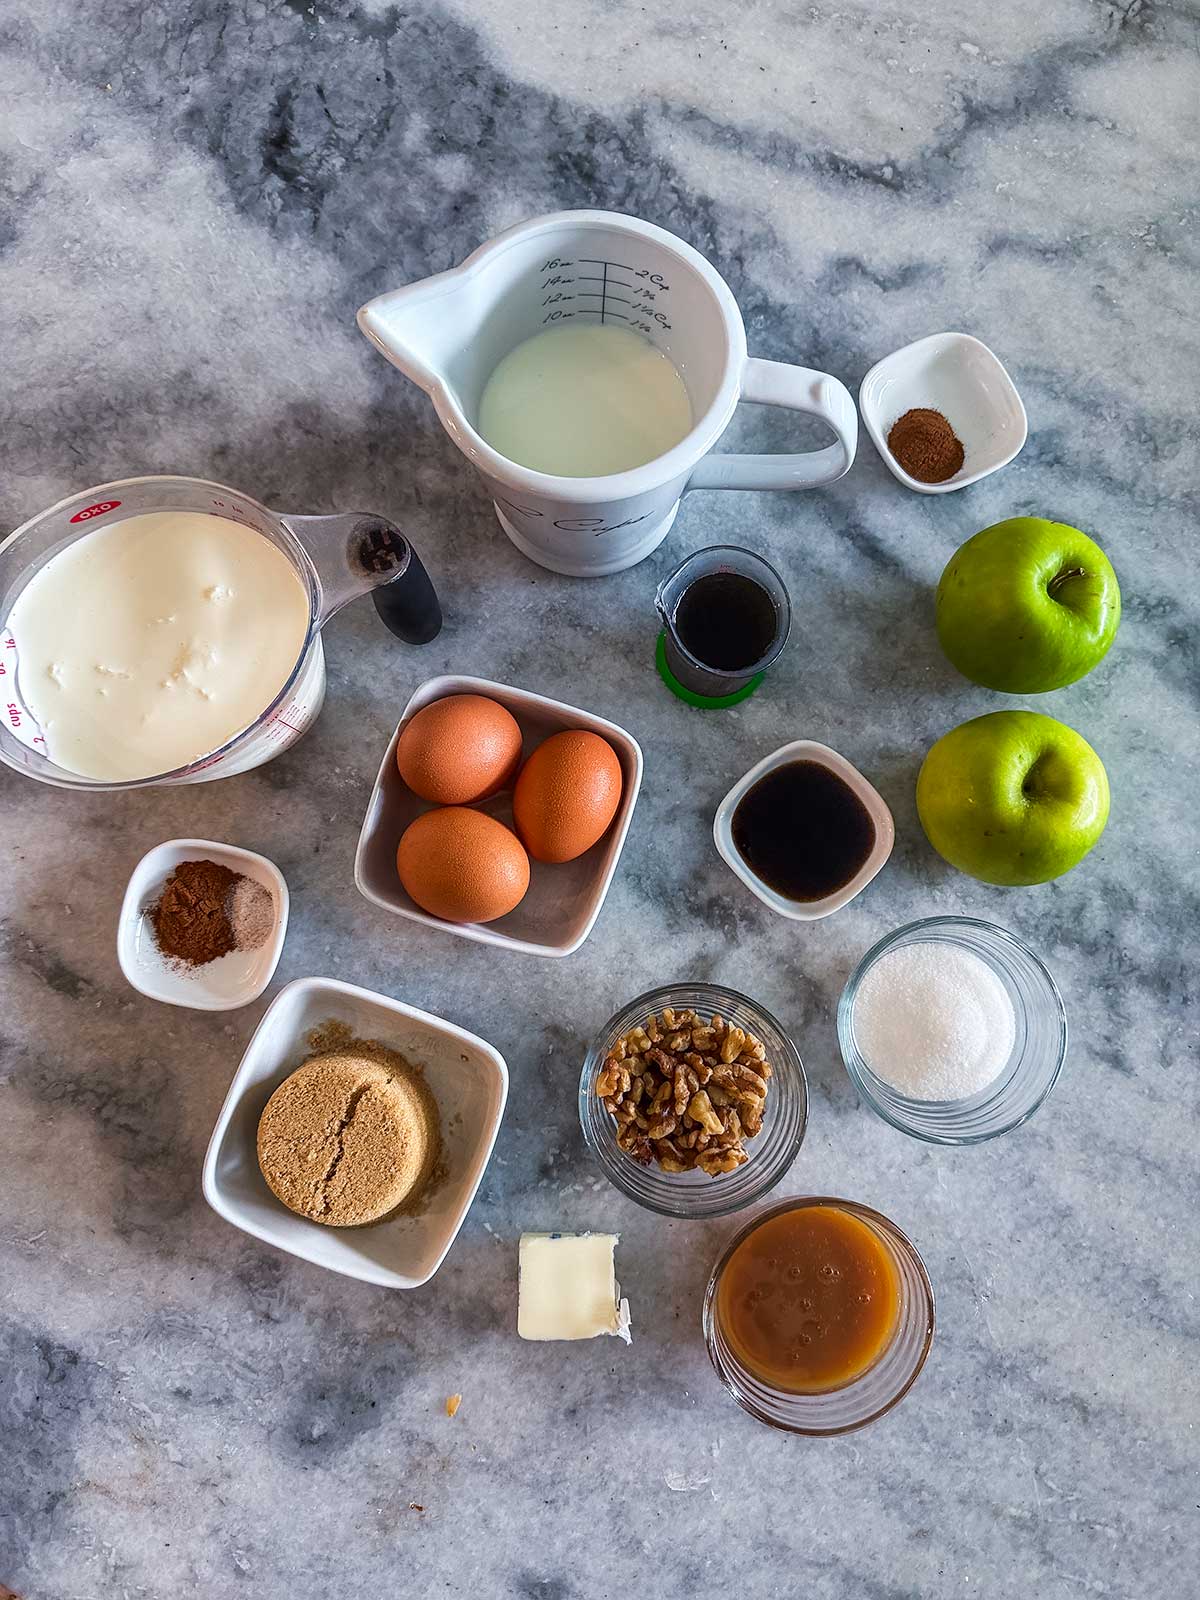
- 2 cups heavy cream
- 1 cup whole milk
- ½ cup packed brown sugar
- ¼ cup maple syrup
- 3 large eggs
- 1 tablespoon vanilla extract
- 1 teaspoon cinnamon
- ¼ teaspoon salt
Cinnamon Apples
- 2 tablespoons butter
- 2 apples peeled, cored, and cut into small ¼-inch dice
- 3 tablespoons sugar
- ½ teaspoon cinnamon
Add-Ins
- ¼ cup toasted walnuts chopped
- ⅓ cup caramel sauce divided
Instructions
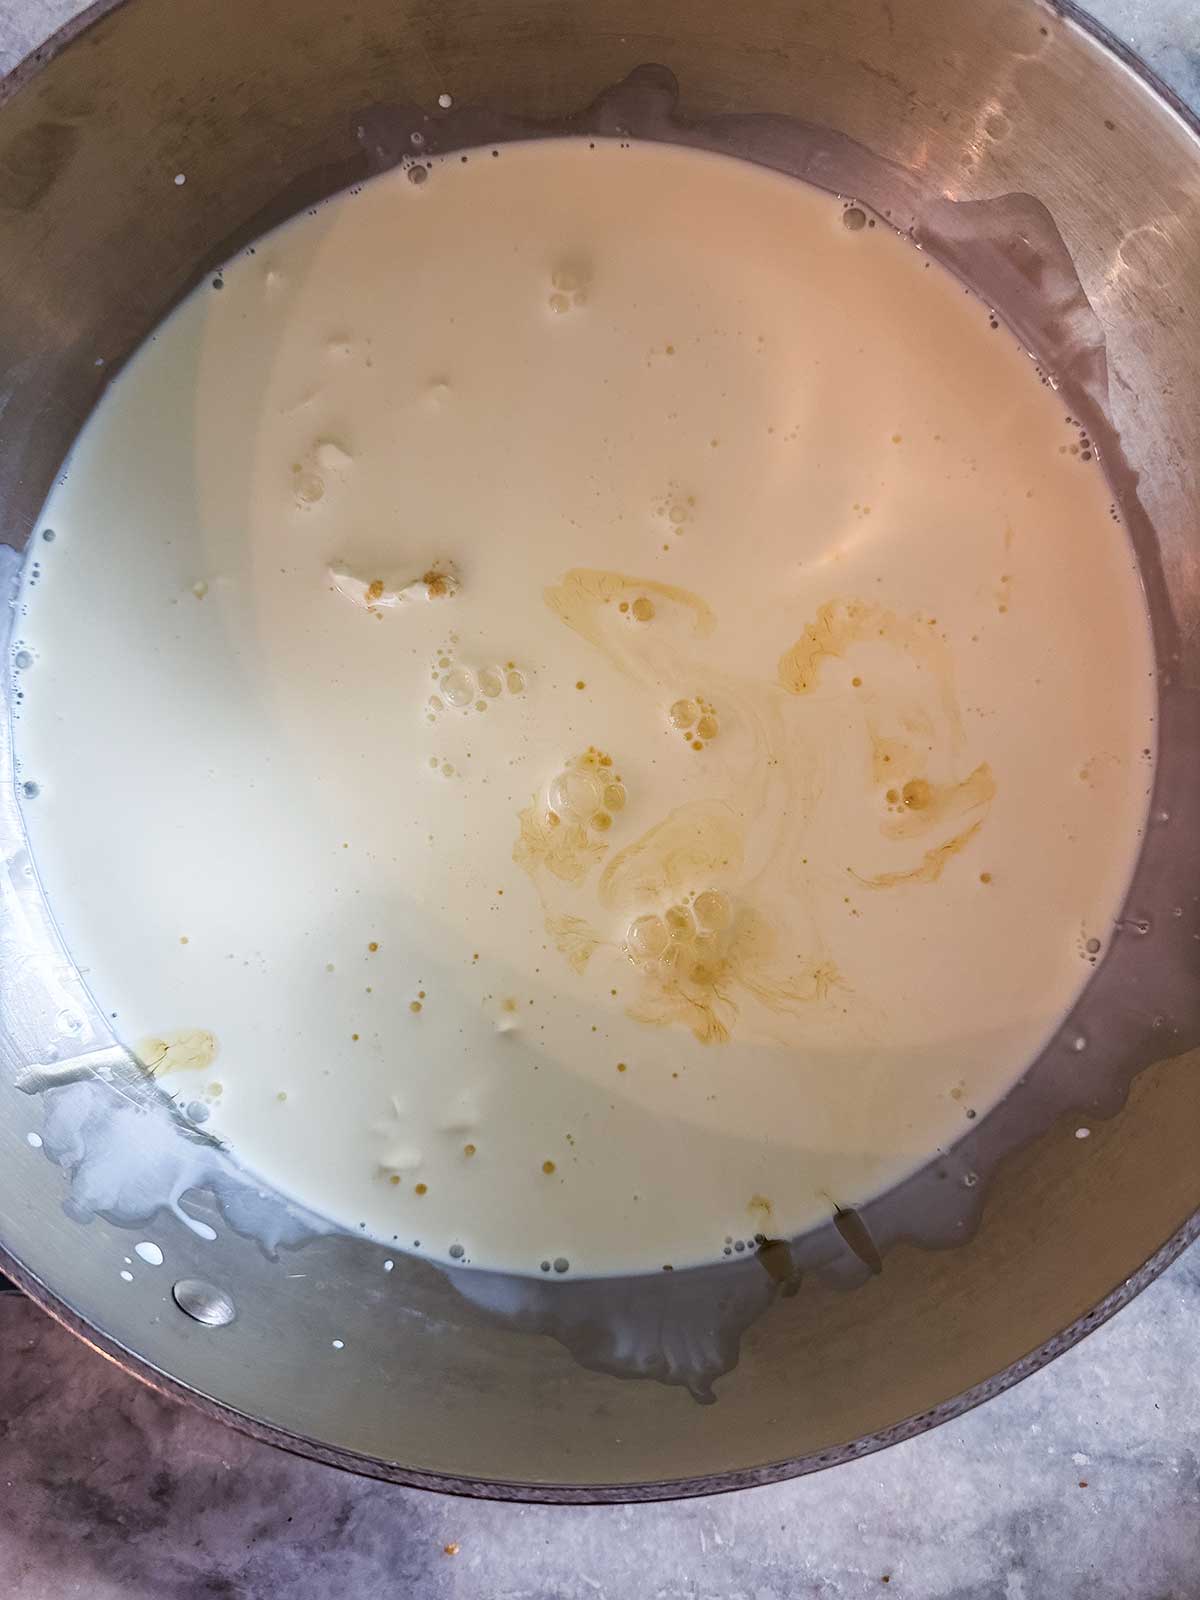
- Add the heavy cream, whole milk, brown sugar, and maple syrup to a large saucepan over medium heat. Cook, stirring frequently, until the sugar is dissolved, about 5 minutes.
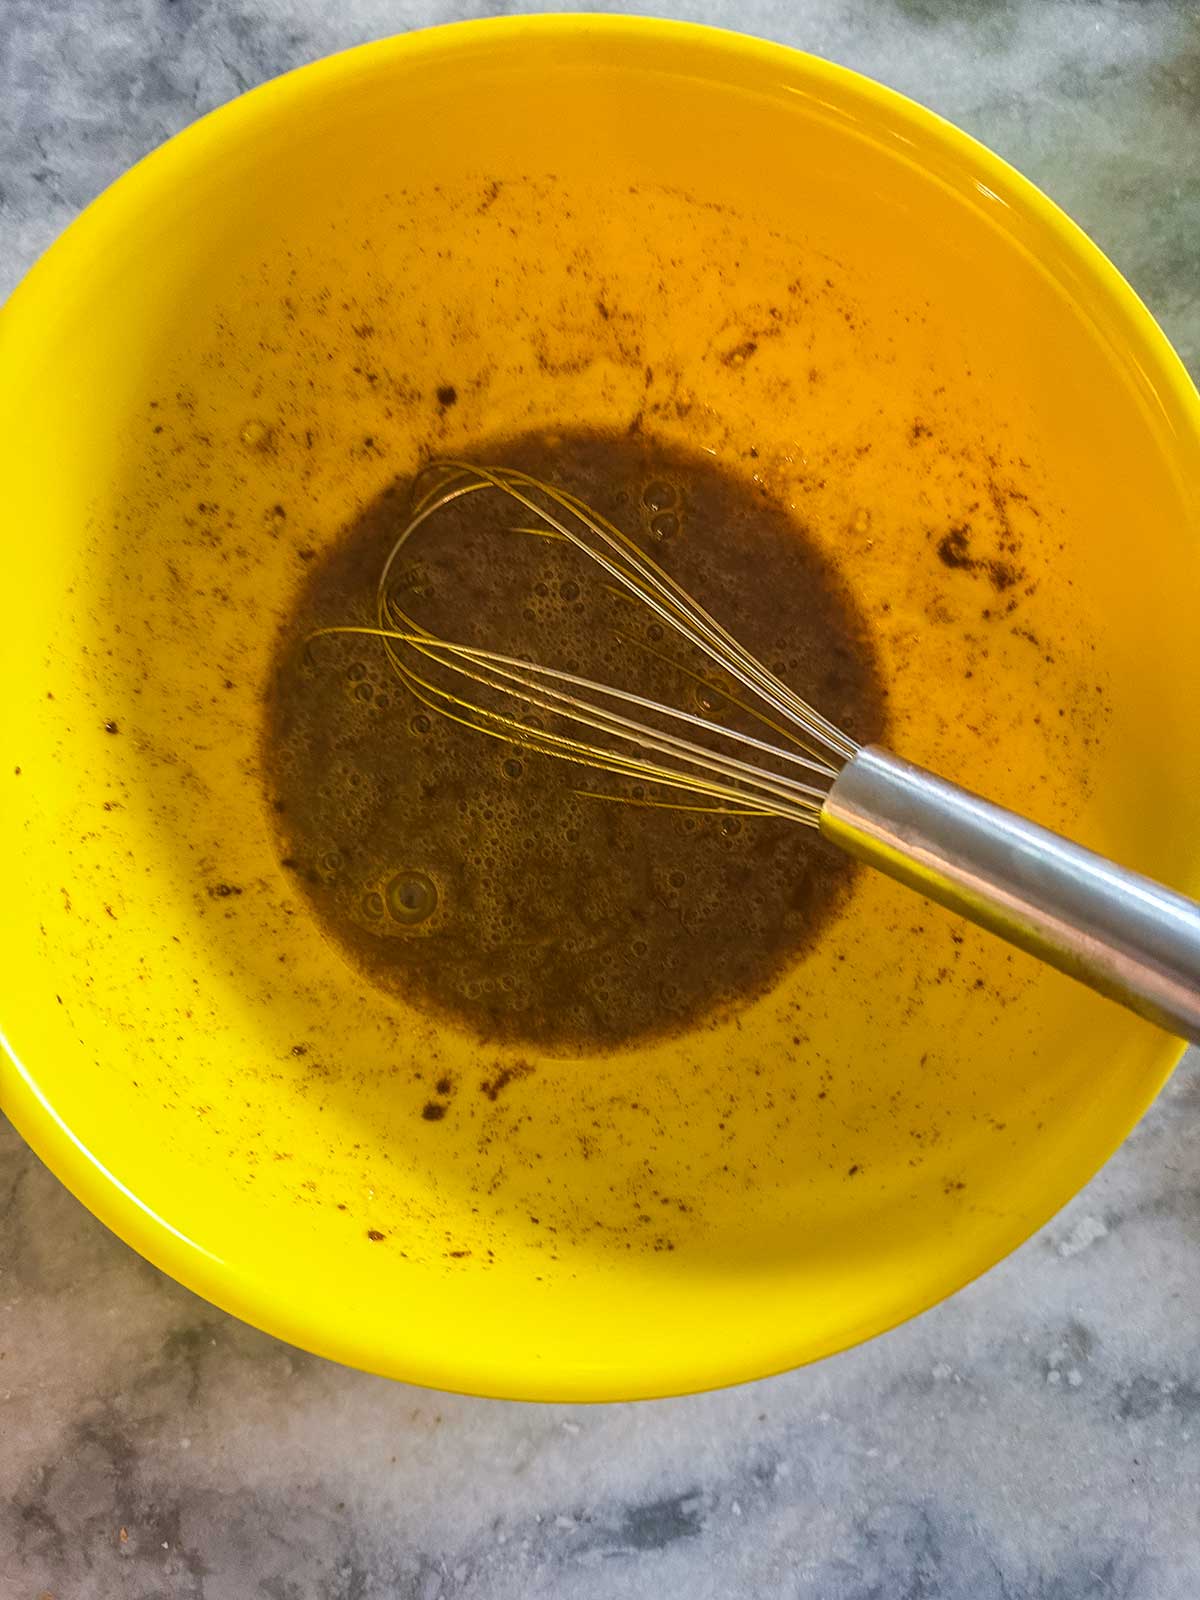
- In a bowl, whisk together the eggs, vanilla, cinnamon, and salt.
- Slowly whisk in about ¾ cup of the hot cream mixture into the egg mixture. Make sure to keep whisking as you temper the eggs.
- Pour the egg mixture into the saucepan with the cream. Cook, stirring constantly, until the custard reaches 170 to 175°F, about 5 to 7 minutes. Do not let it boil.
- Strain through a fine mesh strainer into a bowl. Cover and refrigerate overnight.
- Melt the butter in a skillet over medium heat. Add the apples, sugar, and cinnamon. Cook for 8 to 10 minutes, until the apples are tender. Transfer to a storage container and cool for 10 minutes. Toss with 1 tablespoon of the caramel and chill until cold.
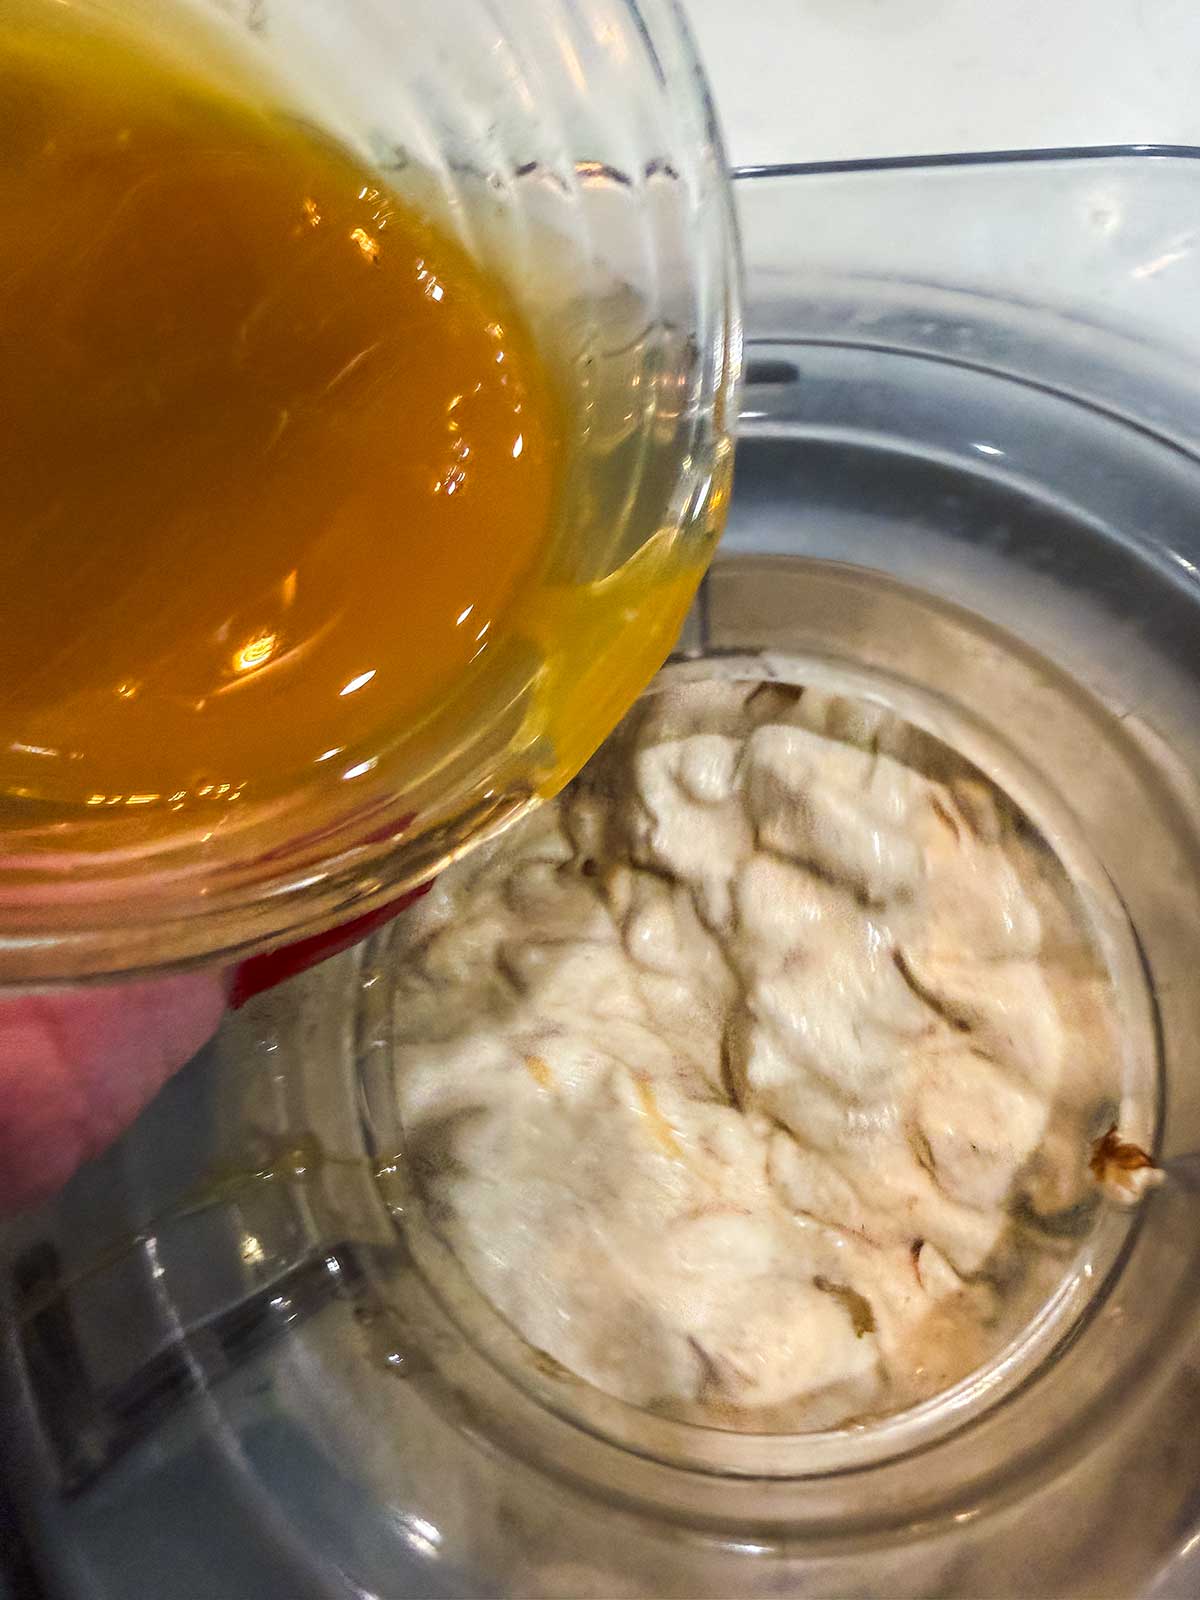
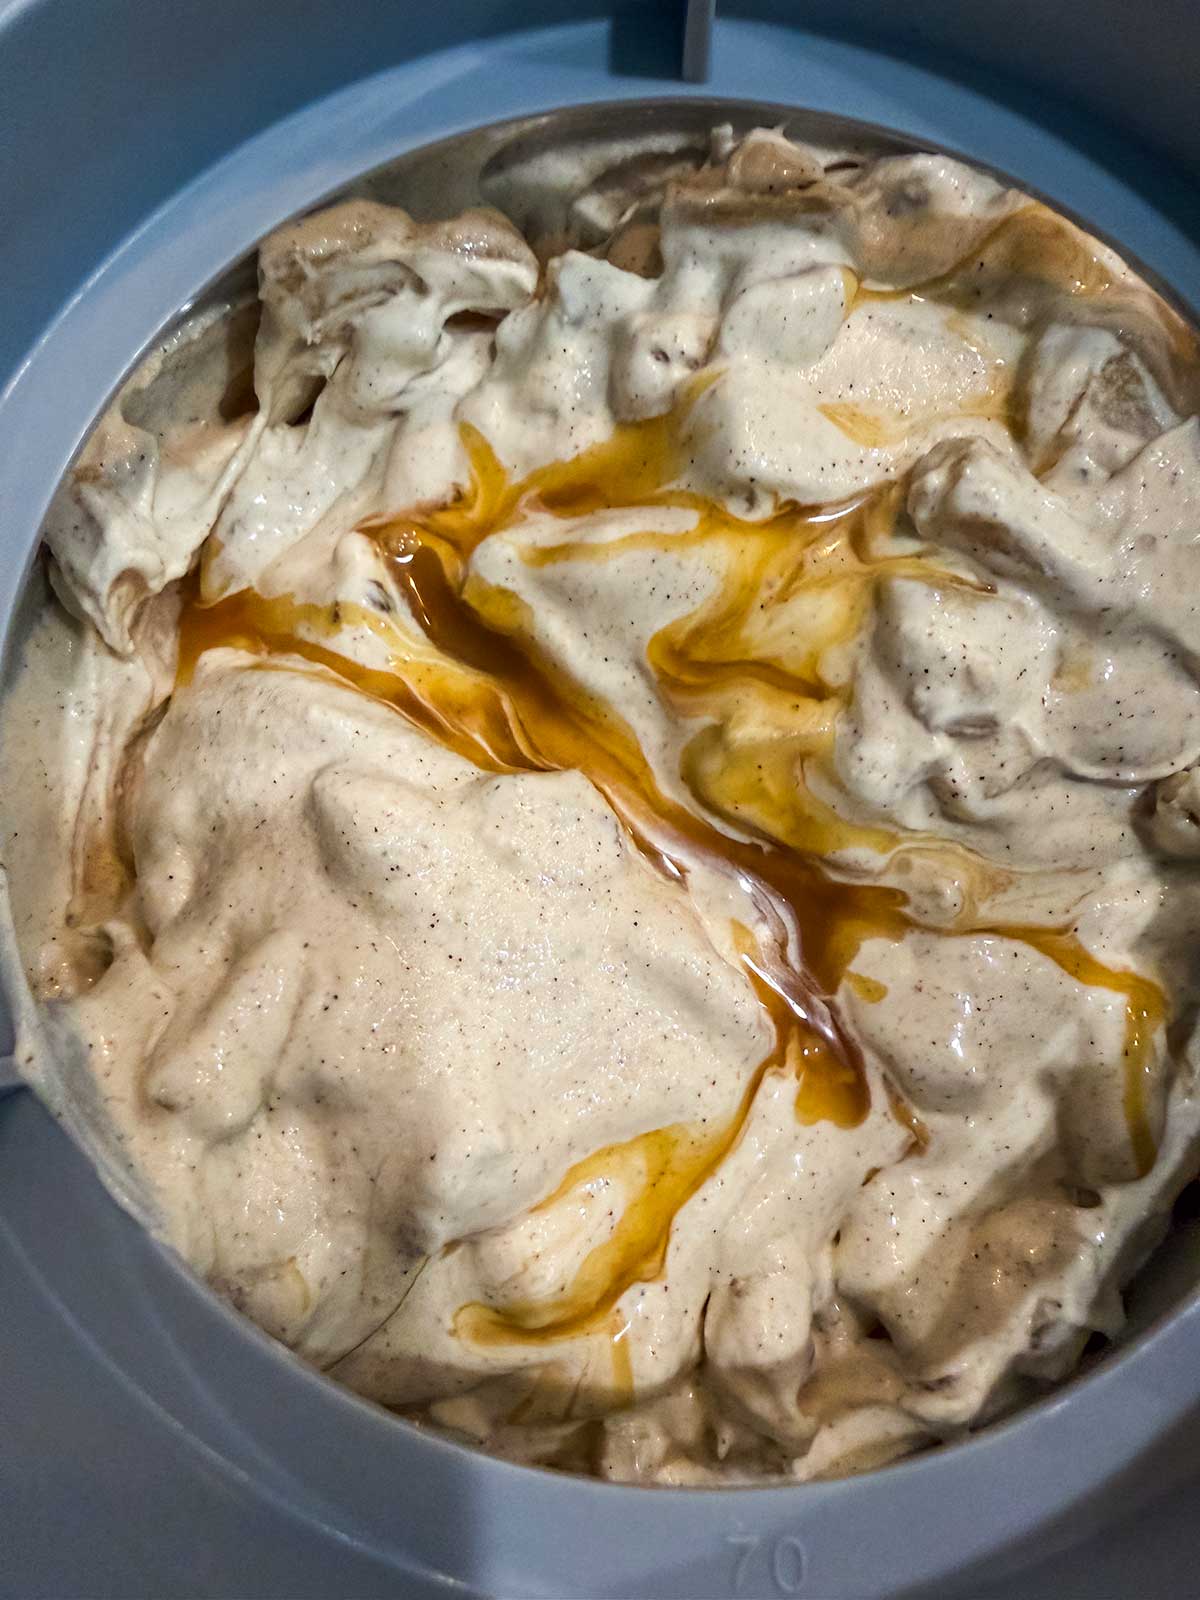
- Churn the base according to the manufacturer’s instructions. In the last 5 minutes, add the apples and walnuts. In the last 1 to 2 minutes, drizzle the caramel in slowly.
- Serve as soft serve now, or freeze until firm. If frozen solid, let the container sit on the counter for 10 to 15 minutes before scooping.

Leave a Comment & Rate this Recipe