
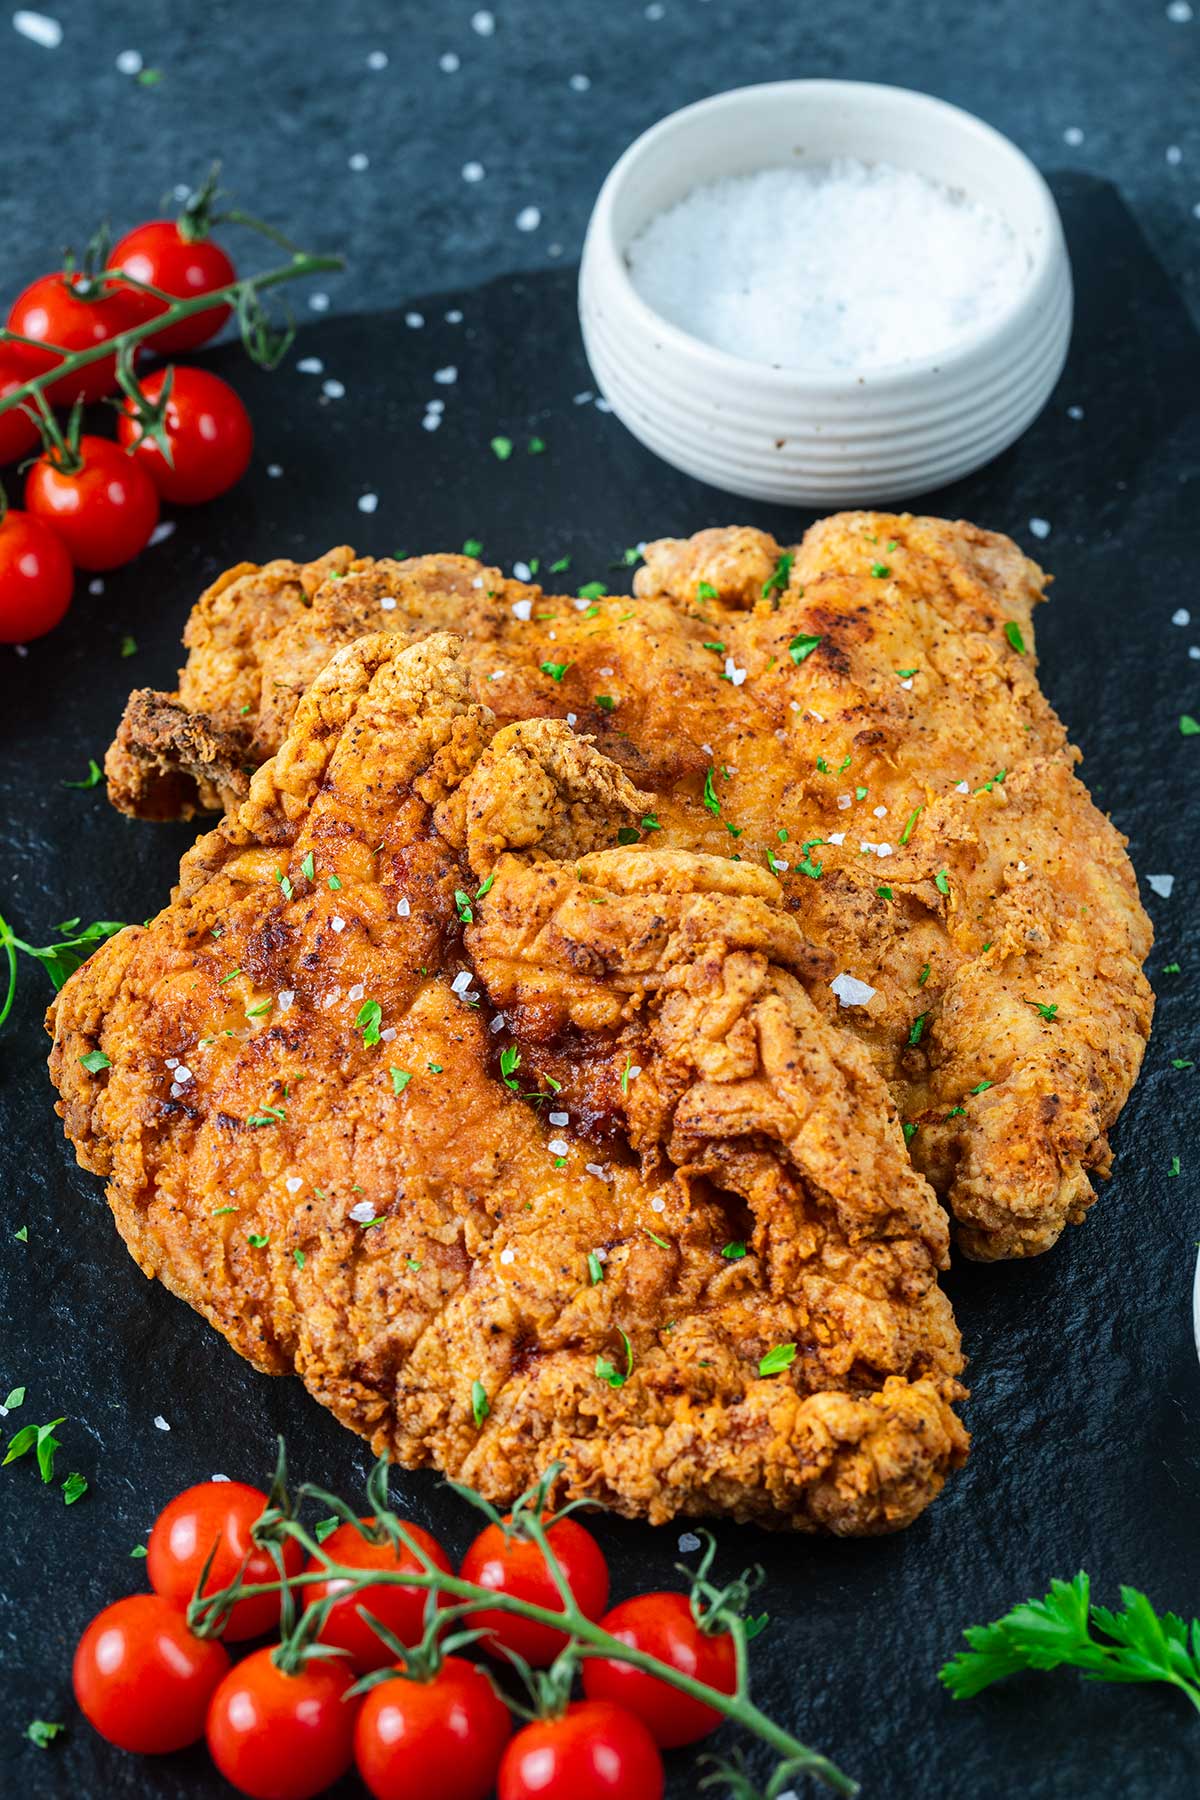
If you want fried chicken fast, this easy Fried Chicken Breast is for you. You get all of the crunch without a marinade, or a deep fryer. It is crispy on the outside, juicy in the inside. Dinner is done in about 30 minutes.
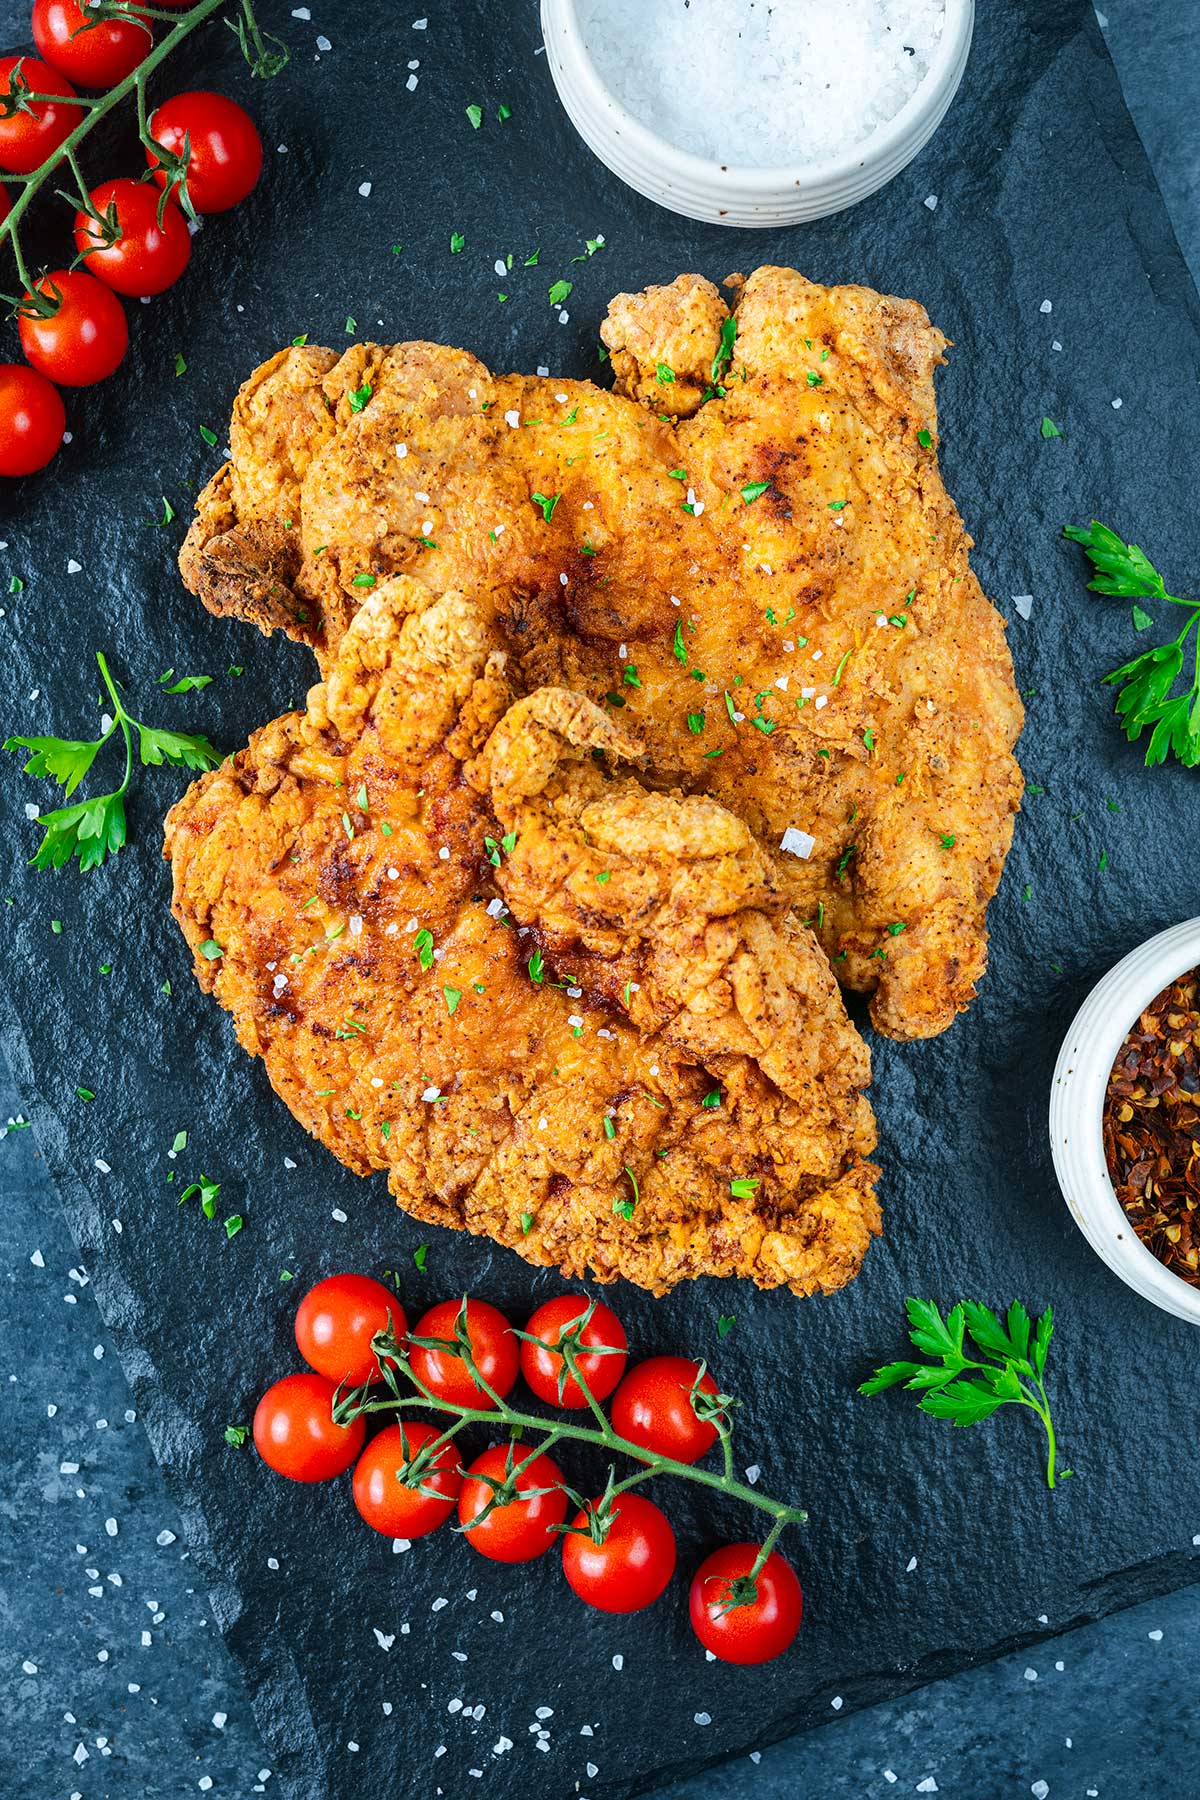
If you are looking for an easy way to make fried chicken weeknight-friendly, you’ve found it.
These boneless fried chicken breasts turn crispy on the stovetop for a quick family dinner.
You can shallow-fry in a pan, or go deeper in a Dutch oven or wok. Either way, your family will be enjoying crispy fried chicken in about 30 minutes.
Two things decide whether this works, and I'll help you with both. The first is pounding the breast to an even thickness, so it cooks evenly instead of burning on the outside while the middle stays raw. The second is pulling it at the right temperature and letting it rest, so it lands juicy instead of chalky. Get those two right and the rest is just a good crust.
This is the quick version. Egg dip, no buttermilk soak, no planning ahead. If you have time to marinate and want the tang, my Buttermilk Pan Fried Chicken Breast is the plan-ahead cousin. And if you want crispy chicken with no skillet at all, my baked tortilla-crusted chicken has you covered. This one is for when you want real fried crunch, tonight.
Pound it even, and why it matters
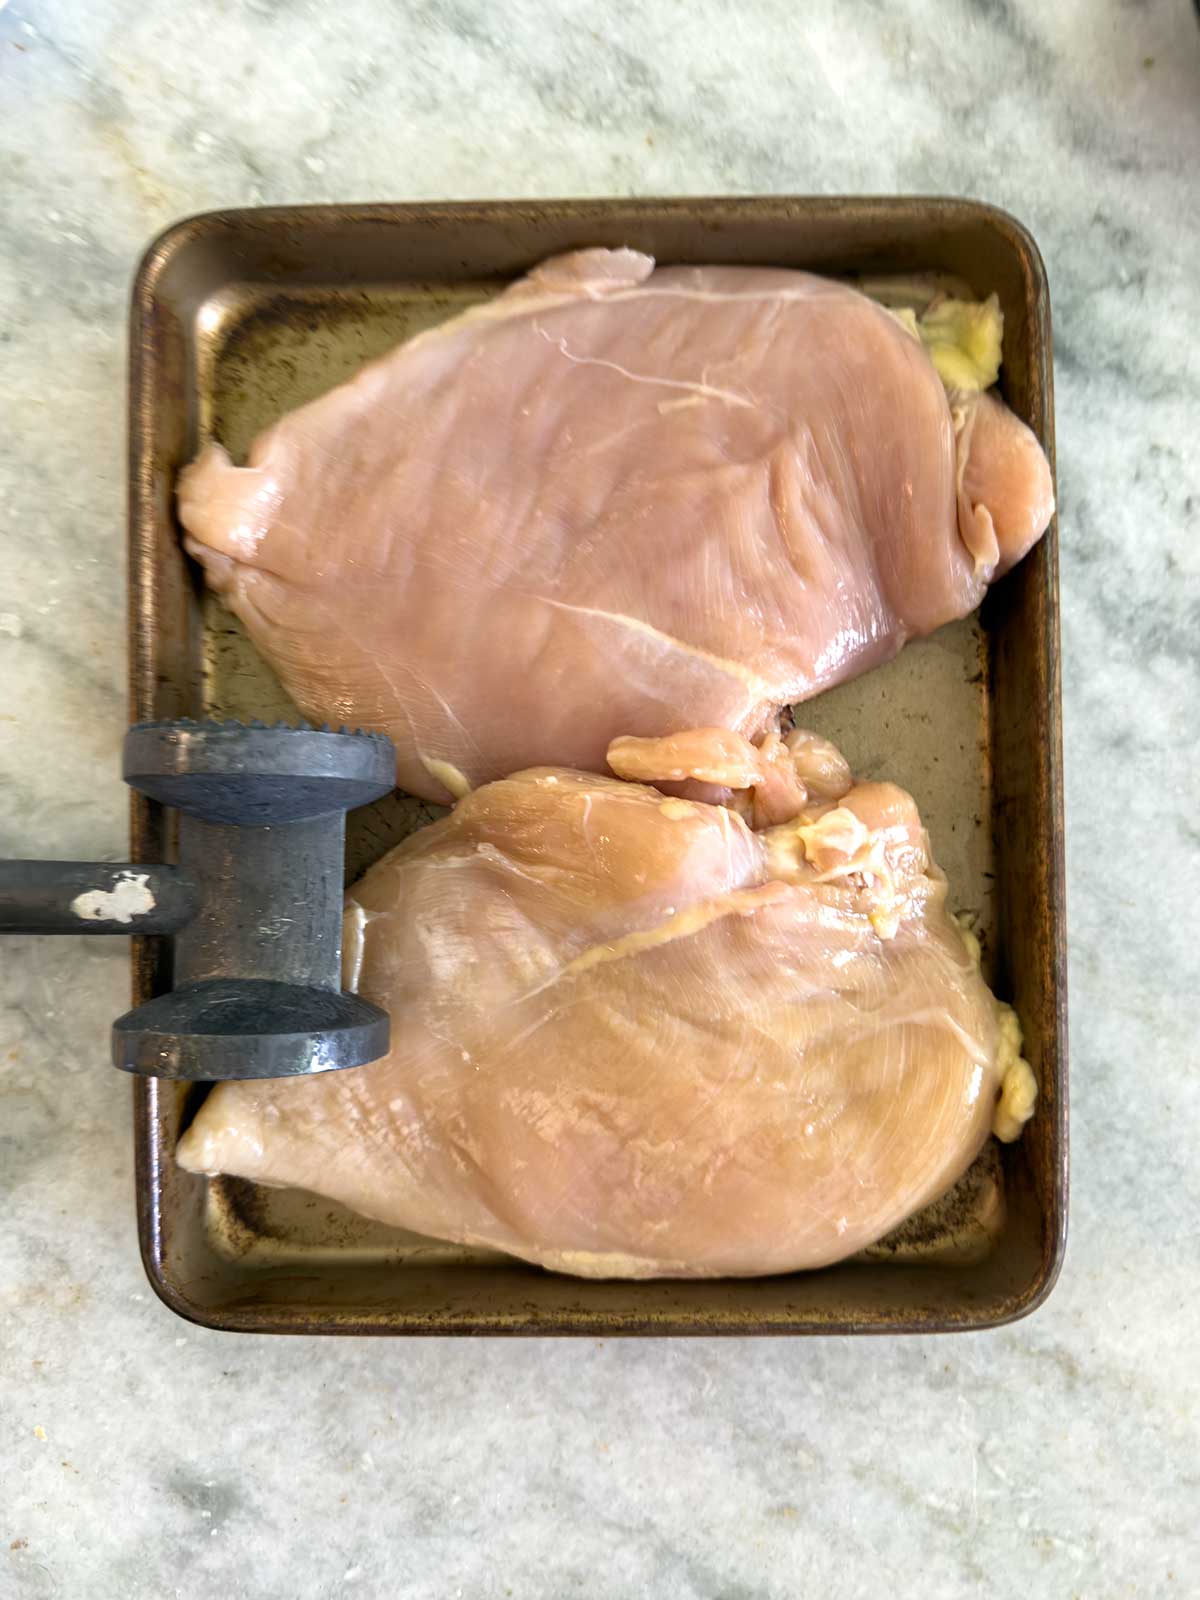
Chicken breasts are fat on one end and thin on the other. Drop one in a pan as-is and the thin end overcooks before the thick end is safe to eat. That is the single most common reason fried chicken breast comes out dry.
The fix is two minutes of work. Put the breast between two sheets of plastic wrap and pound it with a flat meat mallet or the bottom of a heavy pan until it is an even half-inch thick all over. Now every part cooks at the same rate. If a breast is very thick, you can also slice it in half horizontally into two thin cutlets instead of pounding. Either way, even thickness is the goal.
Pull at 155°F then rest
Chicken is safe at 165°F. But if you cook it to 165°F in the pan, it climbs past that as it rests and turns dry.
So you pull it at 150 (for the early batches) to 155°F (your last batch) and let carryover heat finish the job off the heat. The temperature keeps rising while it rests. Use an instant-read thermometer. It only takes a minute and is way better than serving chicken that is raw in the center.
Rest the cooked chicken on a wire rack, putting your first batch in the oven at a low temp.
Use a rack
Obviously, since we are putting the chicken in the oven, you don't want to set it on paper towels. But you do want to set it on a rack.
Setting it on paper towels or directly on a sheet pan will trap steam and cause the crust to go soggy. The wire rack keeps it crisp all the way around.
Five minutes on a rack also doubles as the rest. Two birds.
The crust: flour plus cornstarch
A mix of all-purpose flour and cornstarch, about two parts flour to one part cornstarch, is the secret to a crust that shatters instead of softens. Flour browns and gives structure. Cornstarch fries up extra crisp and light. It is the perfect combination for fried chicken breast.
If you want an extra craggy crust, that is easy to get. Just drizzle a couple of tablespoons of the egg mixture into the flour and work it with your fingers (I like gloves here) until you have little clumps. The clumps will fry into crunchy bits.
Dredge, press, and rest before frying
The crust falls off when it never got a chance to stick. Three steps stop that.
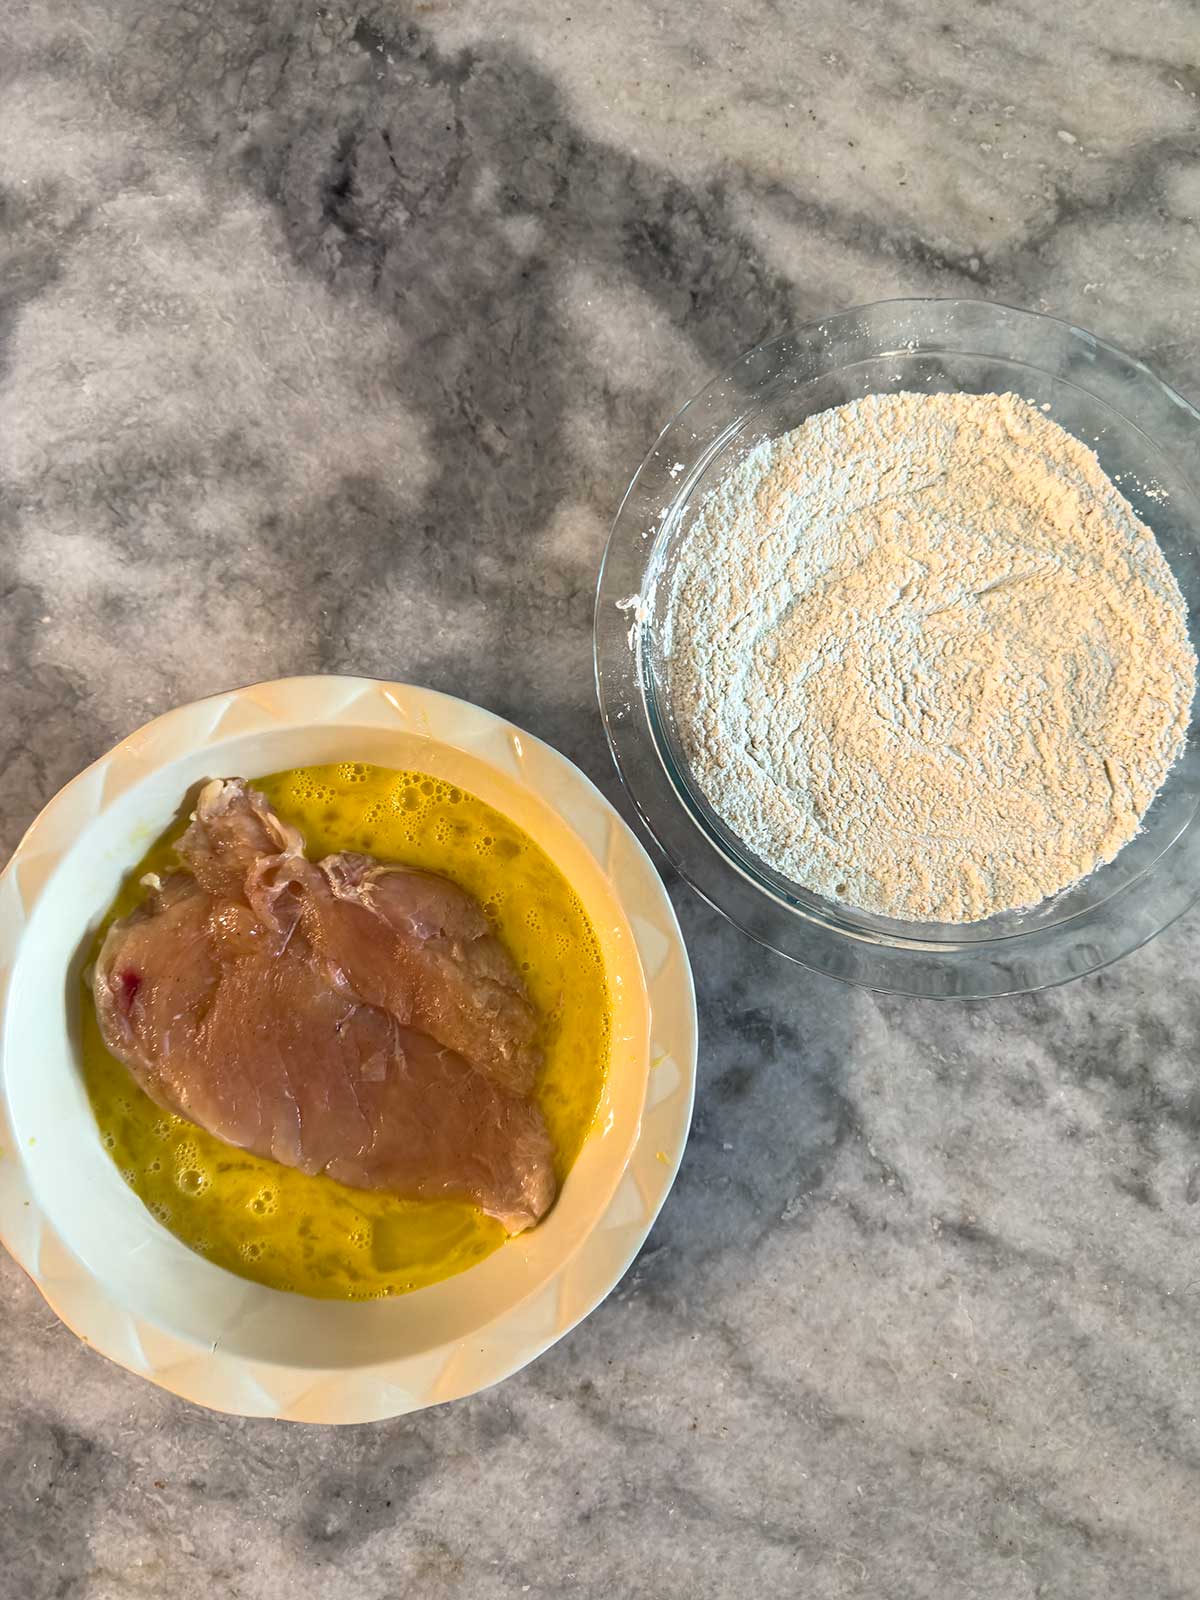
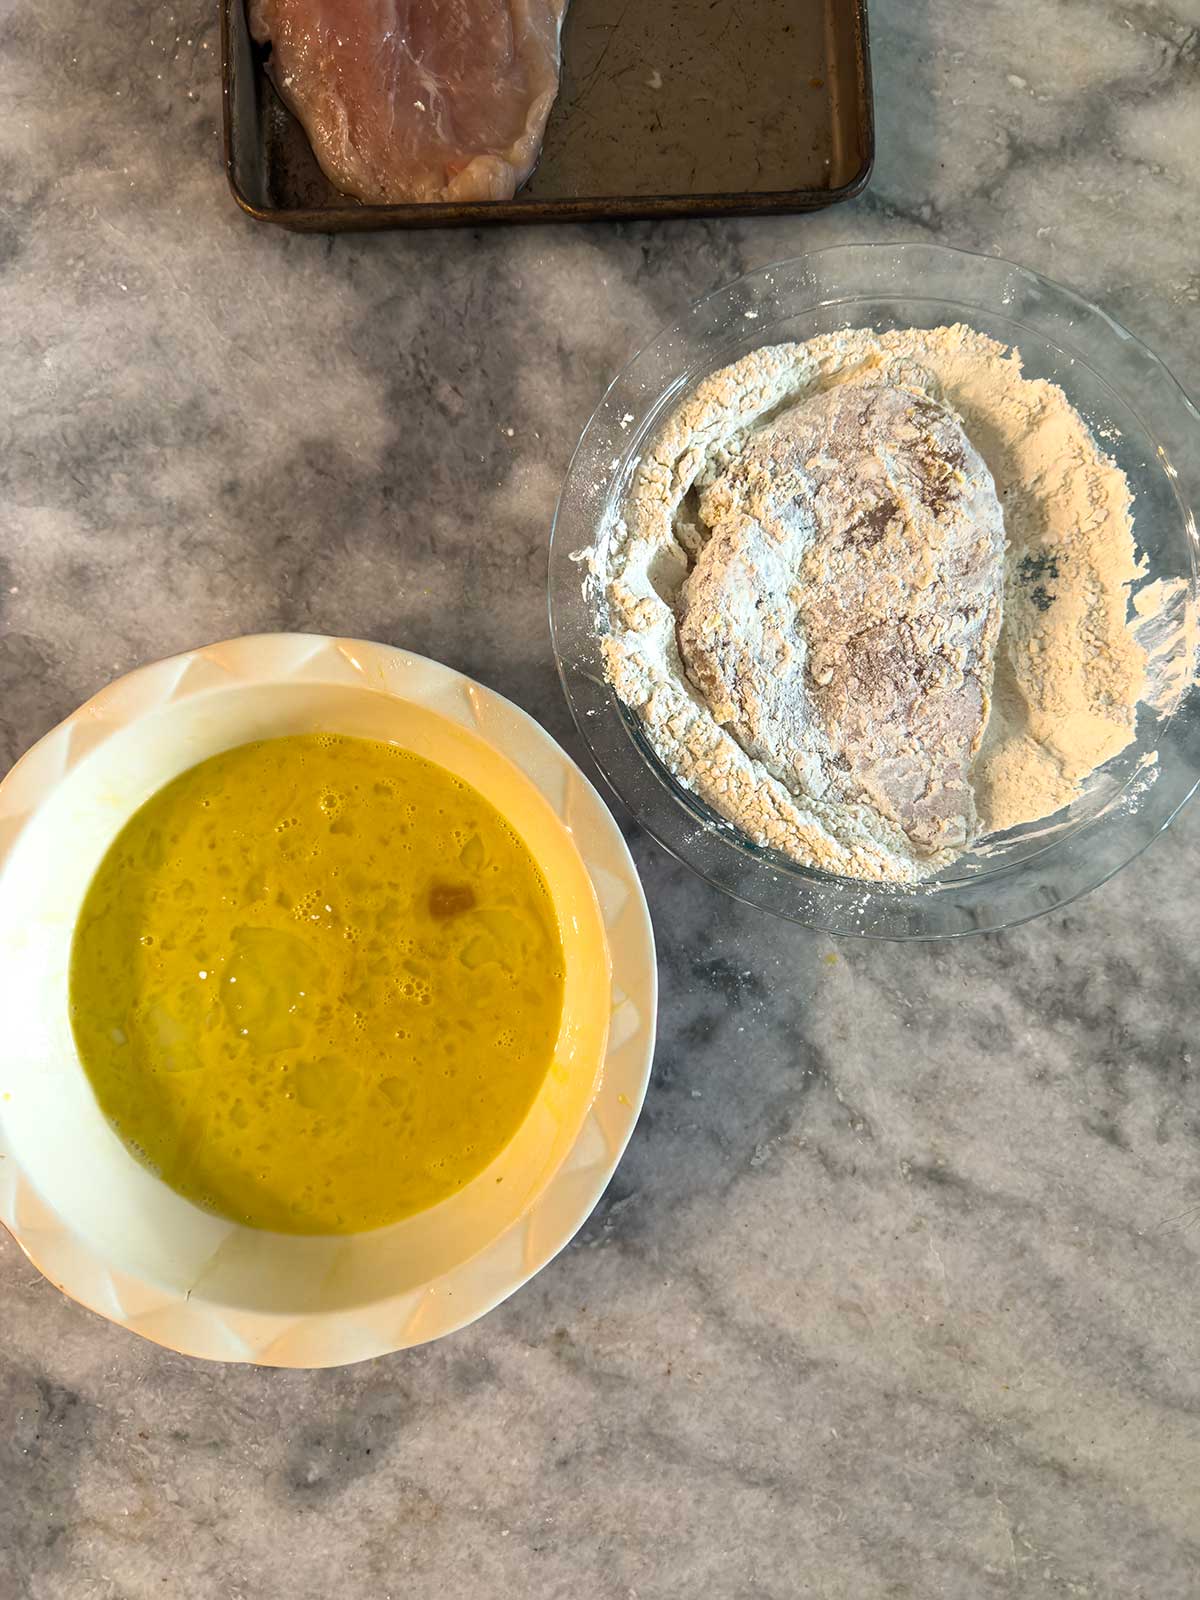
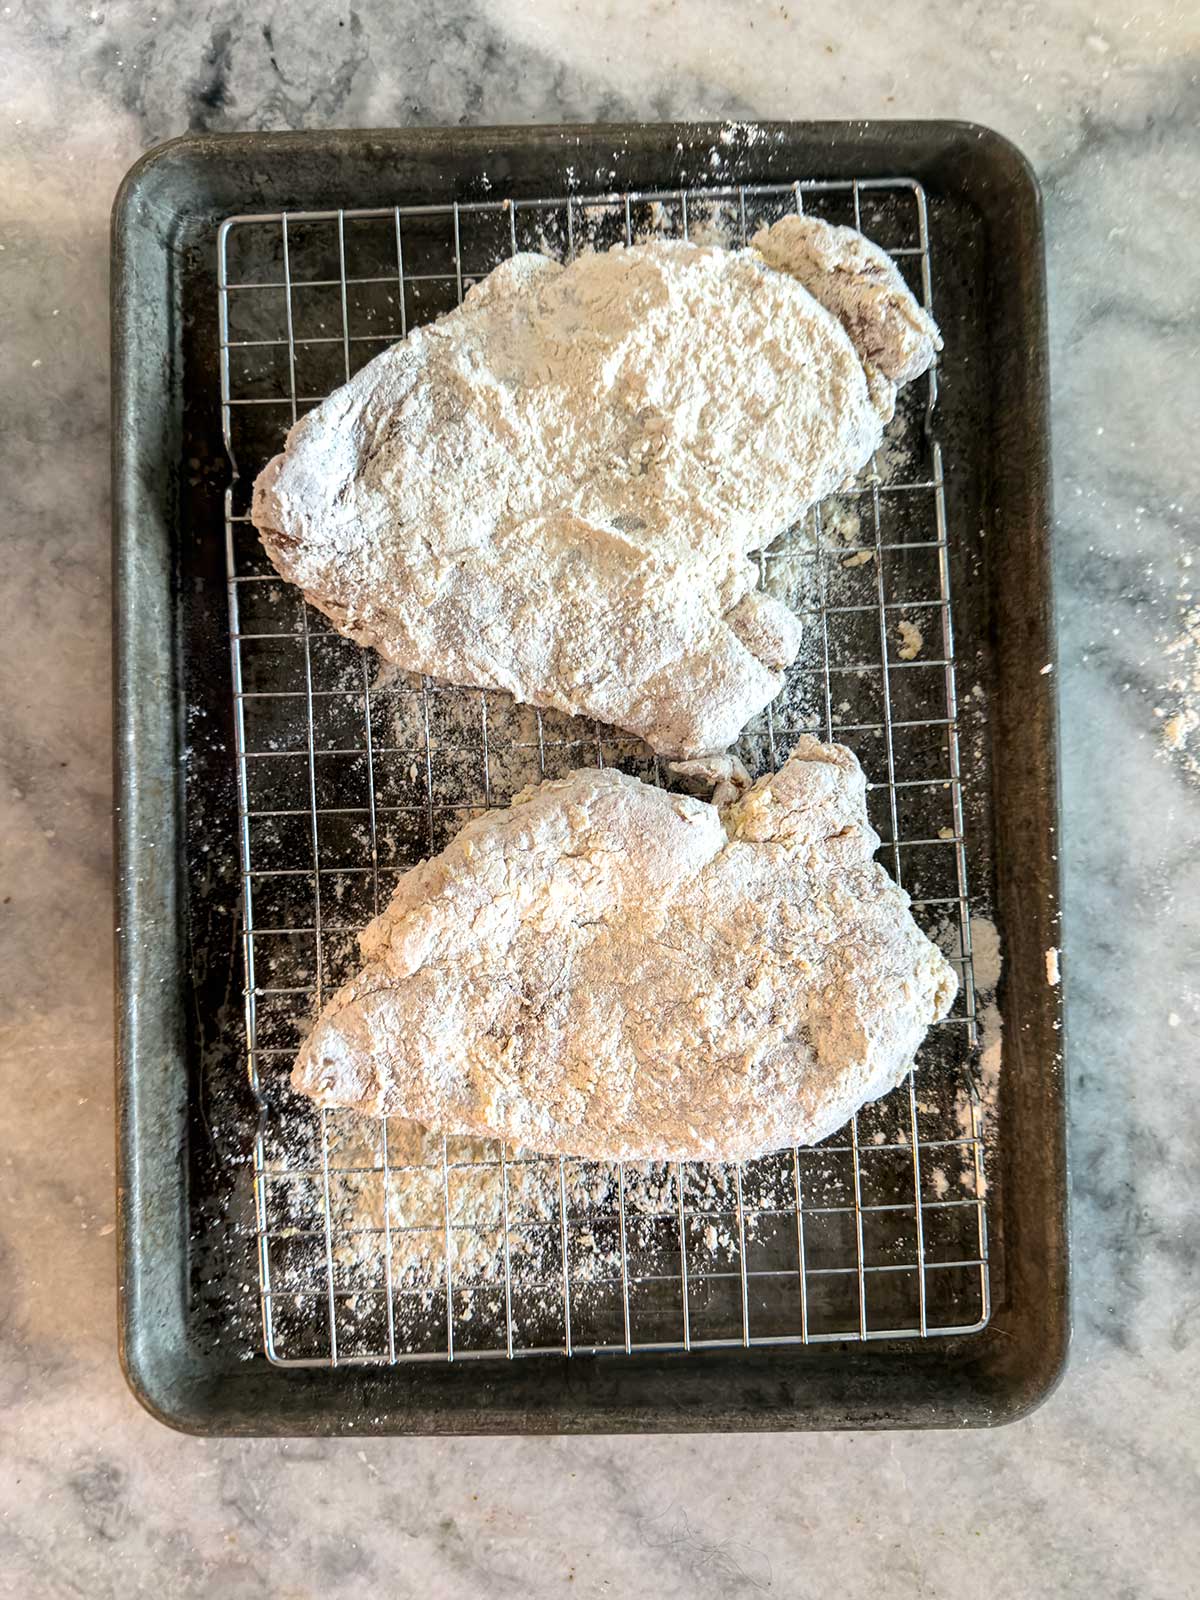
Pat the chicken dry, then dip it in beaten egg, then press it firmly into the flour mixture, pushing the coating onto the meat so it adheres. Then, (and this is the step people skip), let the breaded chicken rest on a rack for ten minutes before it hits the oil. I like 30 minutes. That rest lets the coating set and glue itself to the chicken, so it stays put nstead of sliding off into the oil.
Get the oil temperature right
Oil that is too cool is why fried chicken comes out greasy. The chicken sits in lukewarm oil, the coating drinks it in, and you get soggy instead of crisp.
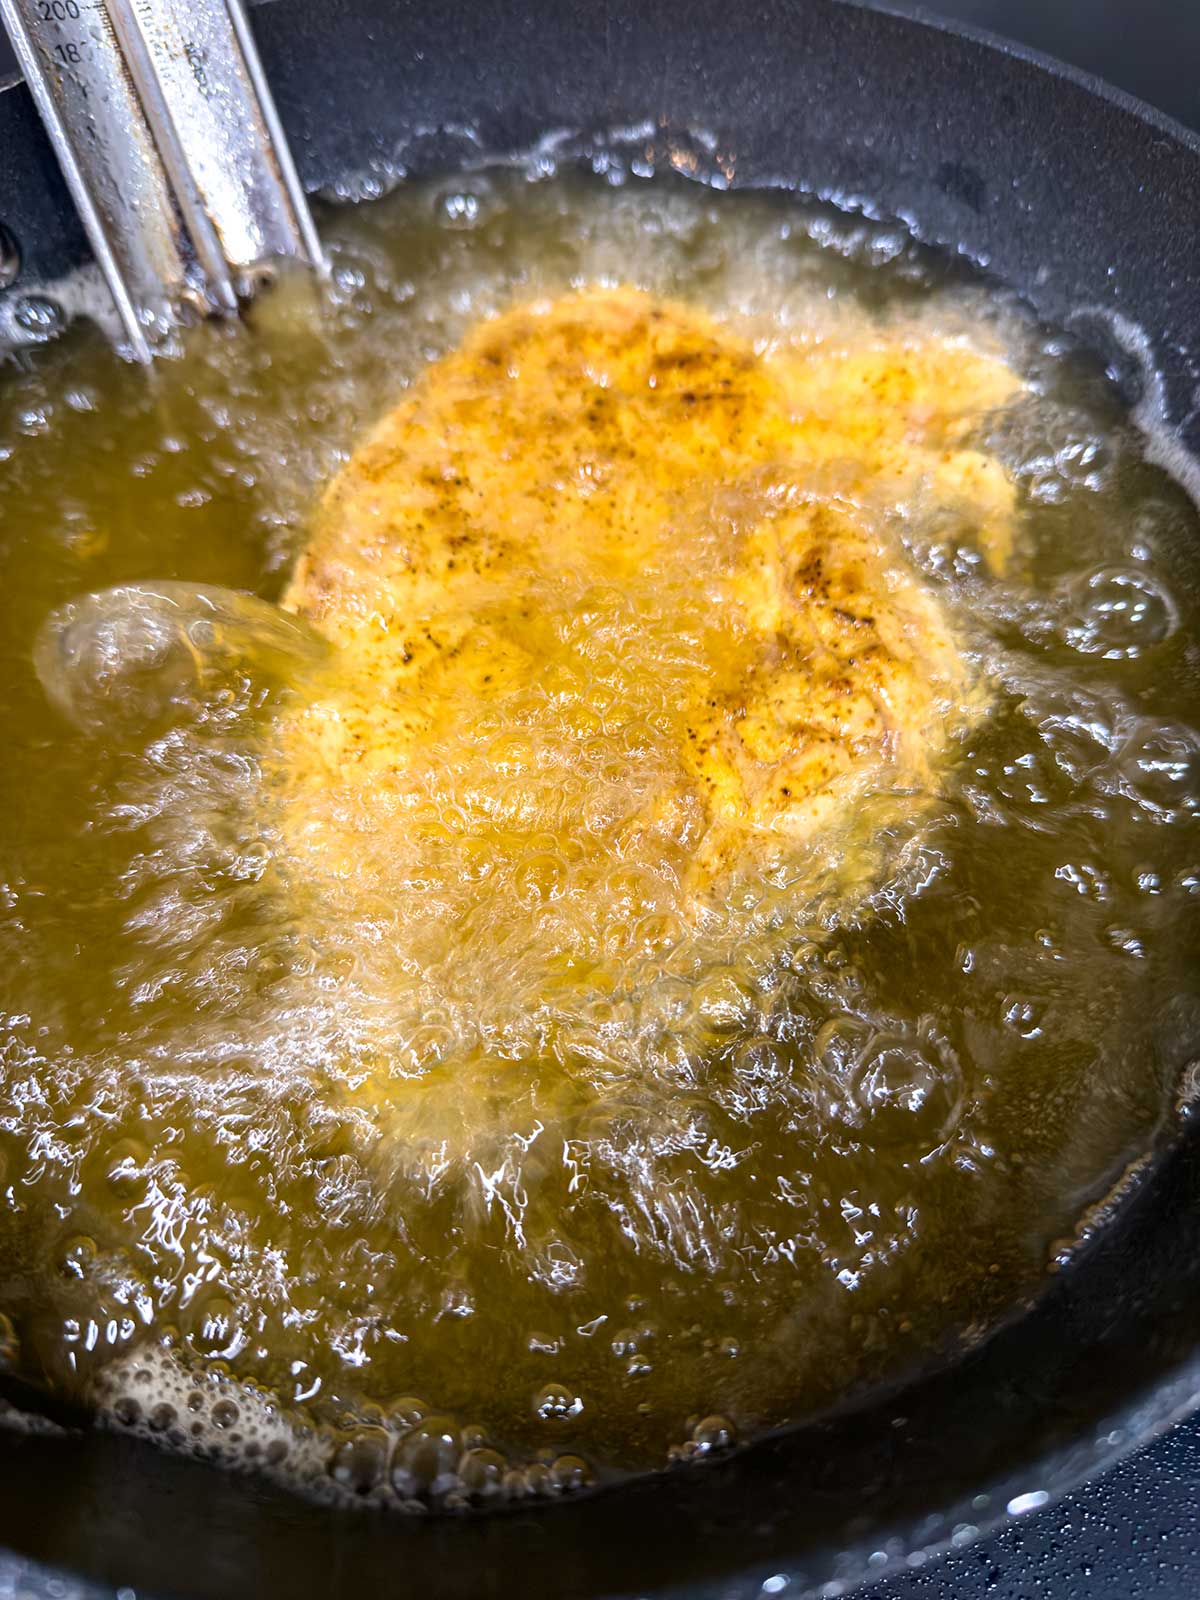
Heat about half an inch of oil to 350°F. A thermometer is ideal. No thermometer? Drop a pinch of flour in. It should sizzle steadily on contact, not sit still and not burn instantly. Fry the chicken in batches so you do not crowd the pan, because crowding drops the oil temperature fast. Let the oil come back up to temperature between batches. Three to four minutes per side gets you deep golden and cooked through.
What to serve with it
Serve it with Old-Fashioned Coleslaw and Bread Machine Yeast Rolls. Or super simple Sous Vide Mashed Potatoes and Air Fryer Green Beans.
Step-by-Step
Easy Fried Chicken Breast
Ingredients
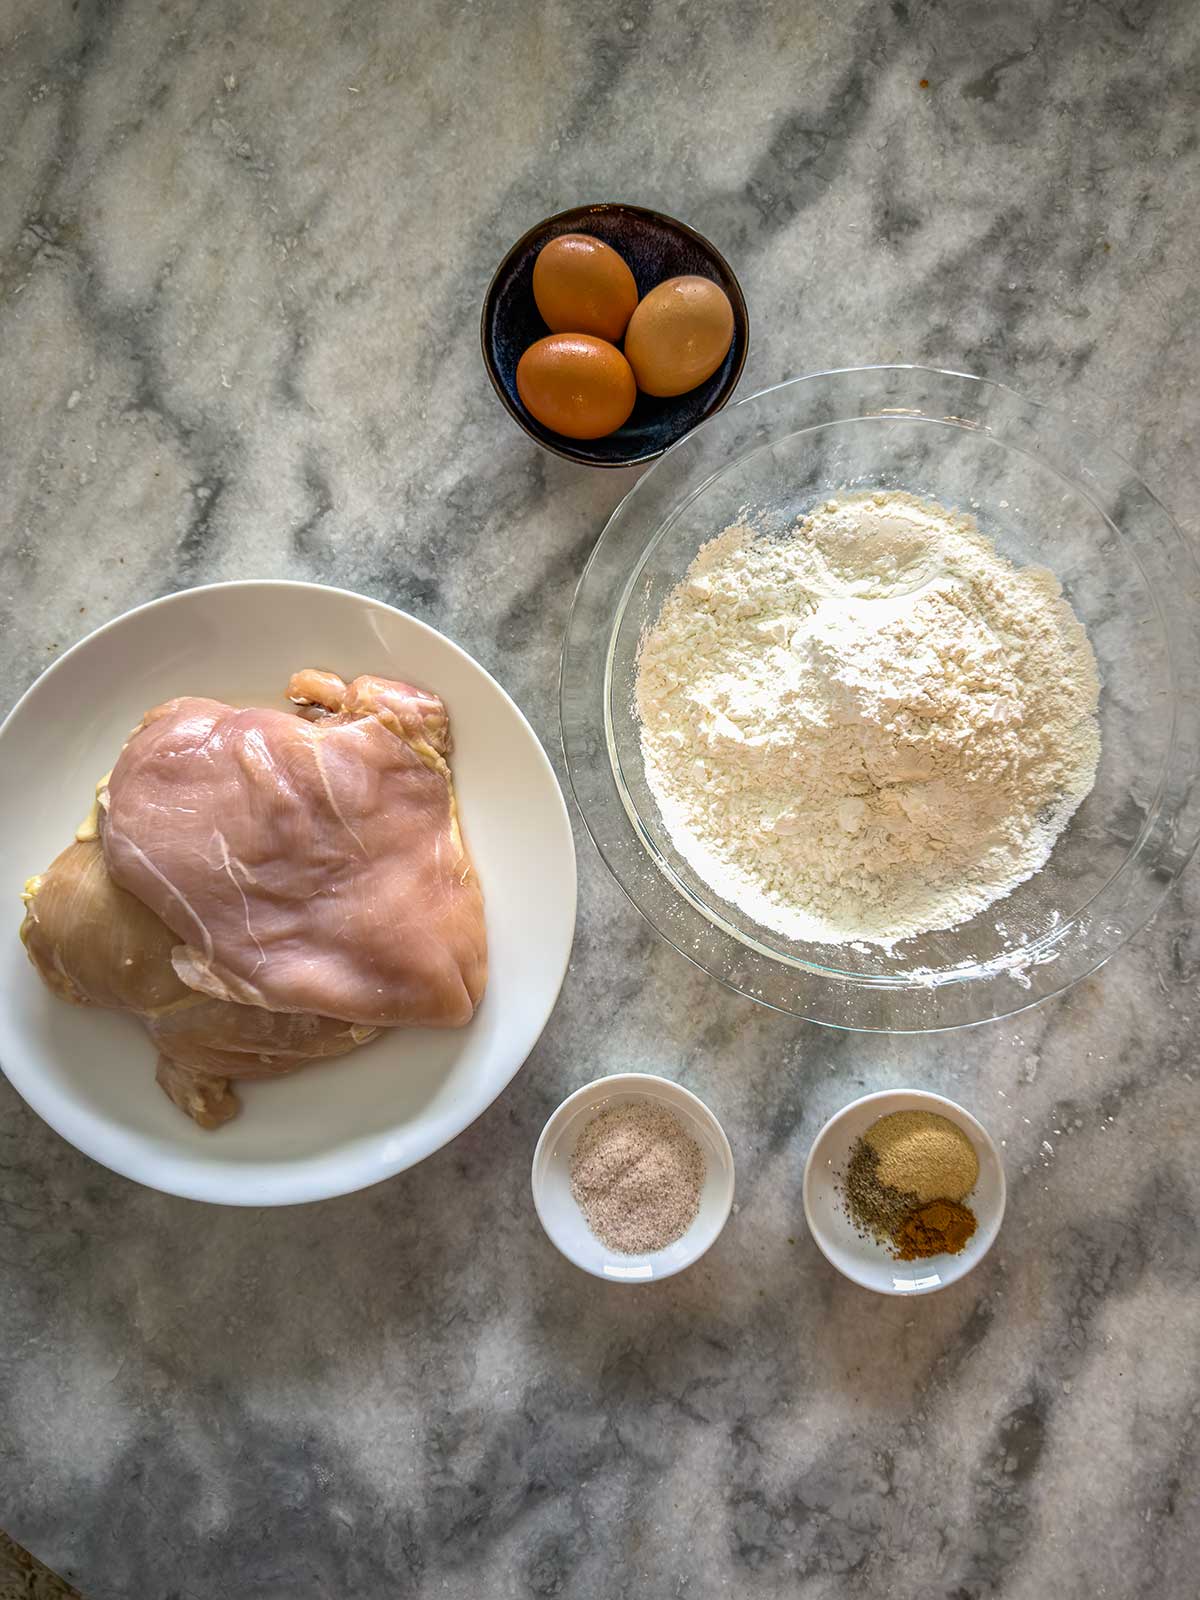
- 2 pounds chicken breast
- 2 teaspoons sea salt
- 3 eggs beaten
- 1 cup all-purpose flour
- ½ cup cornstarch
- 1 teaspoon garlic powder
- ½ teaspoon black pepper
- ¼ teaspoon cayenne pepper
- Neutral oil for frying
Instructions
- Preheat your oven to 250°F.
- Pound the chicken between two sheets of plastic wrap to an even ½-inch thickness, or slice each breast horizontally into two cutlets. Season both sides with salt.
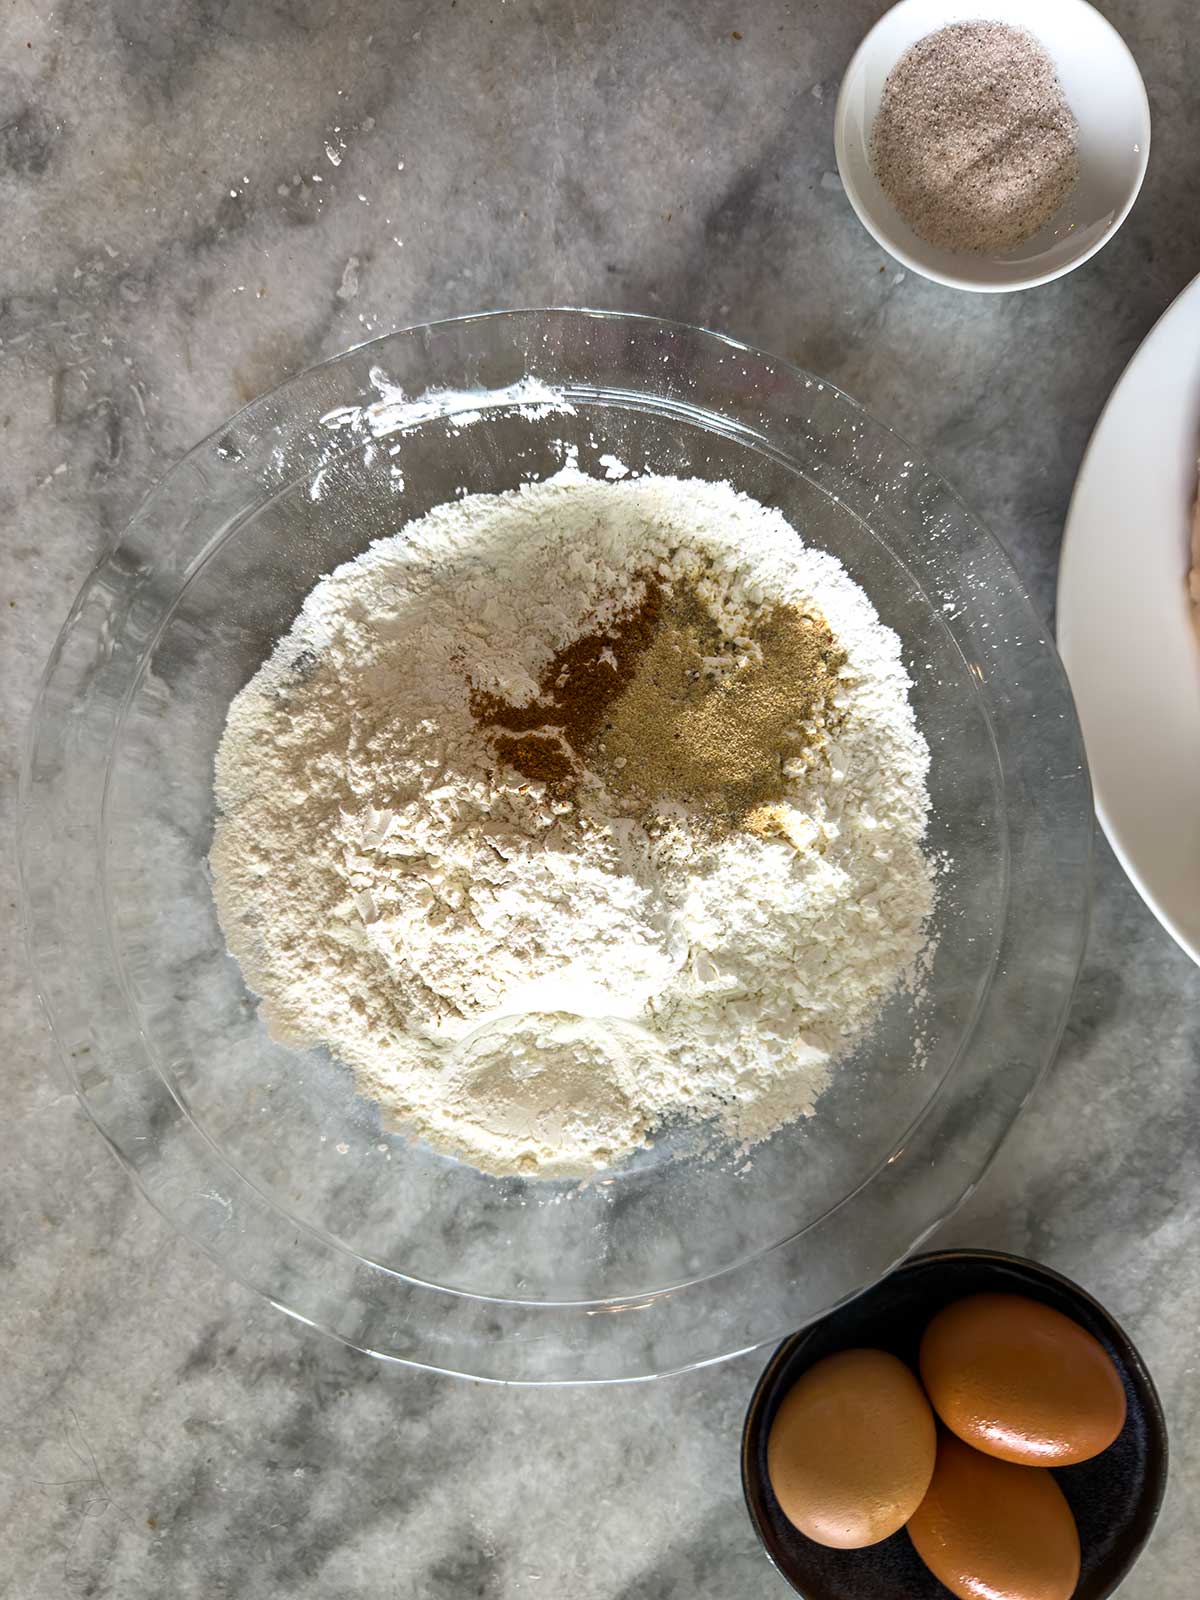
- Beat the eggs in a shallow dish. In another shallow dish, combine the flour, cornstarch, garlic powder, black pepper, and cayenne pepper.
- Dip the chicken breasts into the eggs, and then into the flour mixture. Press firmly to coat both sides well. Set the chicken on a wire rack to rest for 10 minutes.
- Heat about ½ inch of oil in a large skillet to 350°F.
- Fry the chicken in batches, without crowding, 3 to 4 minutes per side, until deep golden and the internal temperature reaches 155°F. Let the oil return to temperature between batches.
- When you are done with the first batch, place it on a metal rack set on a sheet pan, then transfer it to the oven while you continue frying. The temperature will rise to the recommended 165°F.
Leave a Comment & Rate this Recipe