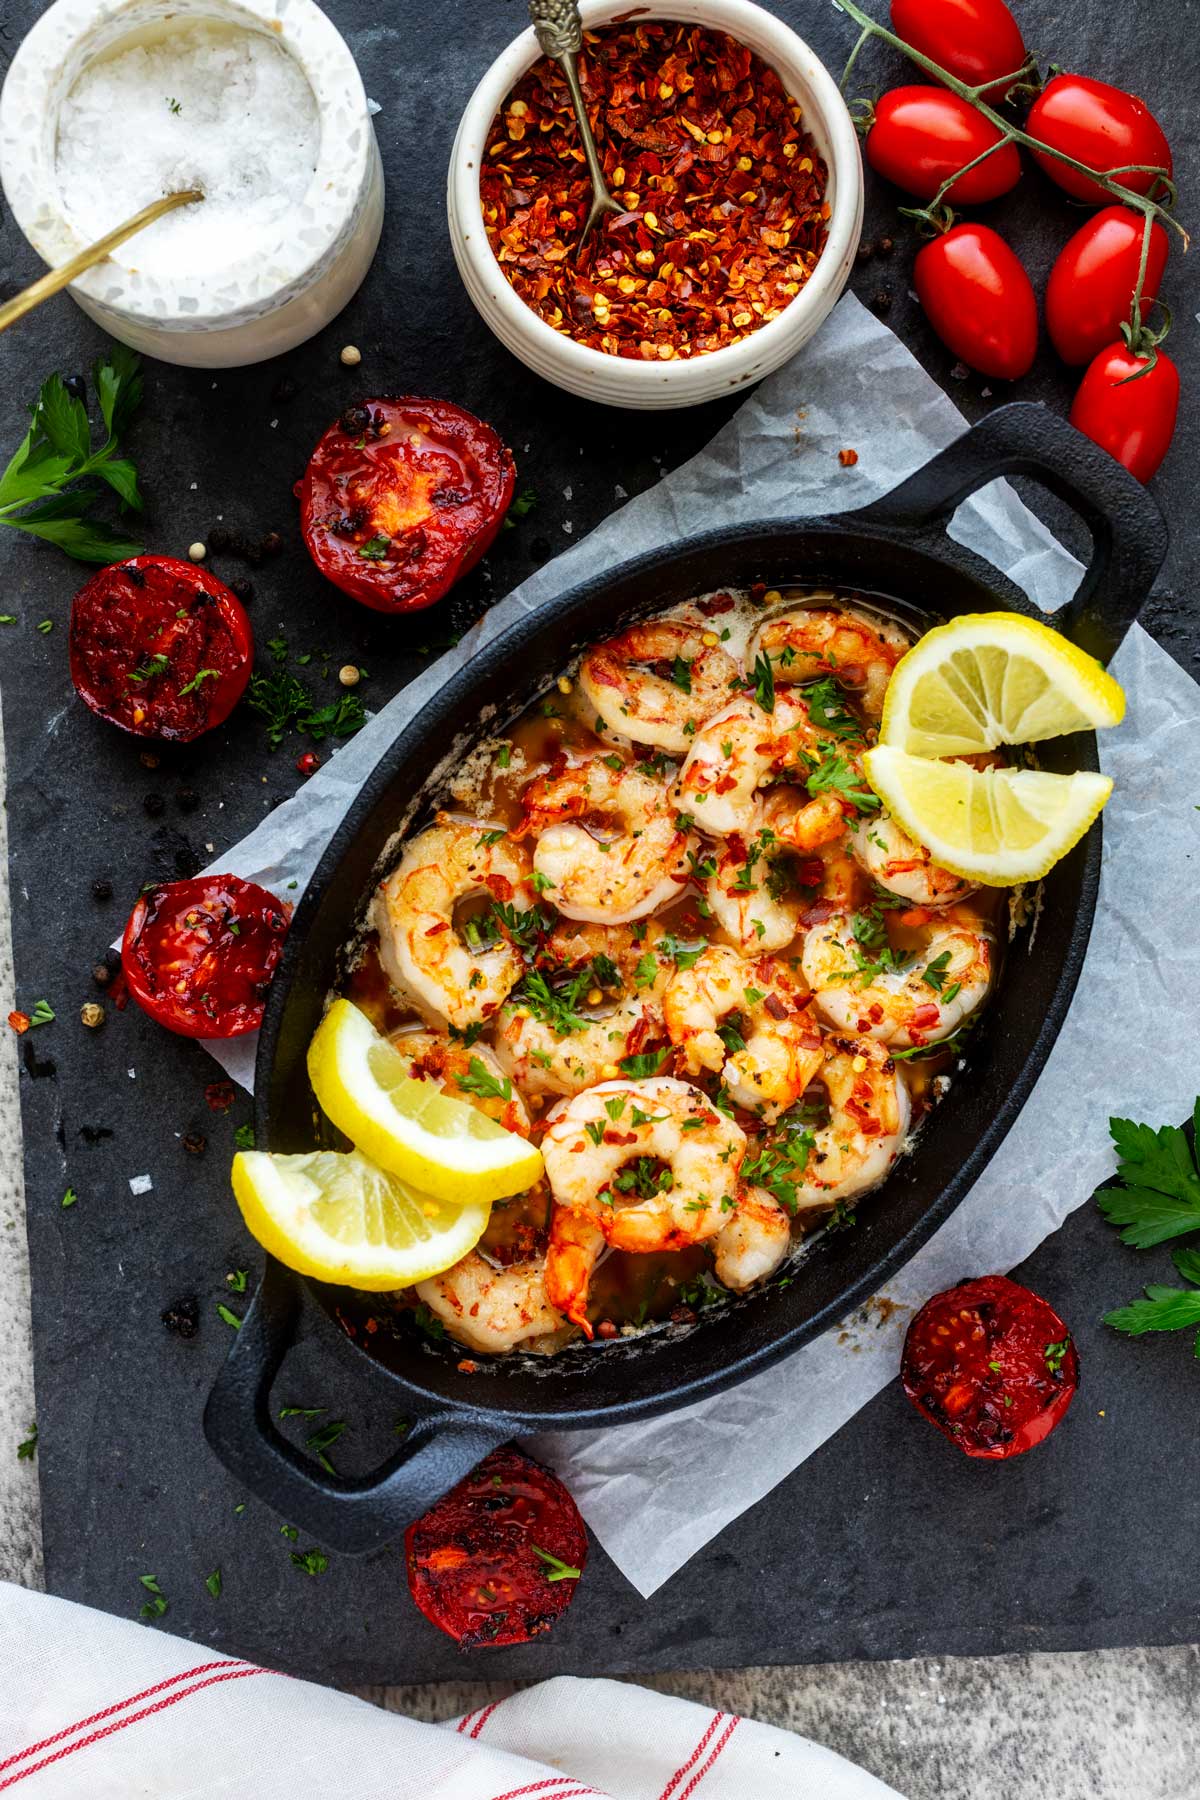
Ready to fire up your Blackstone griddle for something truly tantalizing? Blackstone Shrimp are a must-try for any seafood lover out there. From the first sizzle to the last bite, this easy-to-follow recipe is your ticket to a quick, flavorful seafood feast that'll impress at any meal. These Blackstone Shrimp will become a new favorite for everything from a casual family dinner to a special weekend treat.
For those of you constantly searching for that perfect dinner option that's both quick and bursting with flavor, I've got something pretty fantastic to share with you today!
This Blackstone Shrimp recipe is super simple to make and a great recipe for those nights when you need a stress-free meal. Serve with Blackstone Asparagus or Air Fryer Asparagus for a quick and easy meal that is sure to impress.
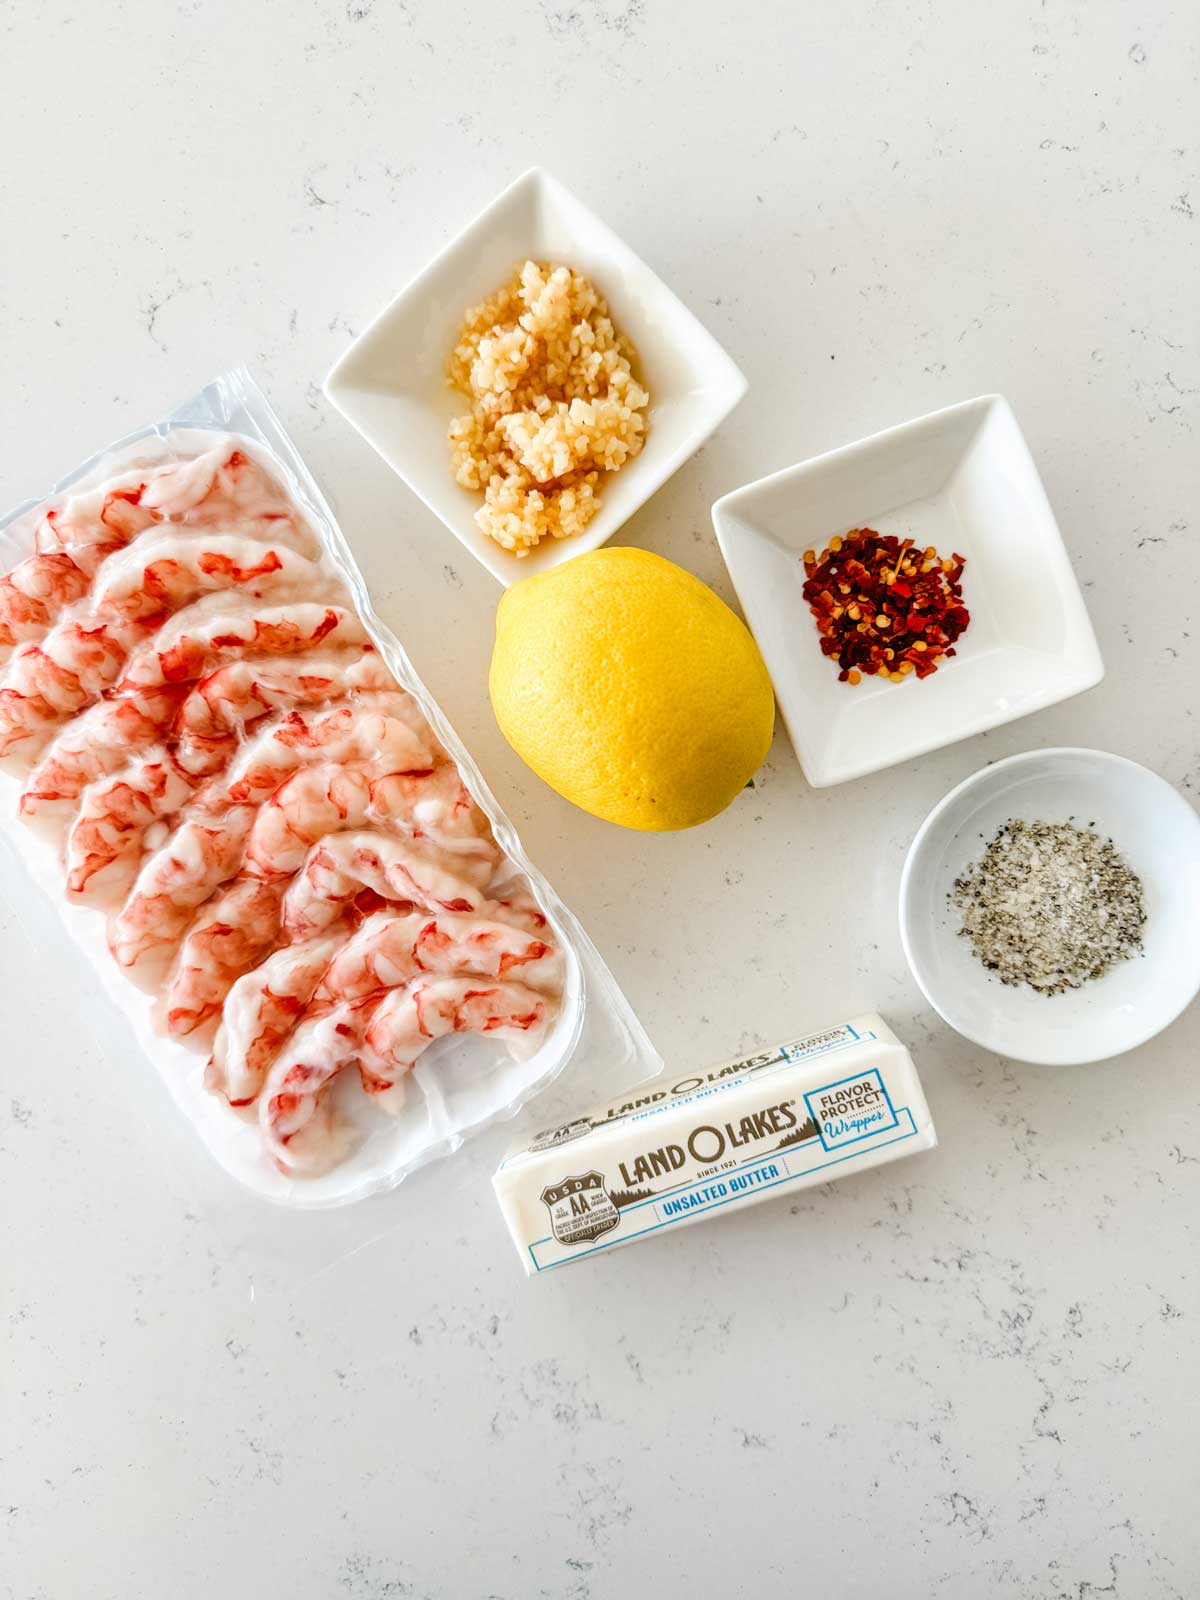
Ingredients
- Shrimp: I like medium to large shrimp when cooking shrimp on the Blackstone. Larger shrimp will allow a crust to form without overcooking, so if you can find them, that is a great way to go.
- Salt: For those watching their sodium intake, a salt substitute or a lesser quantity works.
- Black Pepper: Freshly ground is great if you have it, but pre-ground works just fine. Feel free to add additional seasonings - old bay seasoning and cajun seasoning both work well in my experience.
- Butter: Butter makes this a bit like Blackstone shrimp scampi. For a dairy-free alternative, consider using high-quality olive oil or a reliable plant-based butter substitute.
- Garlic: Freshly minced garlic cloves add robust flavor. Run out or not a fan? Substitute with garlic powder or granulated garlic, adjusting the quantity to suit your taste.
- Red Pepper Flakes: For that spicy kick, red chili flakes are your friend. If heat isn't your thing, feel free to dial it down or omit it altogether.
- Lemon: This provides a bright, acidic pop that contrasts beautifully with the richness of the shrimp and butter.
Buying Shrimp
First off, steer clear of pre-cooked shrimp. They've already had their moment in the limelight and won't take kindly to a second round, making it tough to infuse them with those vibrant flavors we're after.
Raw shrimp is the way to your palate's heart here. Peeled and deveined options can save you prep time, but keep in mind leaving the shell has lots of flavor and you do lose some of that. It's a little trade-off between convenience and taste. F
If I can find quality raw shrimp that are peeled and deveined, this is my favorite option. But if they look a little mangled, opt for the easy-peel kind.
Now, about the frosty debate: frozen vs. fresh. Believe it or not, frozen shrimp, especially those flash-frozen right on the boat, are often fresher than the "fresh" shrimp lounging on ice at your local seafood market, which are typically previously frozen themselves. If you're not lucky enough to live by the sea with access to truly fresh catches, those boat-frozen kinds are your best bet for peak flavor.
To get your frozen shrimp recipe ready, give them a quick bath. Place them in a bowl under cool running water for about 10 minutes or so, and they'll be good to go.
Oh, and remember to buy de-headed shrimp. While shrimp heads can be flavor bombs in some dishes, they have enzymes that might turn your beloved shrimp mushy. Unless they are truly fresh, you want to skip this.
How to Clean Shrimp
Start by giving your shrimp a little space to lie flat on the cutting board. You'll want to make a gentle but assertive slit down the center of the shrimp's back, cutting through the shell. This is your first step to culinary greatness.
Next, it's time to deal with the digestive tract (yep, that's a fancy term for the vein), and with the tip of a paring knife, you'll want to carefully hook it and ease it out in one piece if possible. This prevents any...less than appetizing contents from spilling over your shrimp.
Accidents happen, though! If there's a spill, no worries—just give your shrimp a quick rinse. Now for the shell and legs—it's a bit like peeling a tiny, aquatic banana. Pull the shell halves outwards, then grasp just above the tail, and gently pull away the rest of the shell.
Whether you bid adieu to the tail or leave it as a crispy, edible handle is completely up to you.
Step by Step
For the full recipe with measurements, see the recipe card at the bottom of the post.
Tips and Tricks
- Avoid Overcrowding: When placing shrimp on the griddle, ensure they're not too crowded. This helps them cook evenly and makes flipping them easier, ensuring each shrimp gets that delightful crispy edge.
- Don't Forget the Rest: After cooking, letting your shrimp rest for a few minutes before serving will improve their juiciness.
- Cleanup Tips: To make cleanup a breeze, scrape down your Blackstone while it's still slightly warm. For any stubborn bits, a little water on the hot griddle creates steam that'll help lift them off.
More Blackstone Recipes to Try
- Blackstone Scallops: If you love the zesty flavors and easy method of this recipe, you'll adore the tender, succulent scallops seared to perfection on the griddle.
- Blackstone Ribeye: Elevate your steak night with this simple yet luxurious ribeye recipe, featuring a perfectly charred exterior and a juicy, tender interior.
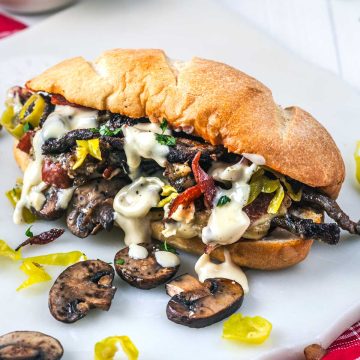
- Blackstone Tortellini: Quick, flavorful, and satisfying, this tortellini recipe cooked on the griddle is a fantastic way to add a twist to your pasta night.
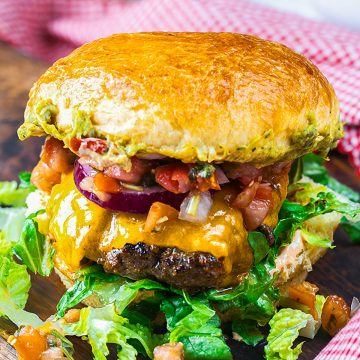
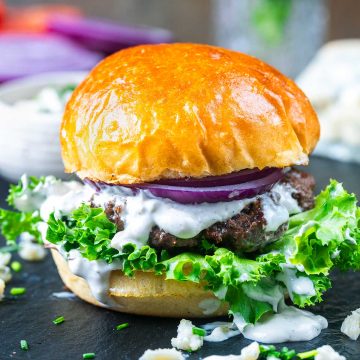
- Blackstone Smash Burgers: For those craving the ultimate burger experience, learn how to create smash burgers that are crispy on the outside and juicy on the inside, all with the unique Blackstone touch.
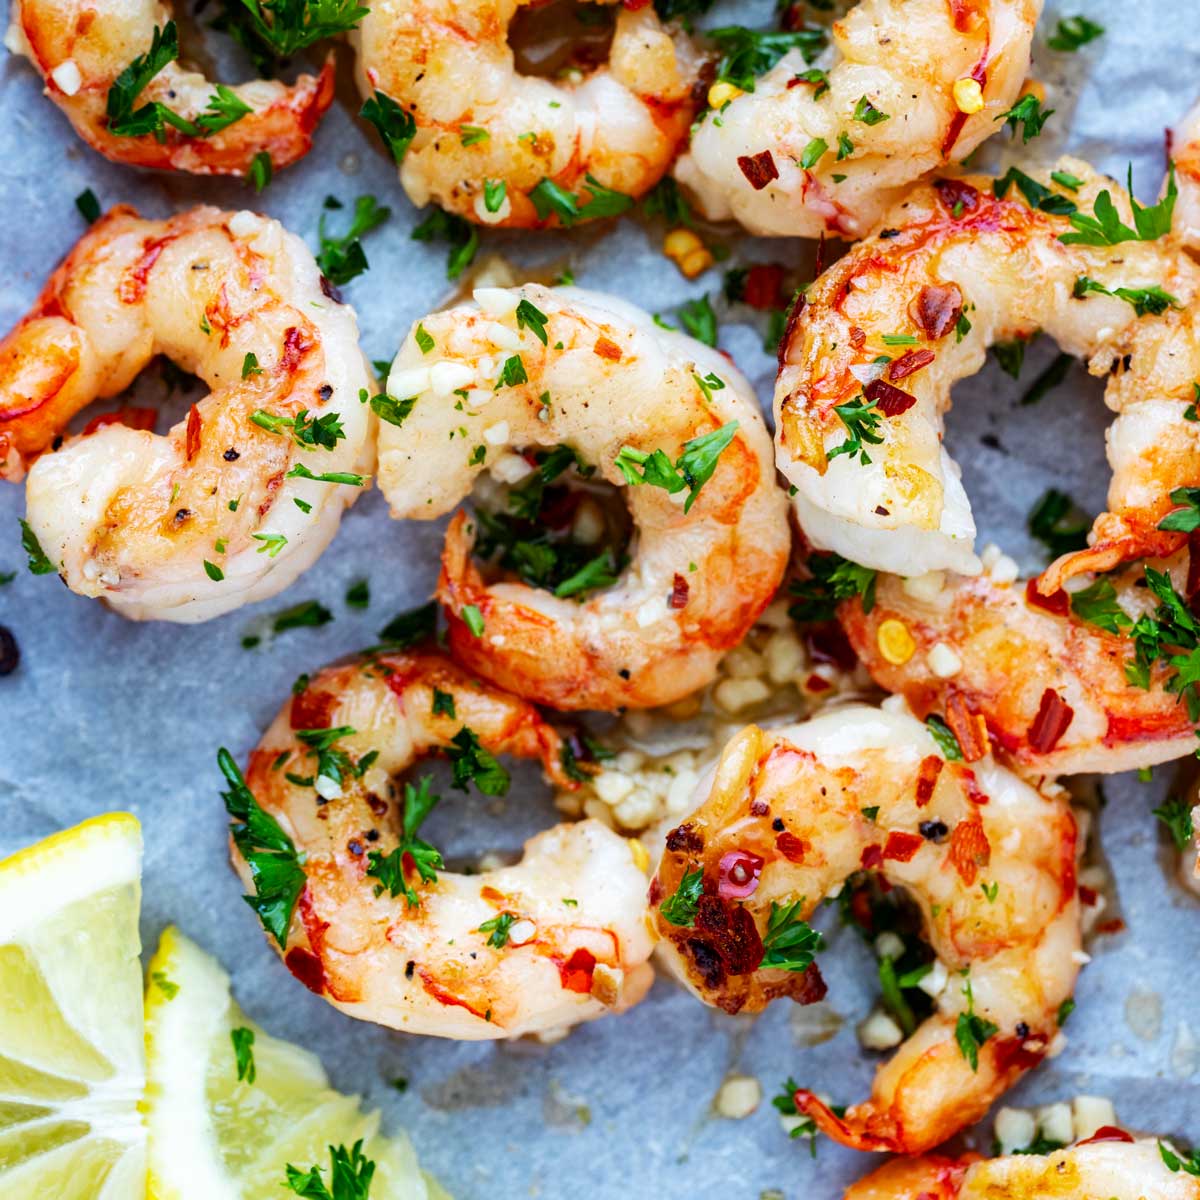

20-Minute Garlic Butter Blackstone Shrimp
Equipment
Ingredients
- 1 pound shrimp peeled and deveined
- ½ teaspoon salt
- ¼ teaspoon freshly ground black pepper
- ½ cup unsalted butter divided
- 2 tablespoons minced garlic
- ½ teaspoon red chili flakes
- 1 lemon juiced and zested
Instructions
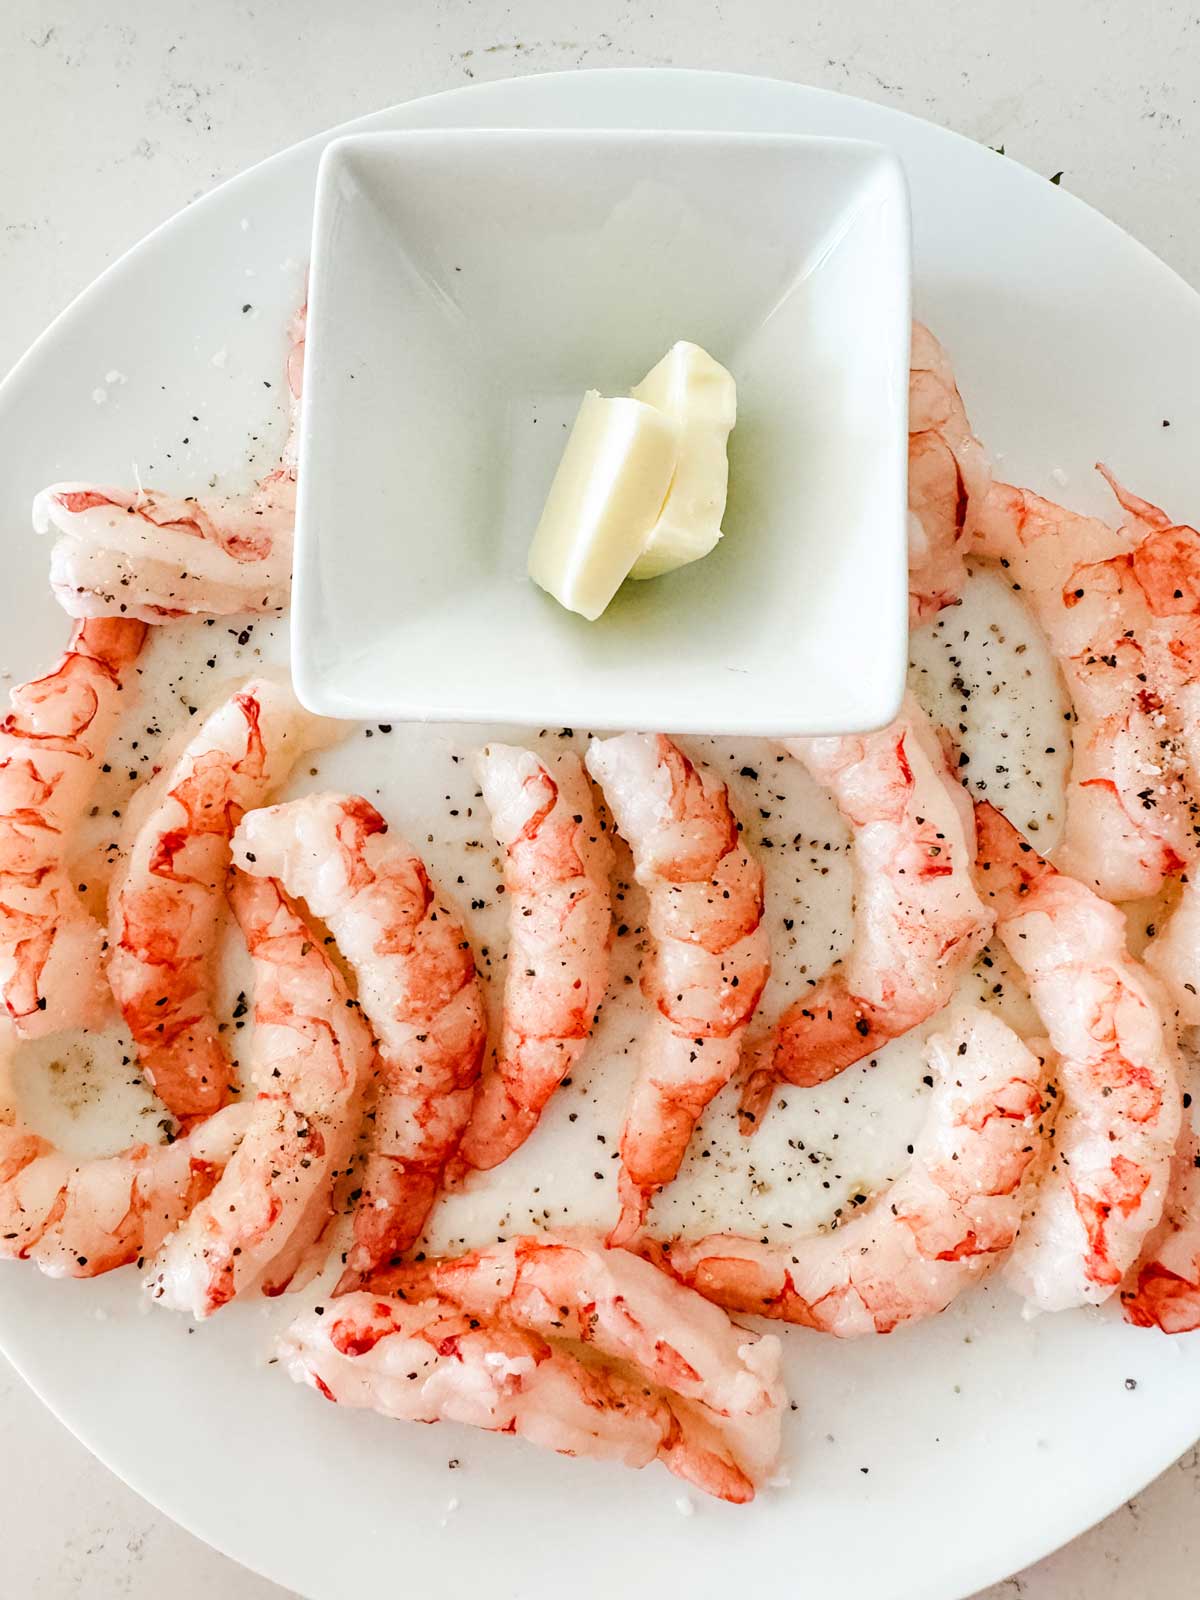
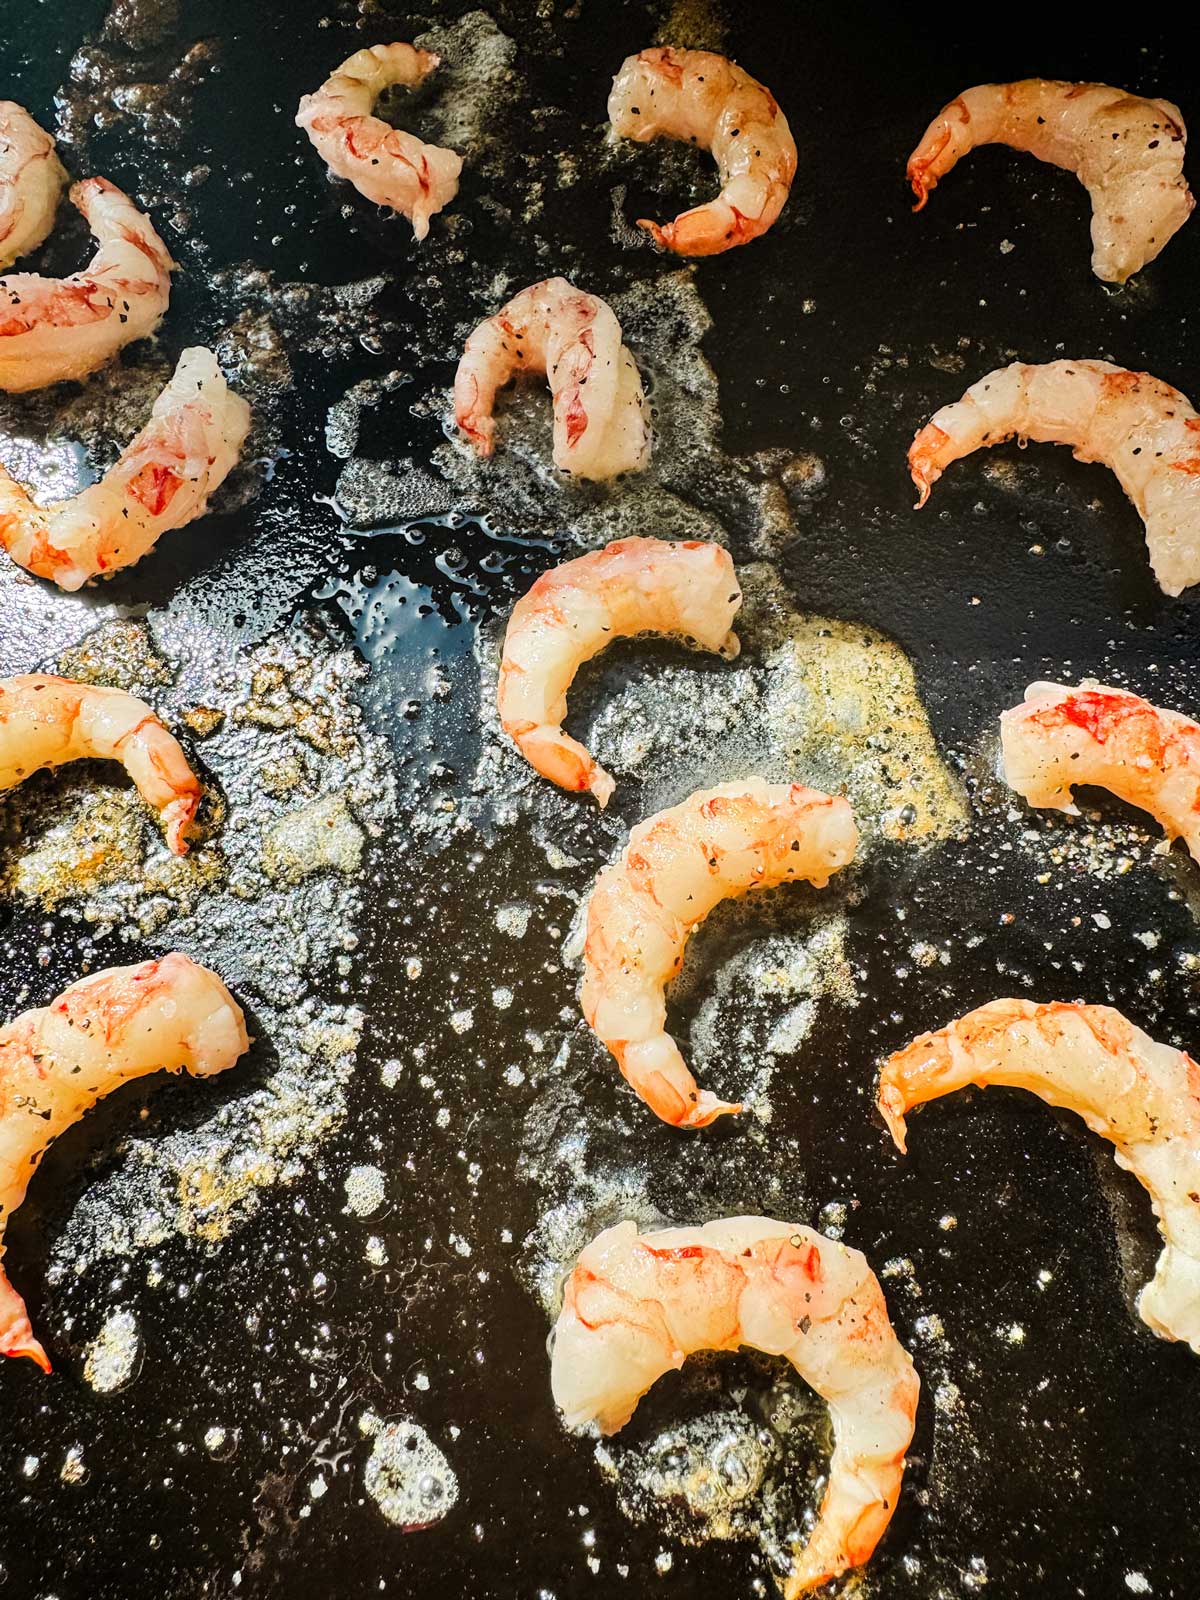
- Season both sides of the shrimp with salt and pepper.
- Preheat one side of your Blackstone griddle to medium-high heat and the other side to medium-low heat.
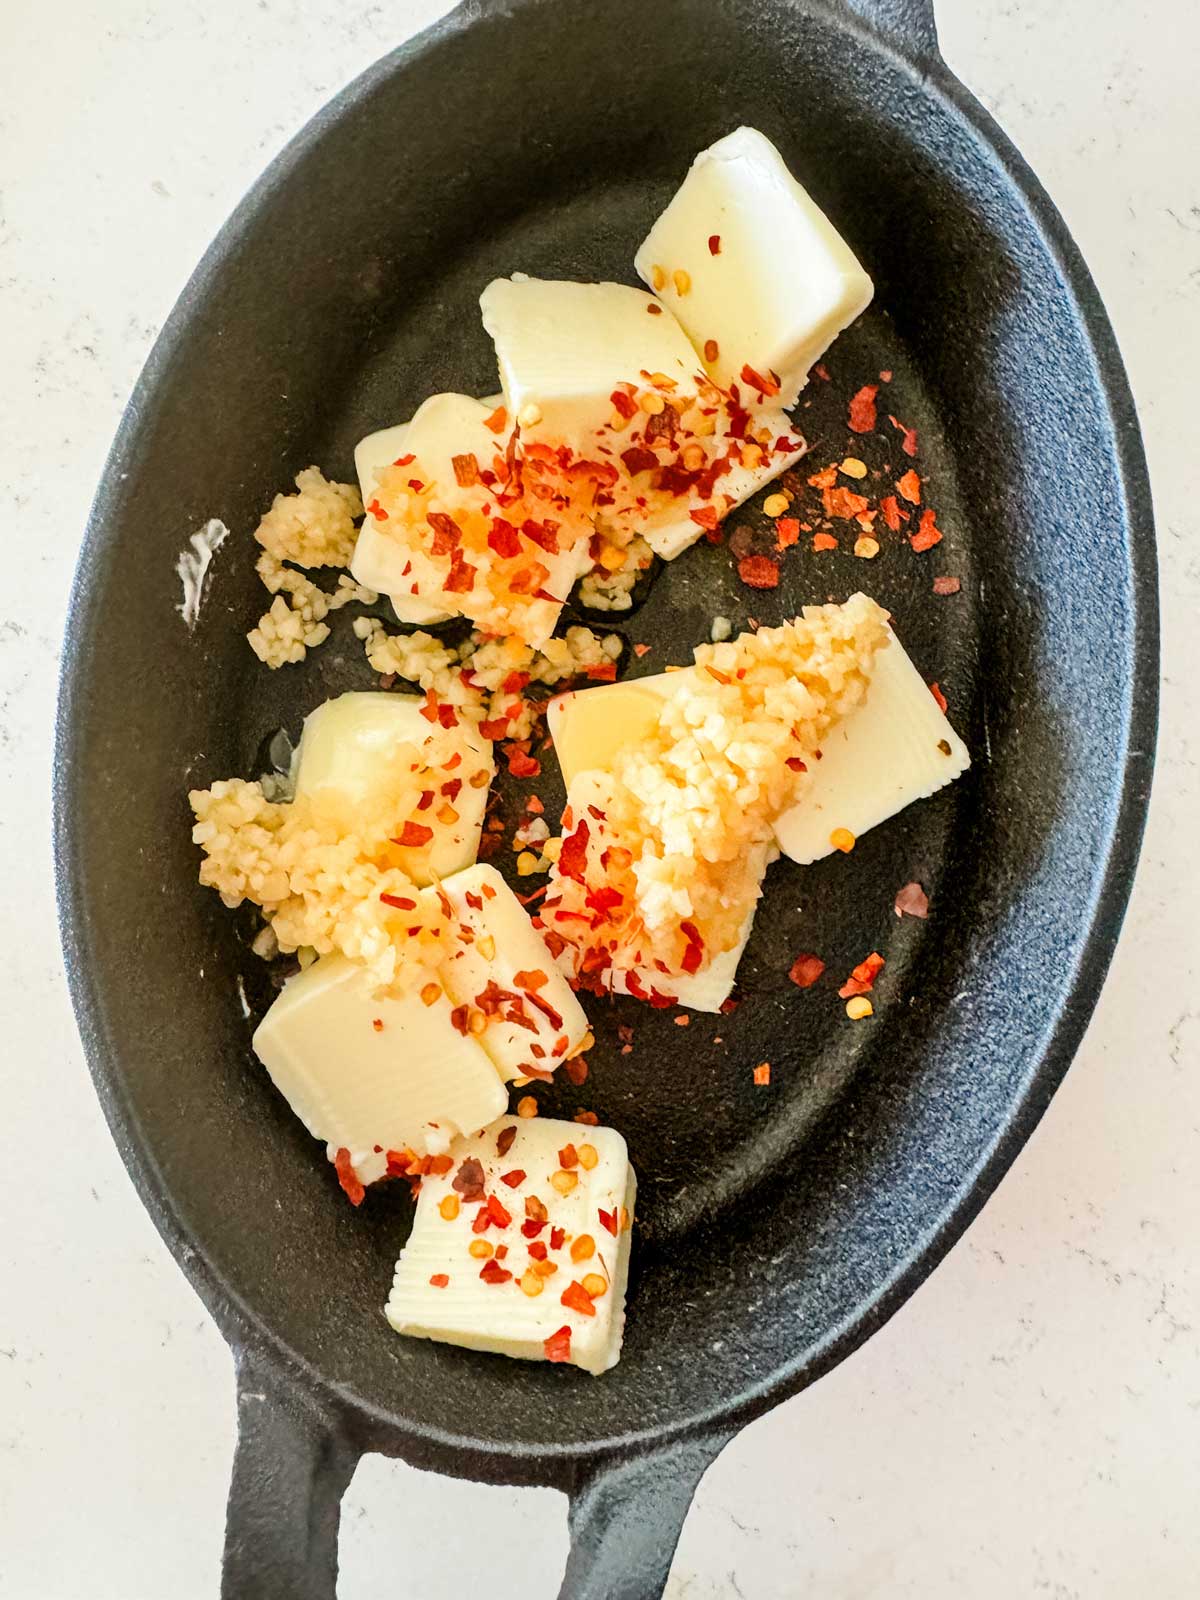
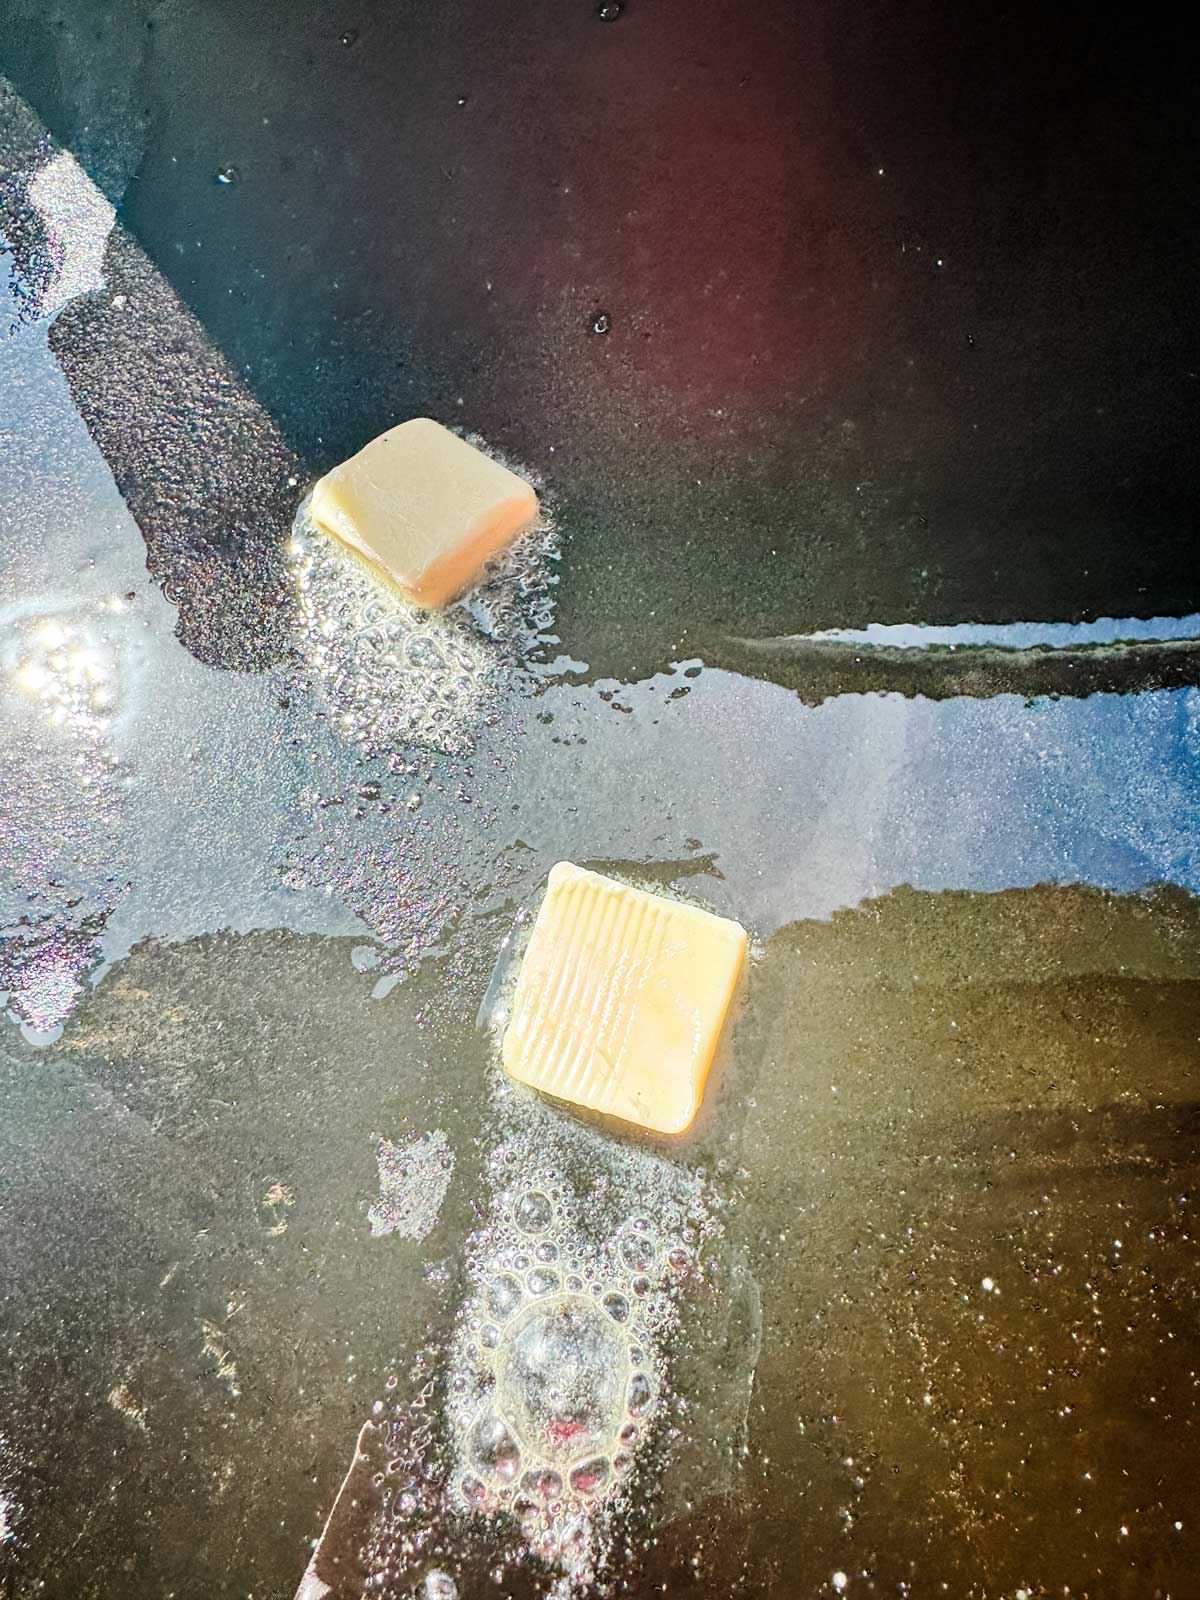
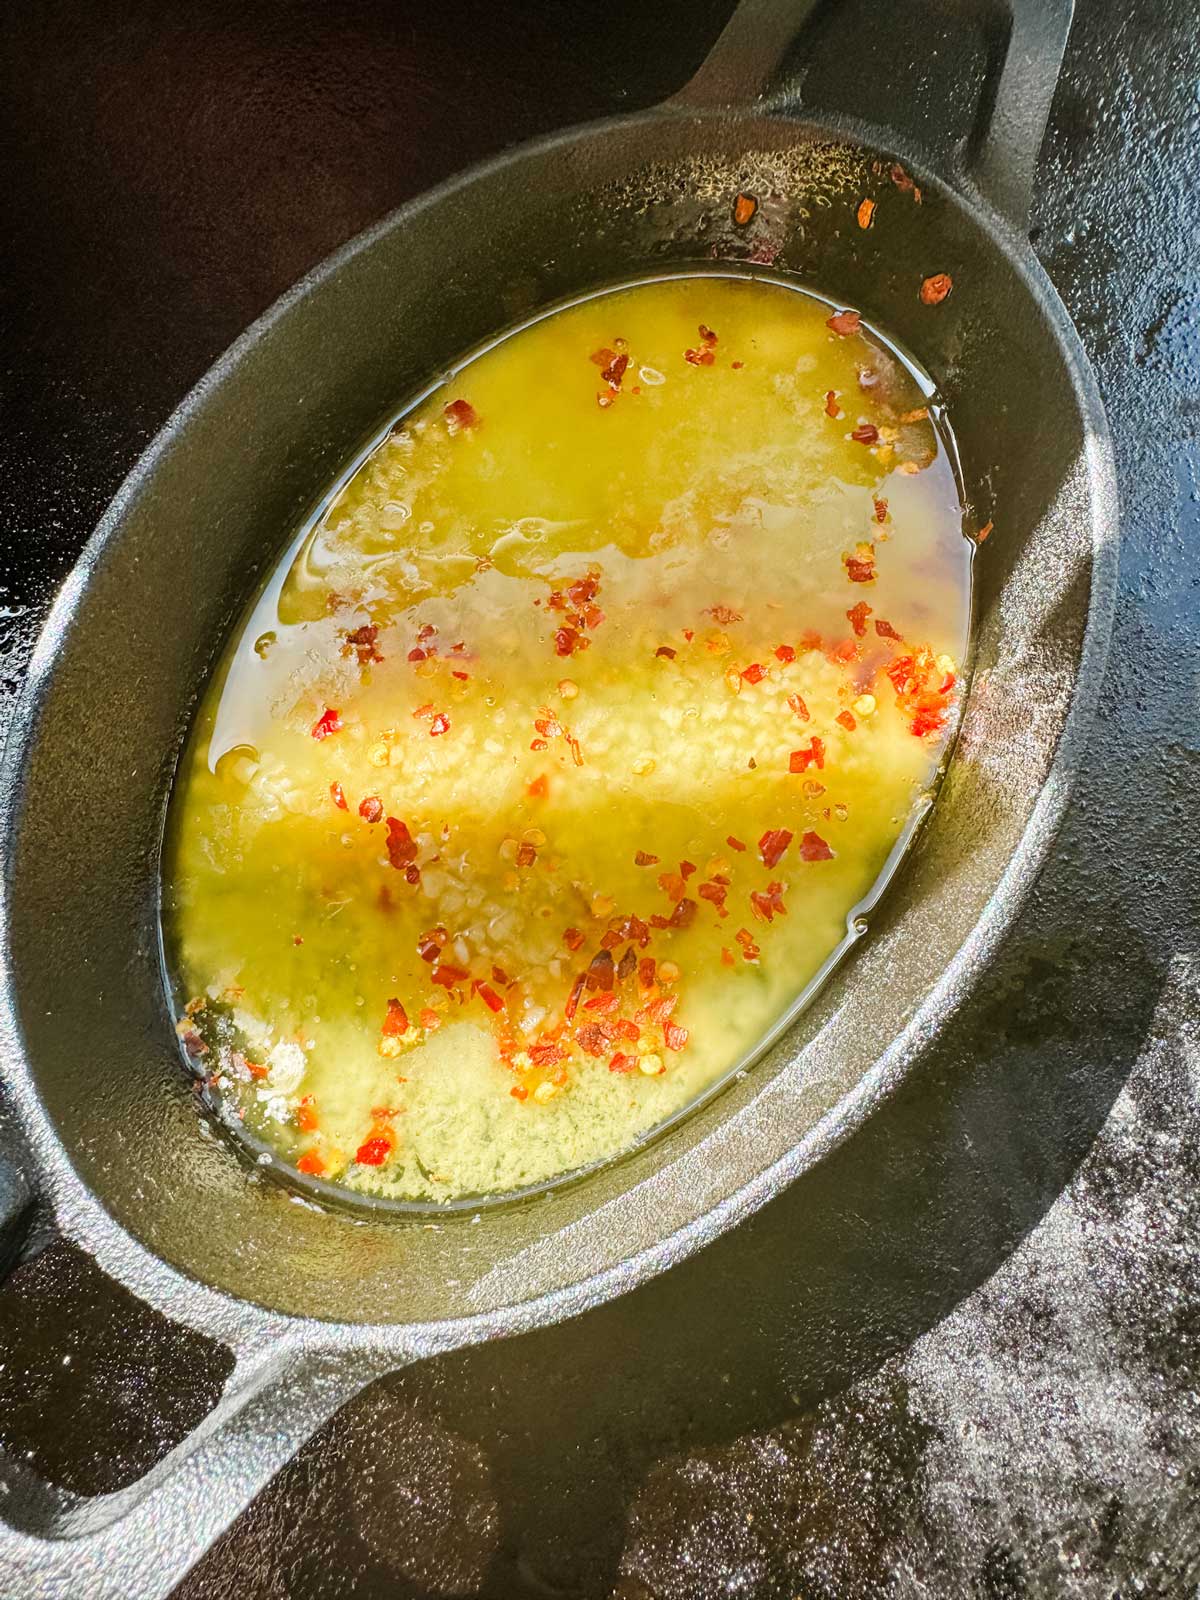
- Place a small cast iron skillet on the side that is set to medium-low heat and add all but a tablespoon of the butter, garlic, and red chili flakes.
- Add the remaining tablespoon of butter to the hot side of the griddle.
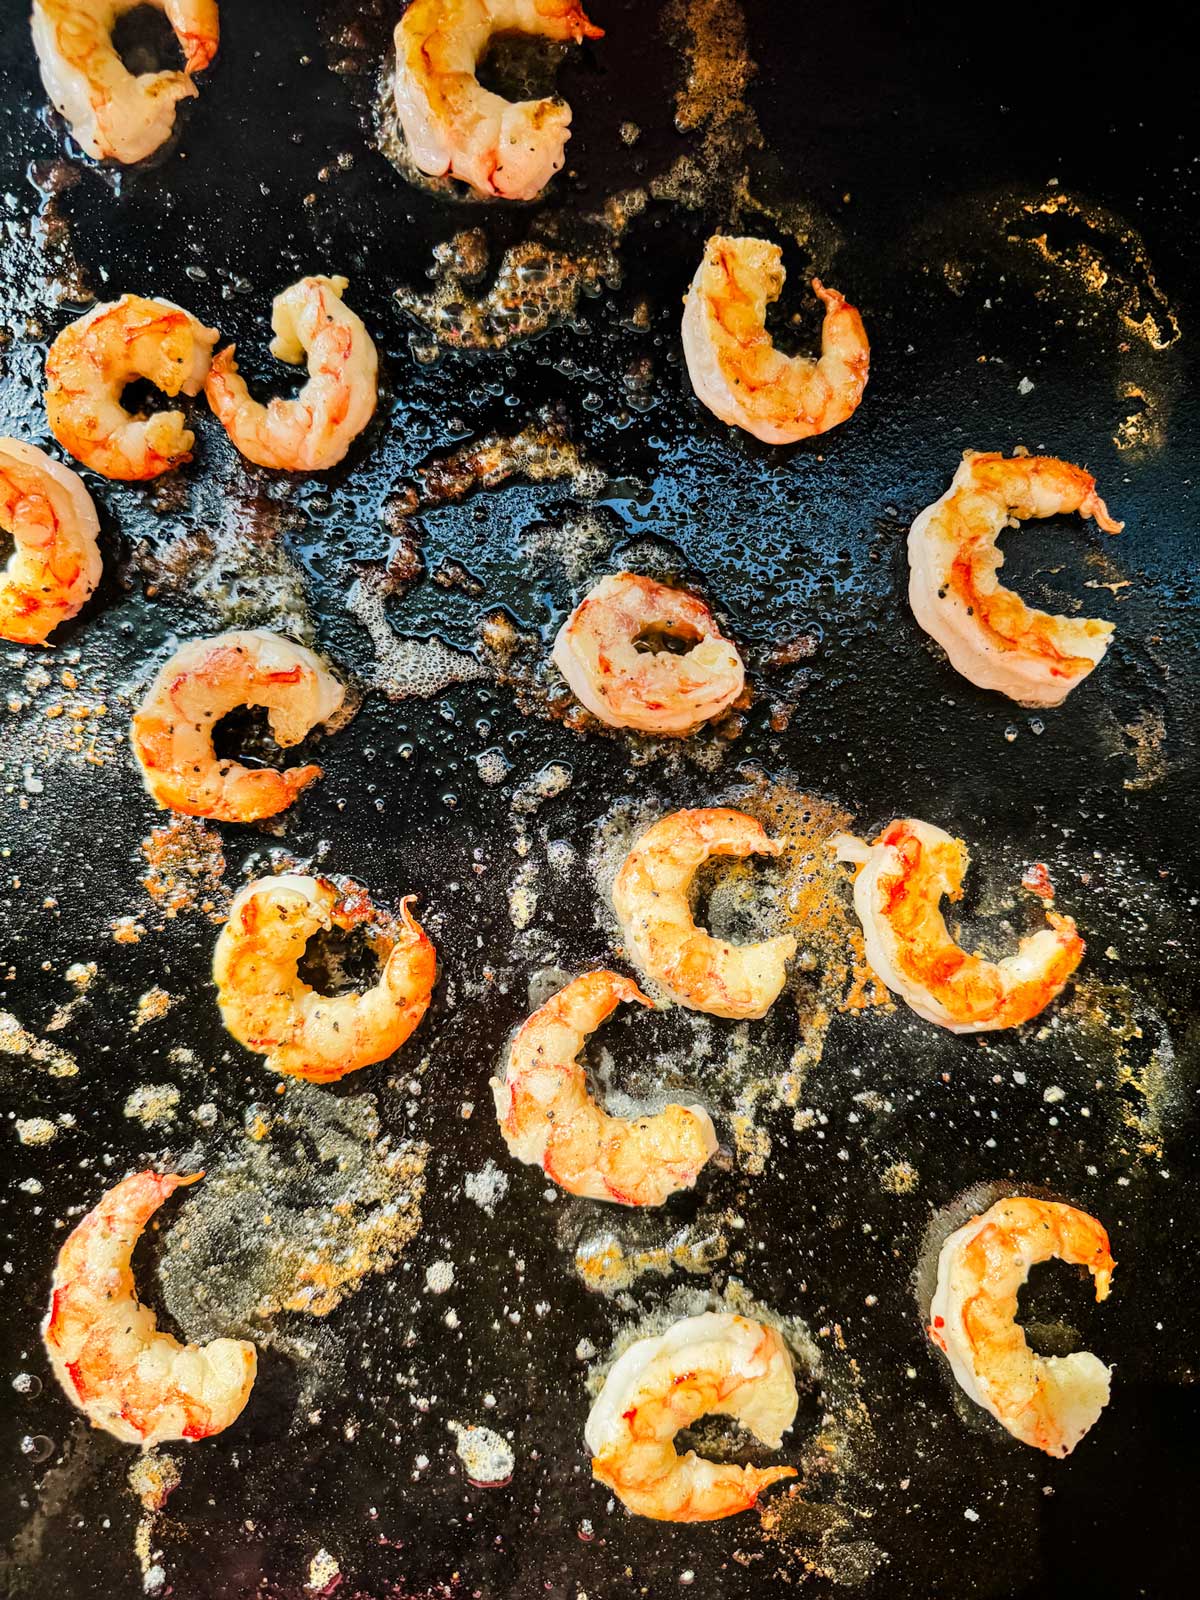
- Arrange the shrimp in a single layer and cook for 2 to 3 minutes per side.
- Remove the shrimp and the butter from the griddle. Add the lemon juice and zest to the butter. Toss the shrimp with the garlic butter and serve immediately.
Leave a Comment & Rate this Recipe