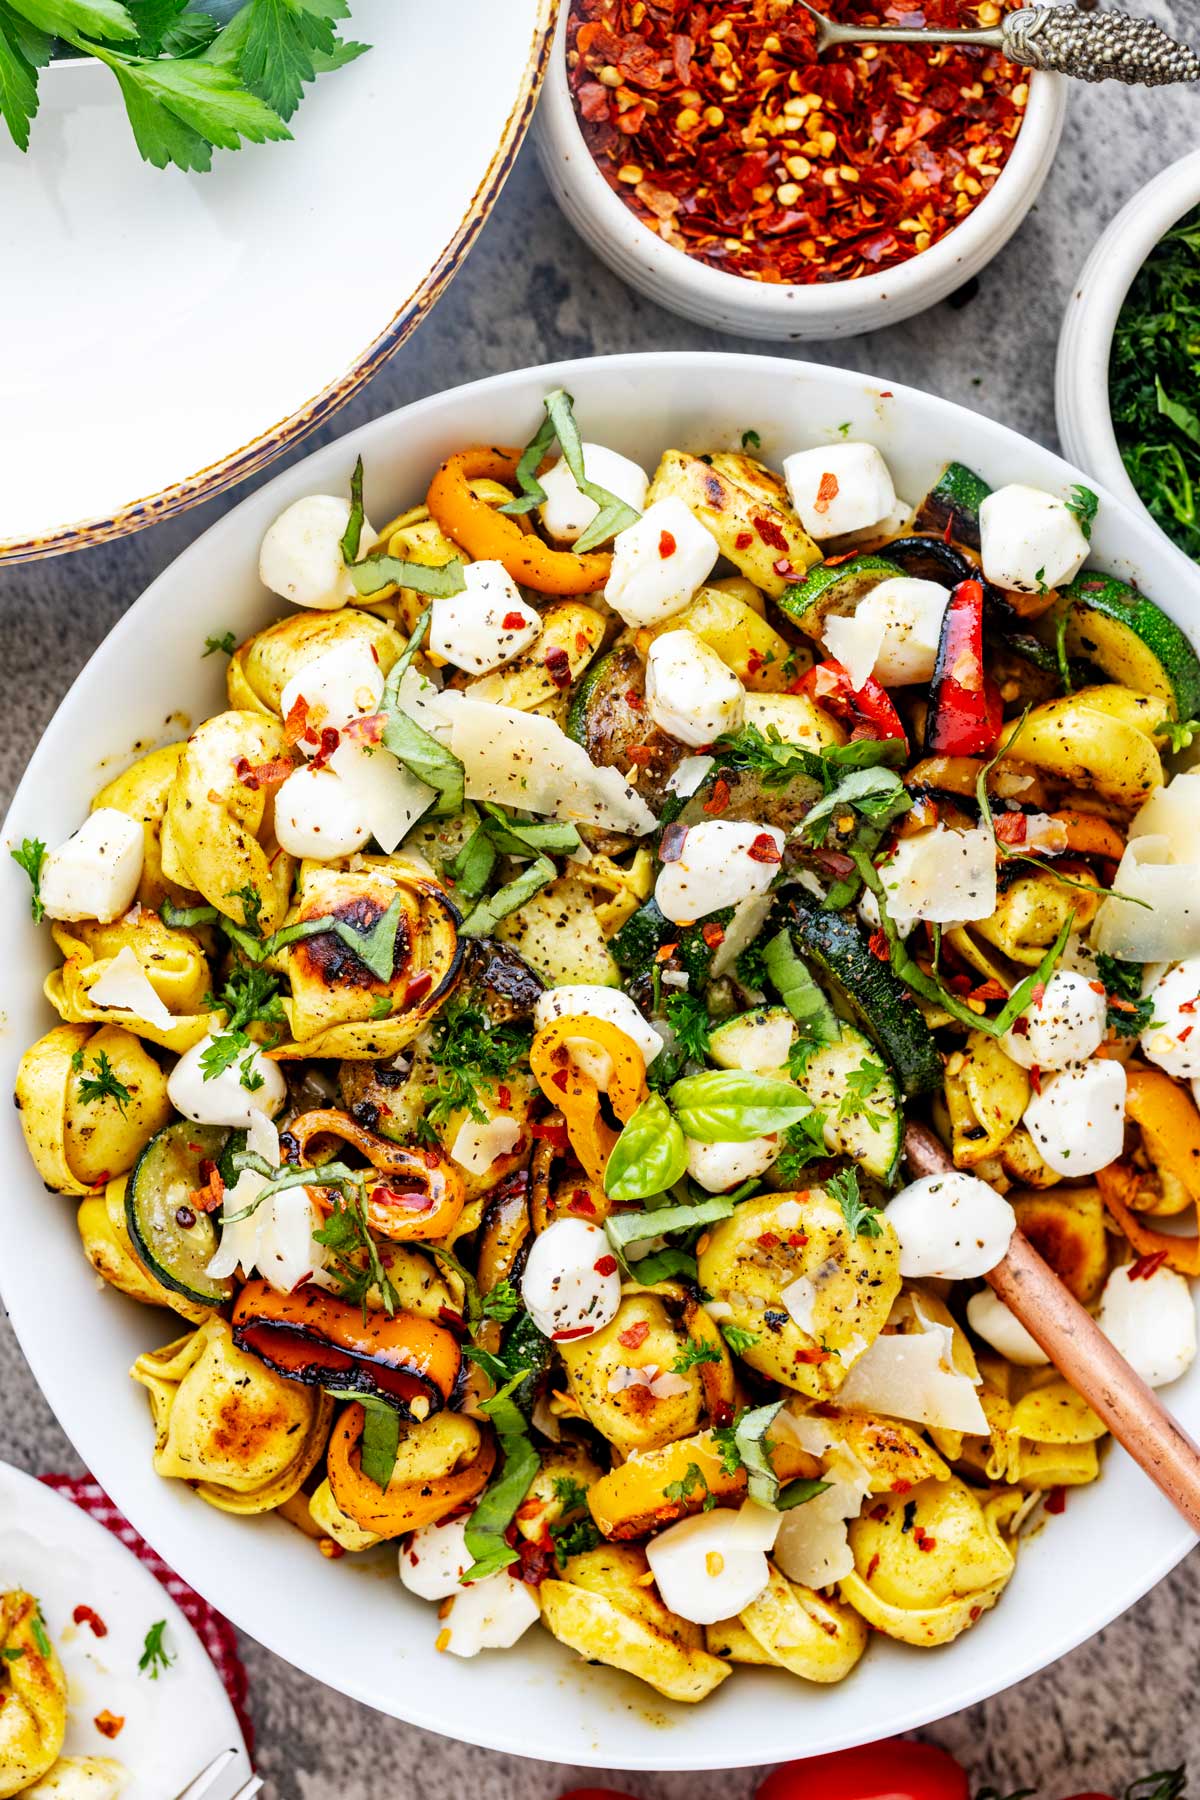
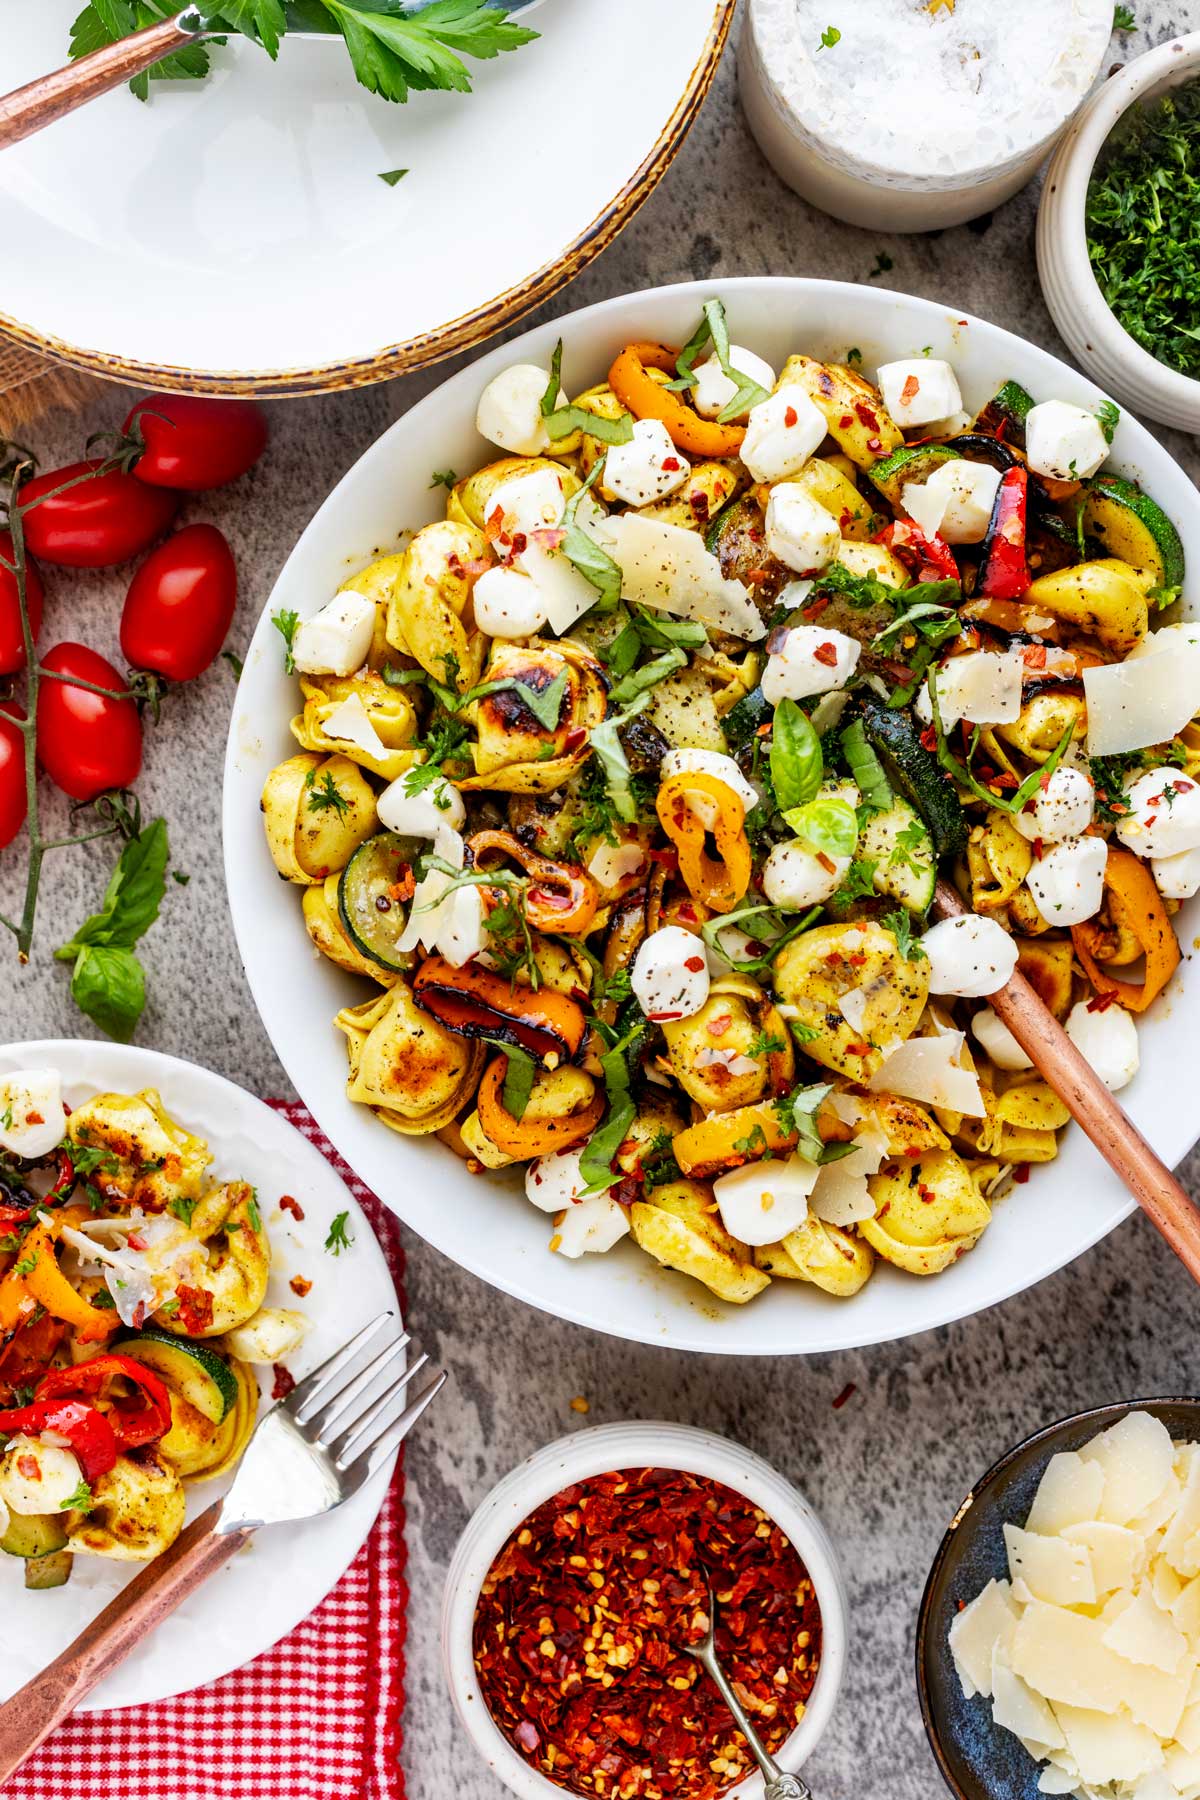
Blackstone Tortellini is an easy-to-make meal that will delight your taste buds. You will love the lightly charred tortellini mixed with veggies, mozzarella, and zingy Italian dressing. This delicious, no-fail dinner can be prepared in less than 30 minutes, making it a quick and vibrant meal for your family and friends to enjoy.
When someone first asked me about cooking tortellini on the Blackstone, my first reaction was confusion. Why? My pots work just fine.
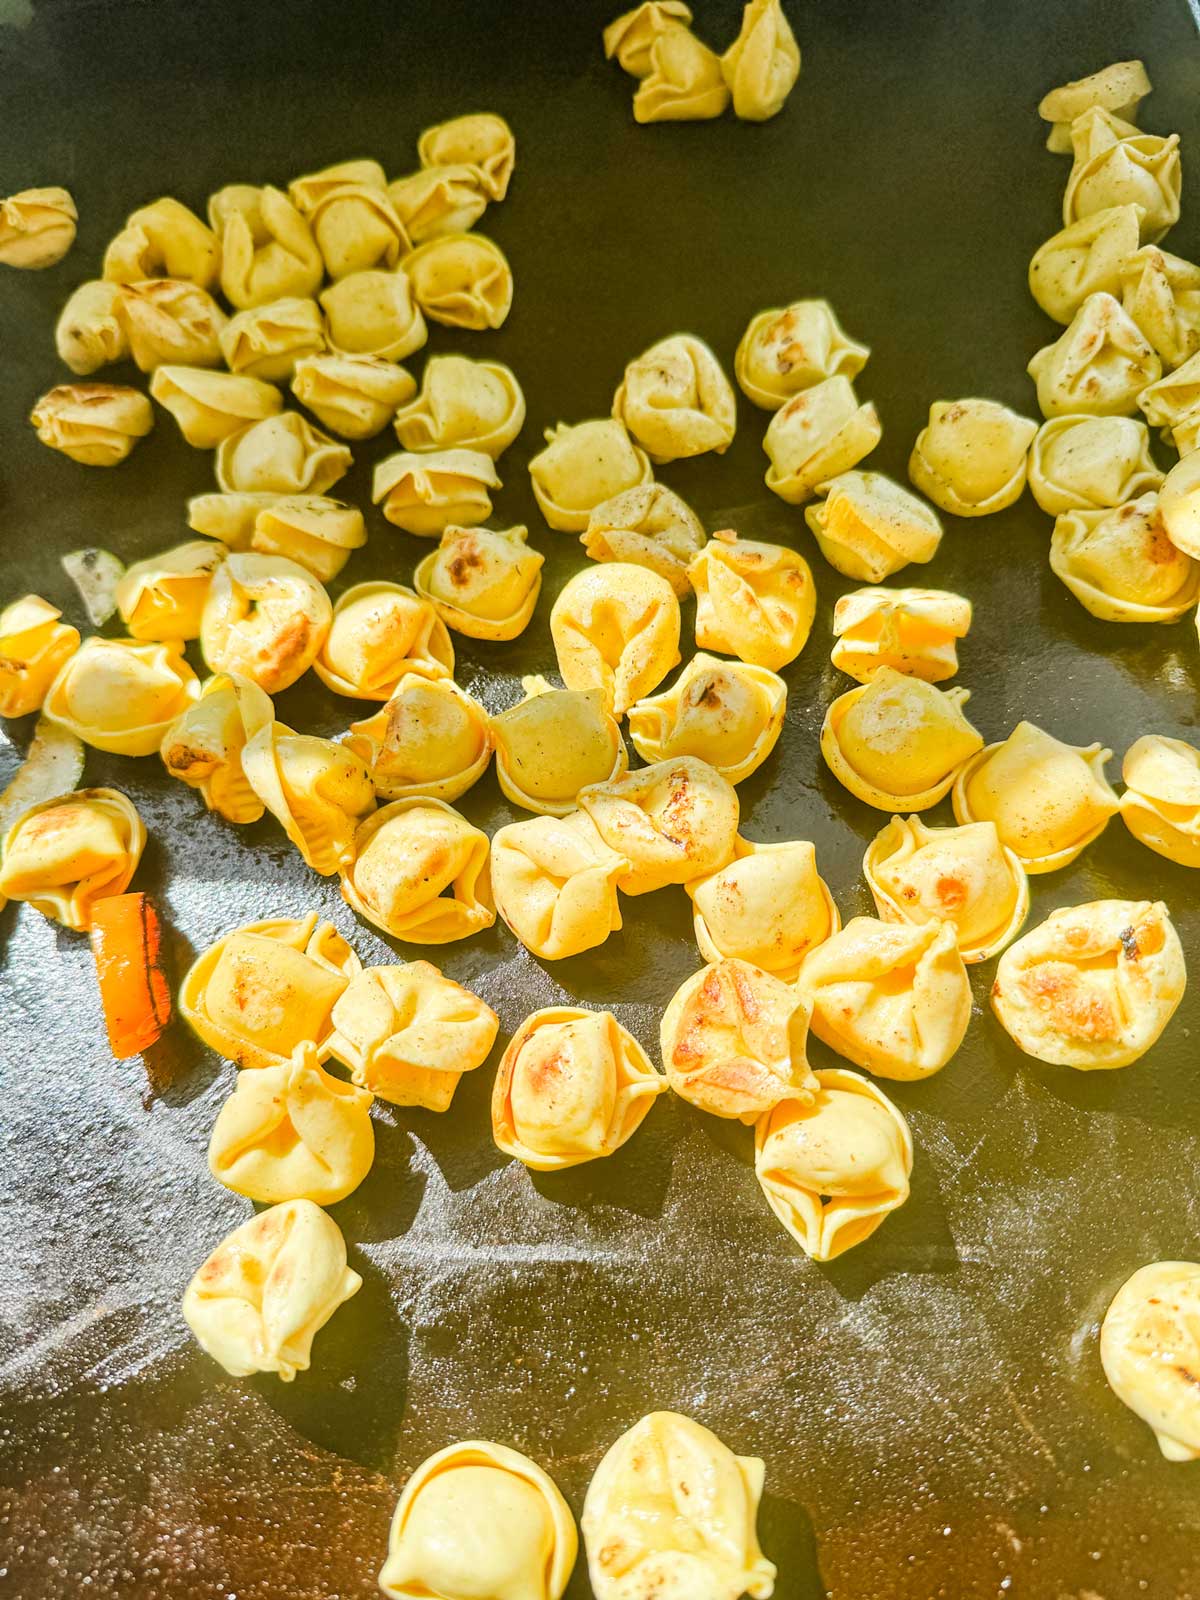
Here's the why. The flat top gives you something boiling water never will. Blistered edges, plus a faintly toasted exterior that turns refrigerated tortellini into something with real depth.
The trick that makes it work is a splash of water under a basting dome. The water hits the hot surface and turns into steam that the dome traps it just long enough to cook tortellini through. No boiling. No straining. No extra dishes. (Which is always a win at my house.)
One non-negotiable: use refrigerated tortellini, not dried. Dried needs a pre-boil before it hits the griddle, which kind of obliterates the entire point.
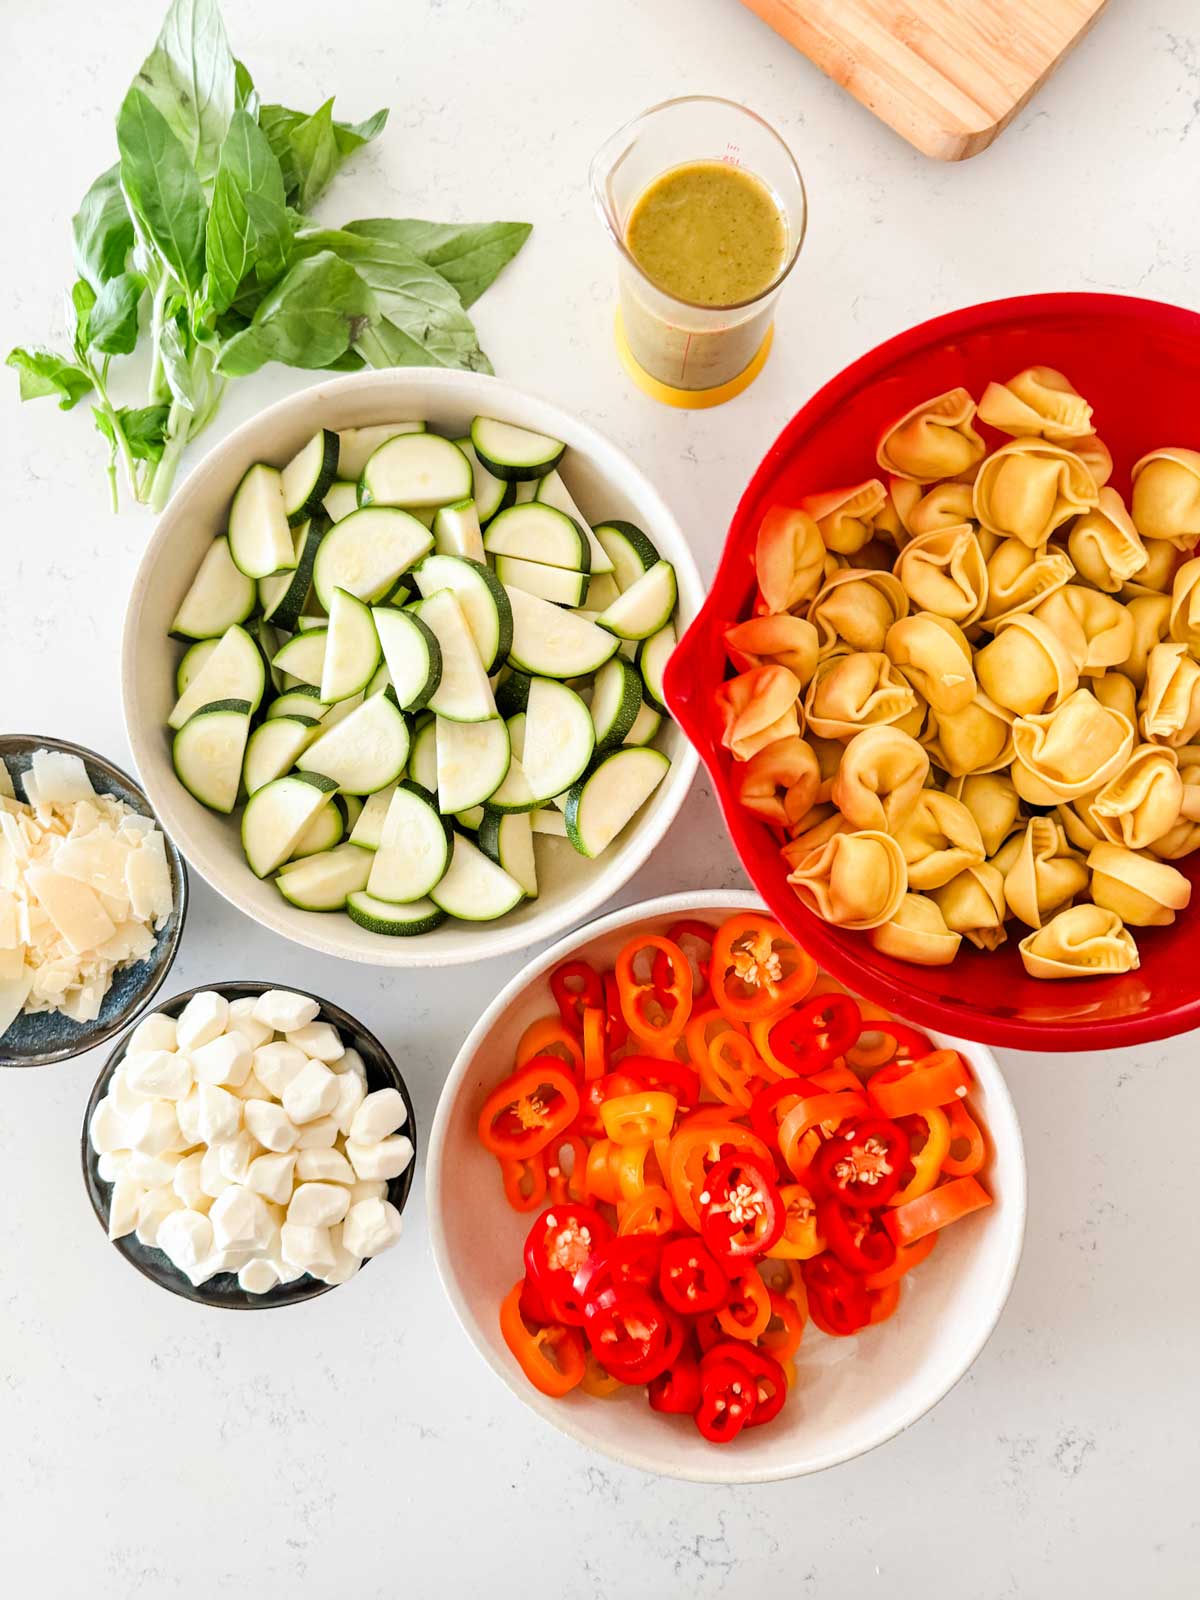
Ingredient Notes
Feel free to use the veggies you have on hand. I’ve used cherry tomatoes instead of the peppers, and yellow squash rather than zucchini with success.
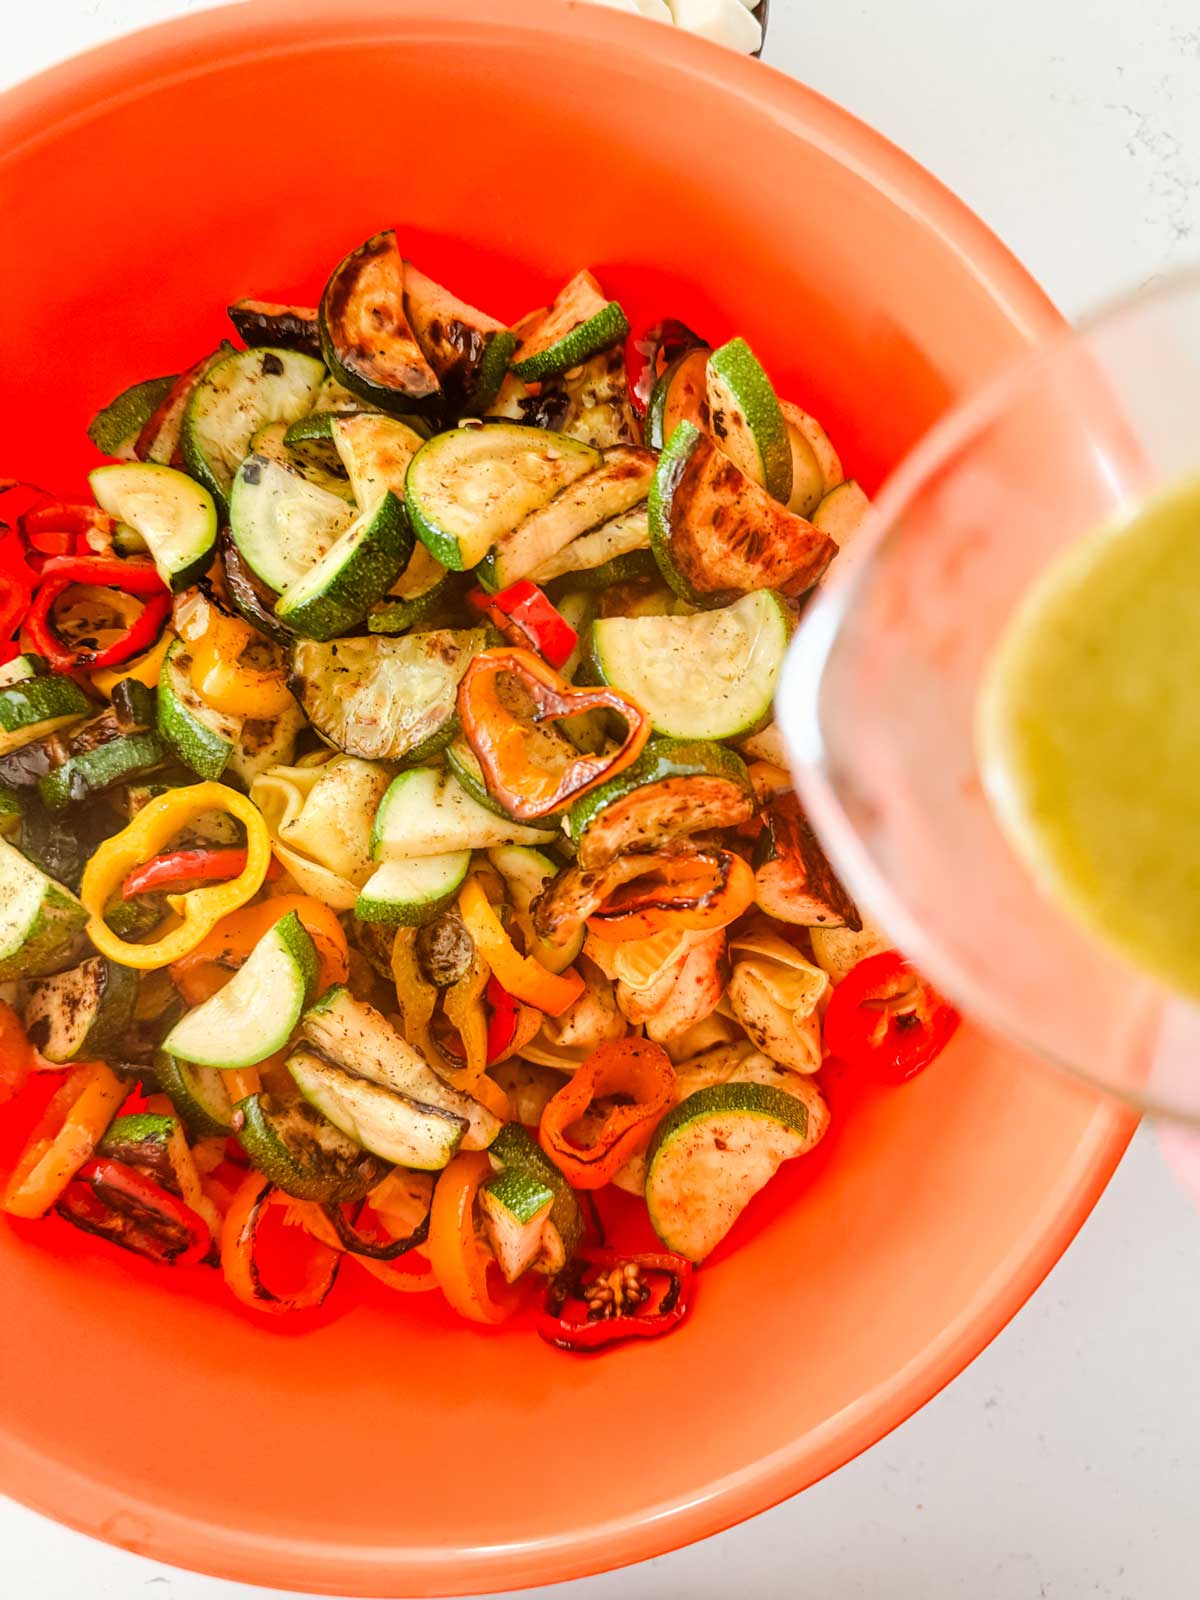
I love to make homemade Italian dressing but feel free to use a brand you love. Want to mix it up? Balsamic vinaigrette is a nice twist.
A Few Things I've Learned
- Pre-heating is Key: Don't rush to drop your ingredients on the griddle. A well-preheated Blackstone ensures every piece of tortellini gets that irresistible crispy outer layer. Aim for that golden 350-degree F sweet spot. An infrared thermometer is helpful.
- Water Dash Magic: Adding just a splash of water before covering your tortellini with a dome or lid traps steam, ensuring they cook perfectly inside without losing that delightful crispiness. Don't skip this.
- Experiment with Extras: Tortellini on the griddle is fun to mix up. I've tried (and enjoyed) adding sun-dried tomatoes, sauteed fresh spinach, garlic, onions, sautéed fresh mushrooms, olives, and chili flakes. Blackstone Broccoli and Blackstone Asparagus are also nice additions. (Make sure you cook them first!)
- Cheese Swap: I also tested this with Gouda and goat cheese and loved both.
- Make it Meaty: You can add diced cooked Blackstone chicken breasts or Blackstone shrimp. Or add Italian sausage to this recipe to make Blackstone sausage tortellini.
Step by Step
For the full recipe with measurements, see the recipe card at the end of the post.
More Blackstone Recipes to Try
- Blackstone Chicken: Juicy on the inside, crispy on the outside, our Blackstone Chicken recipe is a crowd-pleaser that never disappoints.
- Blackstone Fried Rice: Elevate your side dish game with this veggie-packed fried rice.
- Blackstone Smash Burgers: Craving that irresistible crust? Our Blackstone Smash Burgers are all about that perfect sear, making every bite a delectable delight.
- Blackstone Pancakes: Start your day with the fluffiest, most mouthwatering pancakes you've ever had.

Blackstone Tortellini
Ingredients
- 2 medium zucchini cut in half lengthwise and sliced
- 8 ounces sweet mini peppers trimmed, seeded, and sliced
- 22 ounces refrigerated or thawed tortellini
- ½ cup Italian dressing
- 4 ounces mozzarella pearls
- For serving: fresh basil leaves Parmesan cheese
Instructions
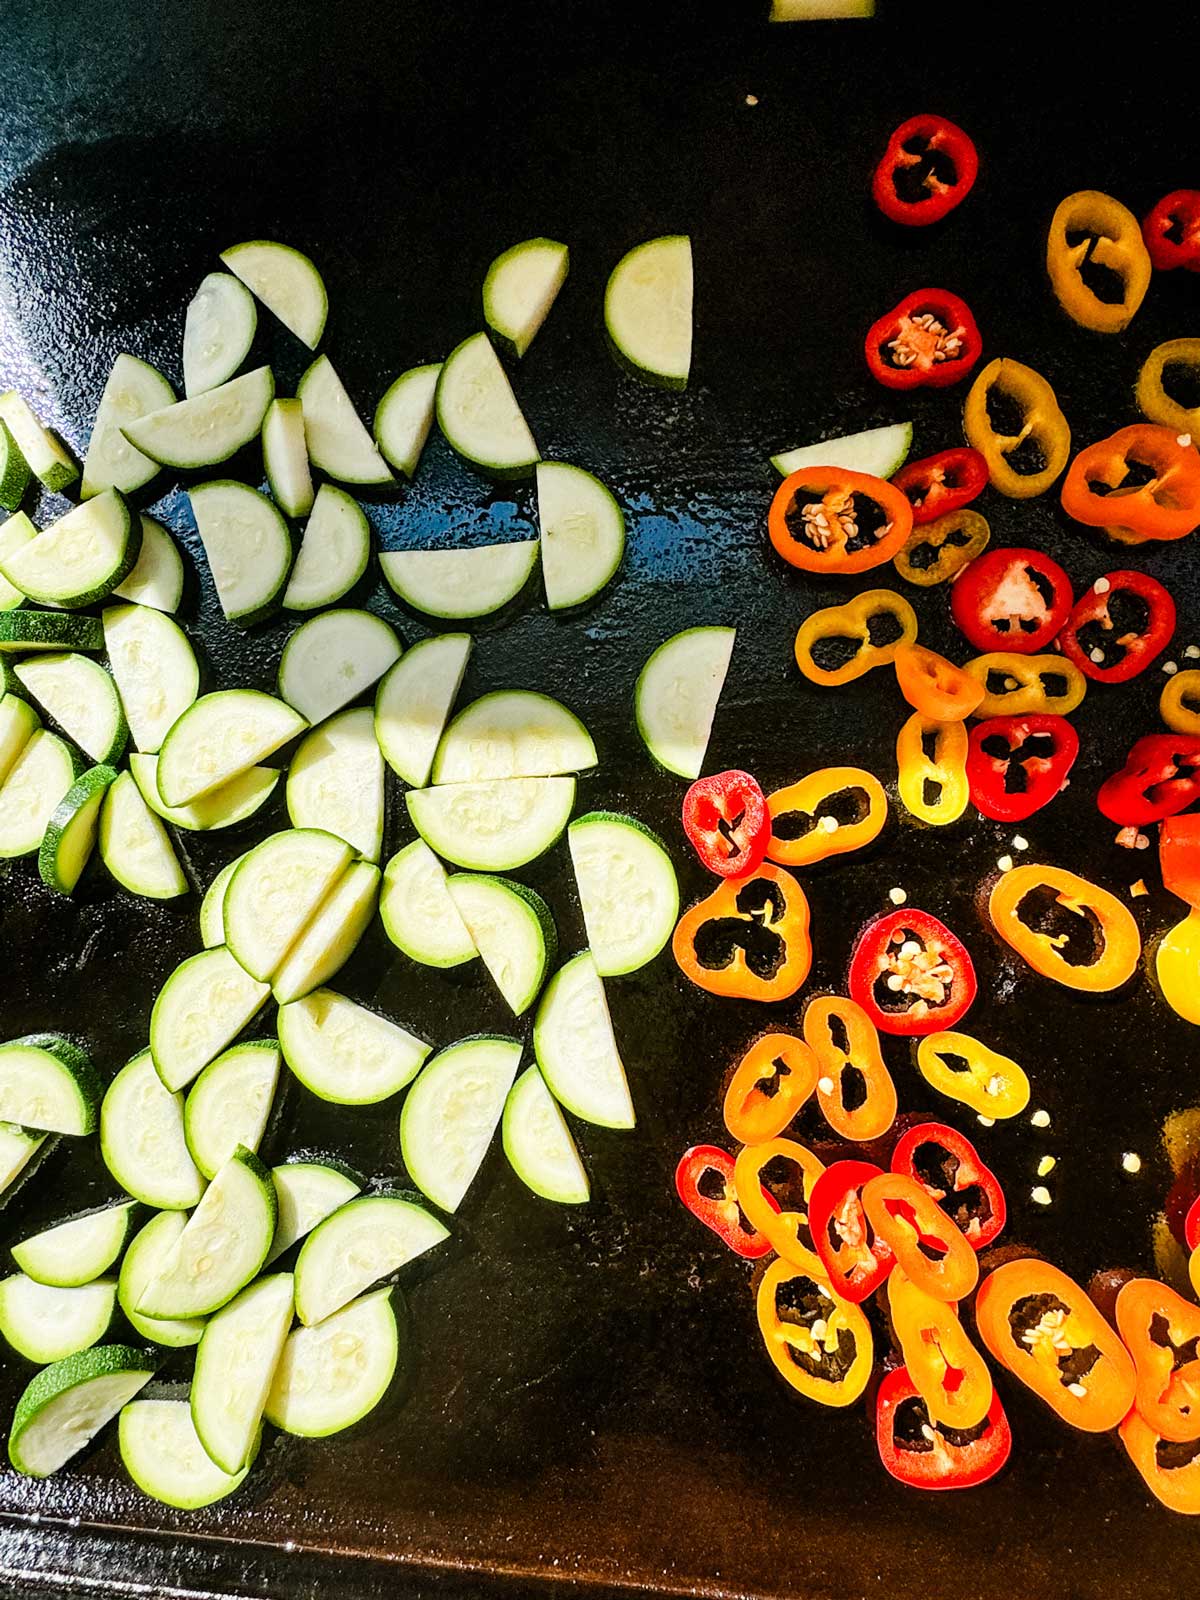
- Preheat your Blackstone to medium heat (about 350 degrees F). Oil your griddle.
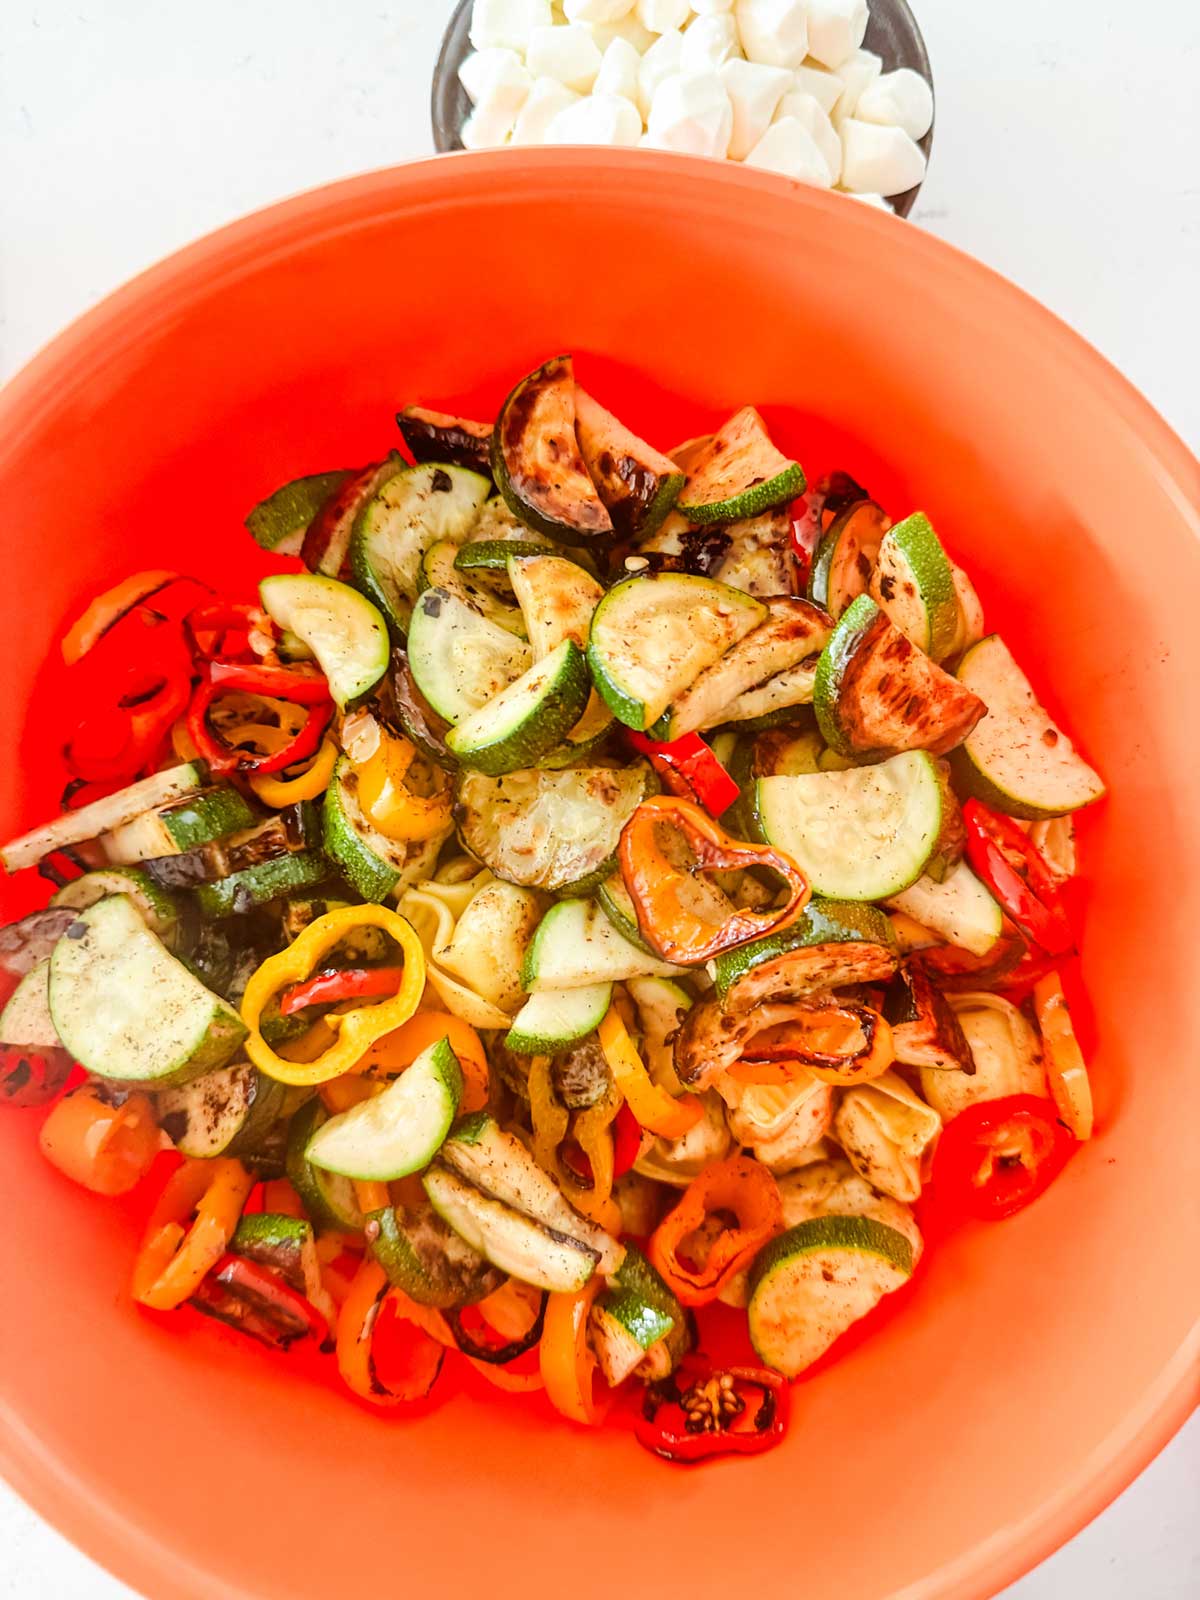
- Place the zucchini and sweet peppers on one side of the griddle.
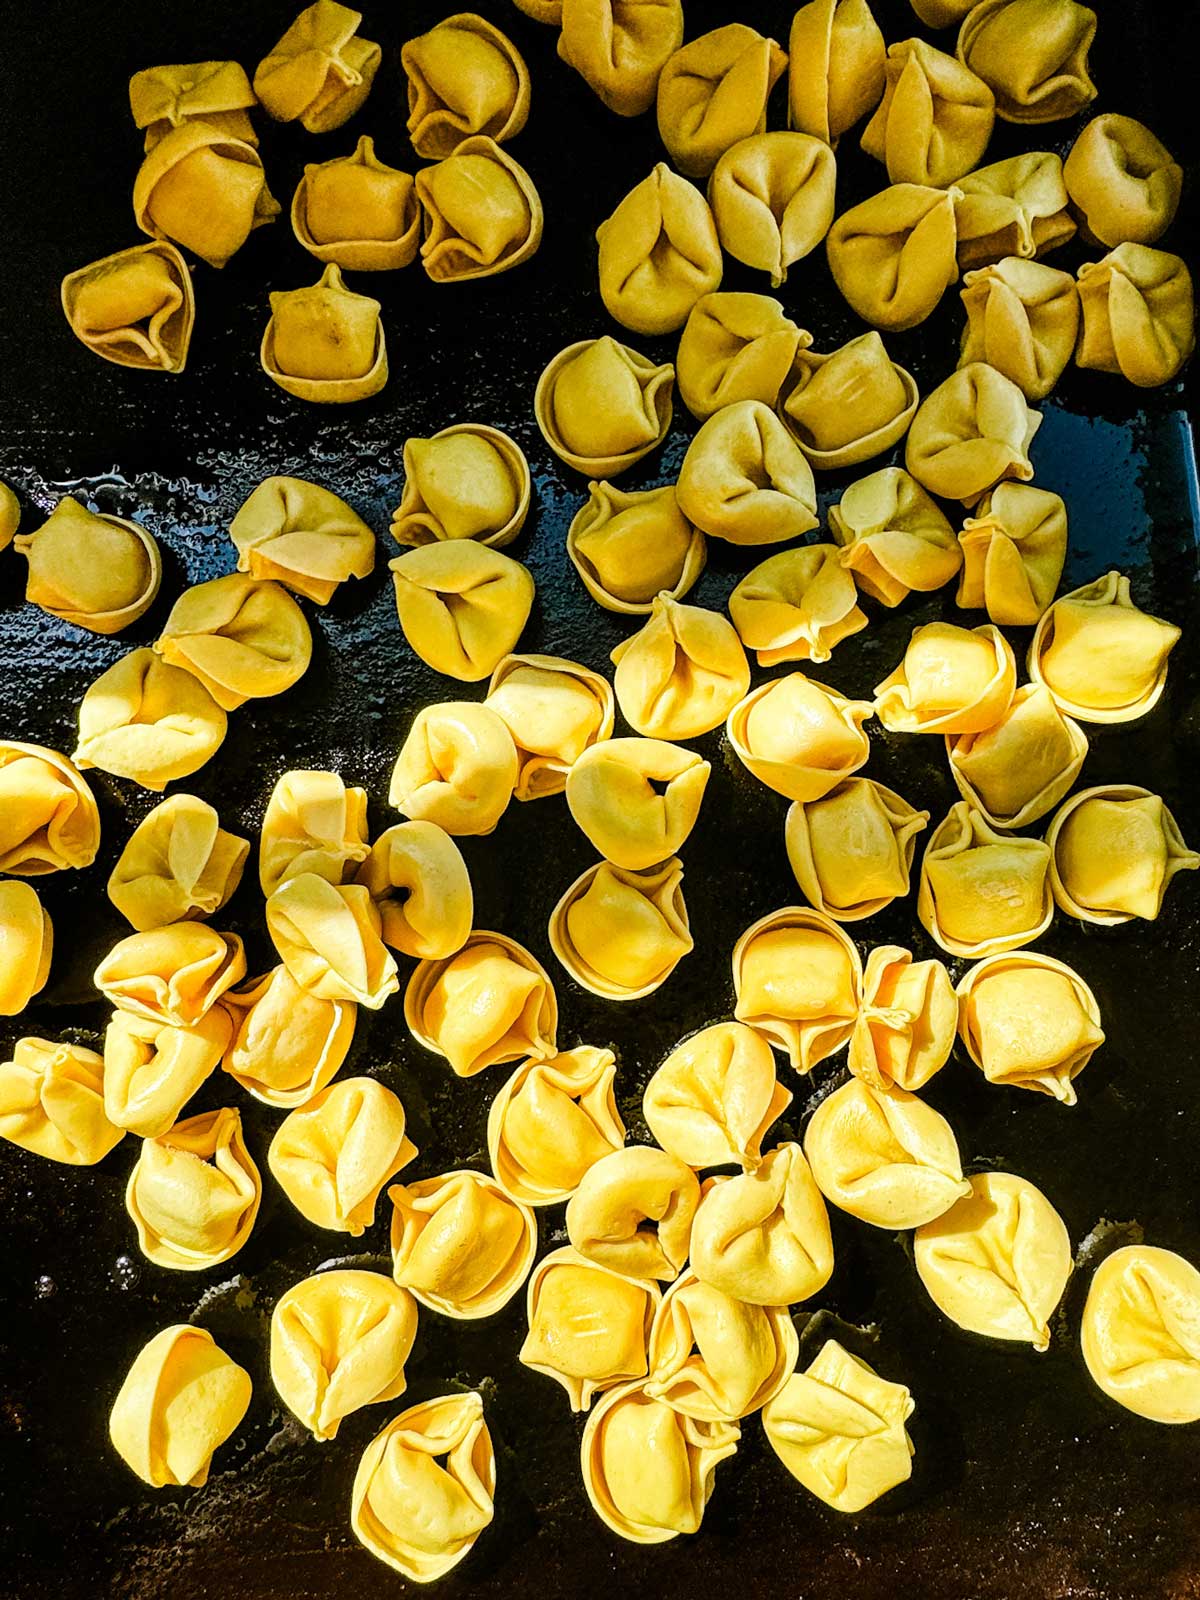
- On the other side, arrange the tortellini. If you don't have a lid for your griddle, place them close enough together that they can be covered by a dome. Use a bottle to add water to the griddle, and then cover the pasta with the dome or close the lid to your griddle.
- Cook for 4 minutes. Stir the vegetables. Uncover the pasta and stir to combine.
- Cook for another 2 to 4 minutes, until the pasta is lightly browned and the vegetables are tender.
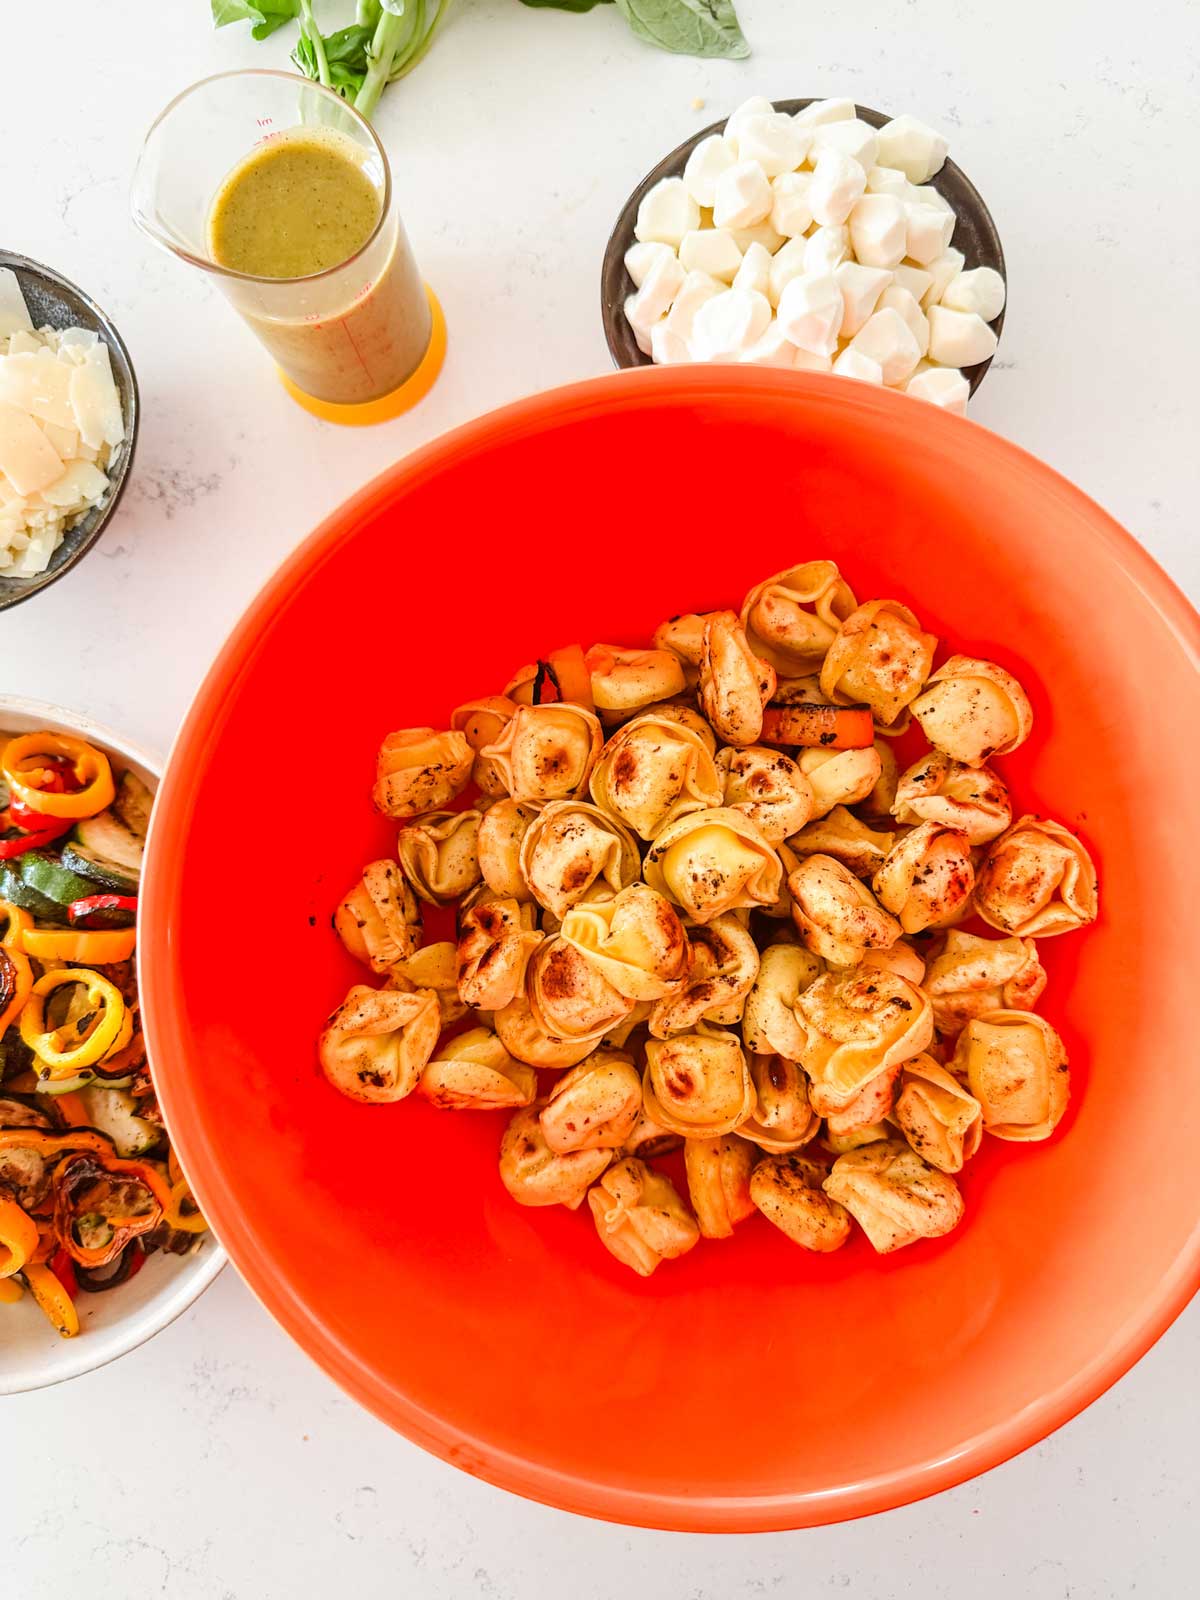
- Transfer to a bowl and toss with the Italian dressing and mozzarella.
- Top with fresh basil and parmesan cheese.

Leave a Comment & Rate this Recipe