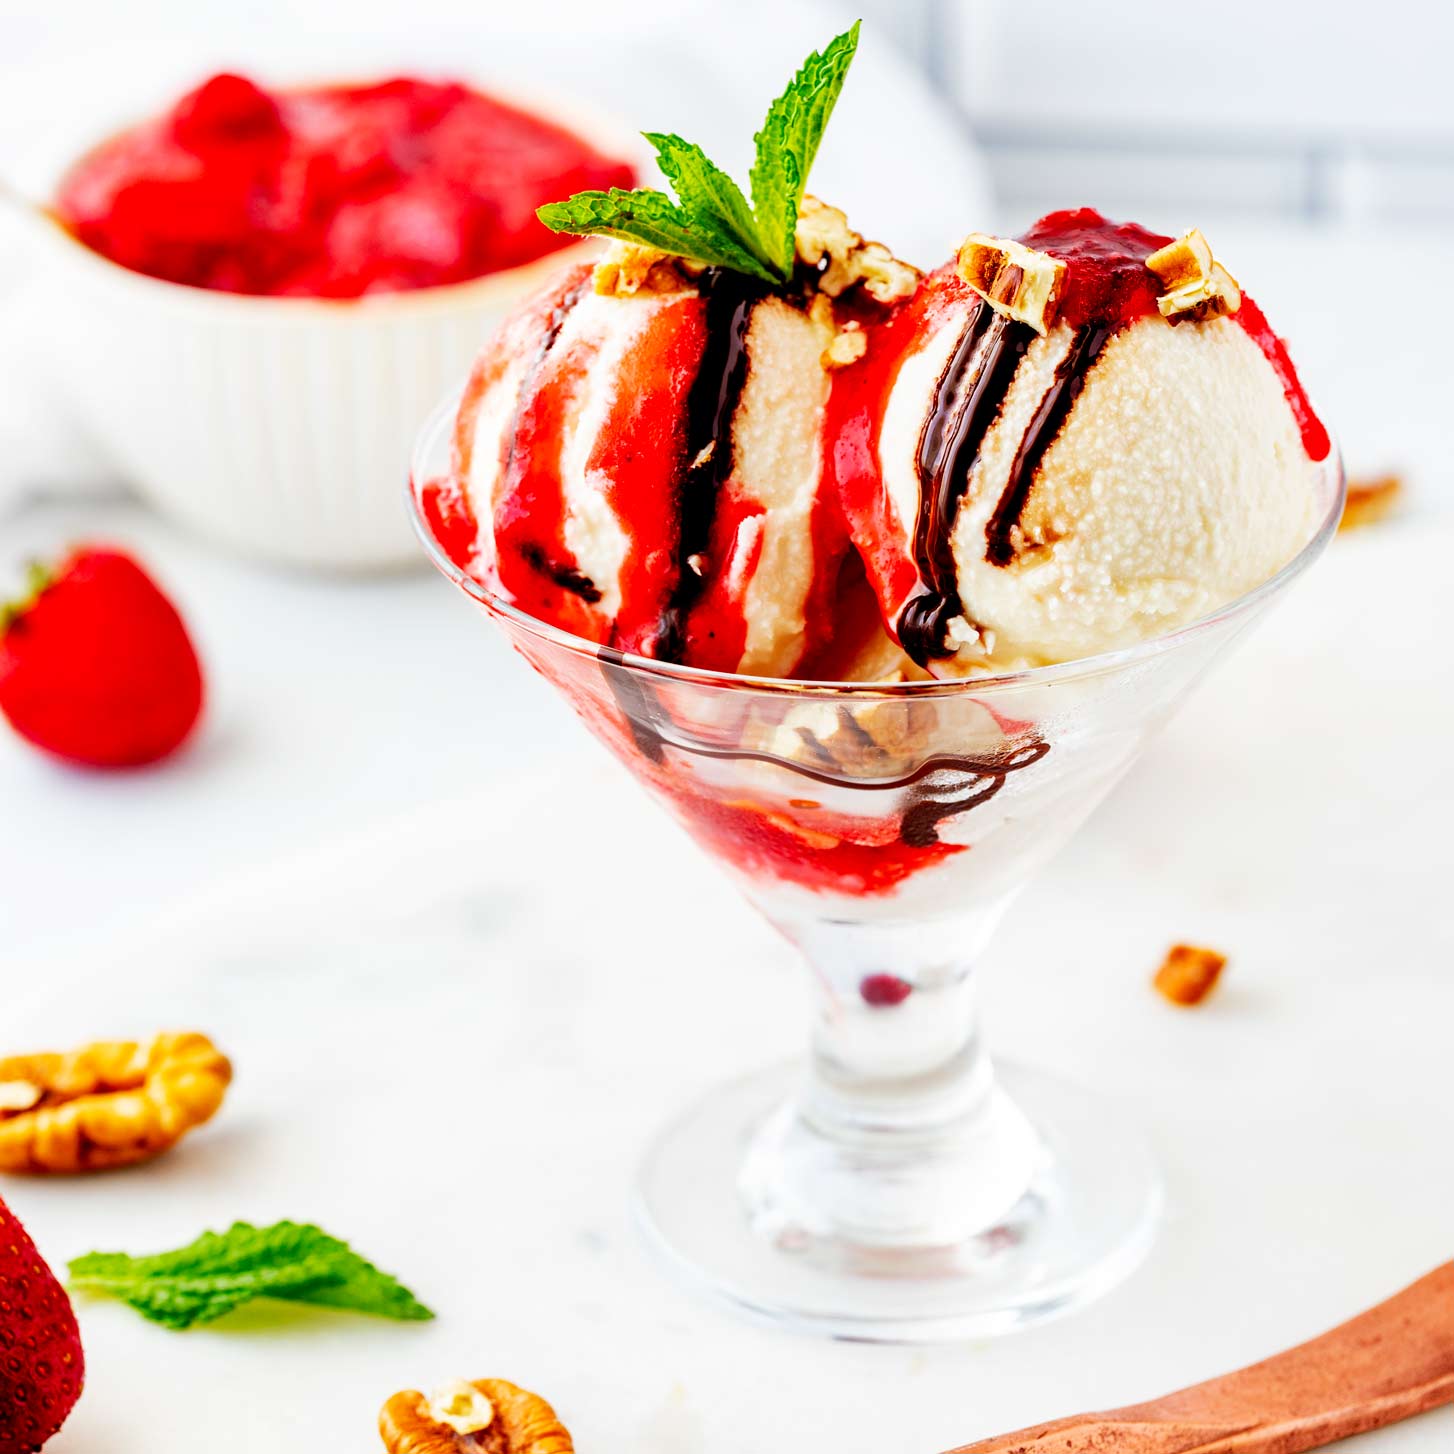
With less than 10 minutes of hands-on time, you can create Ninja Creami Vanilla Ice Cream using simple ingredients that you probably already have on hand. Best of all, there is no cooking required - just a 24-hour freeze of the ice cream base and a quick whirl in your Ninja Creami ice cream maker.

Making homemade vanilla ice cream in the Ninja Creami feels a little bit like kitchen magic. I always find myself wondering how something so easy can be so delicious.
This simple Ninja Creami vanilla base recipe takes less than 10 minutes of hands-on time, so even on the busiest days, you can still set yourself up for something indulgent.
The only real patience required? That 24-hour freeze for the ice cream base until it’s ready for its moment in the Creami.
What comes out is everything you crave in an easy, creamy vanilla frozen dessert—smooth, rich, and so good it makes you wonder why you’d ever buy store-bought again.
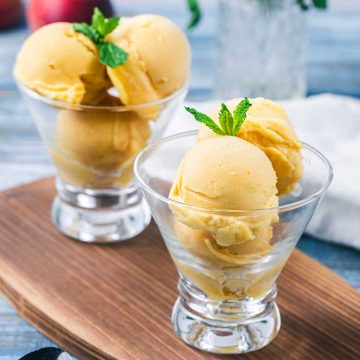
Looking for more frozen treats and Ninja Creami ice cream recipes? Don't miss my Ninja Creami Coffee Ice Cream, Ninja Creami Butter Pecan, Mango Sorbet, Peppermint Ice Cream, Ninja Creami Lemon Sorbet and my Ninja Creami Protein Ice Cream.
Ingredient Talk
I’ve tested this with half-and-half, milk, and heavy cream—each works depending on how rich you want it. For a vegan Ninja Creami ice cream, canned coconut milk or coconut cream gives the best texture. Unsweetened oat milk works too, just a little thinner.
I usually use regular sugar, but you can adjust the sweetness to your taste. Honey or allulose both work and are delicious.
Step by Step
For the full vanilla ice cream recipe for the Ninja Creami with measurements, see the recipe card at the end of the post.
Tips and Tricks
- Don't Rush the Freezing Process: It might be tempting to process your Ninja Creami vanilla ice cream base before the 24 hours are up, but patience is key here.
- Experiment with Mix-Ins: Once you've mastered the basic vanilla recipe, feel free to get creative with add-ins. Chocolate chips, crumbled brownies, sprinkles, crushed cookies, or swirls of caramel or fruit sauce can all add an exciting twist to your homemade ice cream.
- Re-Spin If Necessary: if you don’t love the texture after the first spin, just give it a quick respin. Chances are, this will rectify the situation.
FAQs
Why does my Ninja Creami ice cream taste greasy?
If you're finding that your Ninja Creami Ice Cream has a greasy taste, it's likely due to a high butterfat content in your ice cream mix. This can leave an unpleasantly cloying film in your mouth. The solution is to try using less cream and more milk in your recipe. (This is why we use half and half - in my experience, it is the perfect blend!)
What is the best freezer temperature for freezing a Ninja Creami Ice Cream Base?
The optimal freezer temperature for the Ninja Creami is between 9 and -7 degrees Fahrenheit.
I have my freezer set to 0° F and it works perfectly. Ultimately, the exact temperature may vary based on individual freezers and personal preferences.
Remember that the Ninja Creami works best when the ice cream mixture is fully frozen, which typically requires about 24 hours.

Ninja Creami Vanilla Ice Cream (without Cream Cheese)
Equipment
- Ninja Creami
- Blender
Ingredients
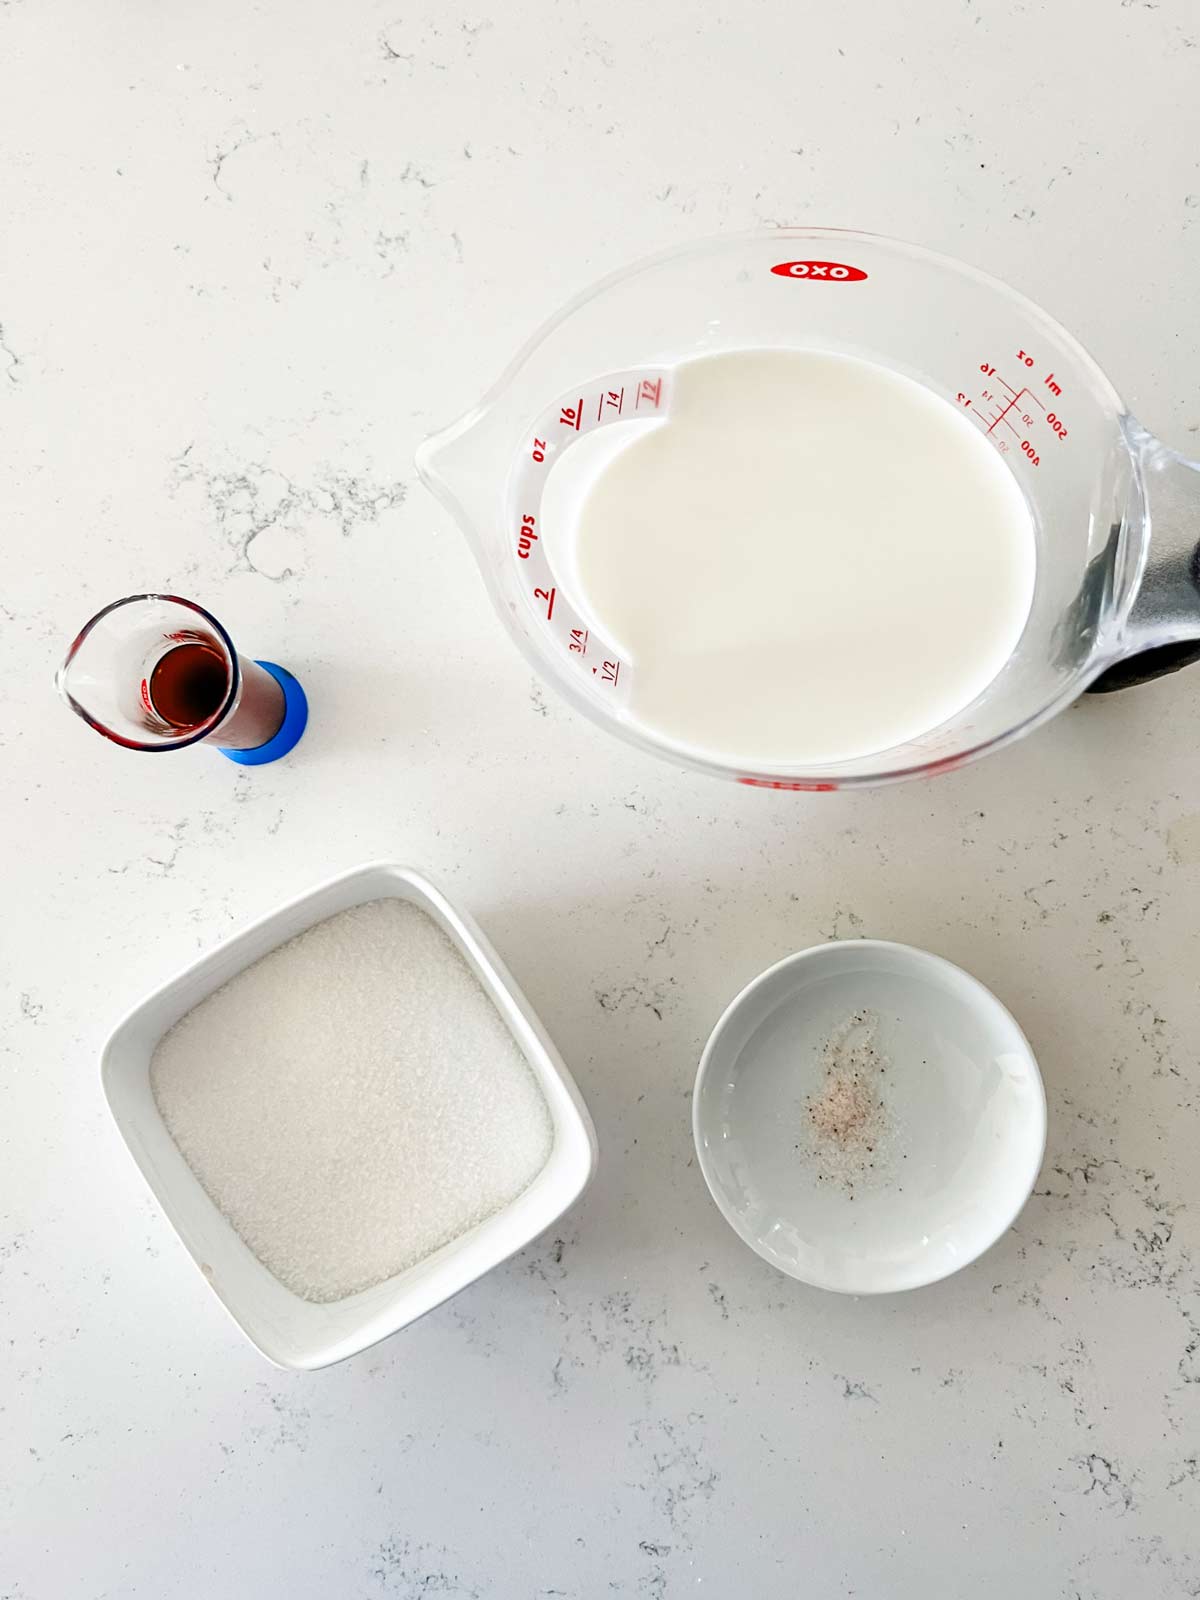
- 1 ½ cups half and half
- ⅓ cup sugar
- 1 tablespoon vanilla extract
- ⅛ teaspoon salt
Instructions
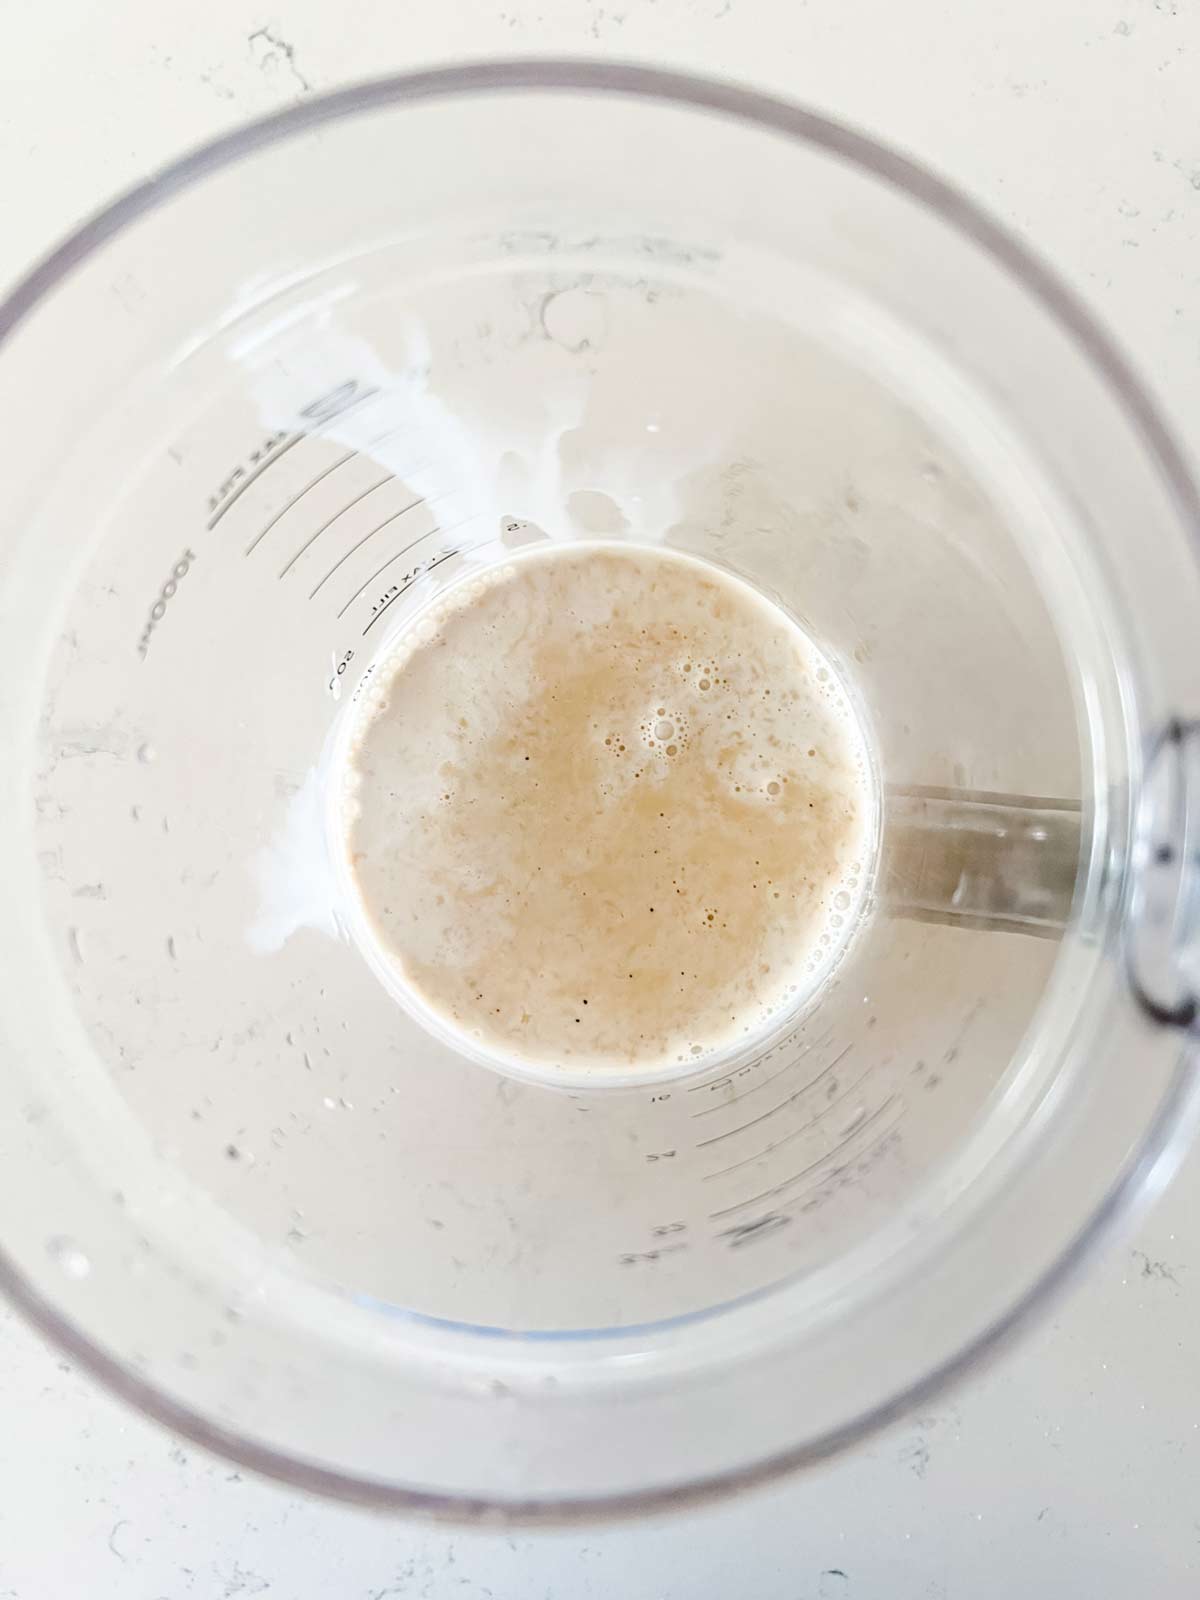
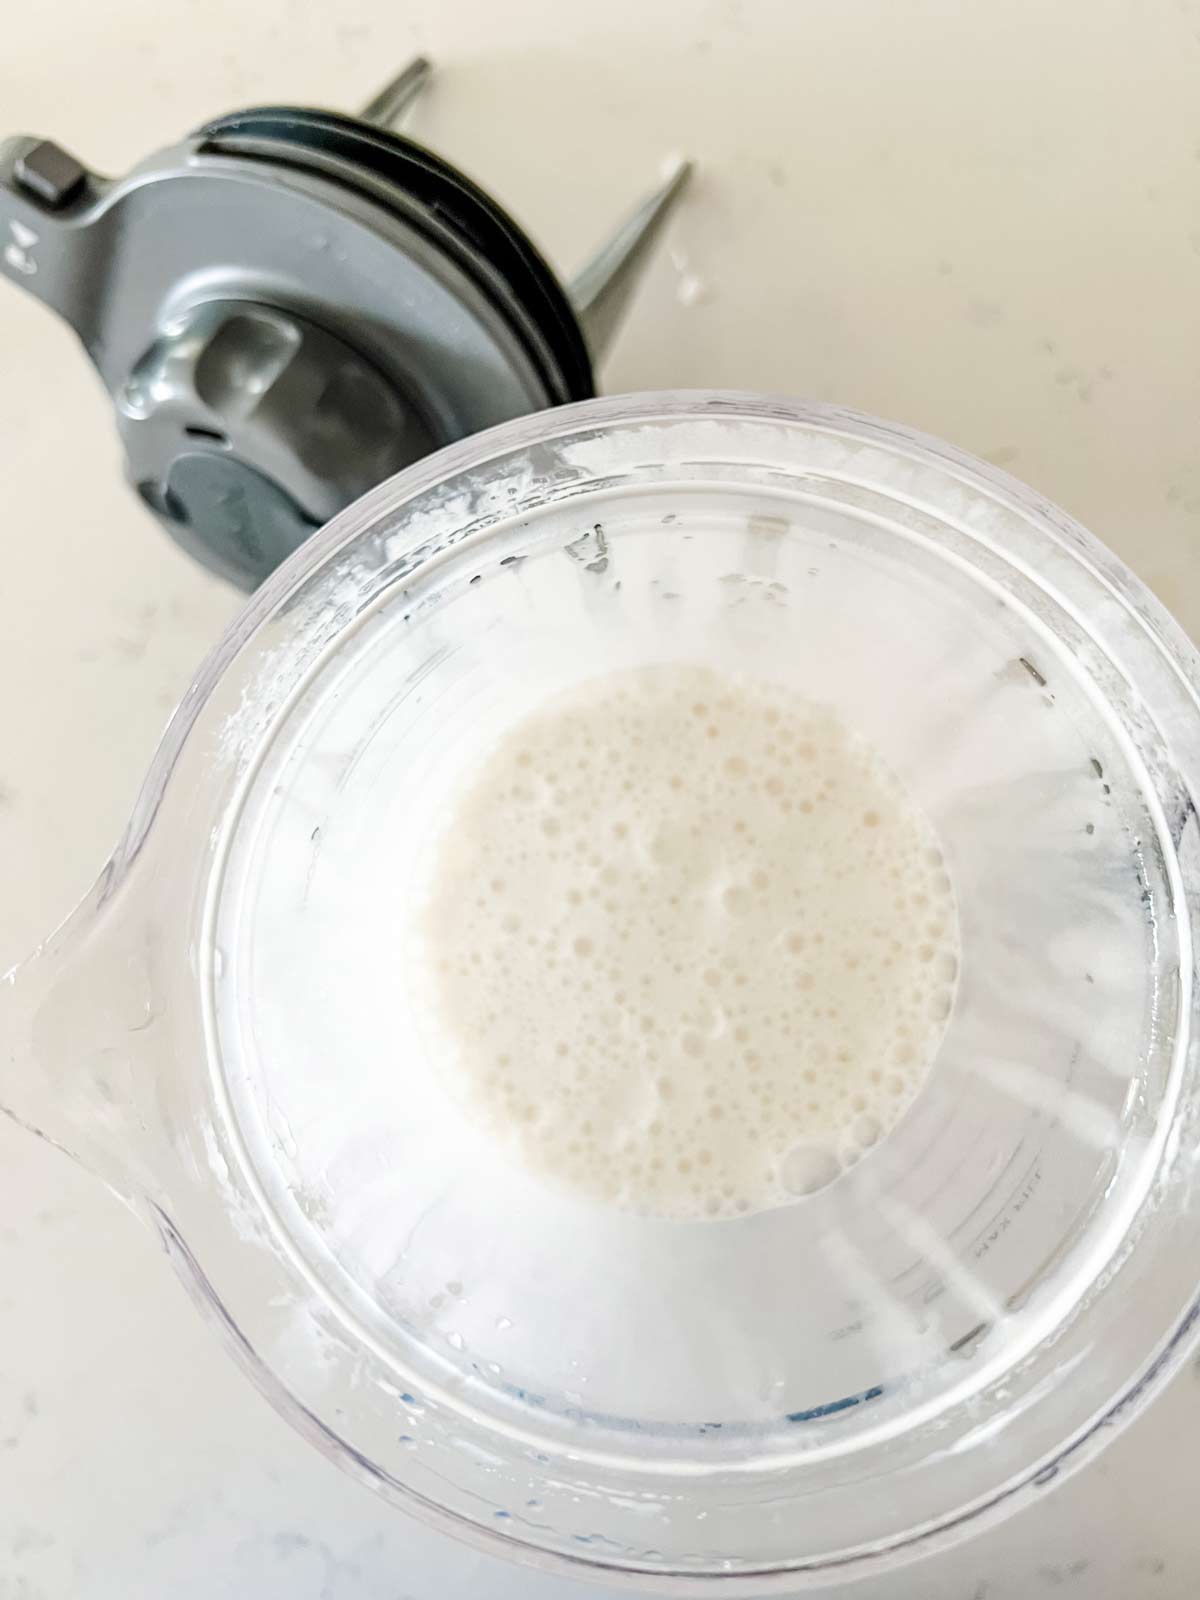
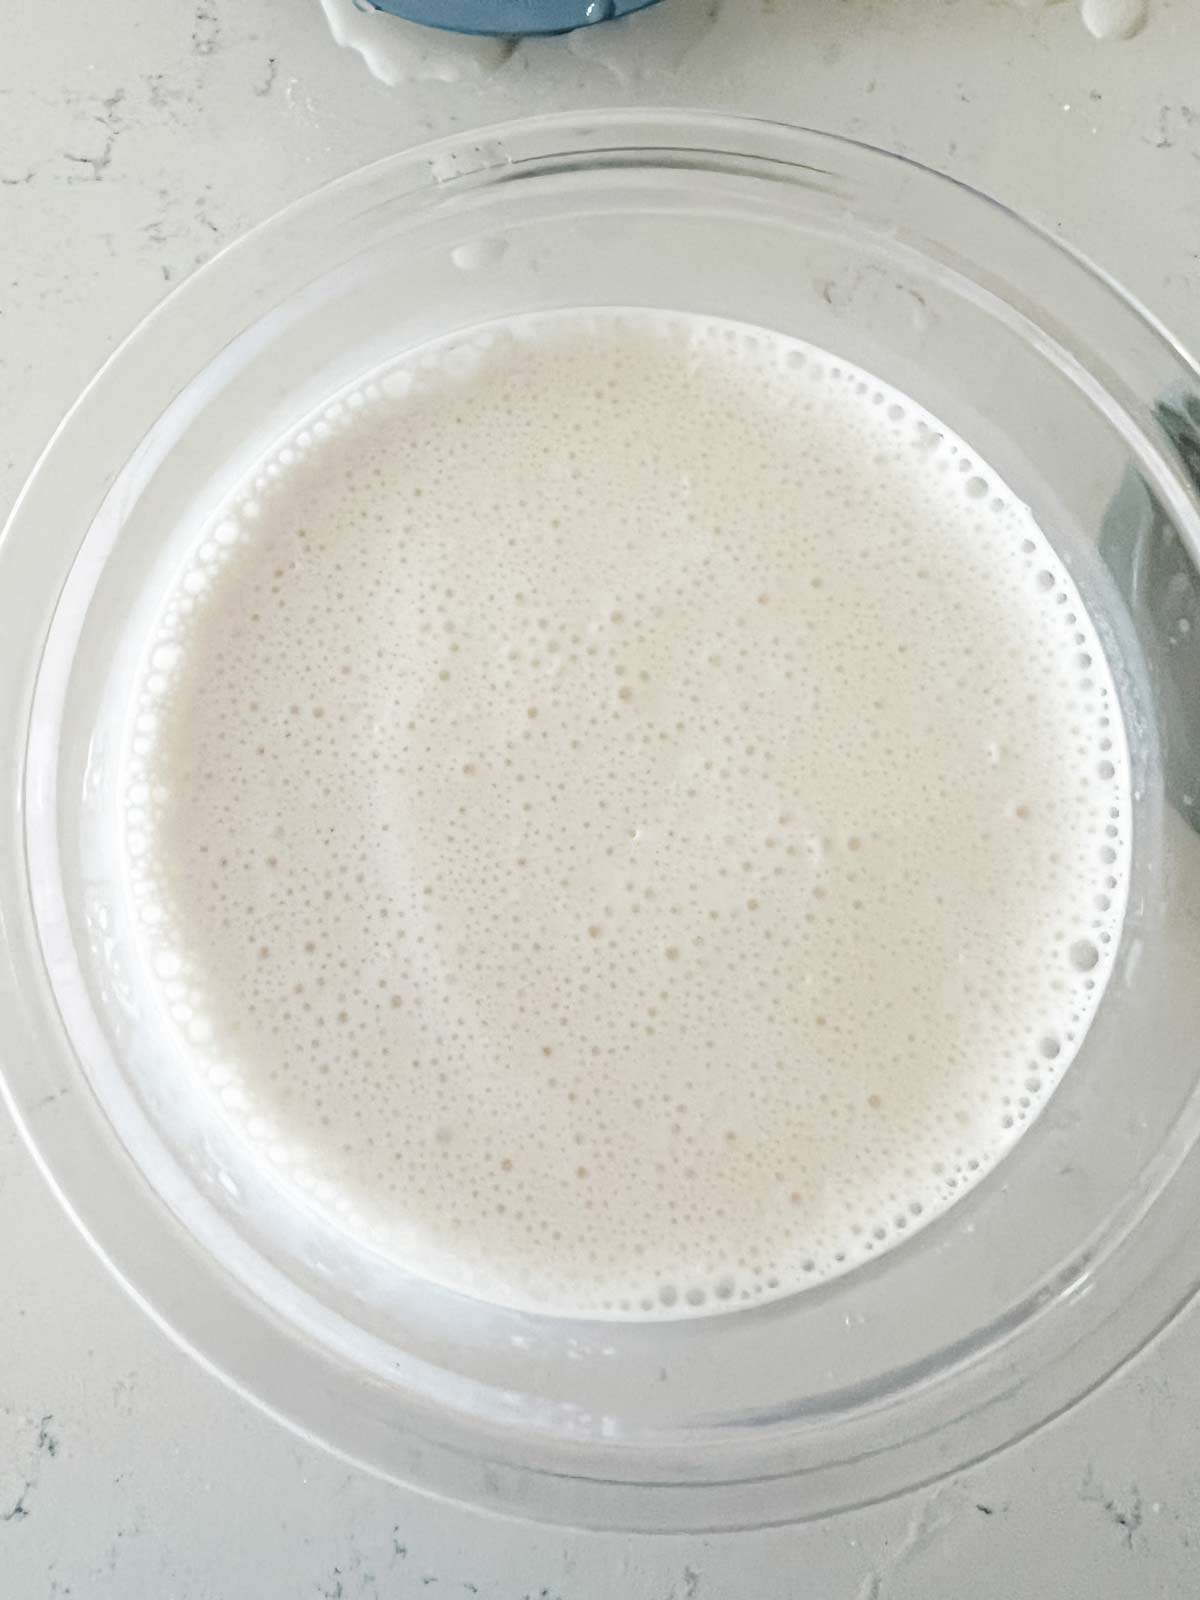
- Place the half and half, sugar, vanilla extract, and salt in a blender. Process until smooth. (Alternatively, you can place the ingredients in a bowl or in your Ninja Creami pint and use an immersion blender to combine.)
- Transfer to a ninja creami pint container and freeze for 24 hours.
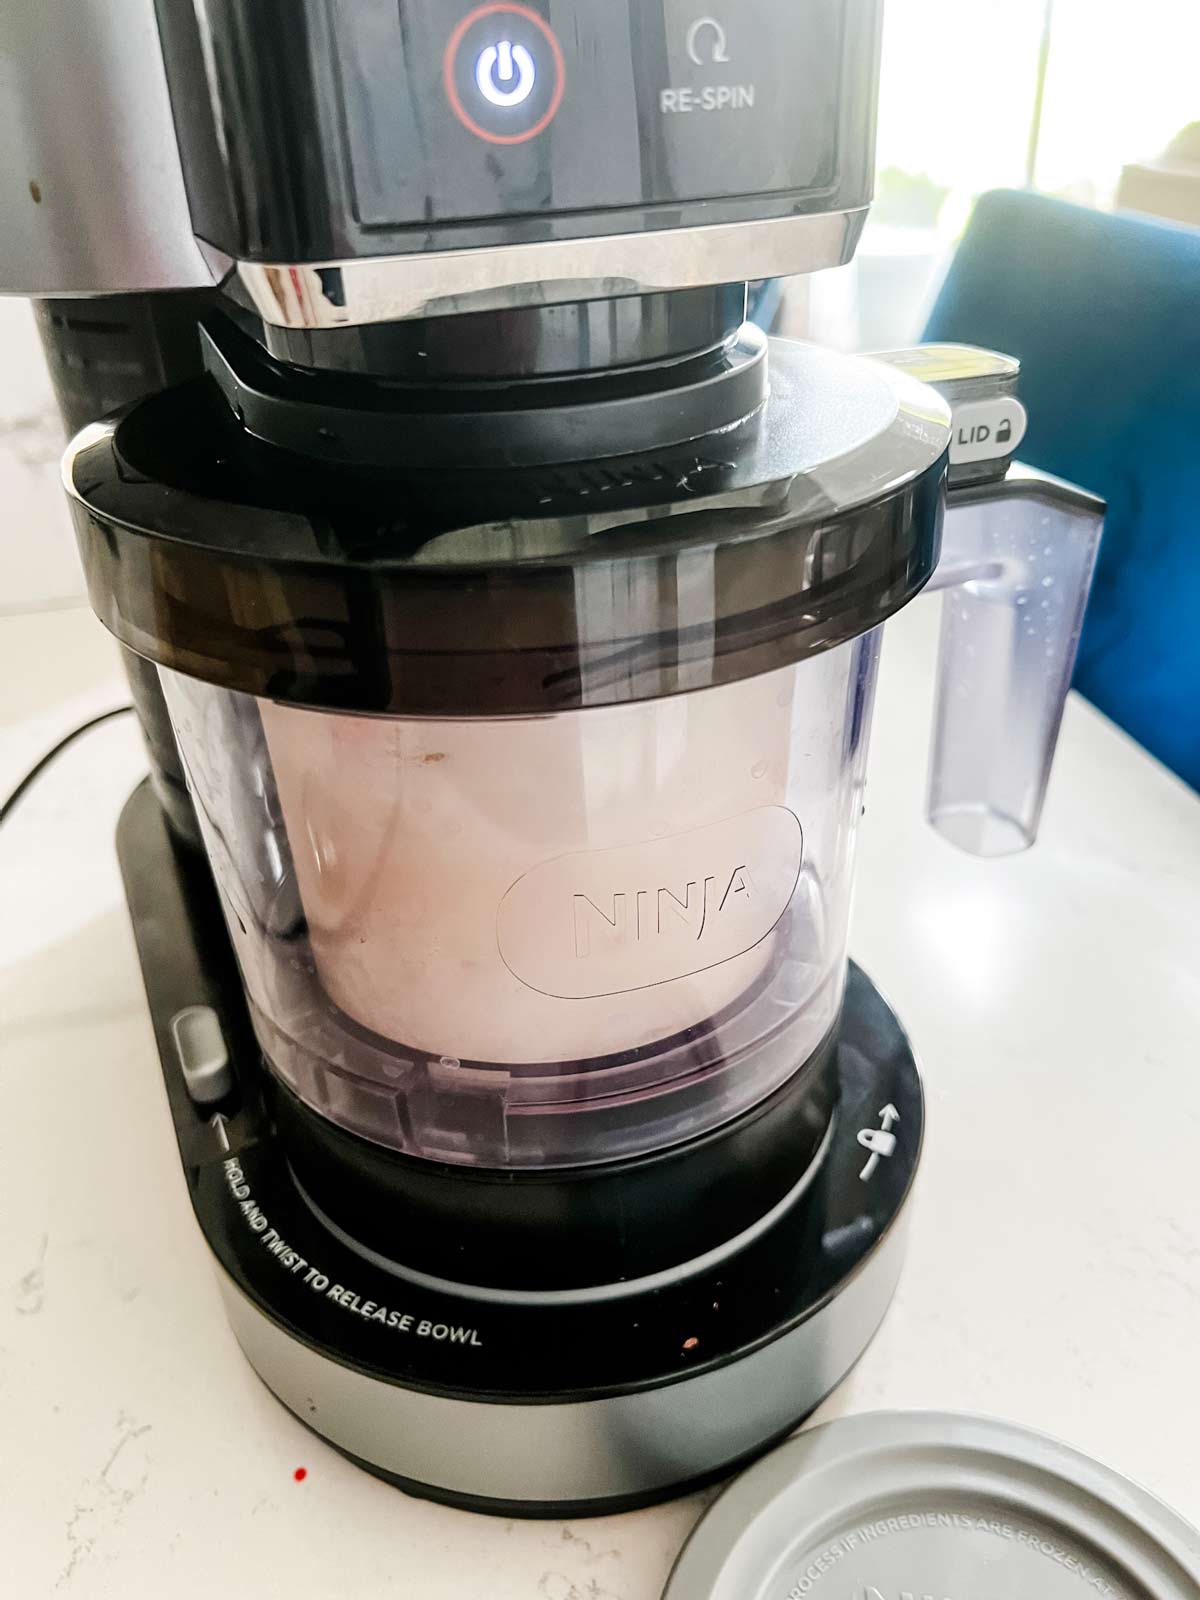
- After 24 hours, remove the lid from the container and place in the outer bowl of the CREAMi. Install the creamerizer paddle to the lid of the outer bowl. Rotate the lid to lock and place on the unit.
- Press the ice cream button and process according to the manufacturer’s instructions.
Madison says
This is the best ice cream I have made. Can't wait to try more of your recipes!
Wendy Polisi says
I am so glad you enjoyed it as much as we do!
Tara says
We just bought a Creami and started by using the Fairlife protein shakes and weren’t impressed. We just tried this recipe and it’s outstanding! We increased the scale for the larger Creami Deluxe pintz: we did 2 1/4 cups half and half, a rounded 1/2 cup of sugar, 2 tbsp of vanilla and
1/4 tsp. salt. It’s so rich and delicious!
Wendy Polisi says
I am so glad that you enjoyed it!
Hal says
Good
Chloe Ra says
how do you make sure that the ice cream doesn't become all icy. on my first attempt (with another recipe)to make vanilla ice cream it was extremely icy and grainy. any tips?
Wendy Polisi says
It is hard to say without seeing the recipe! My first advice would be to make sure you re-spin it at least once. If it is still grainy, add a tablespoon or two or heavy cream and do it again.
Usually the culprits are: too low fat, not enough sugar, plant based protein powders, or your freezer is below 0°F.
Rachel says
Love this recipe! I’ve made it several times and added 1/4 tsp of guar gum just to make it a little thicker. Do you have an easy way to adapt this into a chocolate recipe? I can’t find a good chocolate base with simple ingredients.
Wendy Polisi says
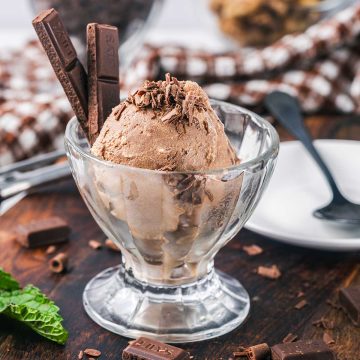
I have a new chocolate recipe! https://wendypolisi.com/ninja-creami-chocolate-ice-cream/
cj says
What volumes of coconut cream do you recommend, both with and without cream or 1/2&1/2? Thanks for your suggestions
Wendy Polisi says
You can use coconut cream for all or part! Just keep the total volume the same.