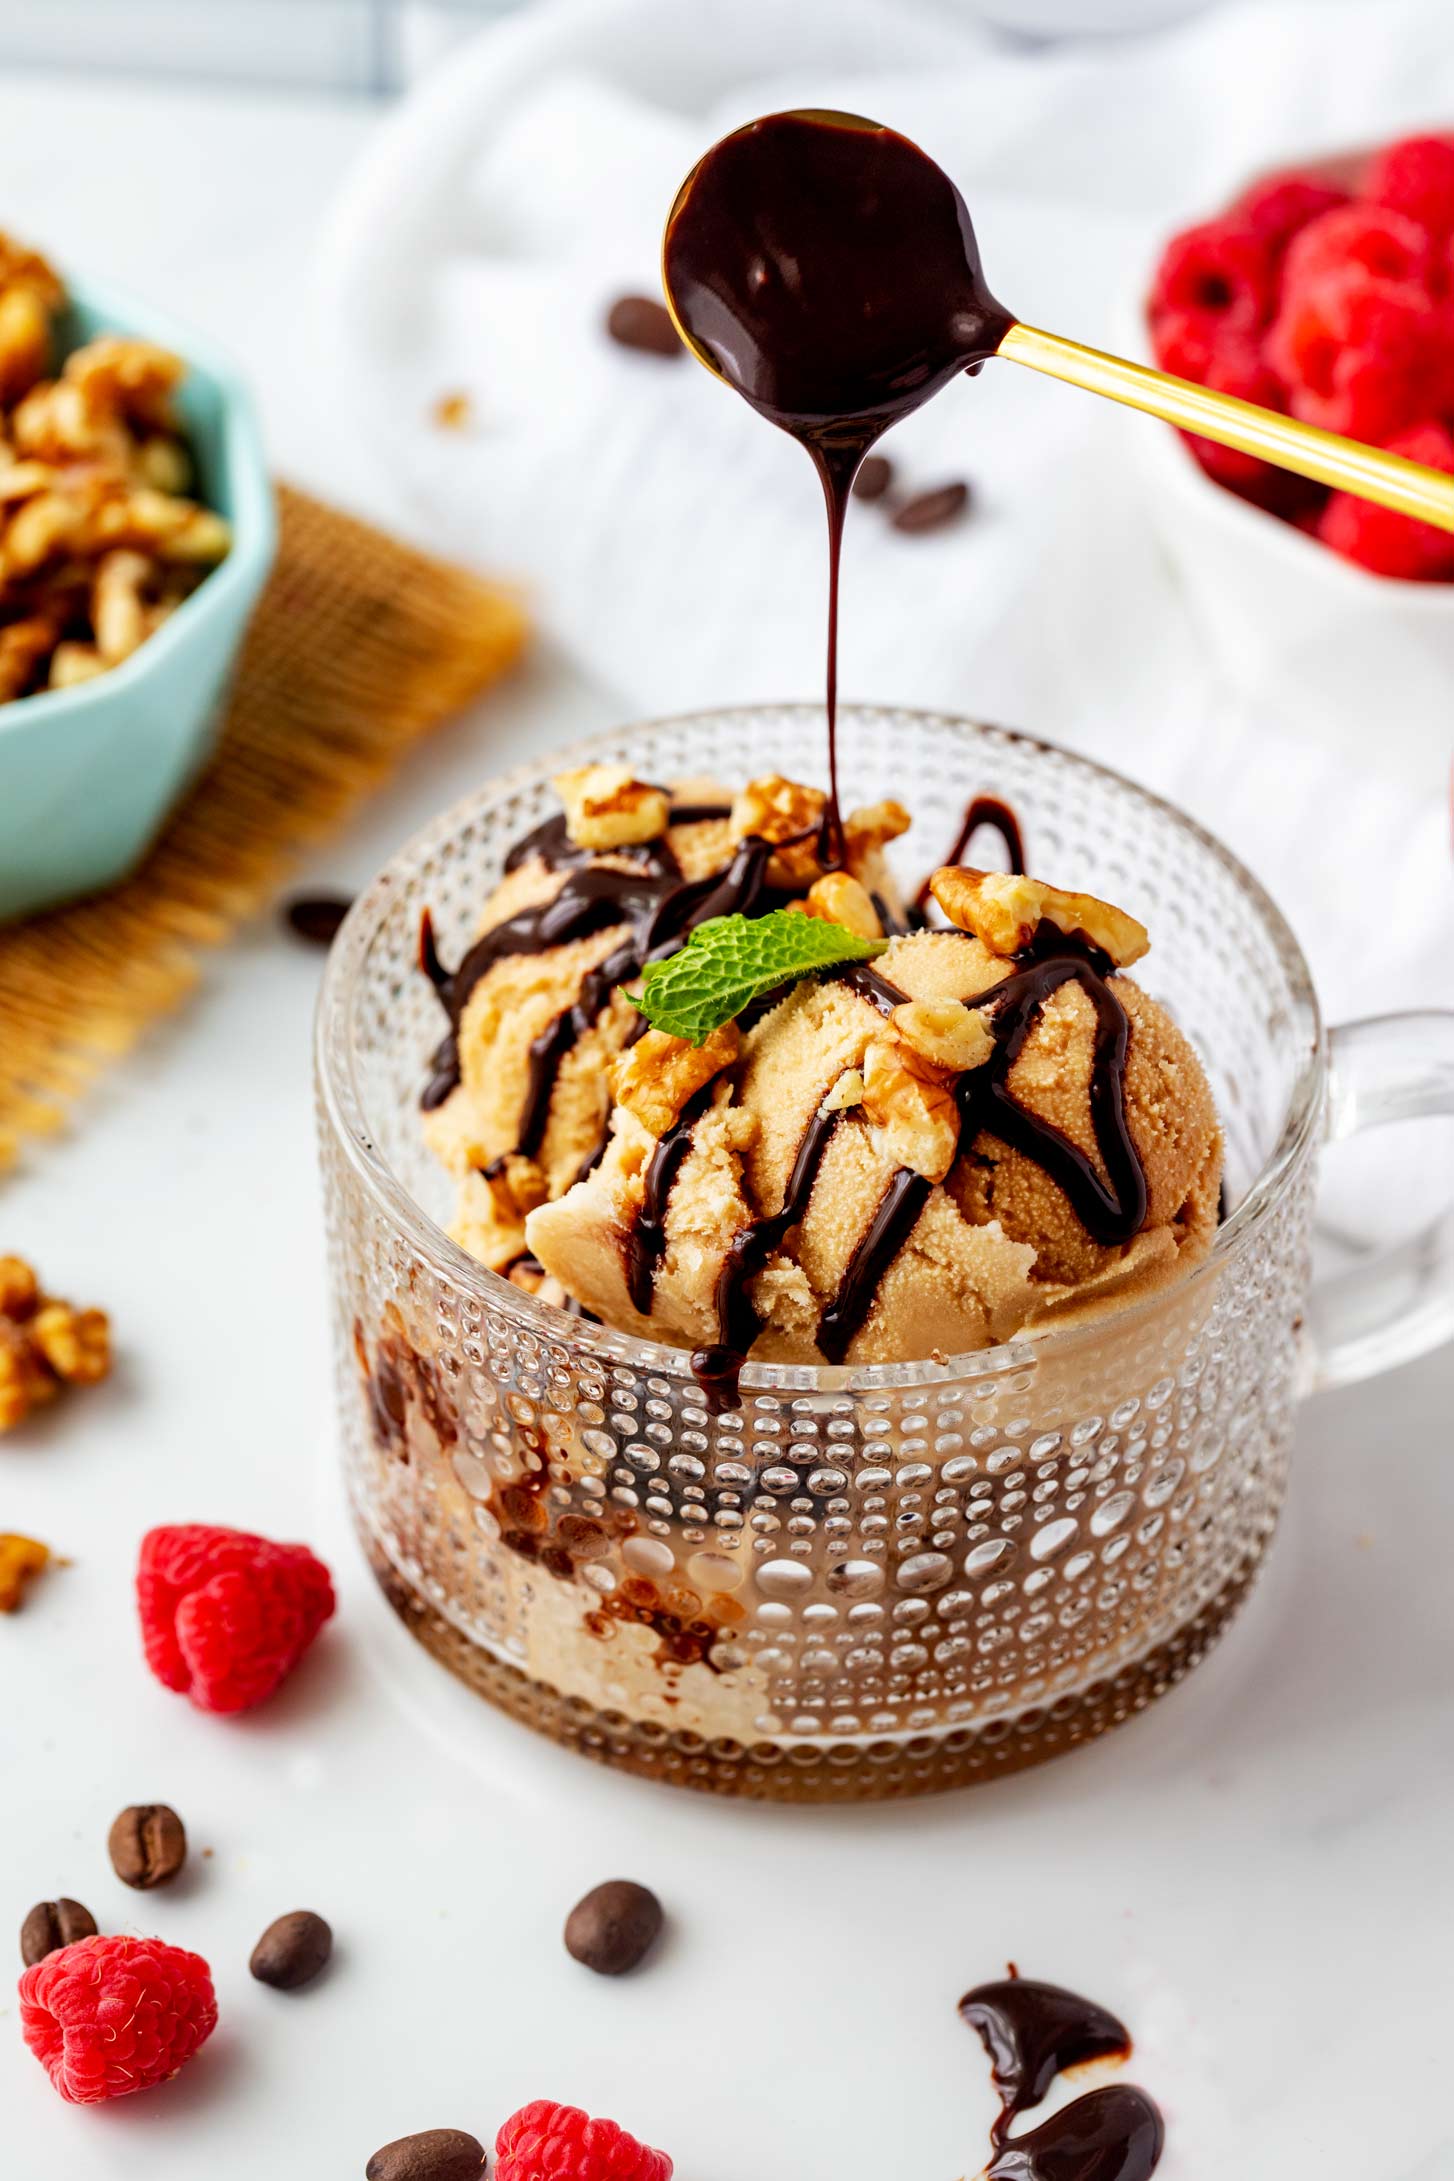
There is nothing as satisfying as digging into a bowl of rich, velvety coffee ice cream. With just a little bit of preparation, you can have this smooth and creamy Ninja Foodi coffee ice cream ready to be whipped up in your Ninja Creami machine at a moment's notice. It is the ultimate way to create homemade ice cream!
If you love coffee and ice cream as much as I do, I've got the perfect treat for you - coffee ice cream in your Ninja Creami.
Using your Ninja Creami machine, you can whip this up in no time.
Follow our step-by-step guide and learn how to make this Ninja Creami coffee ice cream recipe at home. Let's dive into the world of homemade ice cream making!
If you're looking for more frozen treat inspiration, try my Ninja Creami Lemon Sorbet, Peppermint Ice Cream, Strawberry Sorbet, Frozen Yogurt, and Ninja Creami Protein Ice Cream.
Ingredients and Substitutions
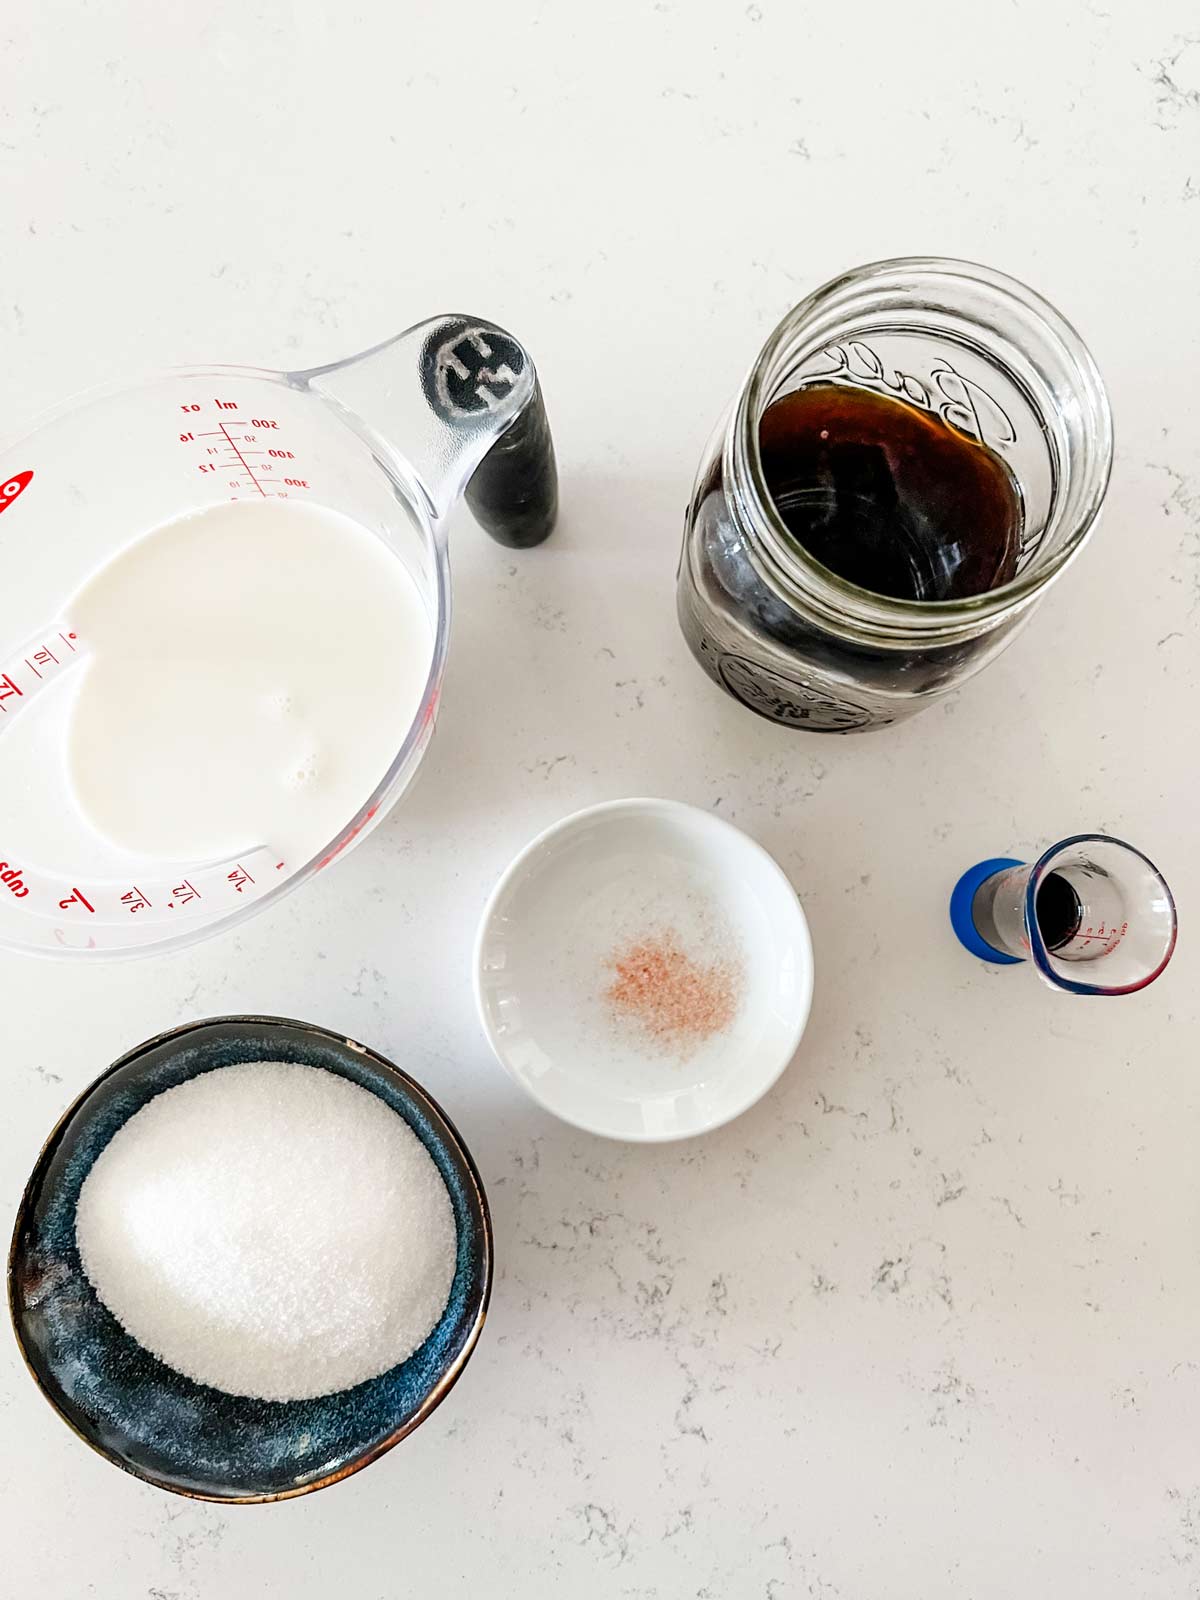
Let's Talk Ingredients
I’ve tested this with half and half, heavy cream, and whole milk—all work beautifully. Half and half gives the best balance of richness and texture, while heavy cream makes it ultra-decadent. Whole milk works too if you want something a little lighter. For a vegan version, canned coconut milk or coconut cream is a solid substitute. (But full disclosure, I haven't tested this.)
For the coffee, go bold. I’ve had the best results using strong brewed coffee or espresso. Decaf works great if you’ll be enjoying it later in the day, and instant coffee surprised me when I tested it because it did surprisingly well.
I’ve tested different sweetness levels—my family likes it with ½ cup of sugar, but I prefer ⅓ cup for a more balanced flavor. For keto or low carb, allulose freezes perfectly without getting icy.
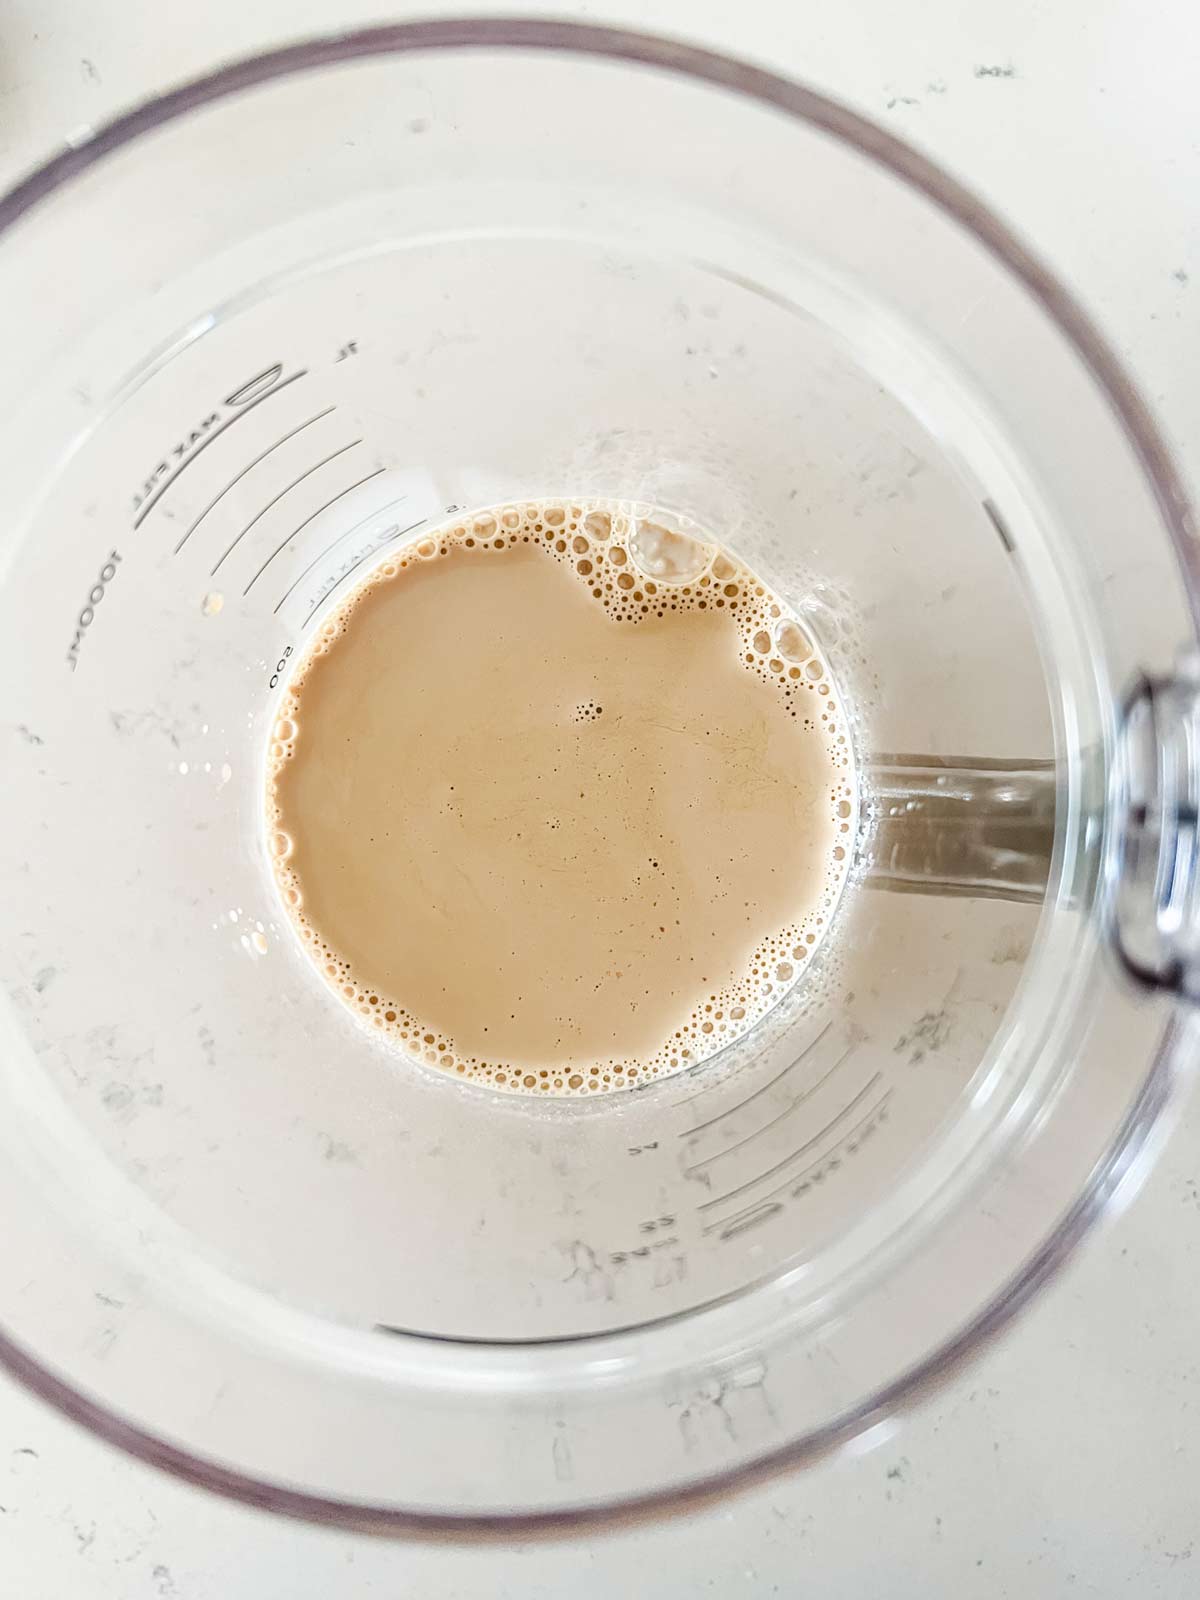
Step by Step
For the full recipe with measurements, see the recipe card at the end of the post.

Tips & Tricks
- Grind beans just before use: If using whole coffee beans, grind them just before brewing to ensure maximum freshness and flavor.
- Add-ins: Consider adding in extras like chocolate chips, nuts, or a swirl of caramel for an extra treat.
- Freezing time: Make sure your ice cream mixture is thoroughly chilled (24 hours) before adding it to the Ninja Creami machine for the best results. Your freezer should be set to 0° F, per the manufacturer’s instructions.
Why is my Creami ice cream waxy?
If your Creami ice cream has a waxy texture, it could be due to a few reasons:
- Improper Mixing: If the ingredients aren't mixed properly before freezing, it can result in a waxy texture. Make sure to blend all the ingredients well before transferring them to the Creami pint.
- Ingredients: The quality and type of ingredients used can affect the texture. For instance, using low-fat or non-fat dairy products can result in less creamy and more waxy ice cream.
- Freezing Time: Not allowing enough time for the mixture to freeze solid before processing it in the machine can also lead to a waxy outcome. It's recommended to freeze the mixture for at least 24 hours.
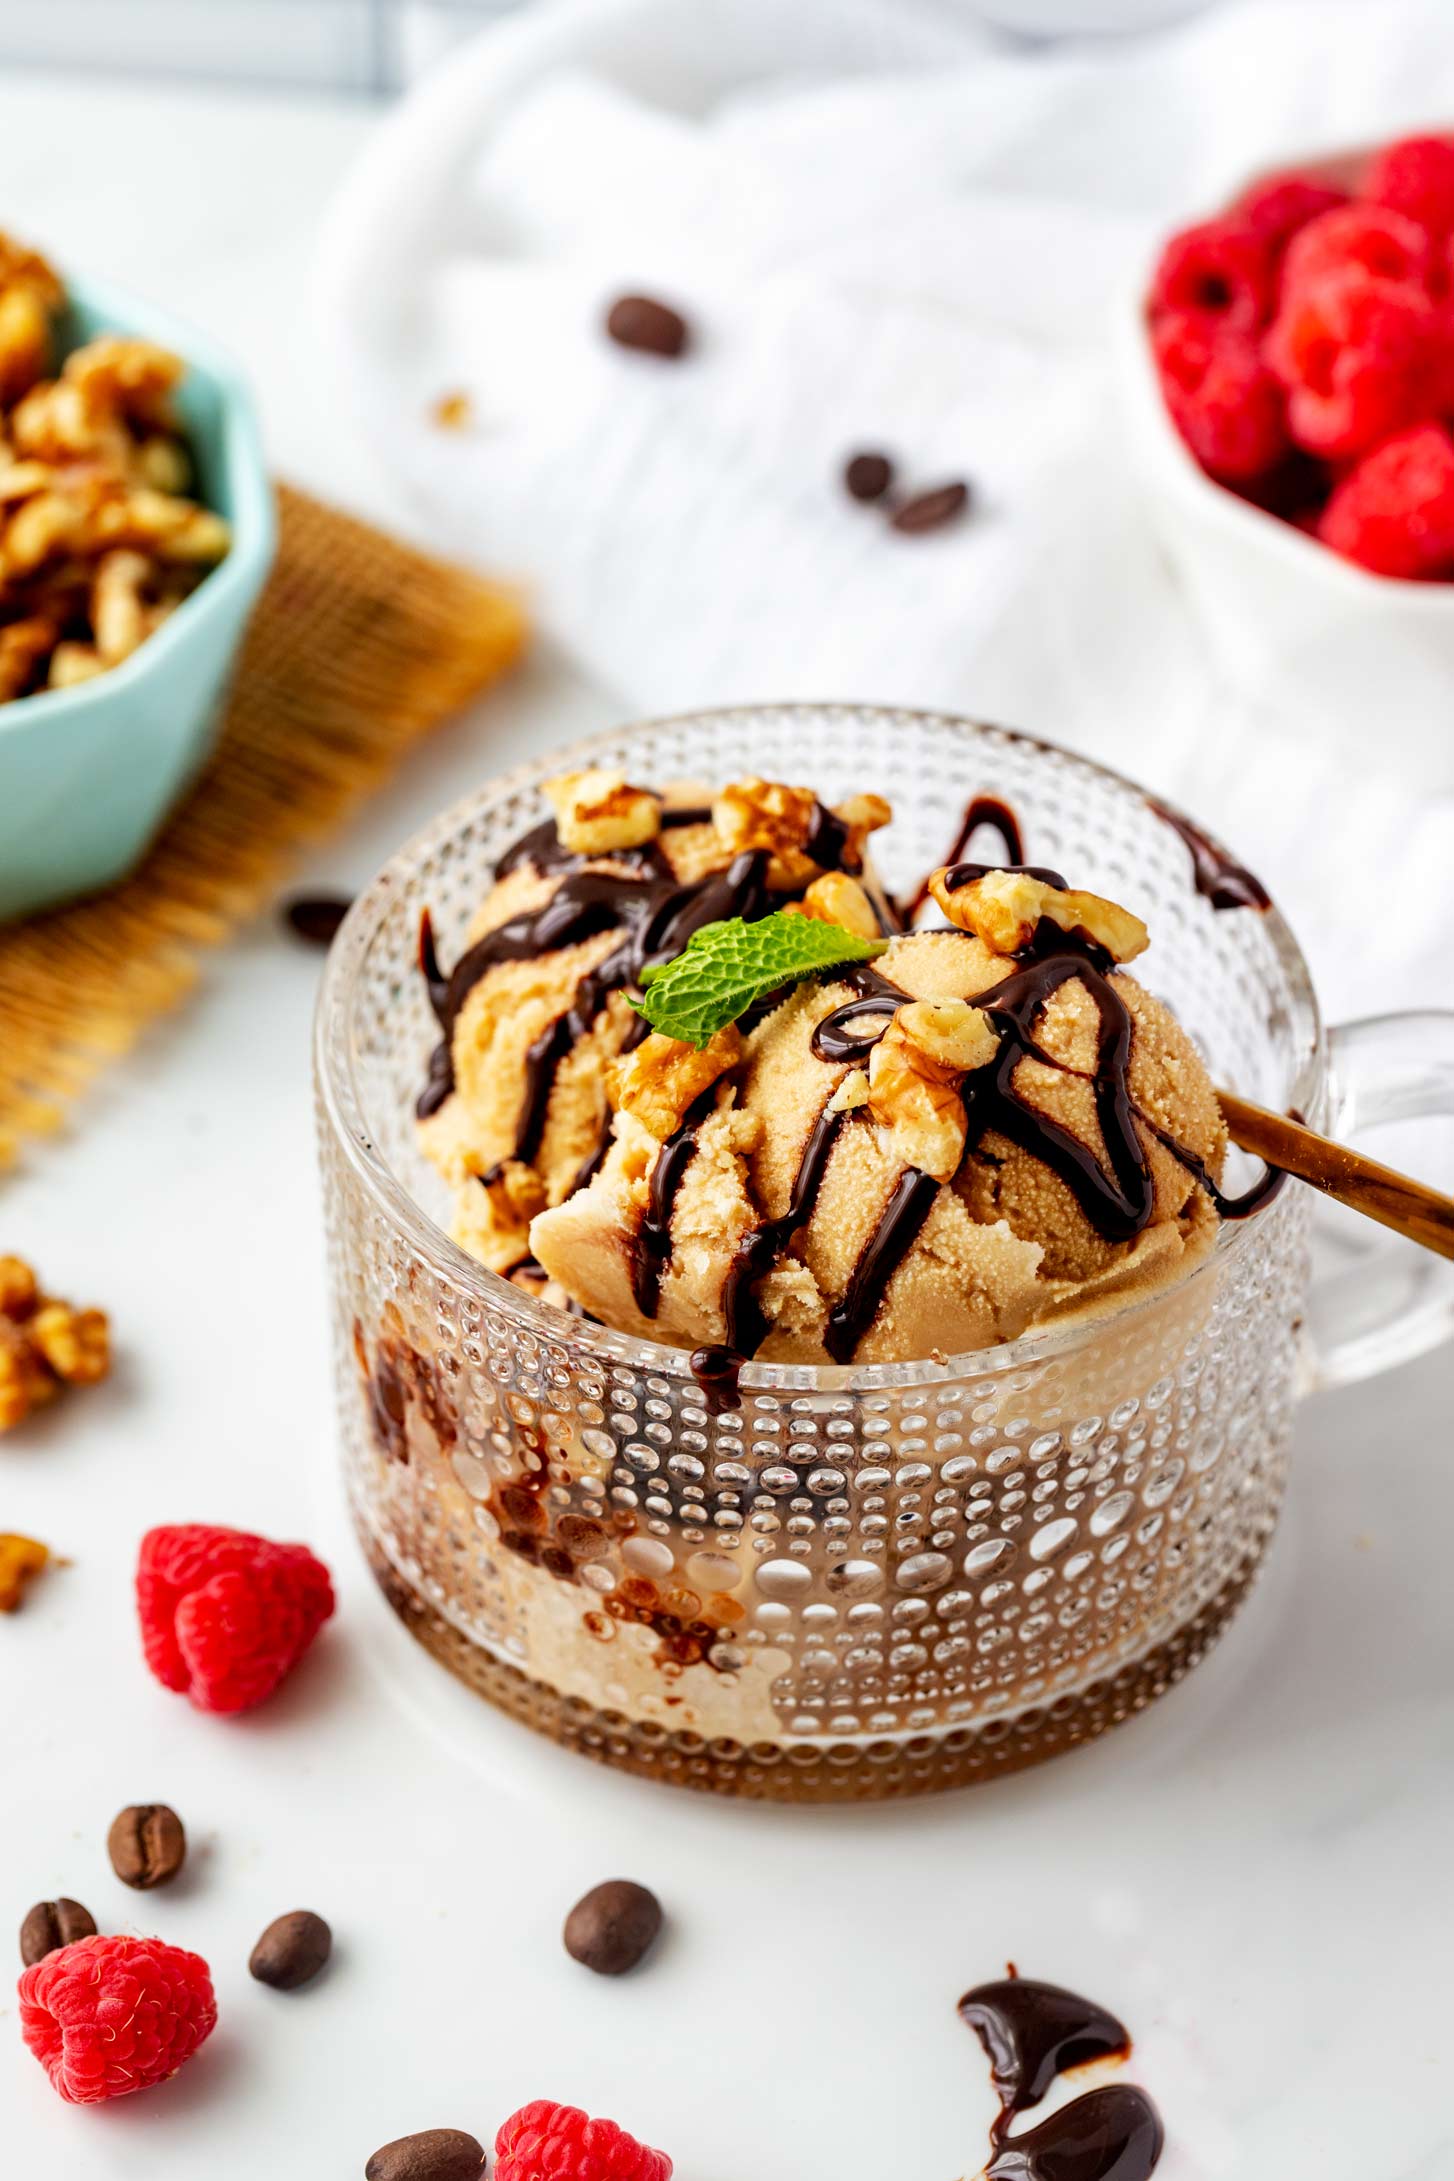

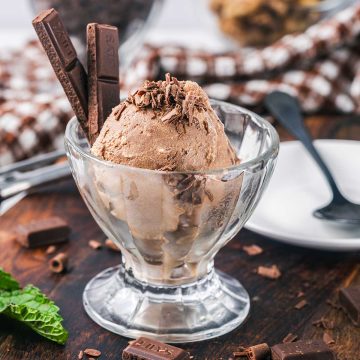
Rich and Creamy Ninja Creami Coffee Ice Cream
Equipment
- Ninja Creami
- Blender
Ingredients
- ¾ cup half and half
- ¾ cup brewed espresso (or strong coffee
- ½ cup sugar
- 1 ½ teaspoons vanilla extract
- 1 pinch salt
Instructions
- Place the half and half, coffee, sugar, vanilla, and salt in a blender.
- Process until smooth.
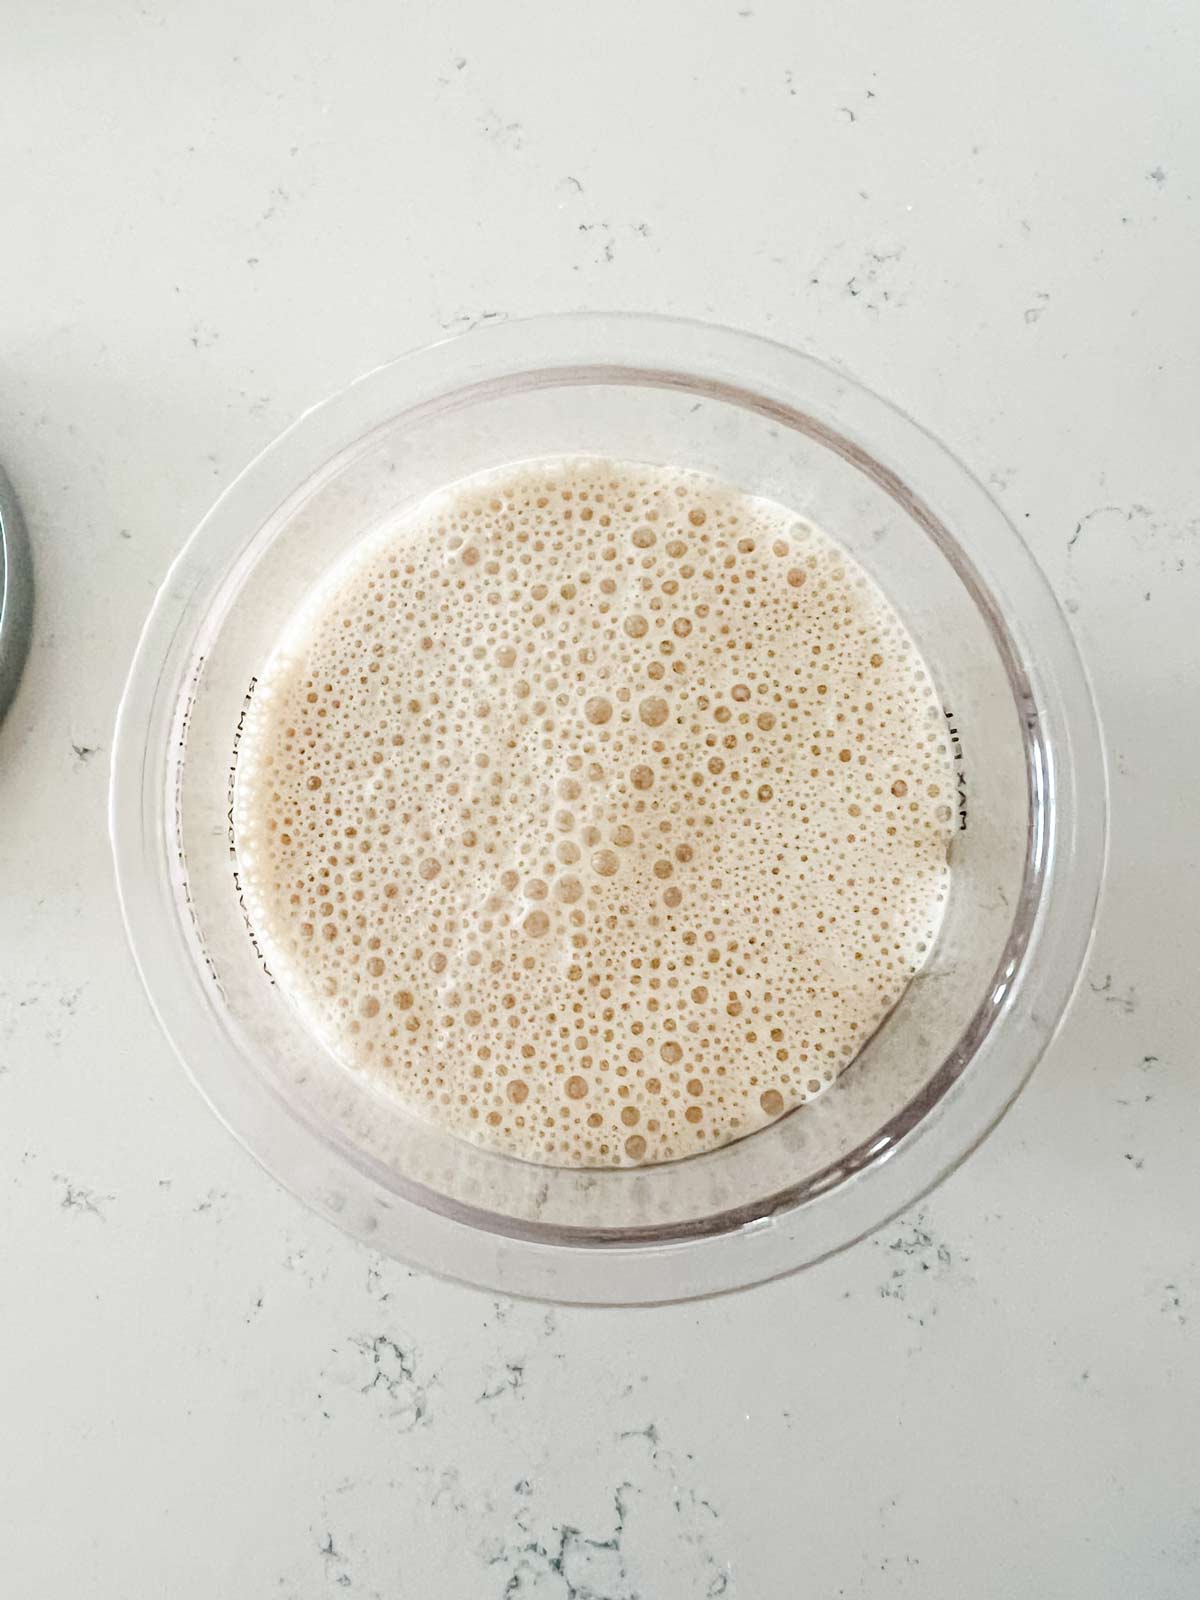
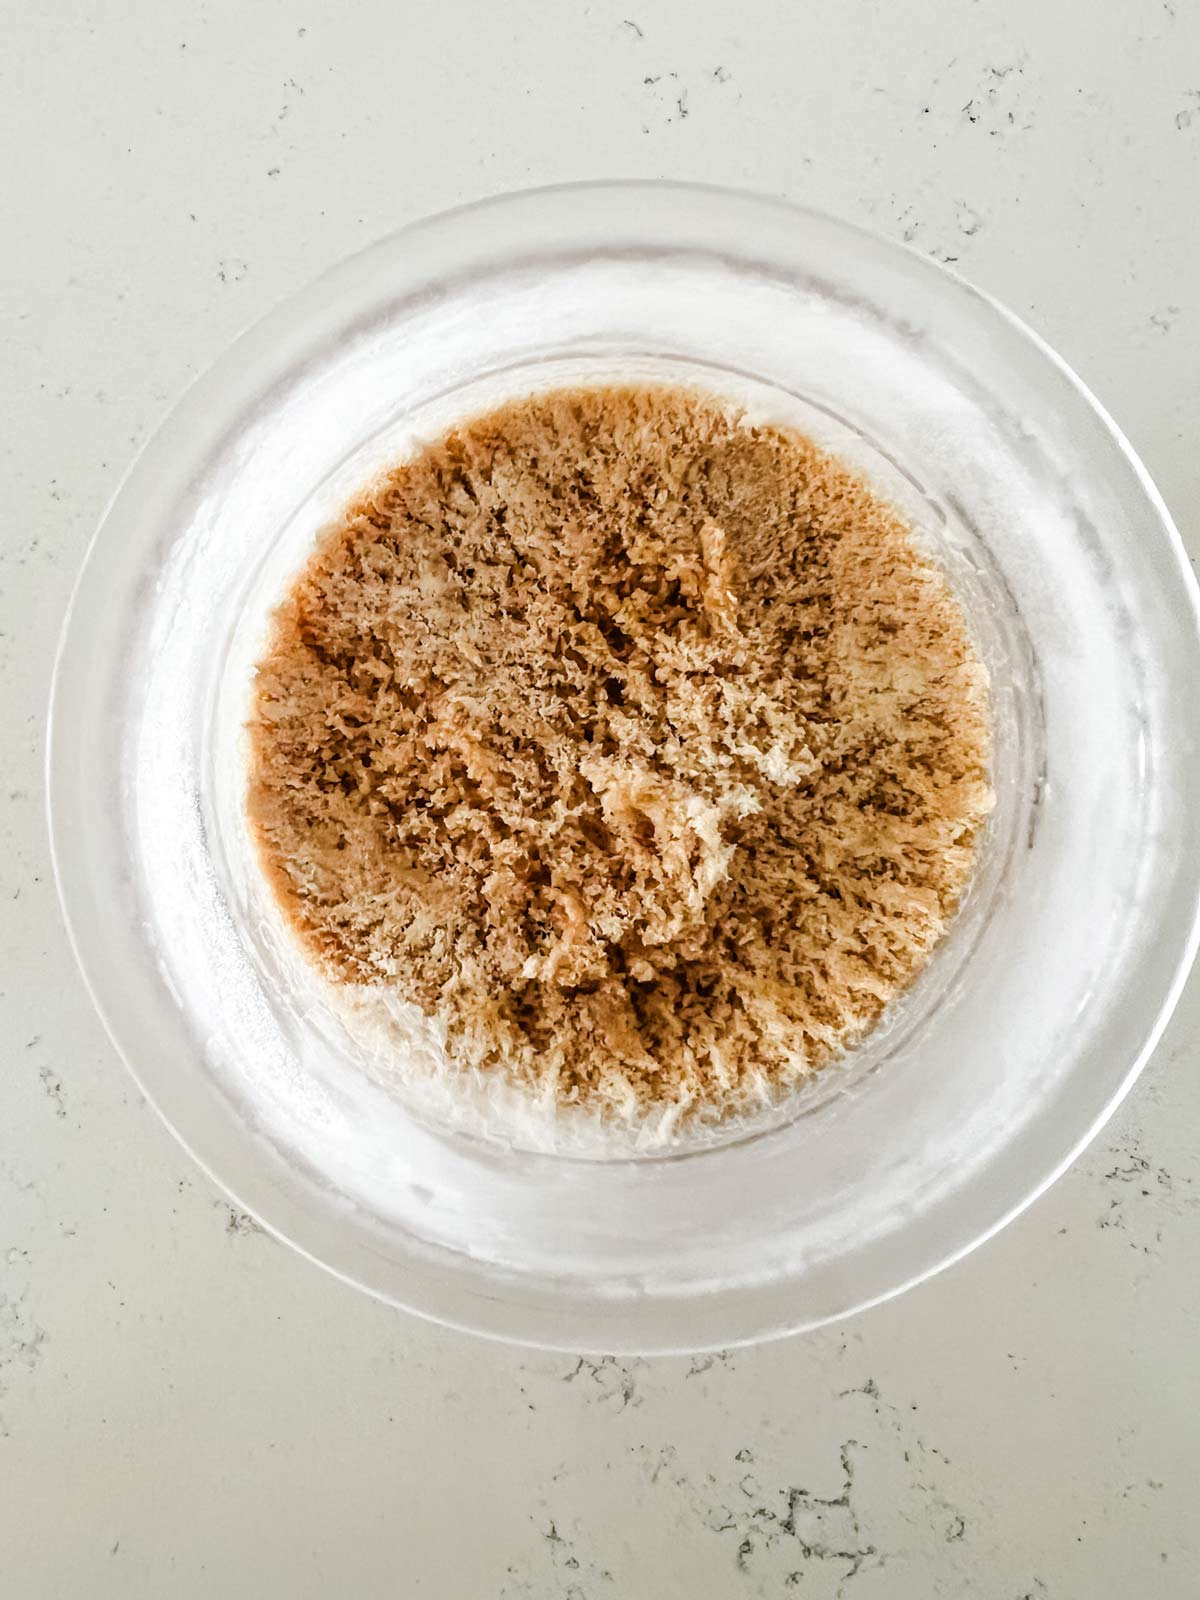
- Pour the mixture into a Ninja Creami pint and freeze for 24 hours. (It may be slightly over the fill line due to the air from mixing in the blender; allow it to settle and make sure you don’t go over the fill line.)
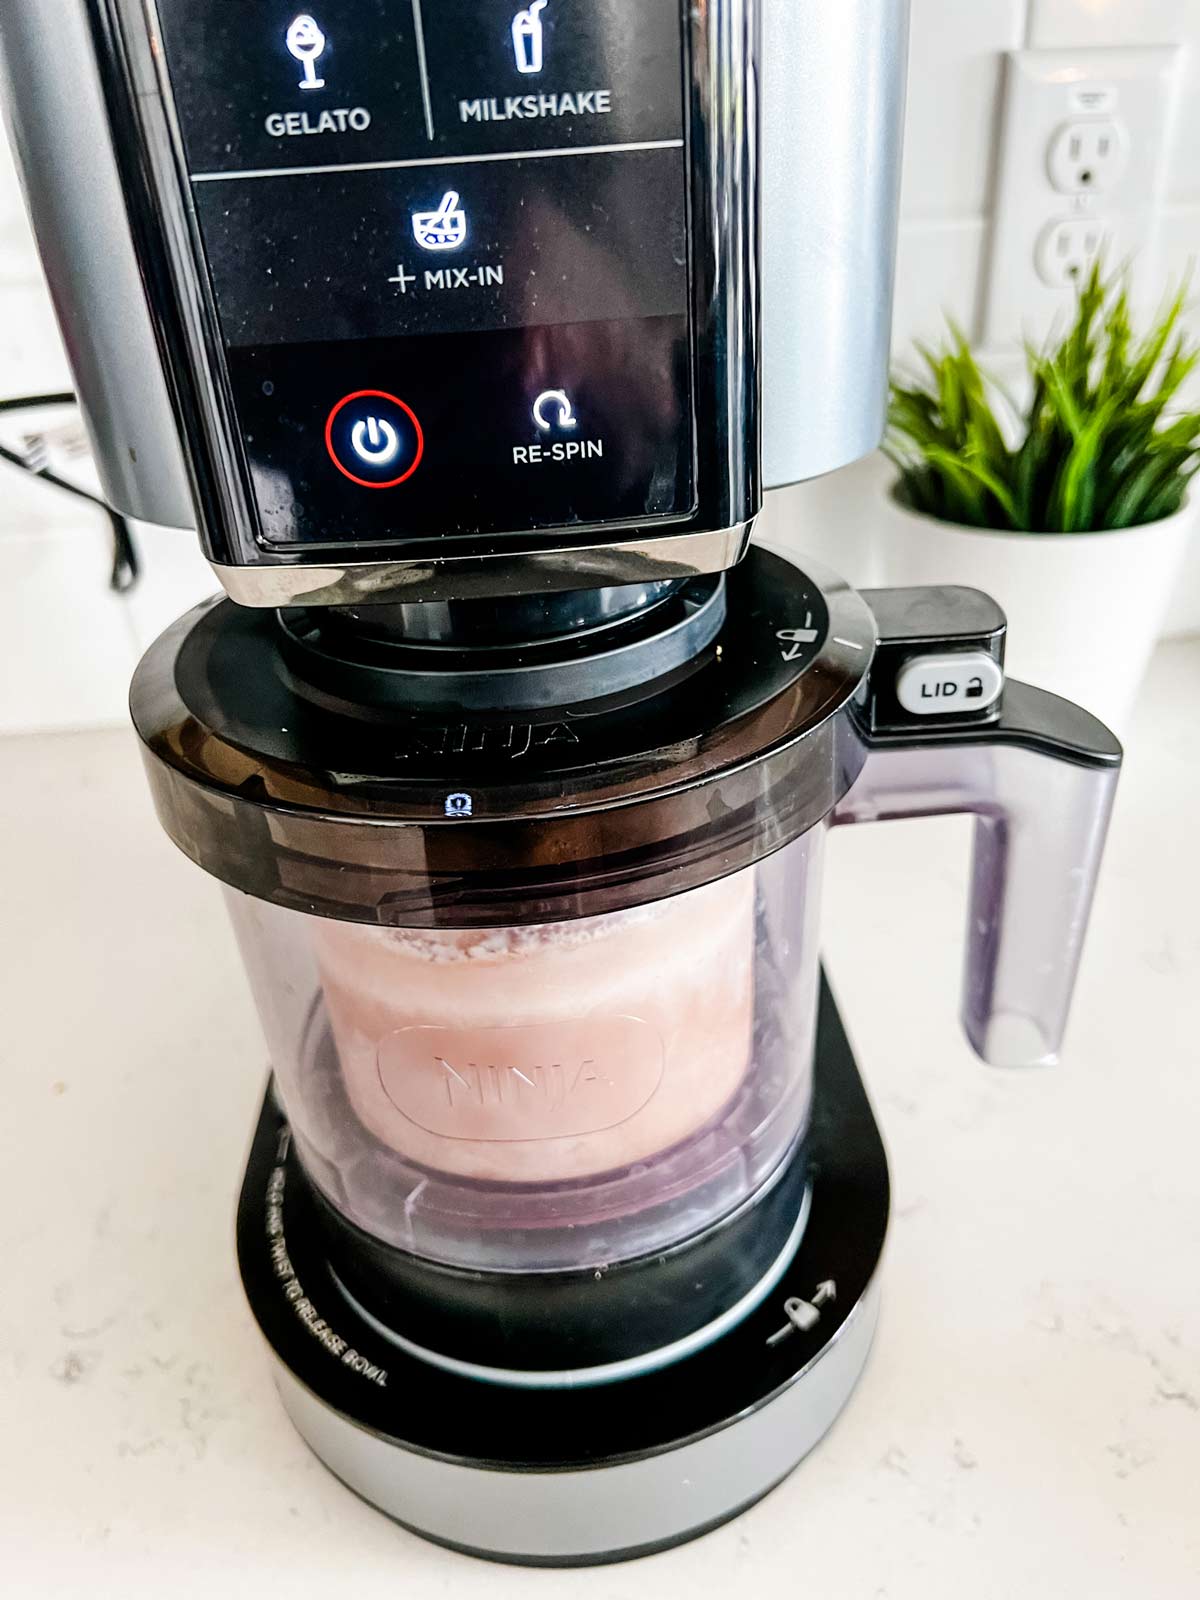
- Remove the pint from the freezer and place the pint in the outer bowl of your Creami. Lock the lid in place and place on the motor base.
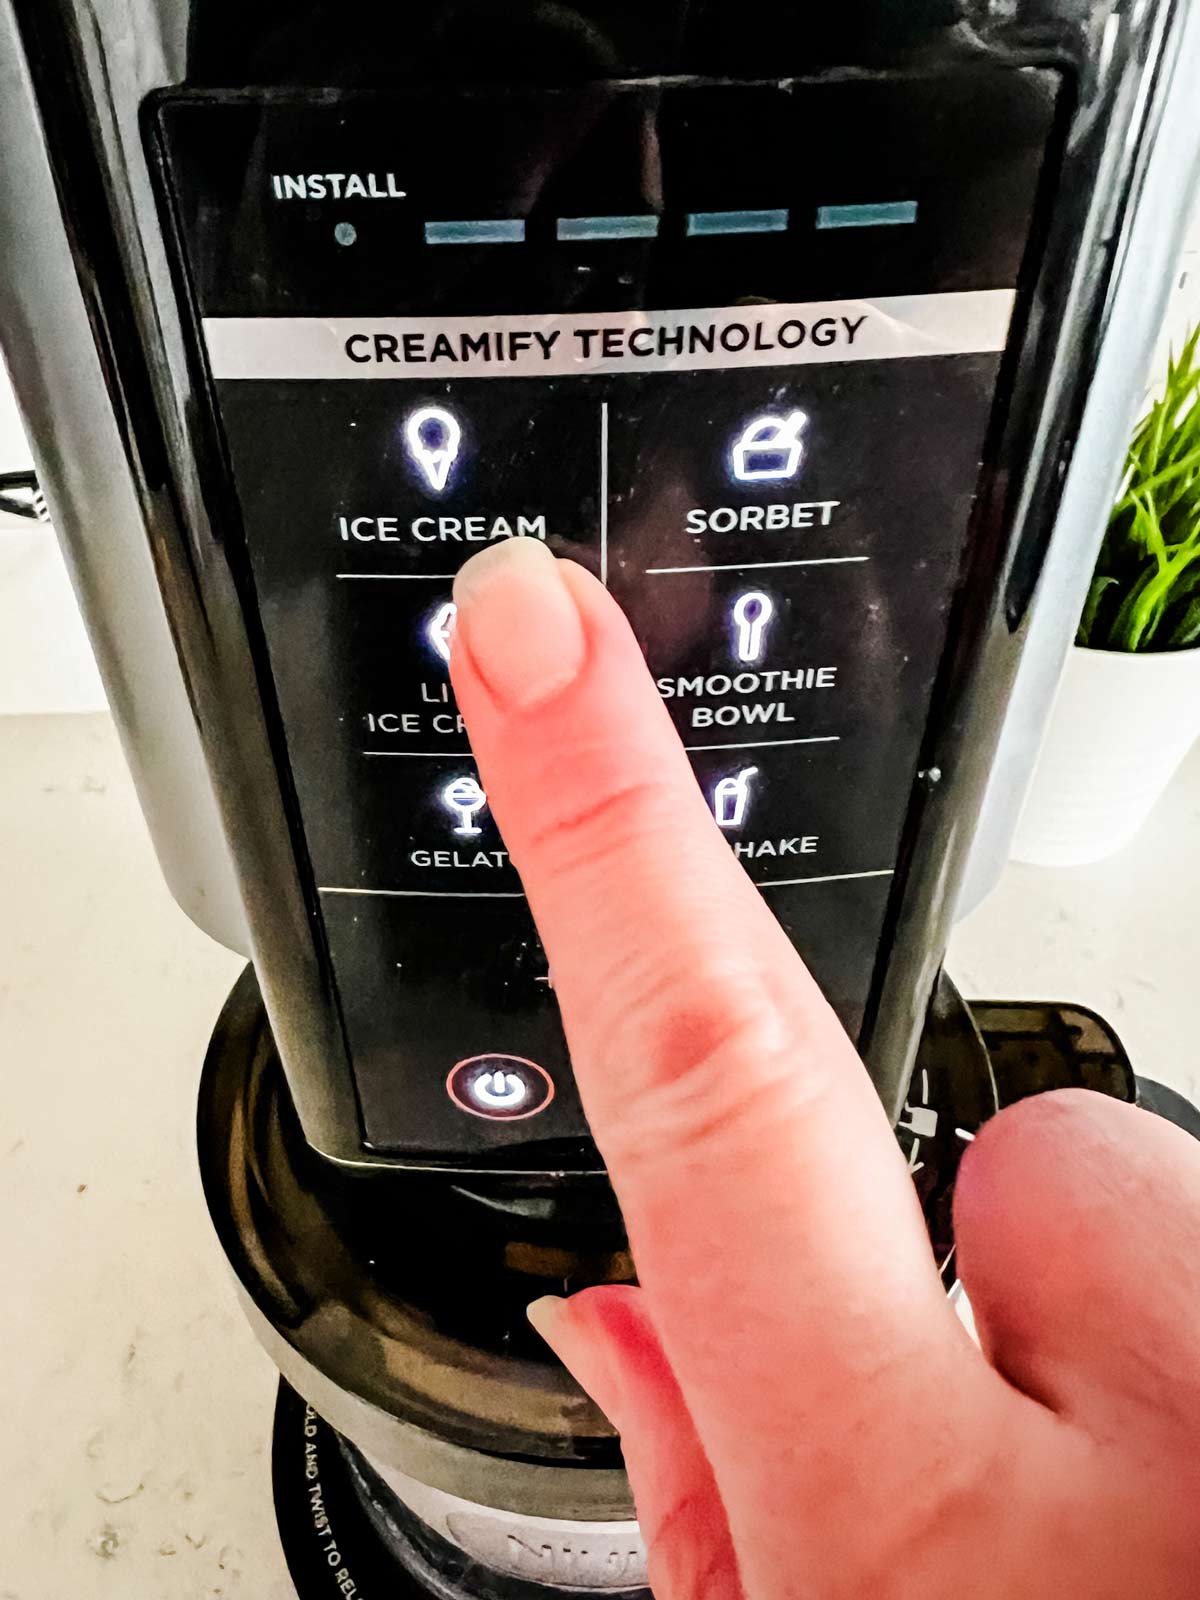
- Select ICE CREAM, and process according to the manufacturer’s instructions.
- Remove from the Creami. If the ice cream is crumbly, return to the base and select respin.
brandy says
im confused how is 3/4 enough for ice cream? do i have to add anything else after i take it out of the freezer?
Wendy Polisi says
I am not sure I understand the question. It is 3/4 cup half and half + 3/4 cup of espresso (or strong coffee). So you will have 1 1/2 cups liquid plus your other ingredients.
Carole says
Can you use less sugar in this recipe without using sweetener, just add less sugar ?
Thank you
Wendy Polisi says
As long as you don't mind the ice cream being not-so sweet, there is no issue with having less sugar! I would taste before you freeze. You could add a drop or two of stevia if needed.
Contessa says
Hello! This was delicious. What a great, simple recipe. I too lowered the sugar and it was still amazing. Thank you.
Danelle Kranock says
Yesss! I love this response!
Lou says
Delicious! Will always be using your ninja creami recipes from now on
Tabatha says
This is seriously the best ice cream I've ever had!! Do yourself a favor and make this immediately!!