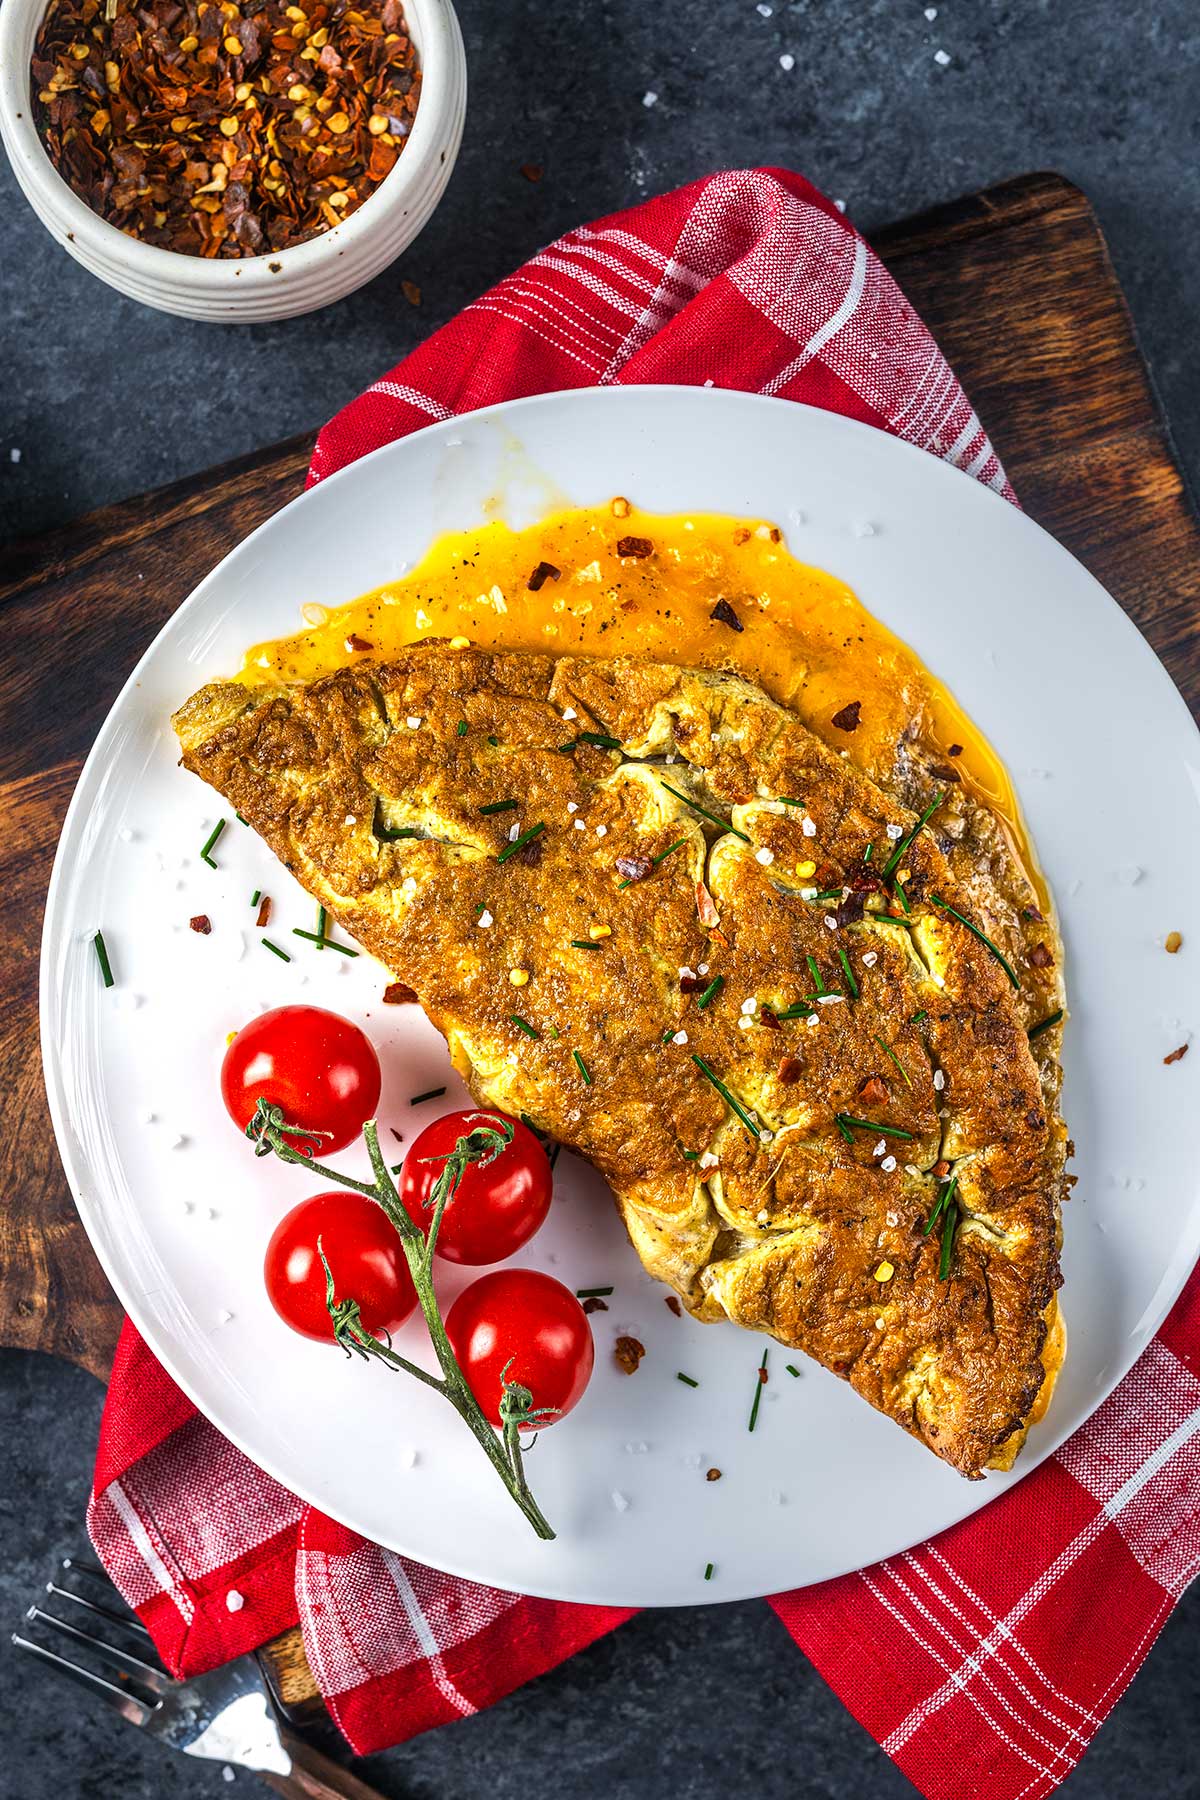
This is the omelet I make on the weekends when the weather is good enough to fire up the griddle. This Blackstone Omelet is a diner-style omelet with crispy bacon and sharp cheddar. Unlike a stovetop omelet, the omelet ring removes the only part of omelet-making that intimidates most home cooks: the shape
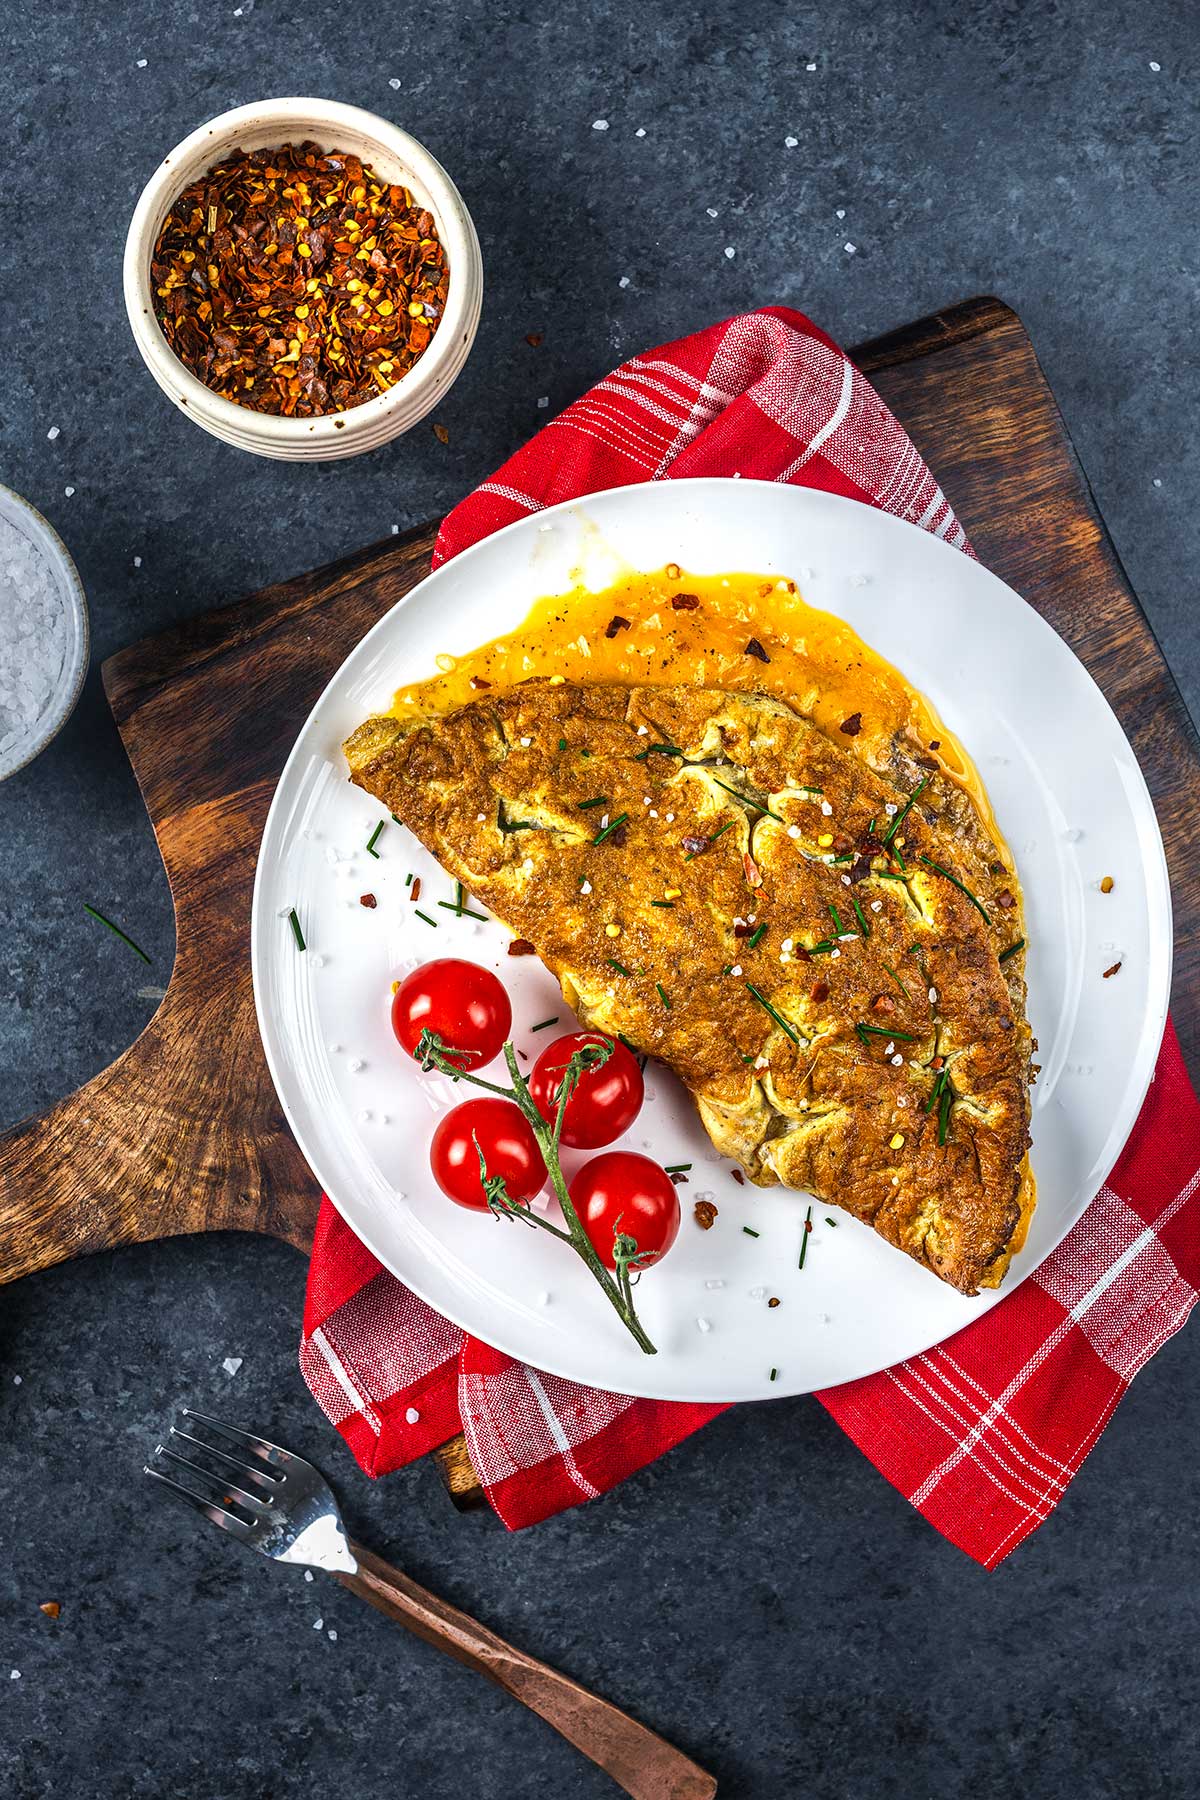
Let's be honest about this omelet on Blackstone up front: it's not a French omelet. Even at the very lowest temperature setting, that flat-top griddle is going to put a golden-brown bottom on your eggs.
This is an American diner-style omelet with a tender, just-set middle, a beautifully browned bottom. If you want the pale, custardy, French-style omelet, the Blackstone isn't your tool. If you want a hearty breakfast that you can cook outside, this is your method.
Why This Omelet on the Blackstone Works
- The sprayed omelet ring locks the eggs into a perfect circle, and lifts off easier than your would expect.
- The two-zone griddle setup means you cook everything on one surface without burning the eggs
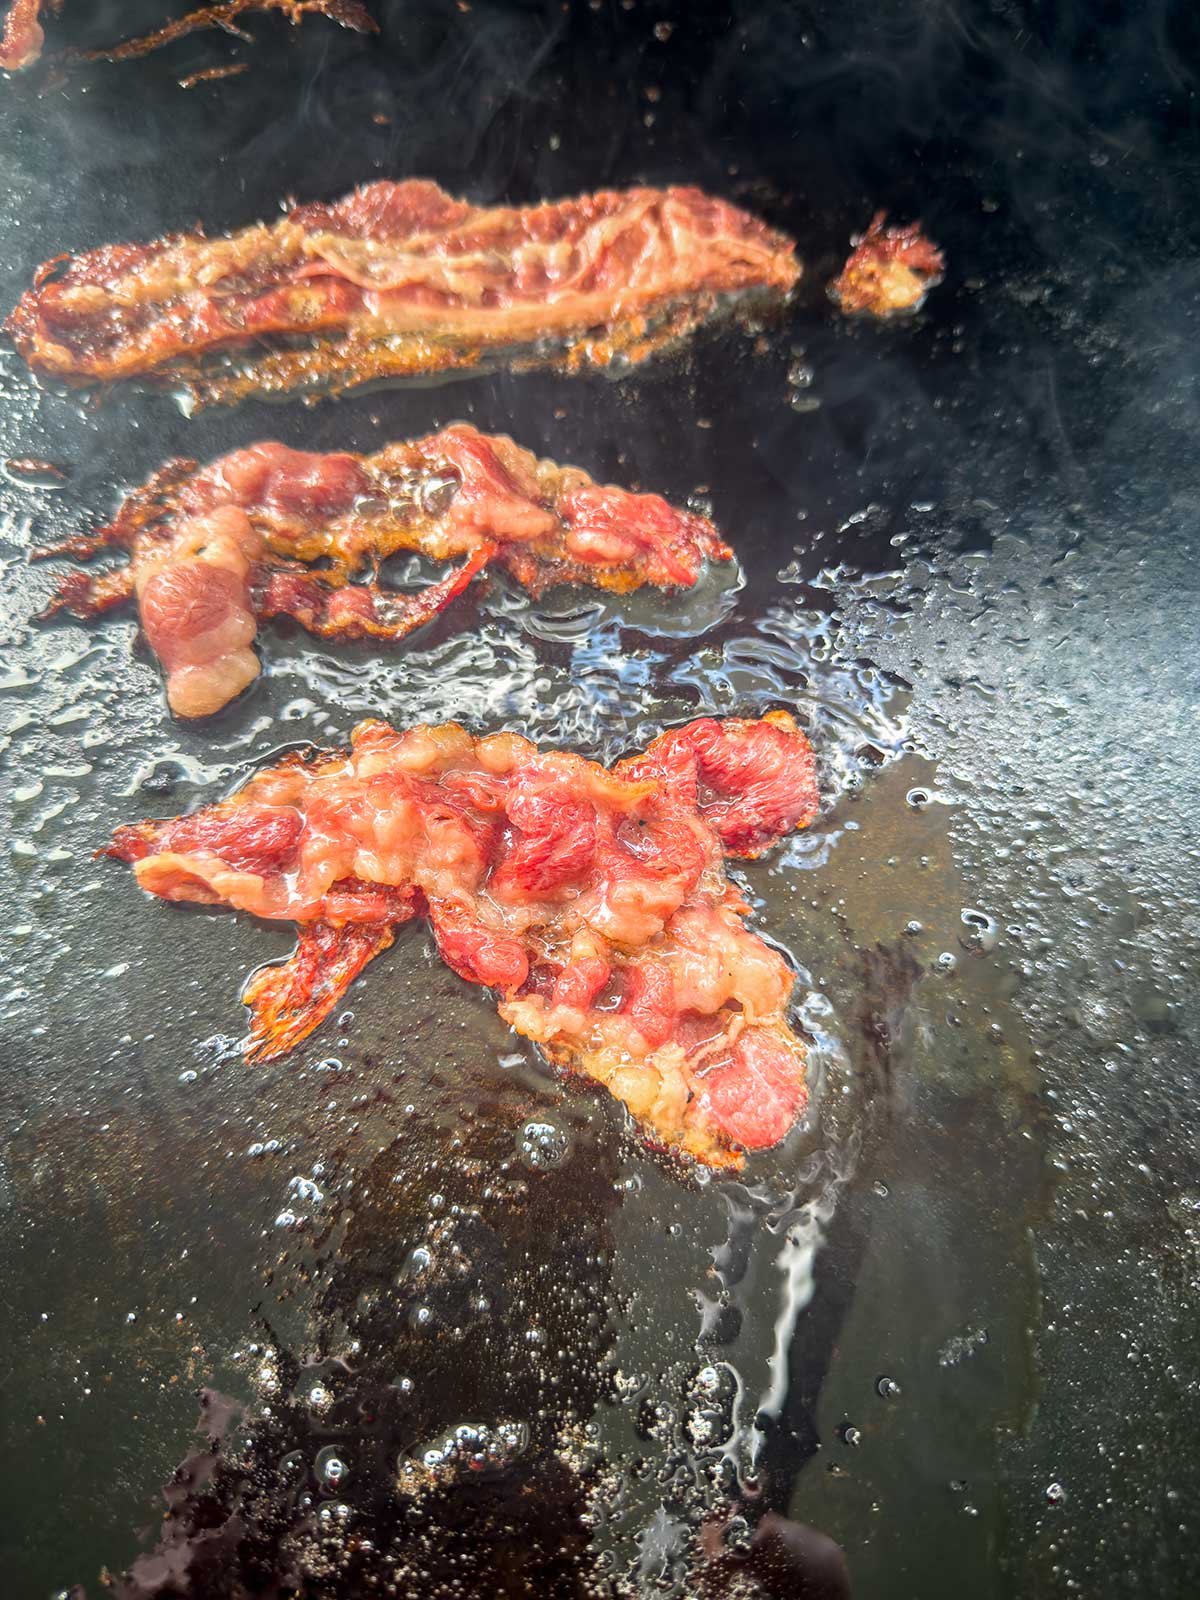
- Cooking on the bacon fat is the diner secret. It seasons the griddle and builds flavor.
Ingredients Notes
Five eggs gives you a substantial diner-style omelet that feeds two — or one very hungry person. To scale down to a single 3-egg omelet, use a smaller omelet ring and reduce the butter to 1½ teaspoons; everything else stays the same.
Do you actually need a Blackstone omelet ring?
Short answer: not strictly, but it makes this easy in a way you don't fully appreciate until you've tried it.
The ring does two things.
It contains the eggs in a perfect round shape (no spreading across the griddle) and it gives you a defined edge that's much easier to fold than a free-form eggs. Without the ring, the eggs spread thin, cook unevenly, and tear when you go to fold them. If you’ve got your griddle on a patio that is sloped, an egg ring is an absolute must.
Step by Step
(see the recipe card below for full instructions)
Make it a Blackstone Breakfast
- Blackstone hash browns or potatoes
- French toast or pancakes
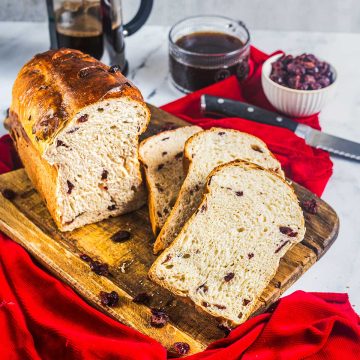
- Sliced bread machine cheese bread toasted right on the griddle with butter
- Beef breakfast sausage
A Few Things I've Learned
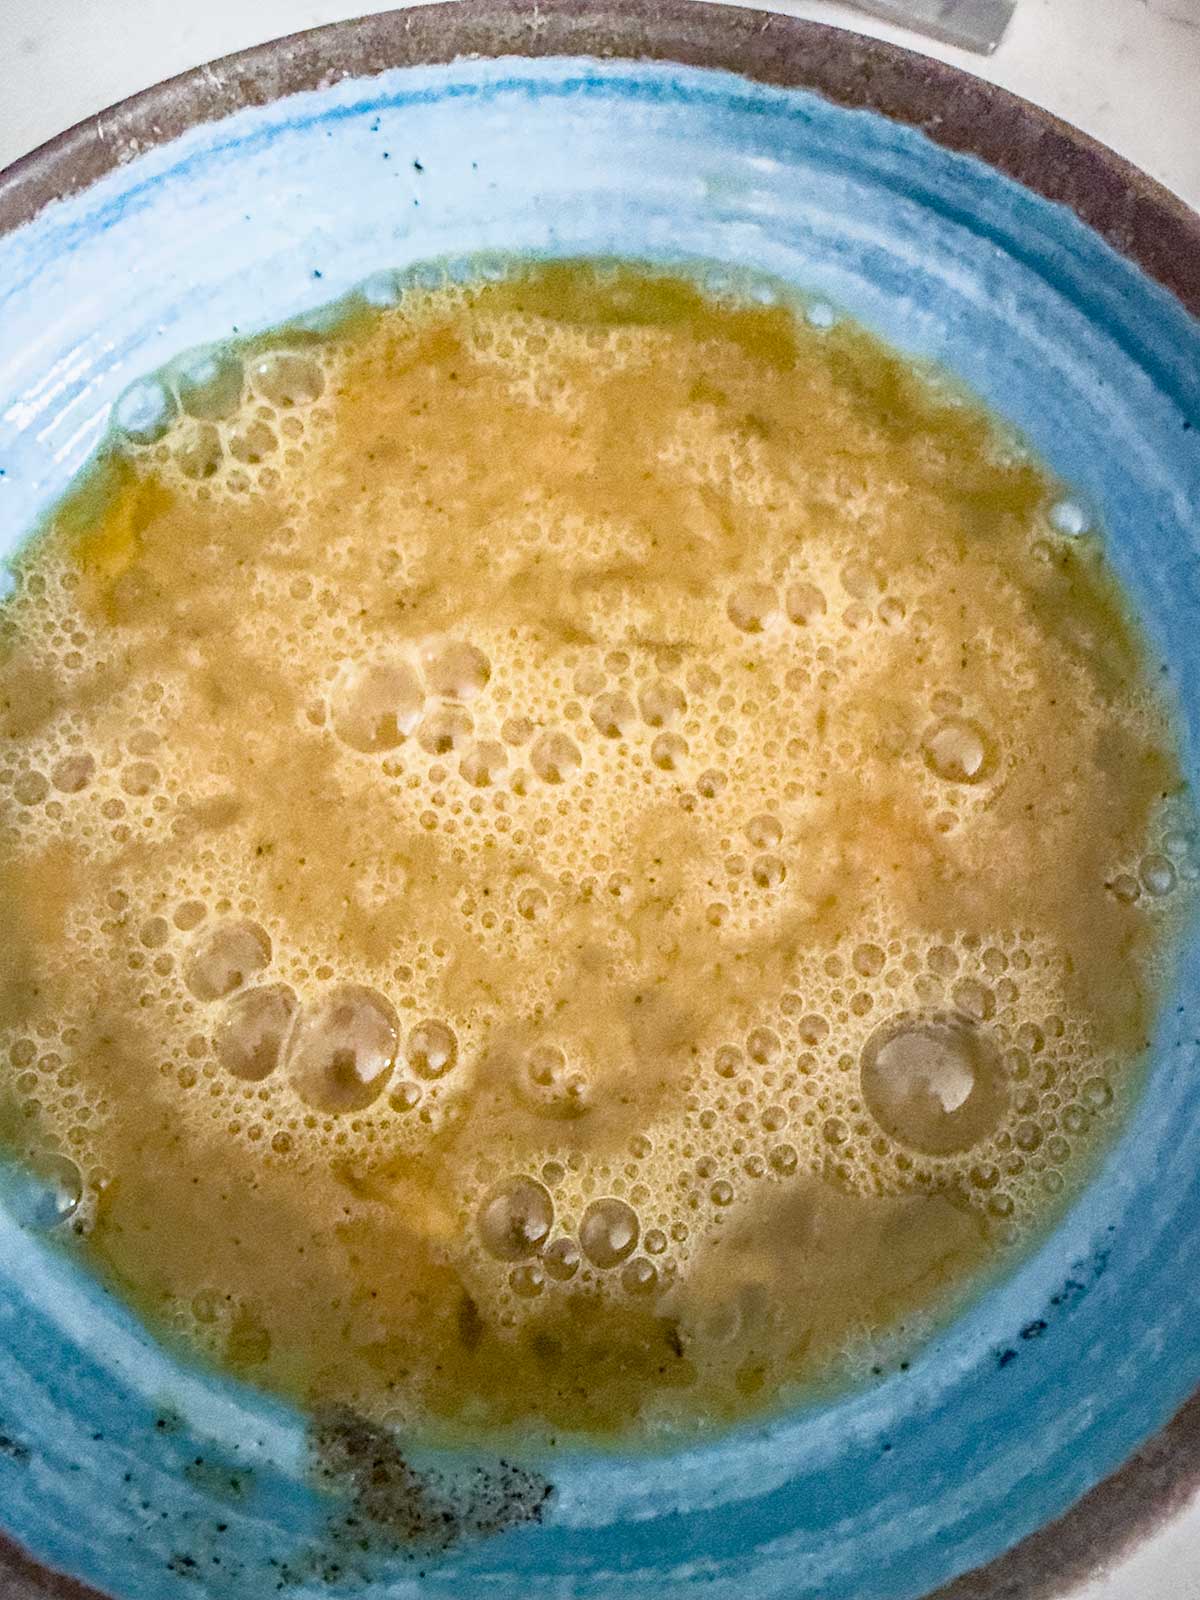
- Whisk the eggs until they're frothy and uniform. Streaky eggs cook unevenly. Take 30 full seconds with the whisk. Make sure you season the eggs and let them sit while everything is heating. For the most tender eggs, salt 15 minutes before cooking.
- Don't crank the heat. Even on the "low" side, a Blackstone griddle runs hot. T
- Spray the inside of the ring every time. It's the difference between a perfect lift and a torn omelet.
- Use a wide, thin spatula for the fold. A narrow one tears the omelet at the crease. Big-griddle spatulas are made for this.

Bacon and Cheese Omelet on the Blackstone
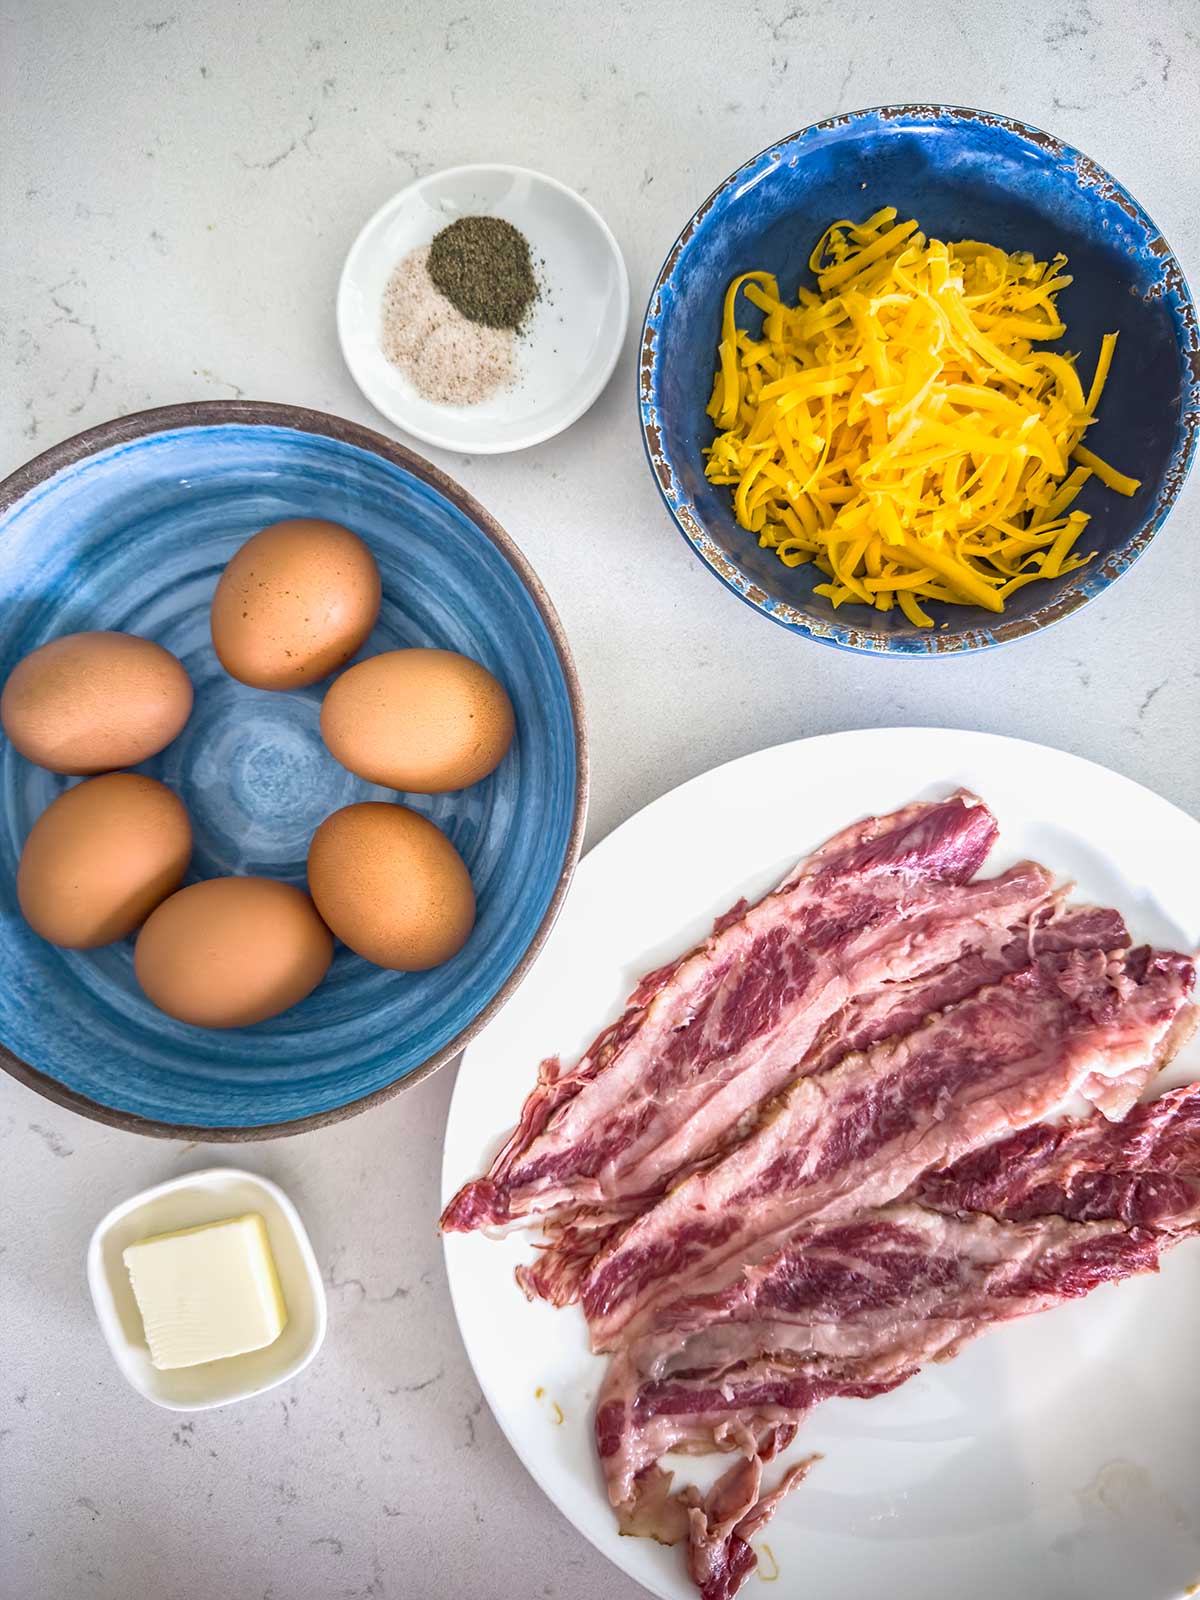
Ingredients
- 5 large eggs
- ¼ teaspoon sea salt
- ¼ teaspoon freshly ground black pepper
- 3 strips bacon
- 1 tablespoon butter
- 2 ounces grated cheddar cheese
Instructions
- Whisk together the eggs, salt, and pepper in a bowl until frothy. Allow to sit at room temperature while your griddle preheats and the bacon cooks.
- Heat one side of your griddle to medium heat, and one side to low.
- When the griddle is preheated to medium, cook the bacon until crispy, turning occasionally.
- Remove from the heat and chop.
- Spray the inside of your omelet ring with oil to prevent sticking.
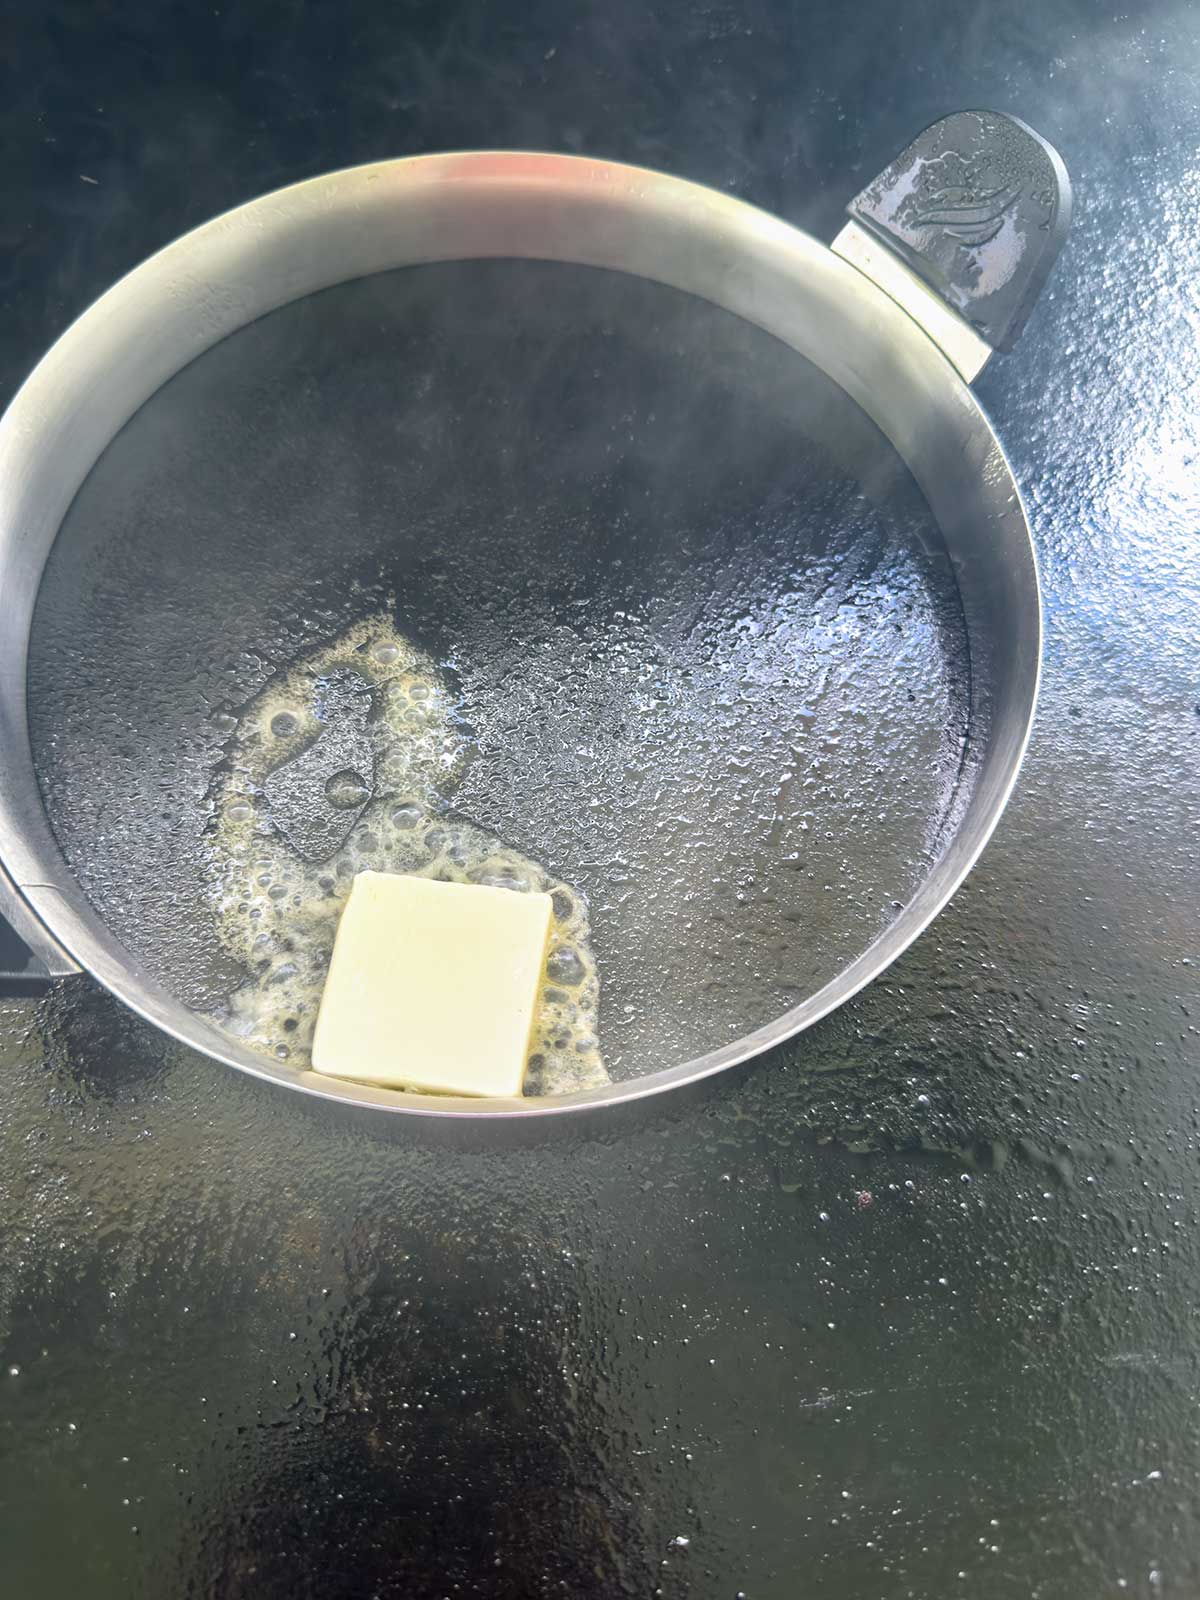
- Place your omelet ring on the cooler side of the griddle and add the butter inside.
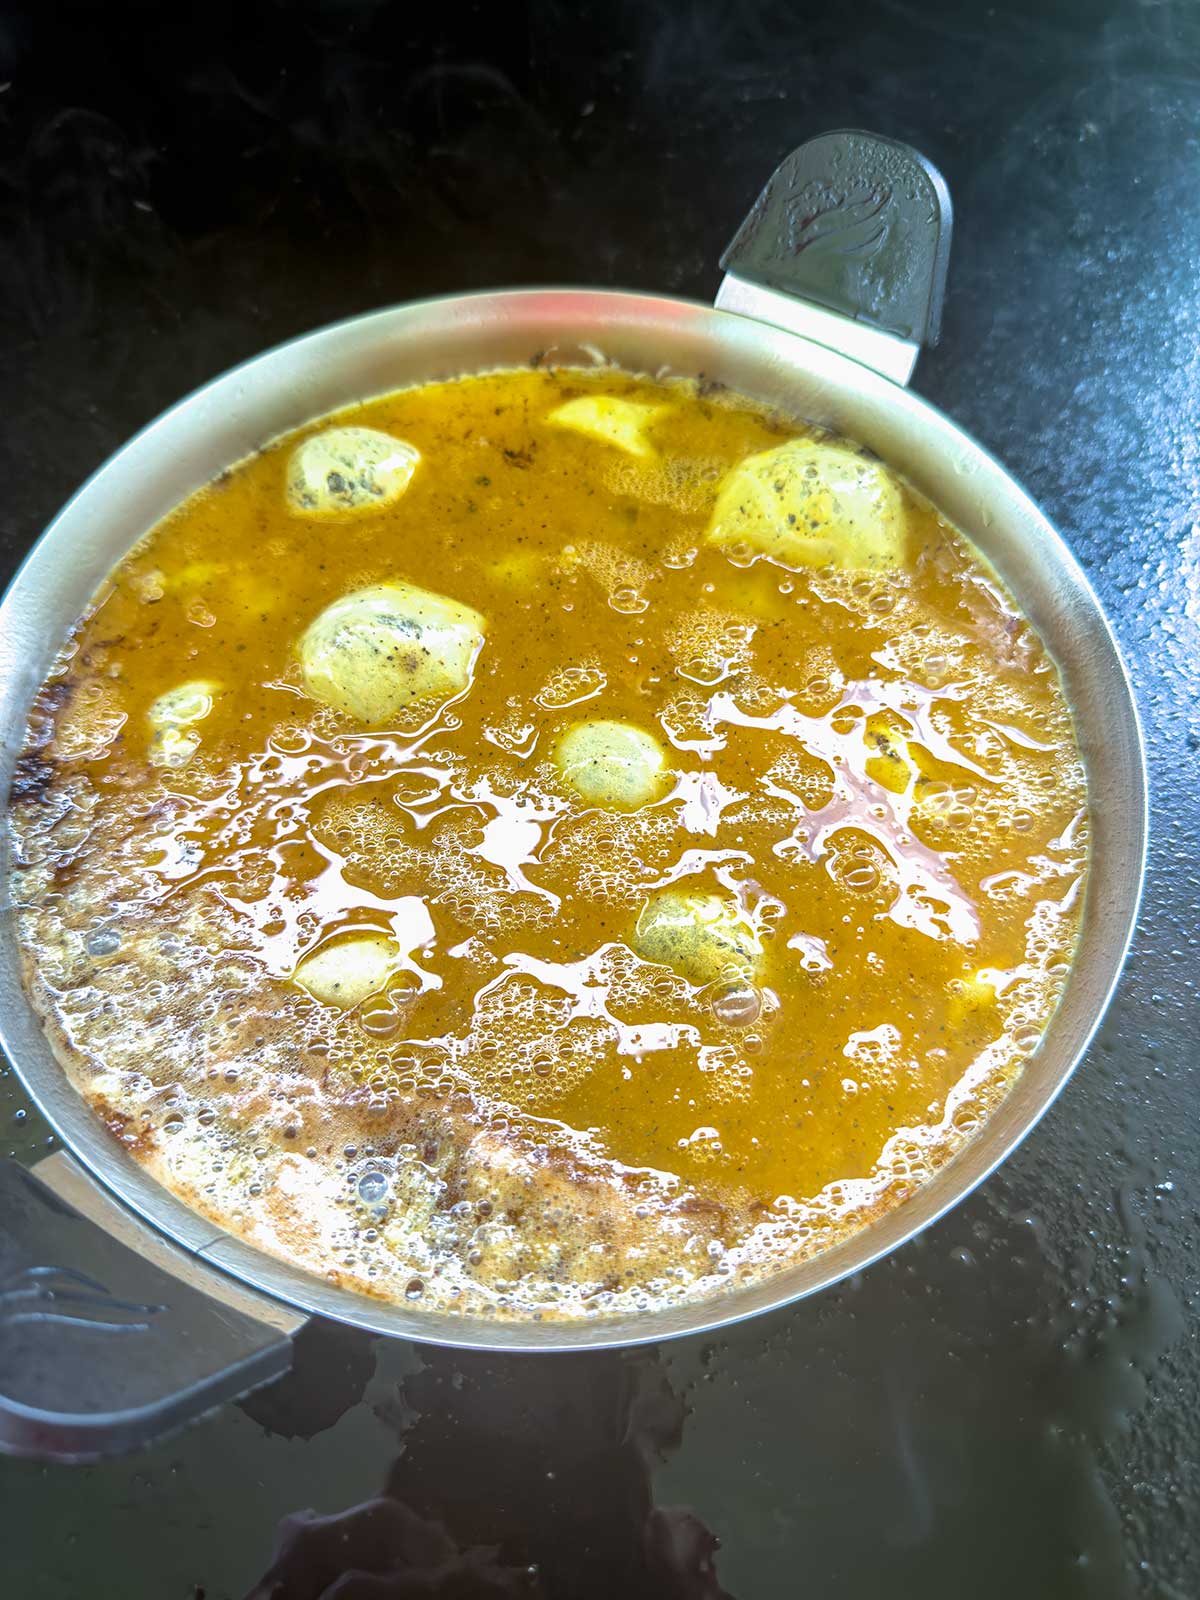
- Re-whisk the eggs.
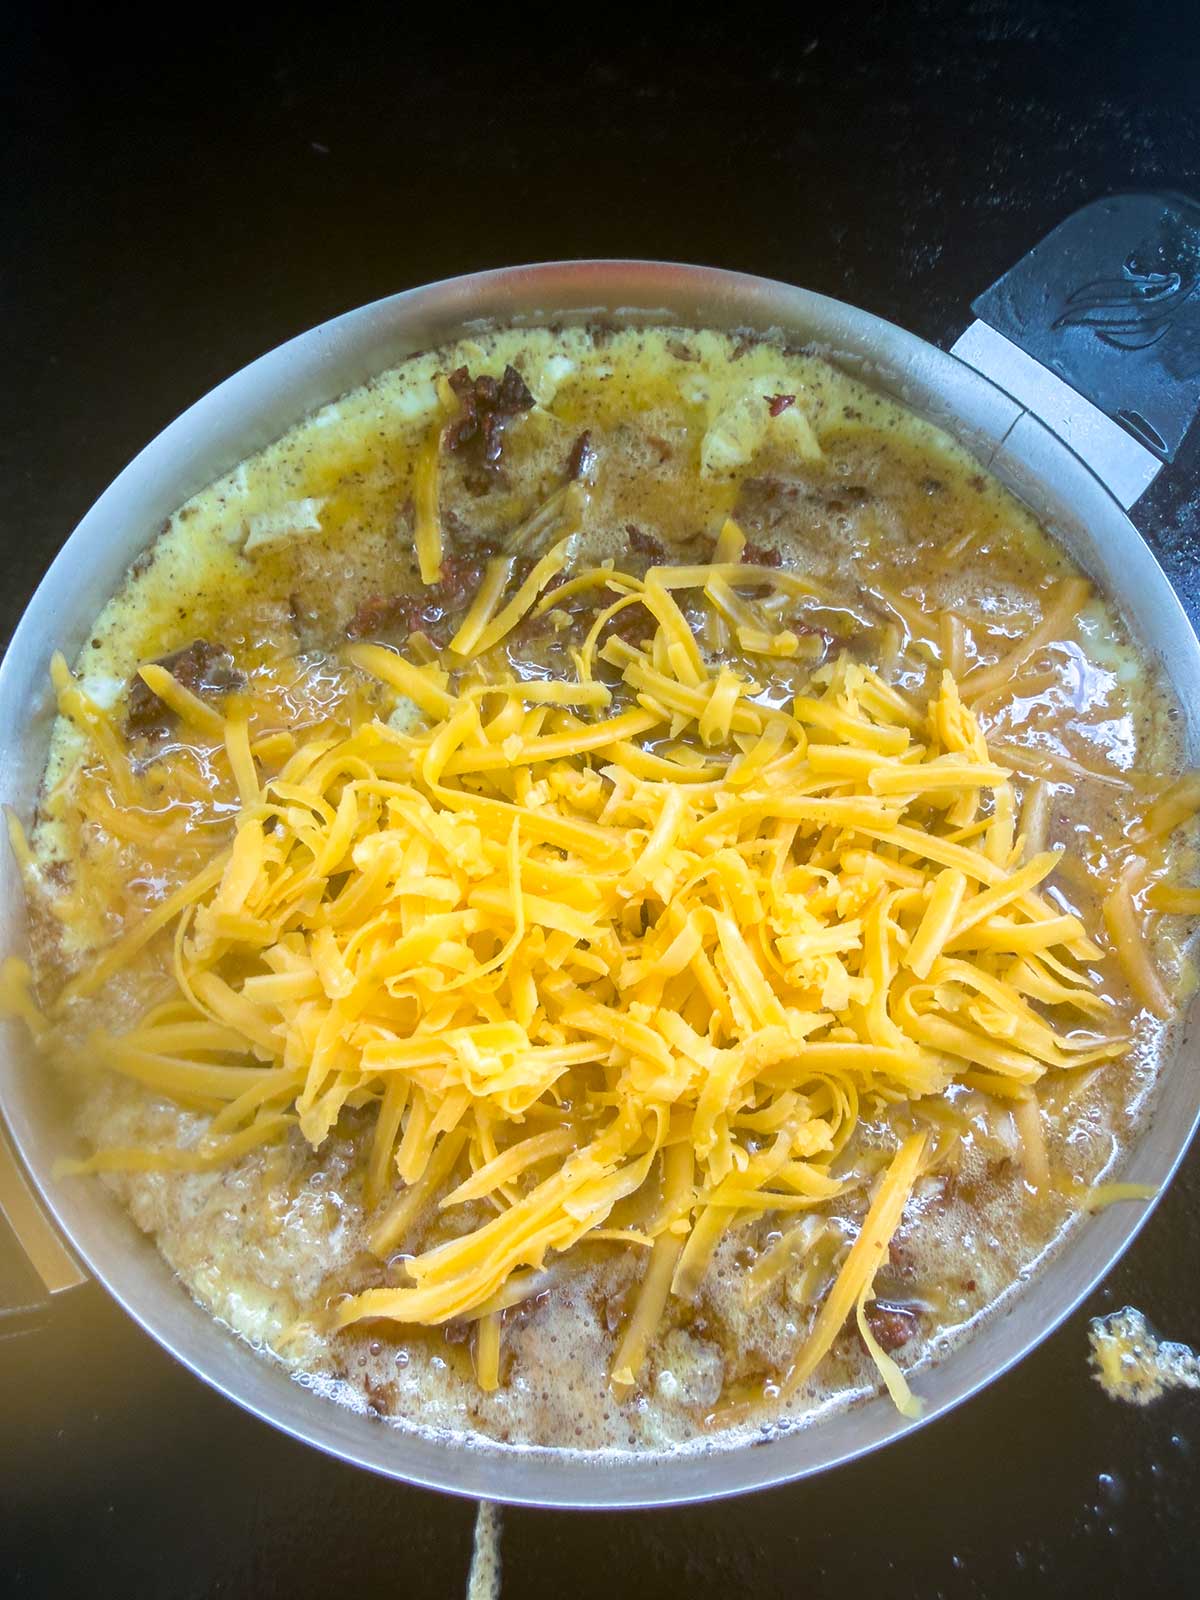
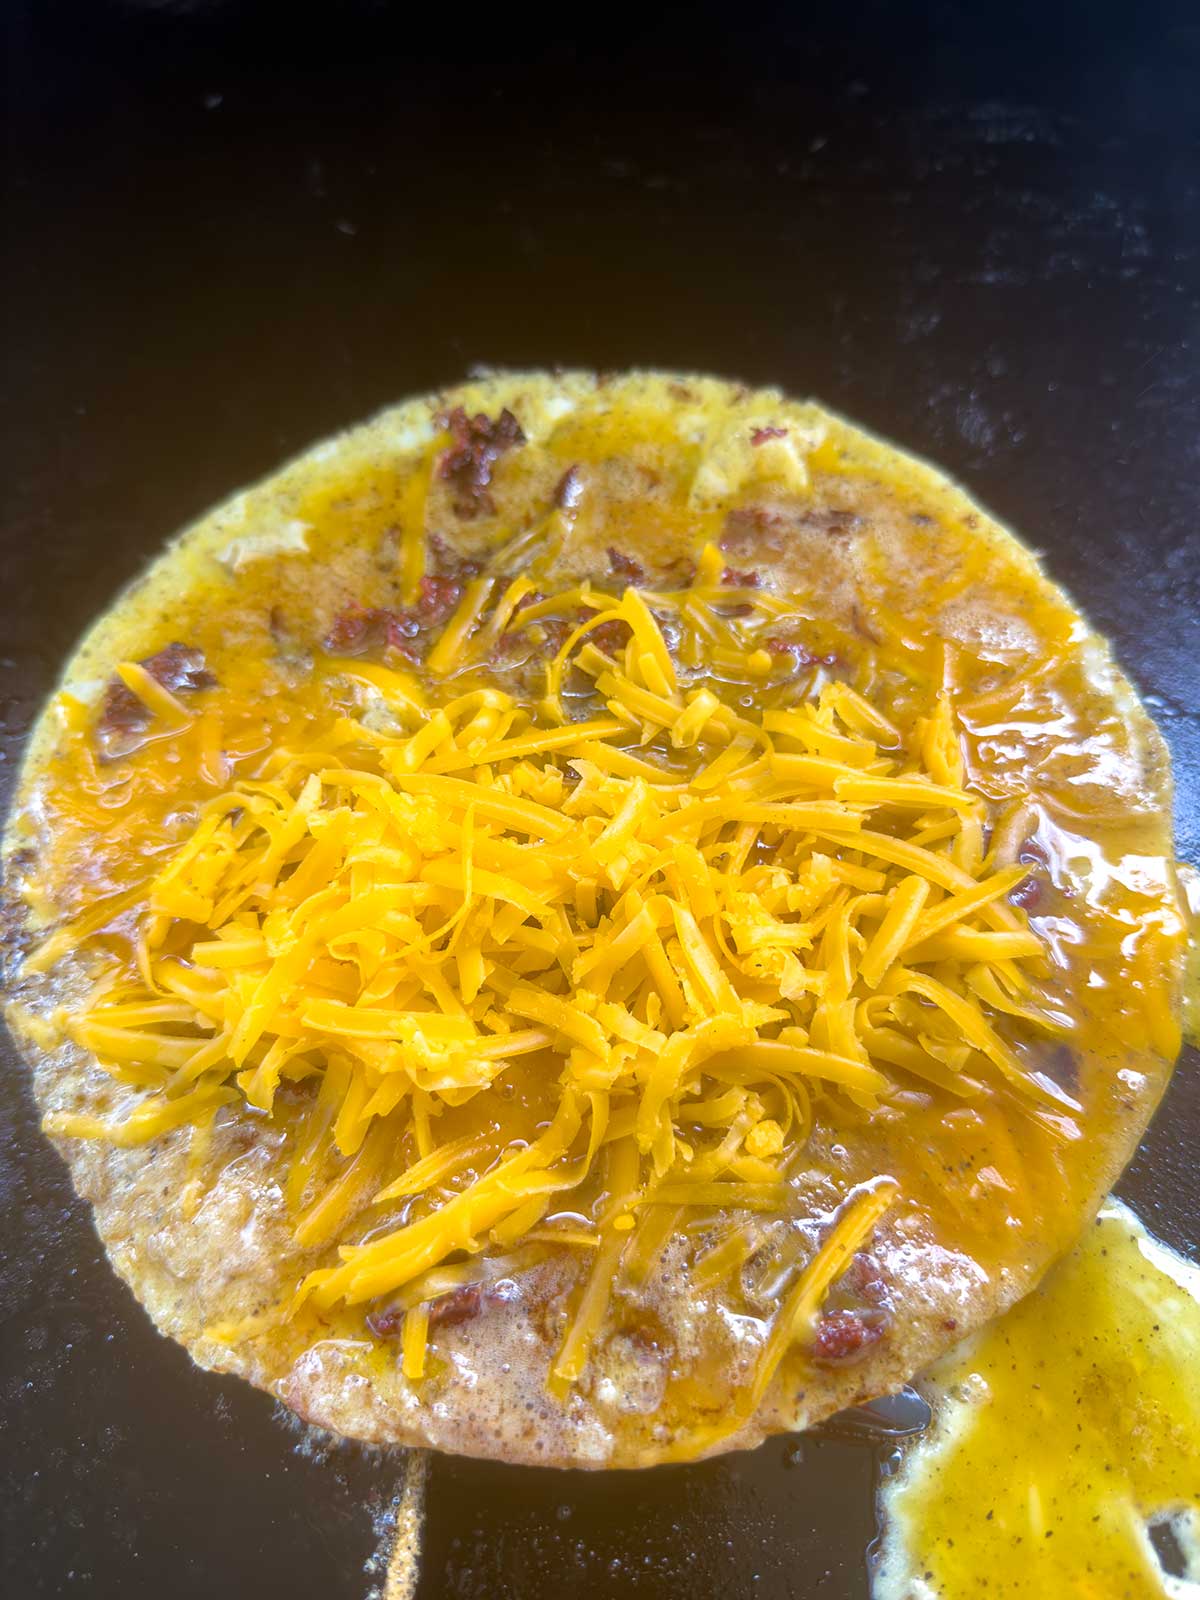
- Cook for a minute, until bubbly and slightly set, and then add the bacon and cheese. When the outside is set, remove the ring and fold the omelette in half. Using a large spatula, transfer to a plate and serve immediately.
Notes
- Spray the inside of the omelet ring (not just the griddle) — that's what lets the ring lift off clean.
- Don't skip wiping the griddle with the rendered bacon fat.
- Even on the low setting, the Blackstone will brown the bottom of the omelet. That's the point — this is American diner style, not French.
- Swap the bacon for diced ham or crumbled sausage for an easy variation.


Leave a Comment & Rate this Recipe