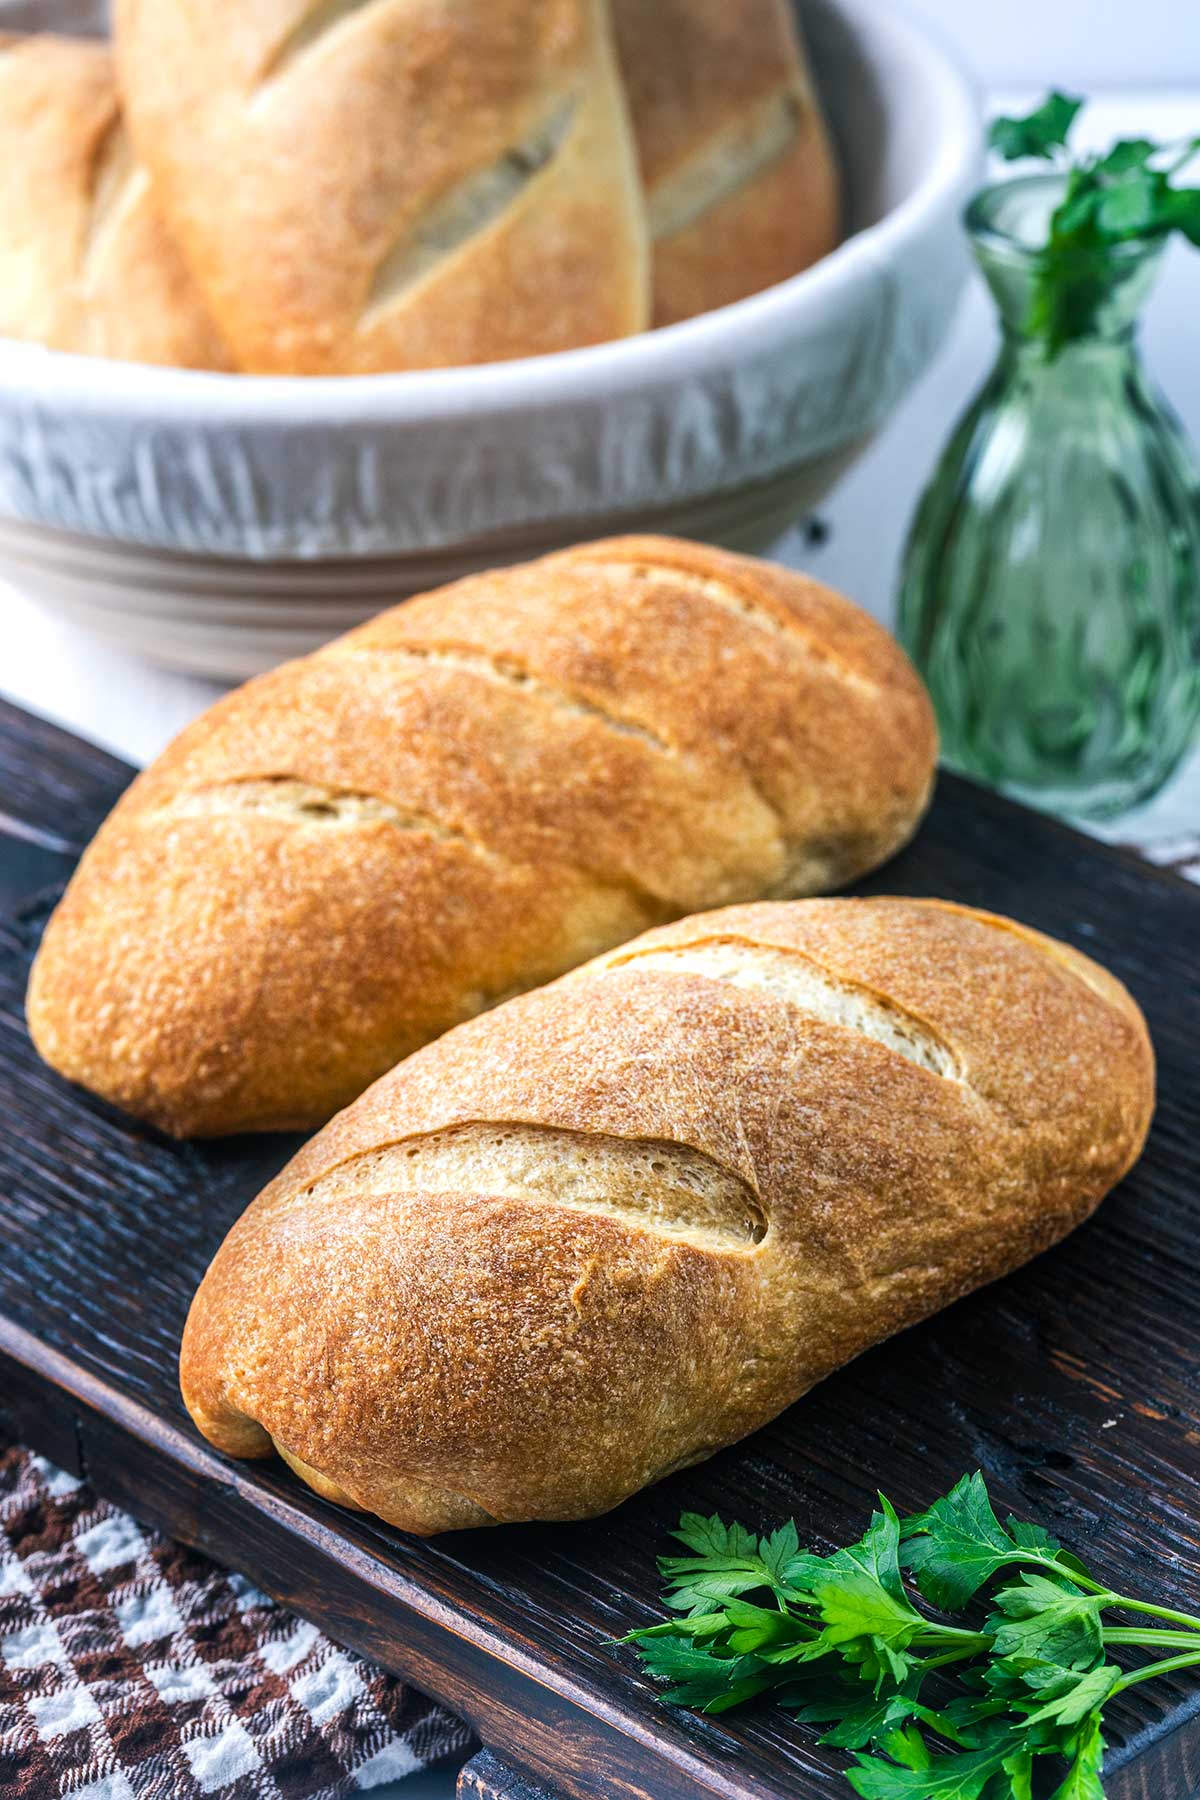
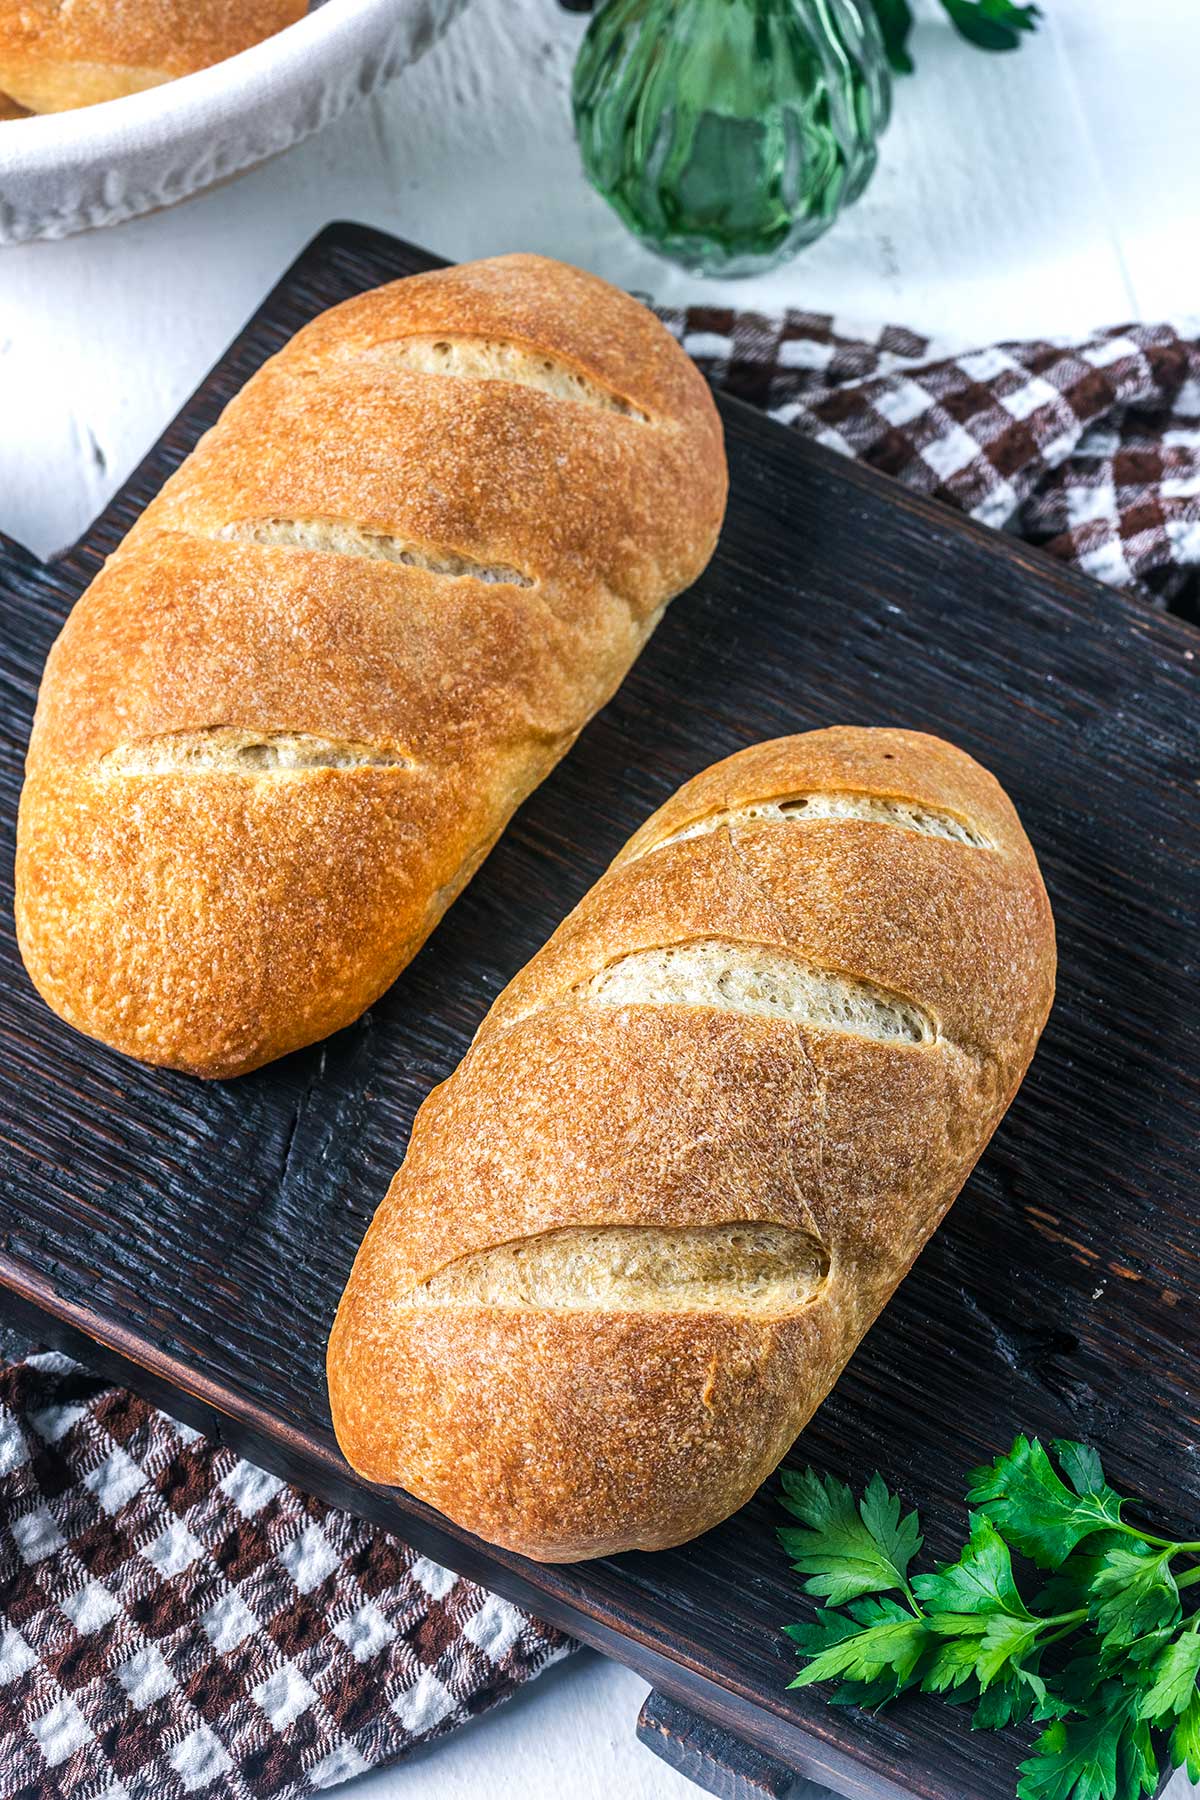
These are the sub rolls I've been chasing for years: crackly on top, pillowy inside, strong enough for a meatball sub and bendy enough for a cheesesteak. The bread machine does the dough, you do ten minutes of shaping, and six hoagie rolls come out of the oven. My 13-year-old made these Bread Machine Hoagie Rolls on her first try, totally solo. If she can, you can.
I’d tested this bread machine hoagie roll recipe a few times, when I handed it to my daughter for one last test before posting.
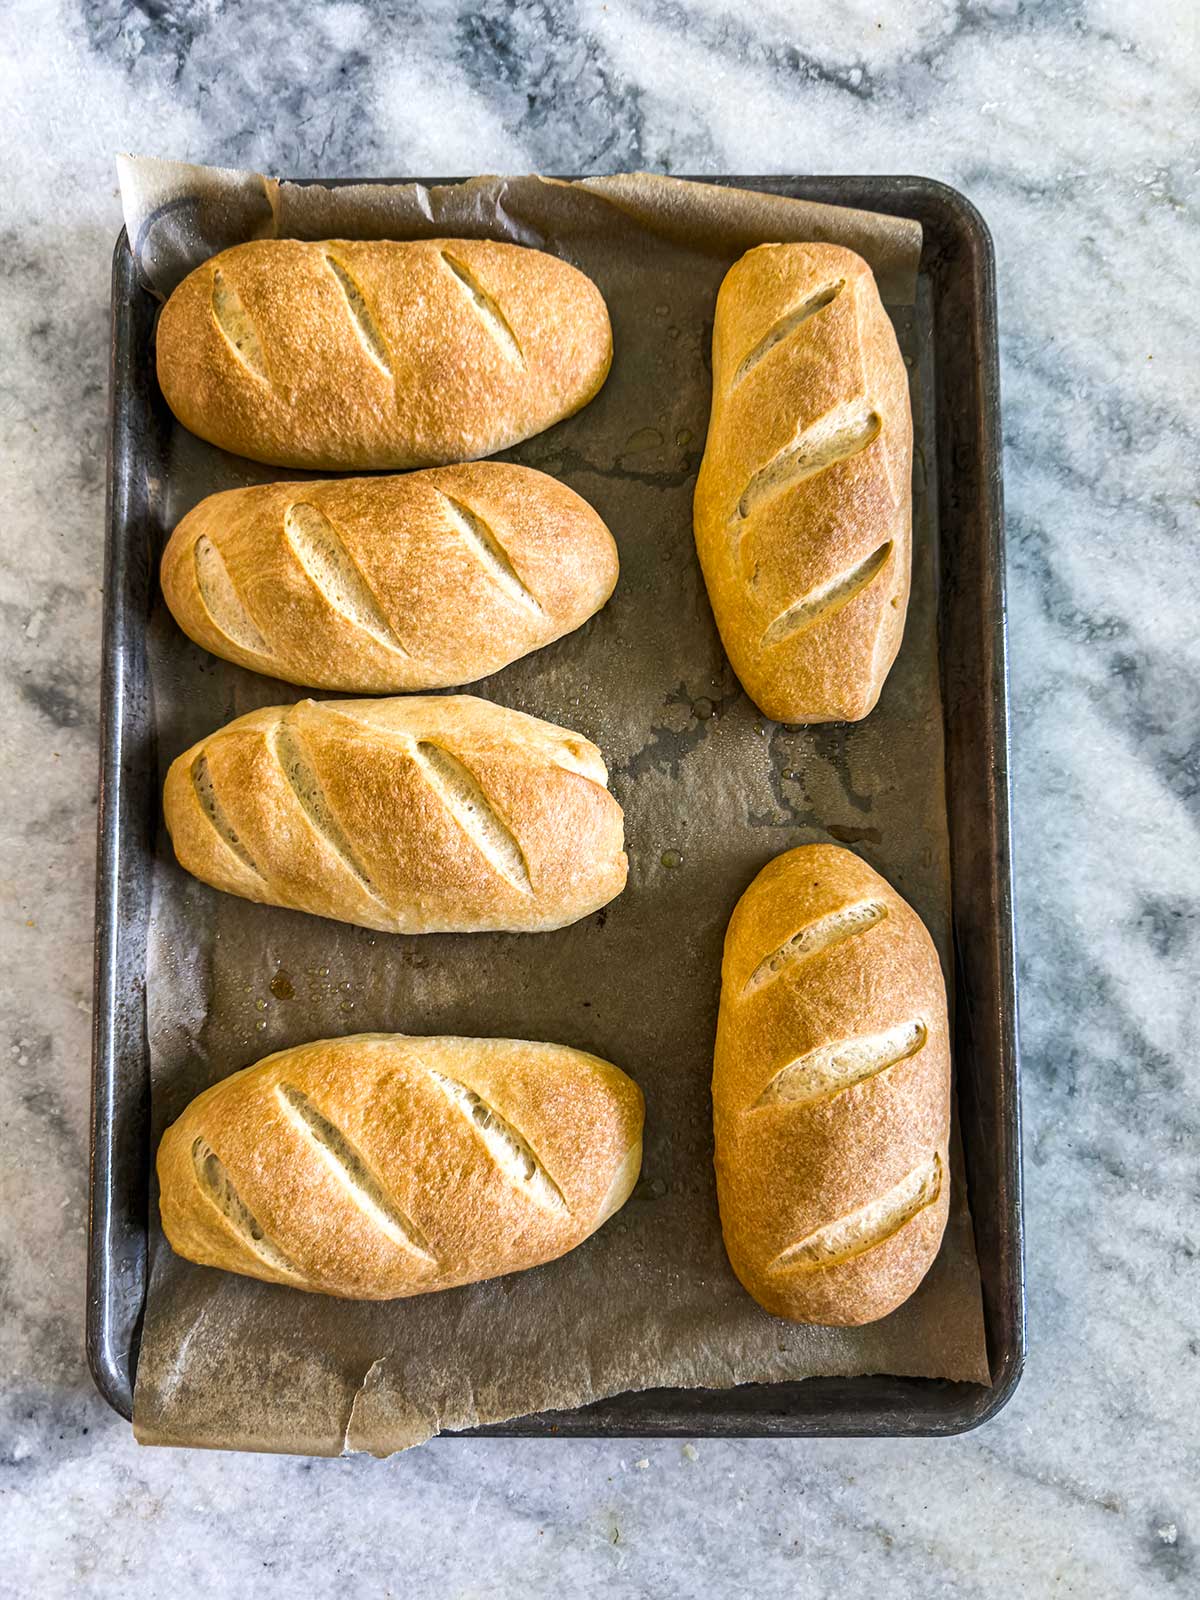
She weighed the flour, shaped six near-identical torpedoes, pulled them from the oven at, and texted me a photo. Hoagie rolls made by a 13–year old are what you see in the photos. (Full disclosure, she did not take the photos.)
That's how easy these are once the bread machine does its part.
Why These for Meatball Subs and Cheesesteaks?
For years we'd been pressing my bread machine burger buns into duty as hoagies. They're great buns and perfect for my slow cooker french dips.
But put a meatball sub on them and they were too soggy. They couldn't hold up to a cheesesteak either. Too tender. Too even. Hoagies need a little more architecture.
These do that. The crumb inside is soft but has chew. They hold marinara without weeping. My kids, who are punishingly specific about bread, insist on these when we are having Blackstone Philly Cheesesteaks, Italian Cheesesteak, Chicken Phillys, or Meatball Subs.
What's Doing the Work
Bread flour, not all-purpose. Bread flour has more protein so you get more gluten development. This is where the chew comes from. All-purpose will give you a softer, more dinner-roll situation.
Milk powder. It gives you a more tender crumb and helps the crust brown without burning.
Butter, not oil. Richness without sogginess. Oil would soften the crust too much.
A 45-minute second rise . The proofed roll should hold a gentle finger-poke dent that slowly fills back in. If it springs back immediately, give it another 10 minutes.
Step-by-Step
(Full recipe in the recipe card below.)
The shaping move that matters
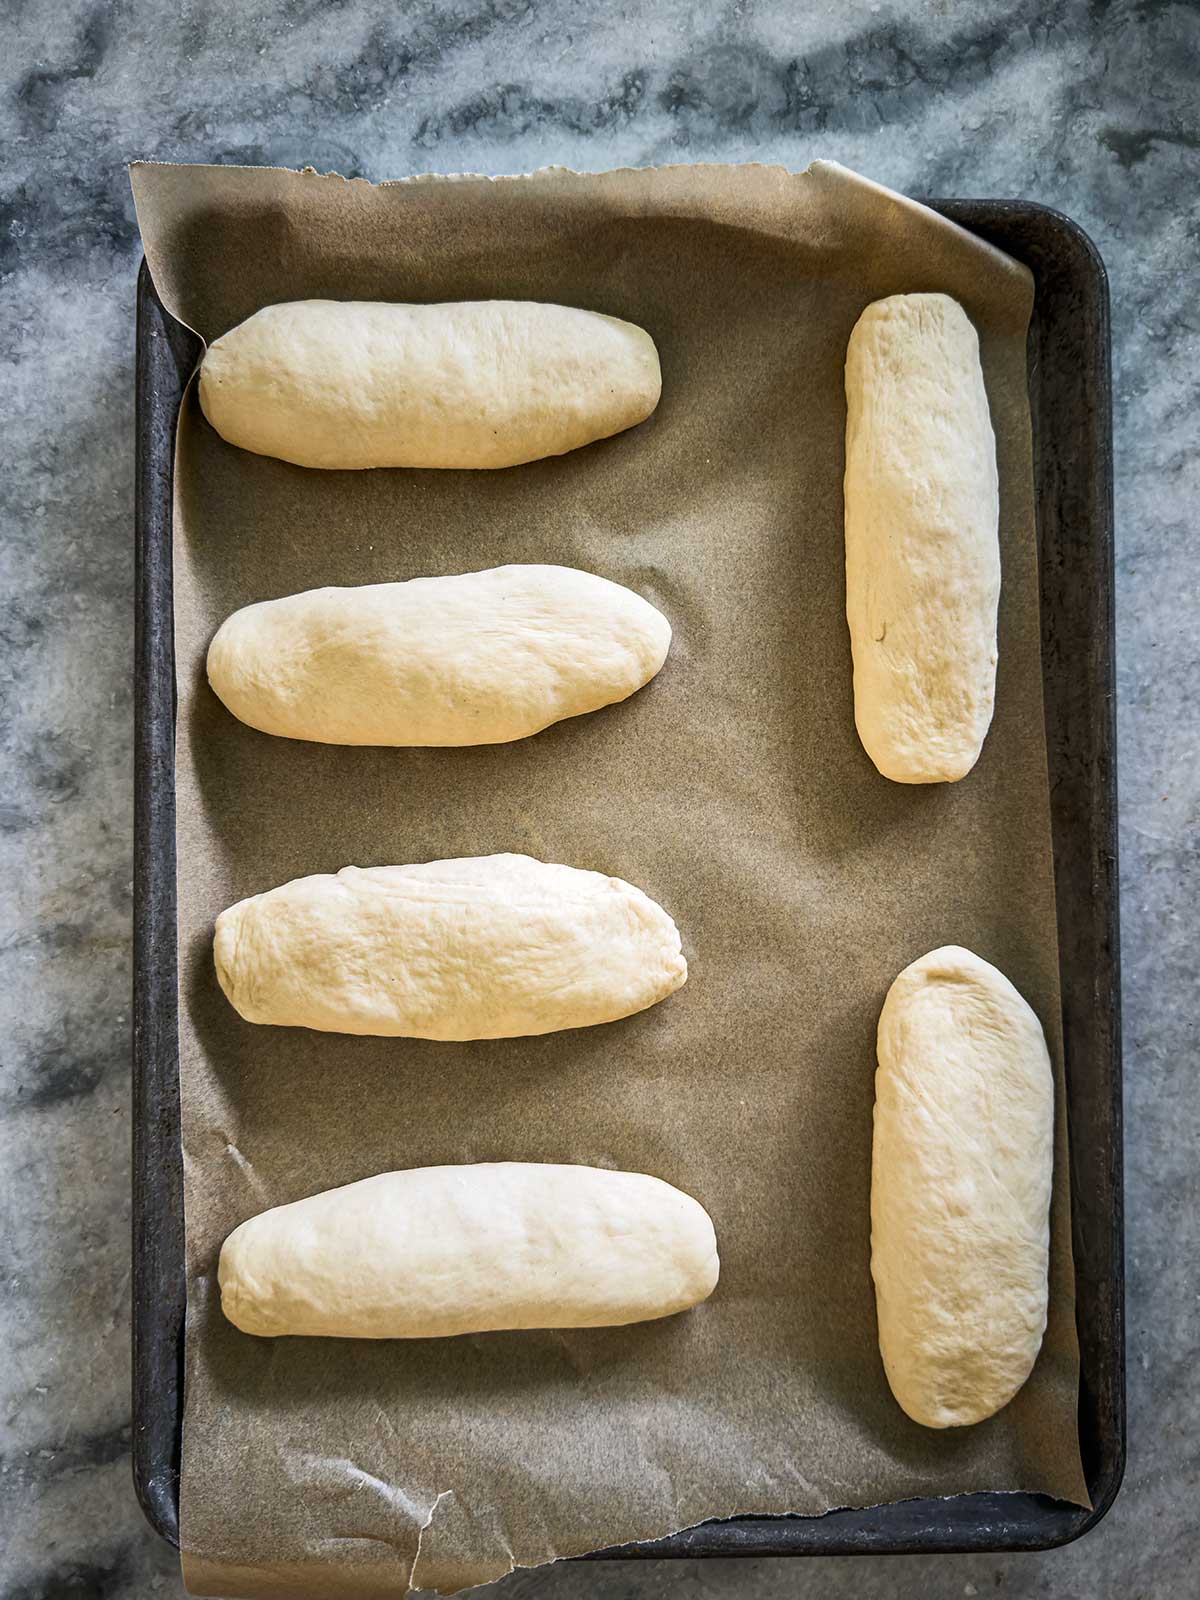
Divide your dough into six pieces Flatten each with your palm, fold and pinch into a rough torpedo. Now set it aside and shape the next one. By the time you've made it through all six, the first one has relaxed enough to be rolled out without snapping back. Go back to it, roll back-and-forth with light pressure, taper the ends slightly. I make mine about 7-inches
Three finishes
All three of these have been tested. They all work. Pick based on what you're using them for.
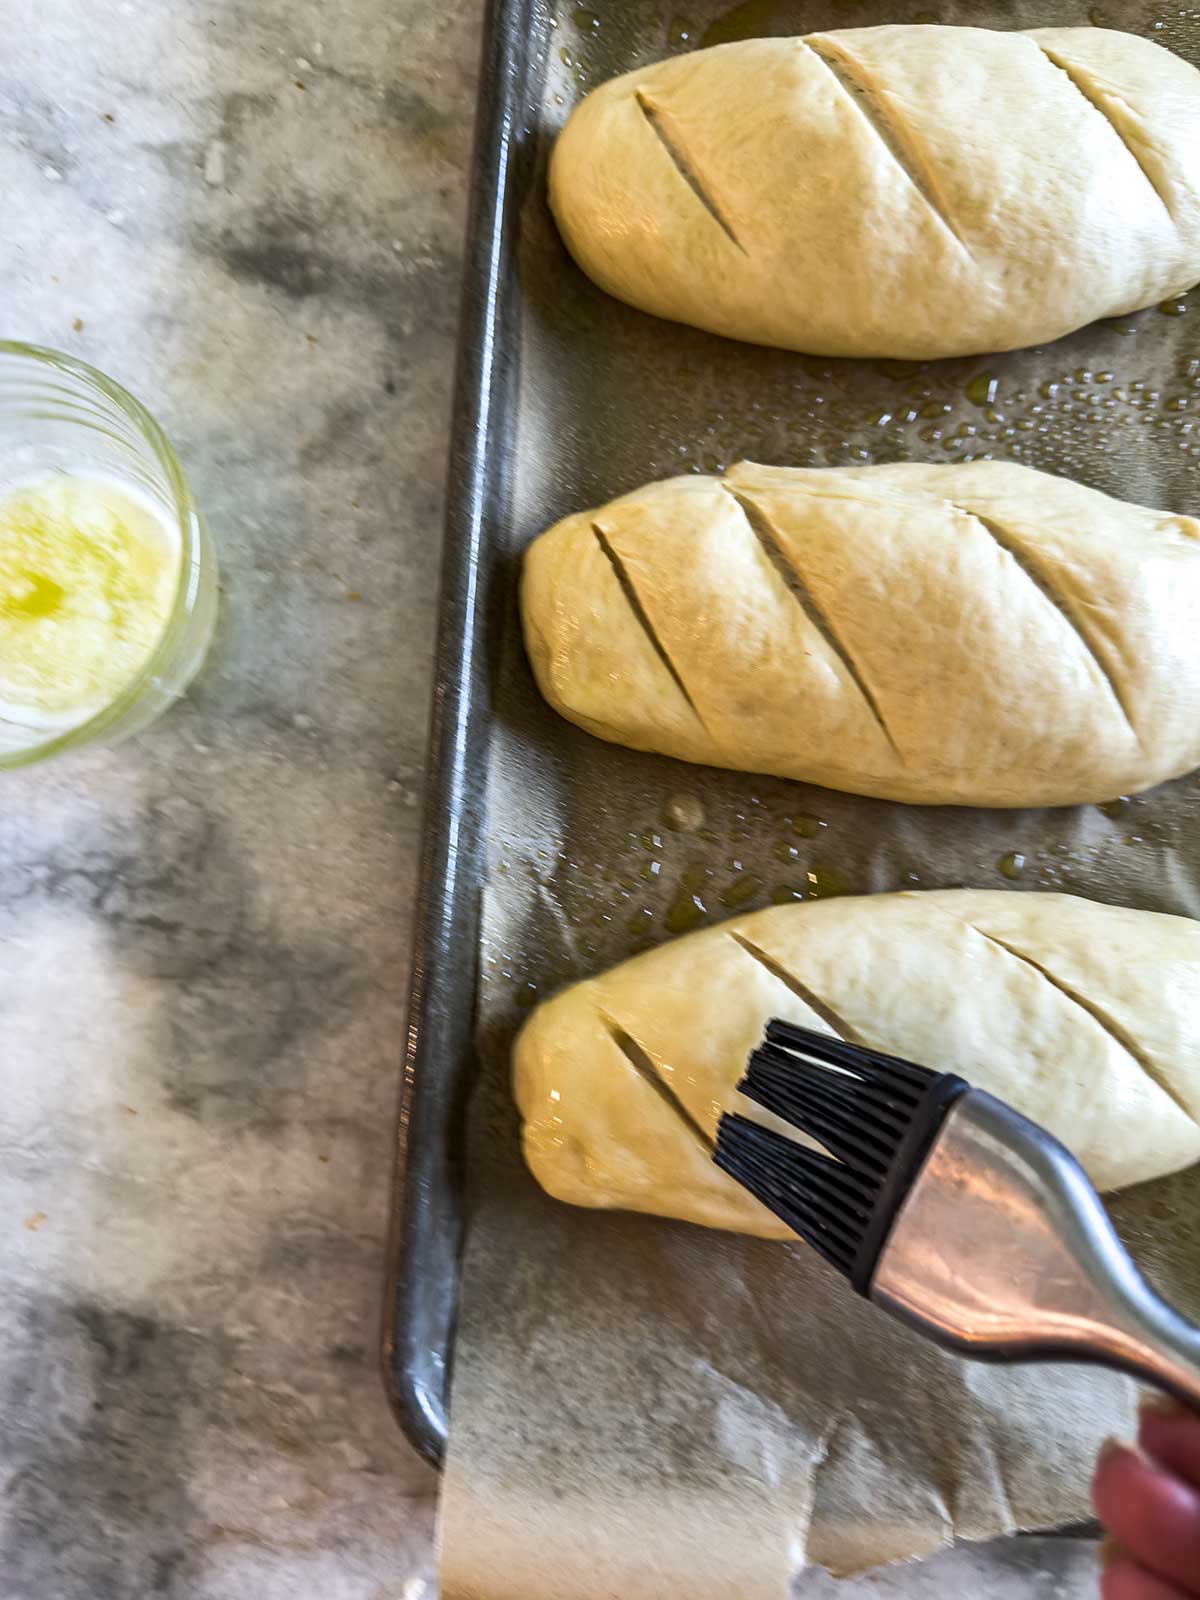
Butter (the default in the recipe and what is pictured). Brushed on right before baking. The crust still crackles, but it's a little softer and a deeper amber color.
Water. Just mist or brush with water before slashing. You get a paler, slightly more matte roll with a crisper crust.
Egg wash. One egg beaten with a teaspoon of water and a pinch of salt. Glossy, lacquered, distinctly more "I bought these from a bakery."
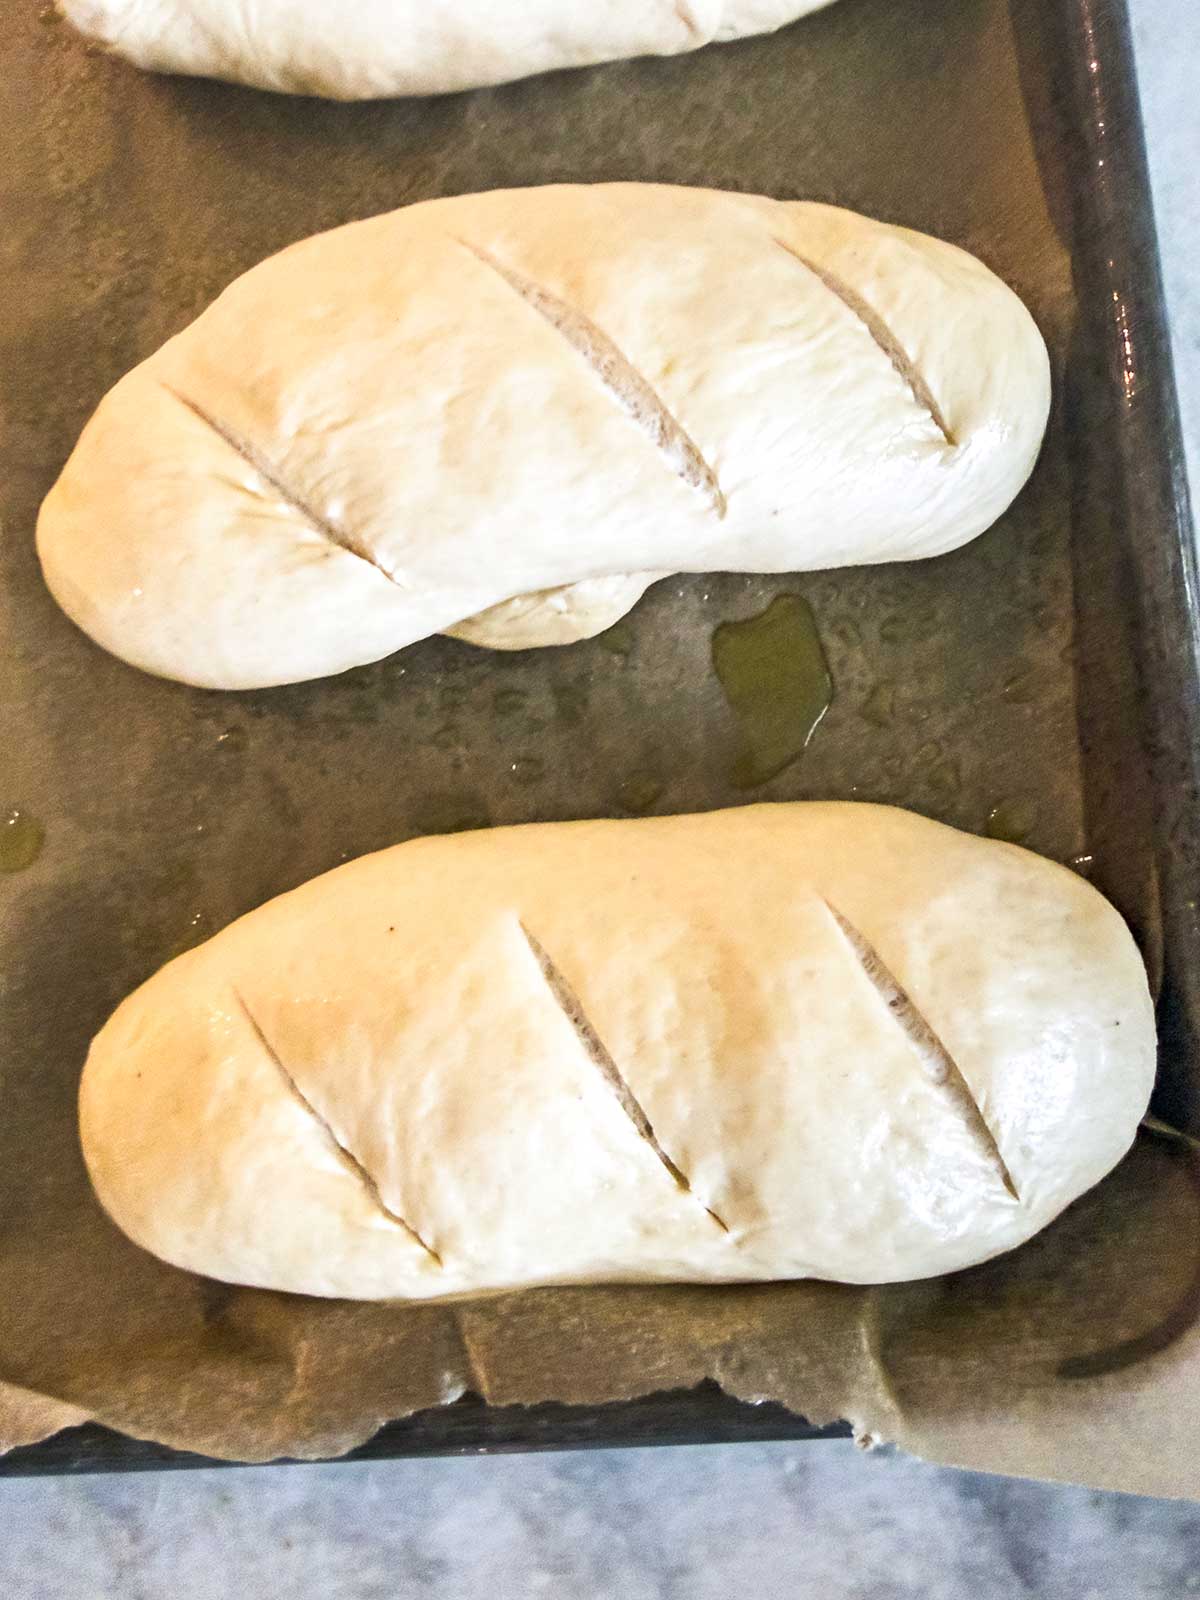
Slashing
For the slash on top, you have two options. You can make one long cut down the center for a single dramatic rip, or three short diagonal cuts for the classic baguette look. Use a razor blade or your sharpest paring knife and commit. A timid slash will tear instead of open.
The leftover move
If you somehow have leftover rolls, slice them lengthwise, smear with softened butter mixed with garlic and chopped parsley, and run them under the broiler for two minutes. Mini garlic loaves. They take three minutes of work and turn last night's hoagie rolls into the bread for tonight's pasta dinner. Recipes like this one are why I never buy bread.
Bread Machine Hoagie Rolls
Equipment
- Bread Machine
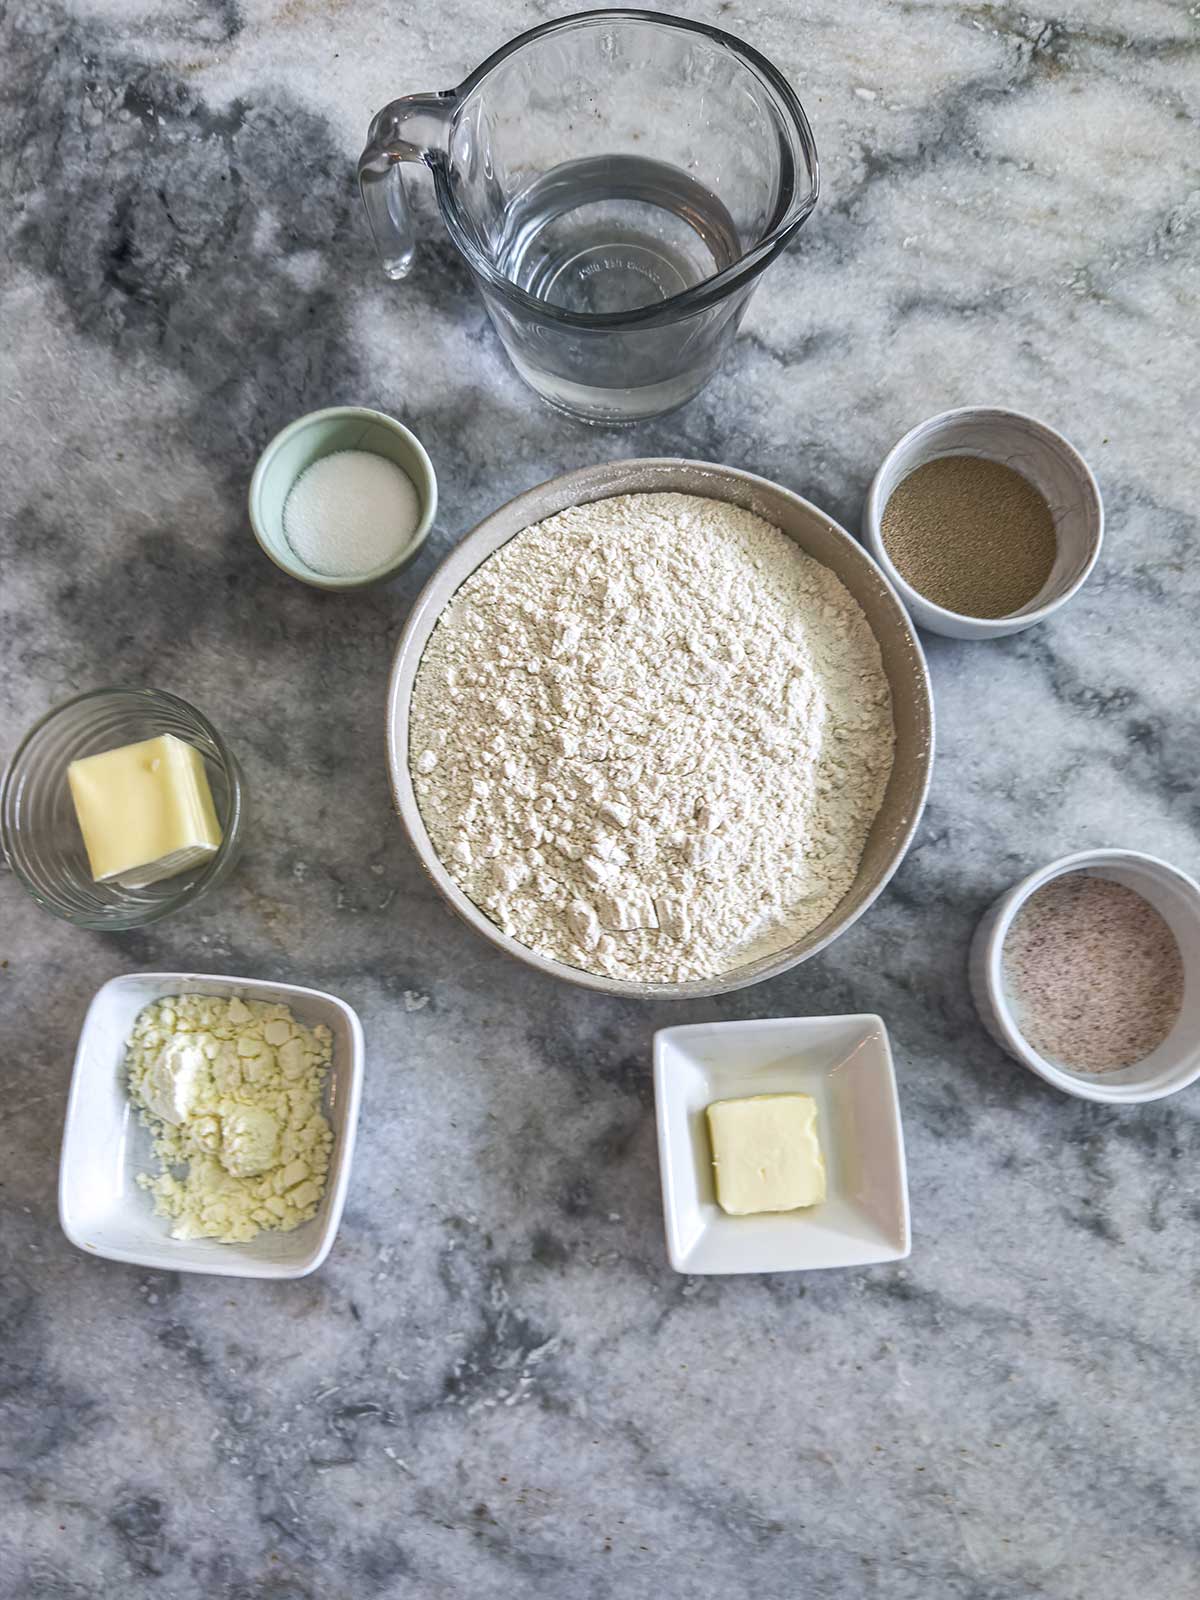
Ingredients
- 266 grams warm water 1 cup + 2 tablespoons
- 4 tablespoons melted unsalted butter
- 1 tablespoon sea salt or kosher salt
- 480 grams bread flour 4 cups
- 2 tablespoons dried milk powder
- 1 ½ tablespoons sugar
- 1 tablespoon bread machine yeast
Topping
- 1 tablespoon butter melted
Instructions
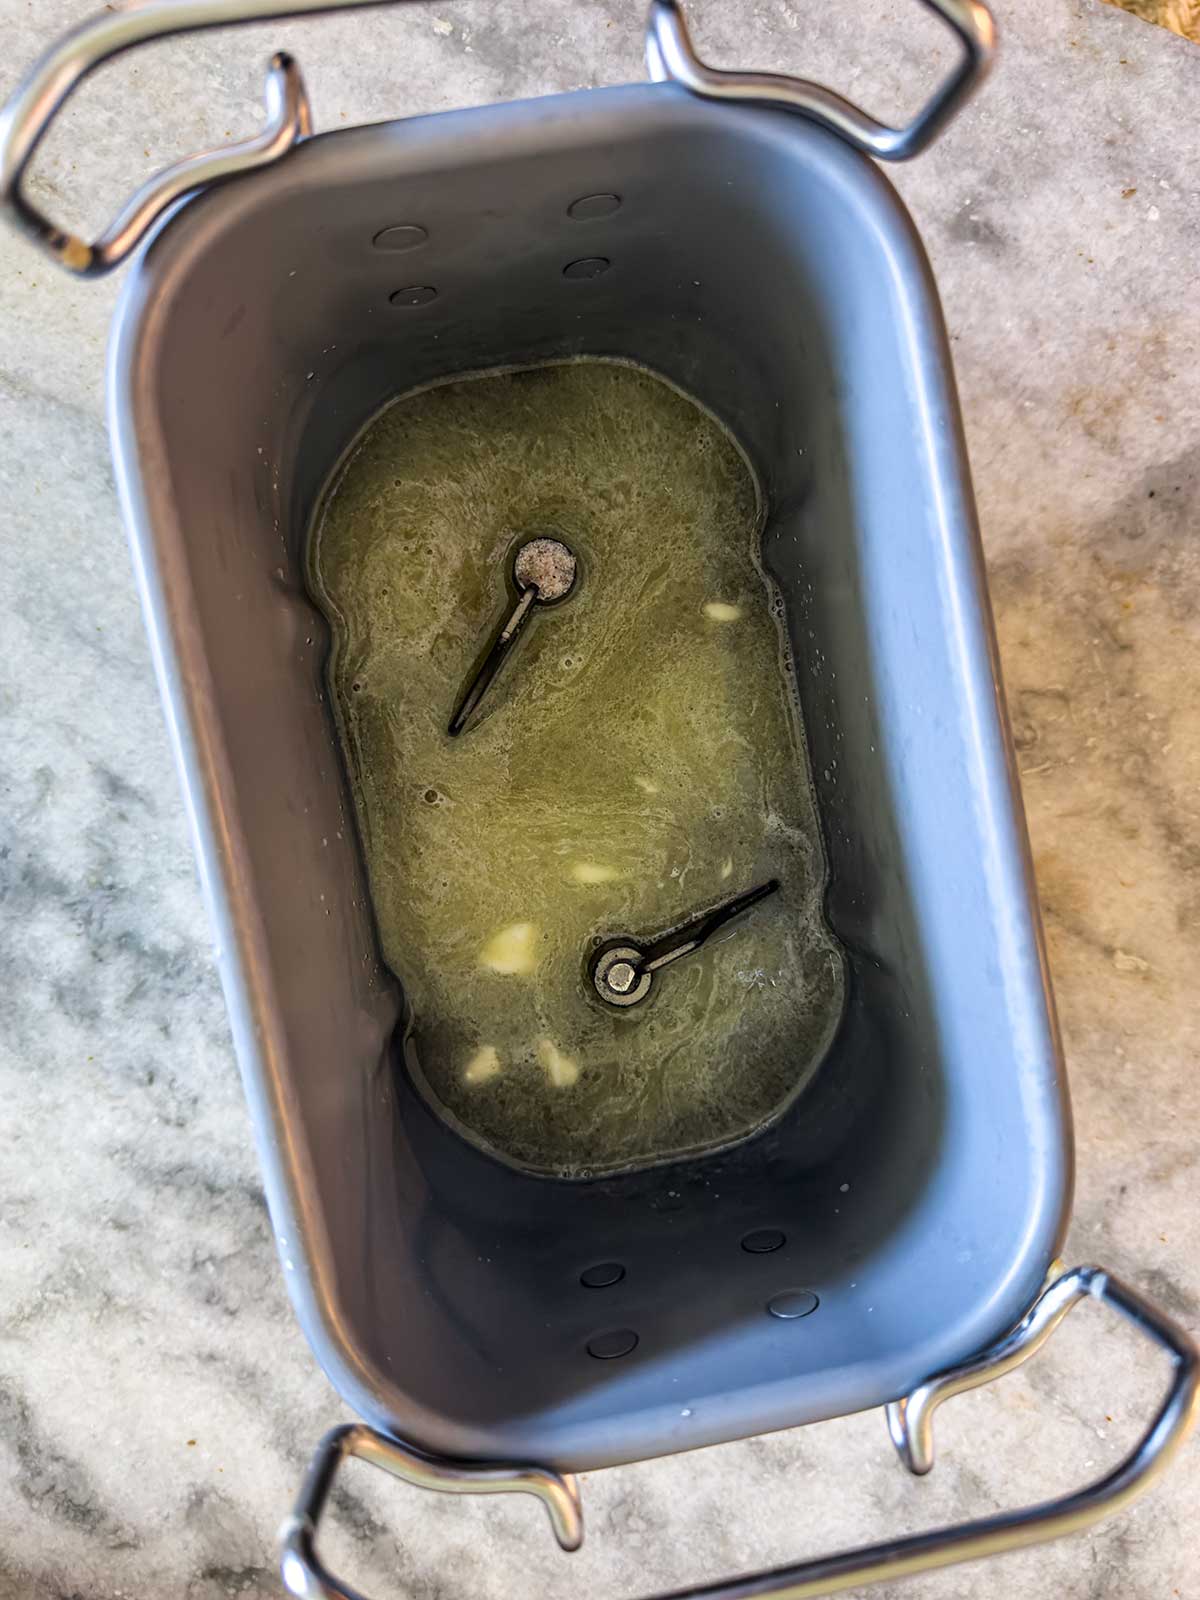
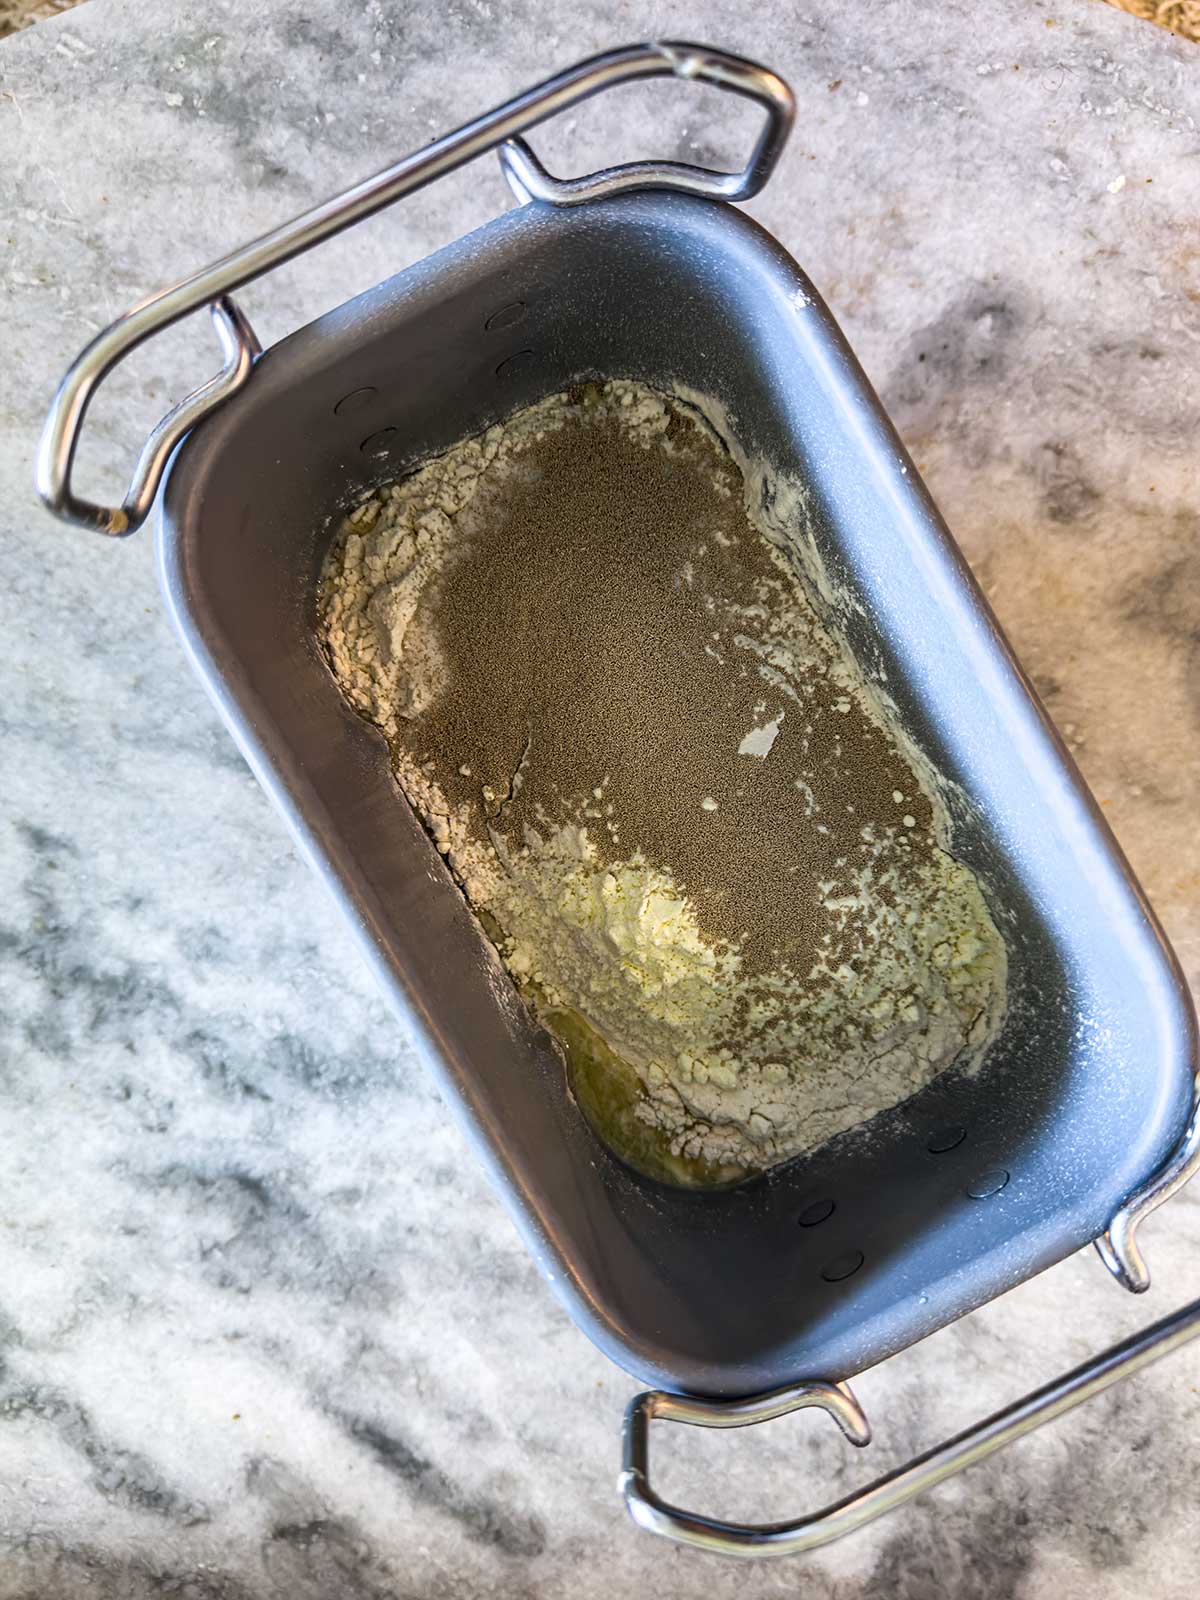
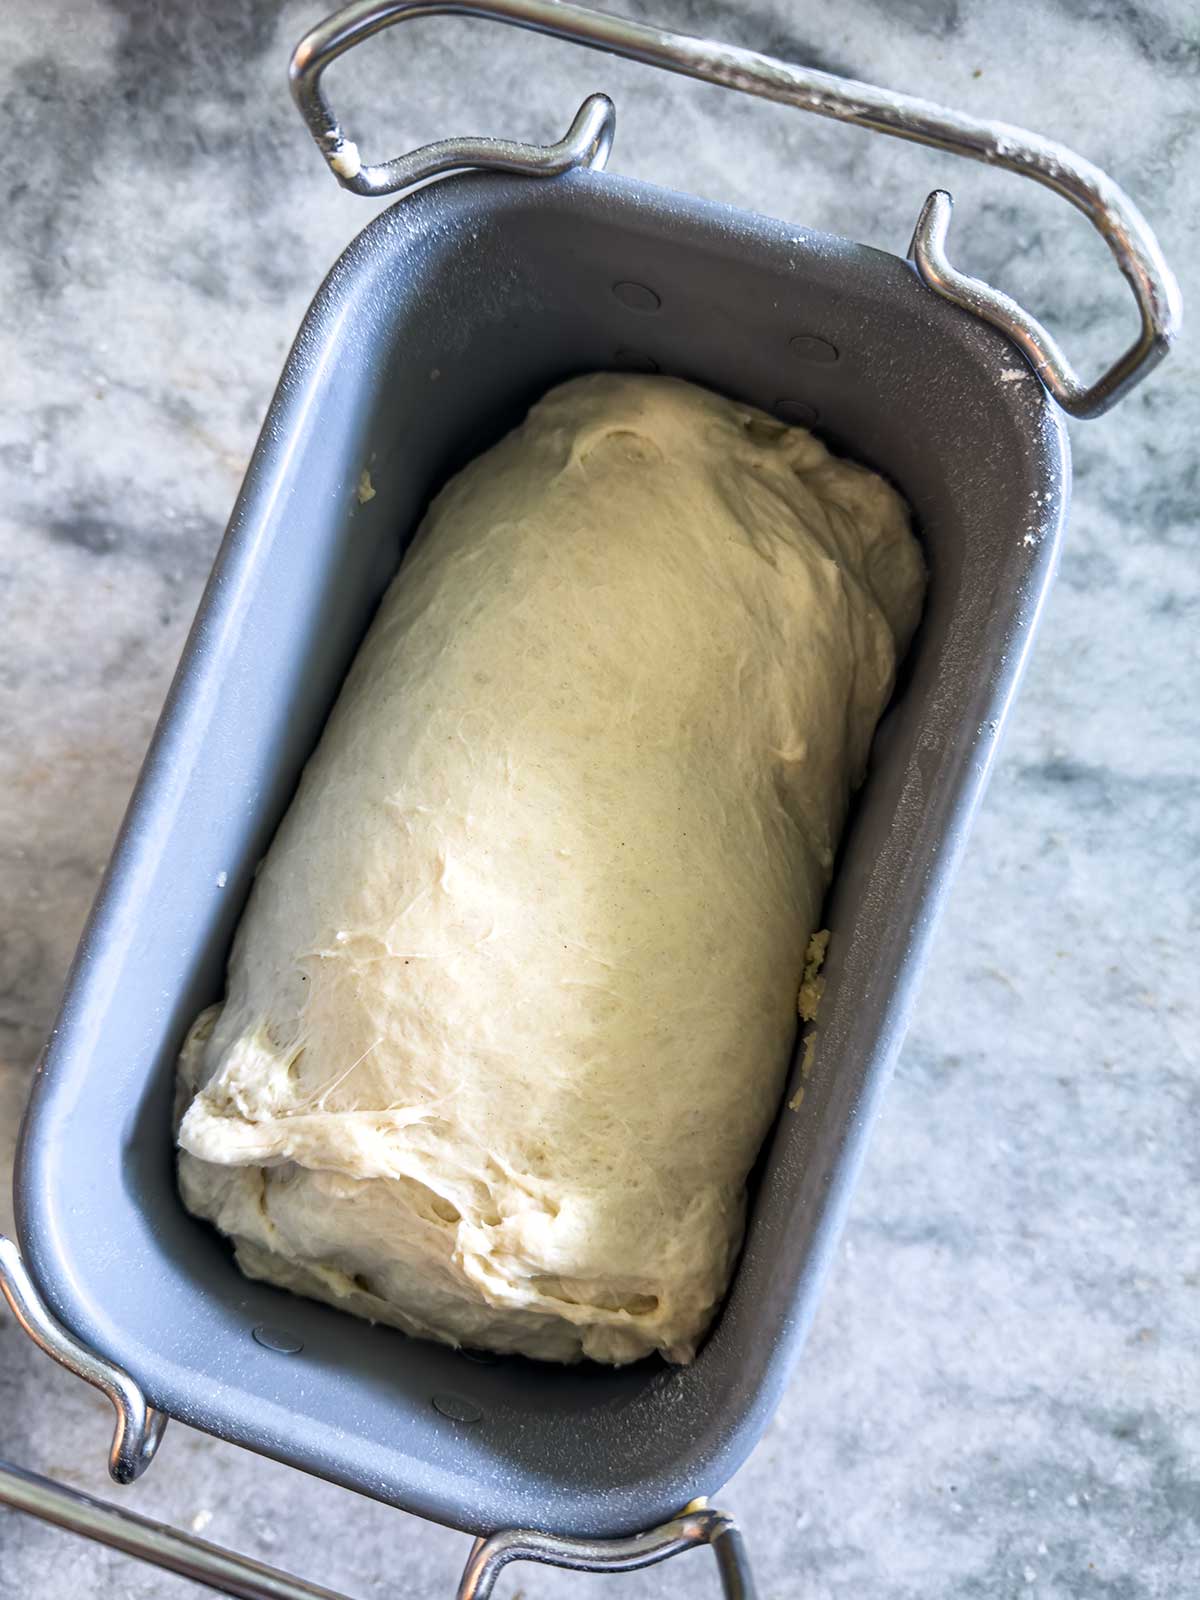
- Place the water, butter, and salt in your bread machine, and then add the flour, milk powder, sugar, and yeast.
- Select the dough cycle and process according to the manufacturer’s instructions.
Shaping
- Divide the dough into 6 pieces, about 140 grams each. Flatted the dough with your hand and then form into a torpedo shape. Let the dough rest while you work on the other rolls, then return to the first and roll back and forth until it is 7-inches with a slight taper at the end.
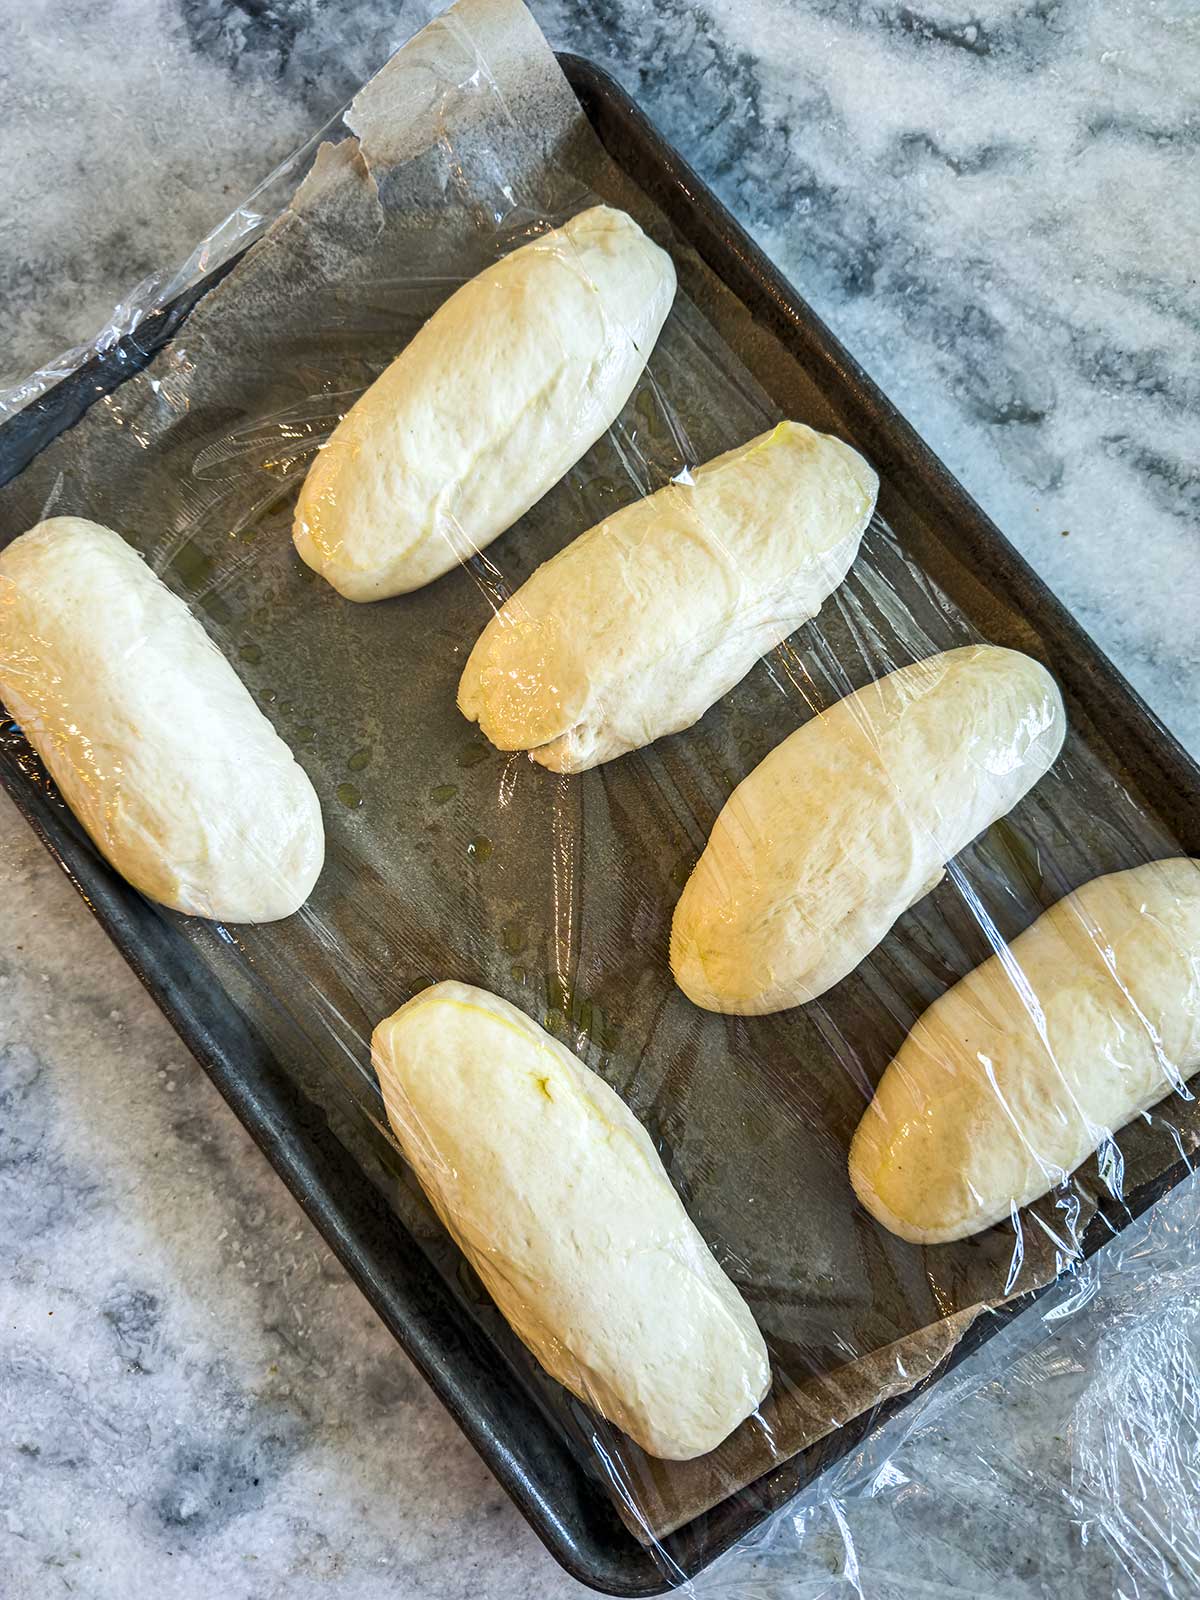
- Place on a baking sheet lined with parchment paper about 3’ apart. Mist with spray oil. Cover with plastic.
- Let rise for 45 minutes.
Baking
- Preheat the oven to 375°F.
- Use a razor or sharp paring knife make a slash in the center of the buns down the middle, or make 3 slashes across the buns. Lightly brush the buns with butter.
- Bake for 25 to 28 minutes.
- Cool completely before serving.
Notes
Finish variations: Brush with water instead of butter for a paler, more matte crust, or use an egg wash (1 egg beaten with 1 teaspoon water) for a glossy, deli-style finish.
Storage: Keep at room temperature in a paper bag for up to 2 days, or freeze (sliced) for up to 3 months.
Leftover idea: Slice lengthwise, spread with garlic butter and chopped parsley, and broil for 2 minutes for instant garlic bread.


Leave a Comment & Rate this Recipe