Think making gelato at home is hard? This Ninja Creami Gelato recipe will forever change your mind. With the Ninja Creami, you can transform simple ingredients into a creamy, dreamy frozen treat right in your own kitchen. Just remember, patience is key because the base needs to chill out in the freezer for 24 hours to reach that perfect, scoopable texture we all love.

Ready to whip up some homemade gelato that'll make your taste buds dance?
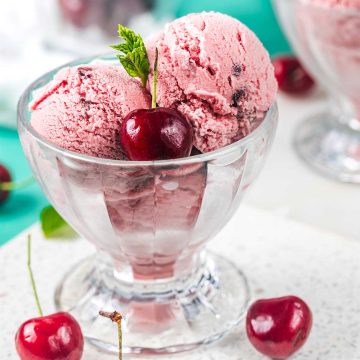
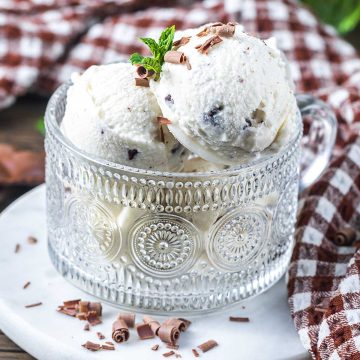
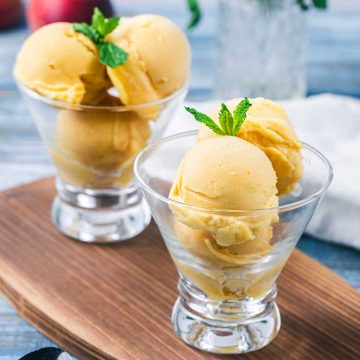
This vanilla gelato in the Ninja Creami is so velvety and decadently sweet that it's like teleporting to a charming Italian piazza without leaving your kitchen.
Why Our Recipe
- No corn syrup, pudding mix, or other stabilizers are needed - just ingredients you can feel good about.
- Perfect creamy and dense gelato texture.
- Infinitely adaptable - this vanilla gelato base can be customized to make your favorite flavor.

Ingredients
- Whole Milk: The star of gelato, giving it that creamy texture we all love. If you're looking to keep things dairy-free, almond milk, cashew, or oat milk makes great substitutes.
- Half and Half: Brings a touch of richness. Heavy cream could also be used. Coconut cream can be a good alternative for a dairy-free option.
- Large Egg Yolks: These are key for that luxurious, custard-like thickness.
- Powdered Milk: Located in the baking aisle, it enhances the milkiness and improves the texture of gelato. Coconut milk powder could also be used.
- Powdered Sugar: Chosen for how smoothly it blends into the mix, creating a sublime texture. Granulated sugar works as well.
- Vanilla Bean Paste: Adds depth and those beautiful specks of vanilla. Pure vanilla extract can be used, but the paste is worth it for its flavor intensity and visual appeal.
The Difference Between Ice Cream and Gelato
Ever wandered past a gelato shop and wondered how it's different from your typical ice cream scoop?
Here's the scoop: Gelato is creamier and denser because it has more milk than cream, often includes more egg (especially the yolks), and is churned at a much slower pace.
This slow churning means less air gets whipped in, leaving gelato smoother, not as airy, and oh-so-luxuriously dense. Plus, with less fat than ice cream, the flavors in gelato really pop, giving your taste buds a more intense experience.
How to Make Gelato in the Ninja Creami
For the full recipe for Ninja Creami Vanilla Gelato with measurements, see the recipe card at the end of the post.


Tips and Tricks
- Plan Ahead: Always remember to freeze your base at least 24 hours before you plan to make your gelato. This ensures the perfect consistency and flavor concentration.
- Texture Matters: If your gelato comes out too powdery after processing, don't fret! Just pop it back on the base and use the re-spin function for a creamier texture. (In my experience, powdery ice cream from the Ninja Creami ice cream maker is typically due to the base being too cold. It should be right at 0°F.)
- Temperature Testing: To ensure food safety when using eggs, heat your mixture to 185°F. A reliable instant-read thermometer is helpful here.
- Mix-Ins: For those of you who love a bit of texture in your gelato, make sure to add your mix-ins after the initial spin. Carve out a 1 ½ inch wide hole down to the bottom of the pint, fill it with your favorite chopped goodies (chocolate chips, anyone?), and use the Mix-In function for an even distribution.
- Serving Perfection: The ideal serving temperature for gelato is between 7°F and 12°F. This is when the texture and flavor are at their peak. Therefore, I recommend taking your gelato out of the freezer and letting it sit for about 5 minutes before digging in. This little wait time makes all the difference, trust me!
Tools
As an Amazon associate, I earn from qualifying sales.
- Ninja Creami
- Ninja Creami Pint Container
- Sauce Pan
- Instant Read Thermometer
More Ninja Creami Recipes to Try
- Whip up a wholesome dessert with our Ninja Creami Protein Ice Cream, perfect for fitness enthusiasts craving a sweet refreshment.
- Enjoy the sweet flavors of summer with our Ninja Creami Strawberry Ice Cream recipe.
- A classic favorite, our Ninja Creami Vanilla Ice Cream is creamy, smooth, and absolutely divine. This is an easy ice cream recipe you'll turn to again and again.
- For a caffeinated kick wrapped in sweet indulgence, try our Ninja Creami Coffee Ice Cream.


Ninja Creami Gelato
Equipment
- Ninja Creami
Ingredients
- ¾ cup milk
- ⅔ cup half and half
- 2 egg yolks
- 2 tablespoons powdered milk
- ½ cup powdered sugar
- 1 tablespoon vanilla bean paste
Instructions
- Combine the milk, half and half, egg yolks, powdered milk, powdered sugar, and vanilla bean paste in a blender. Process until combined.
- Pour the mixture into a saucepan. Place saucepan over medium heat. Heat, stirring constantly with a whisk. When the contents start to simmer (185°F), pour the mixture into your Creami pint.
- Place the lid on the pint and place in the coldest part of your freezer for 24 hours.
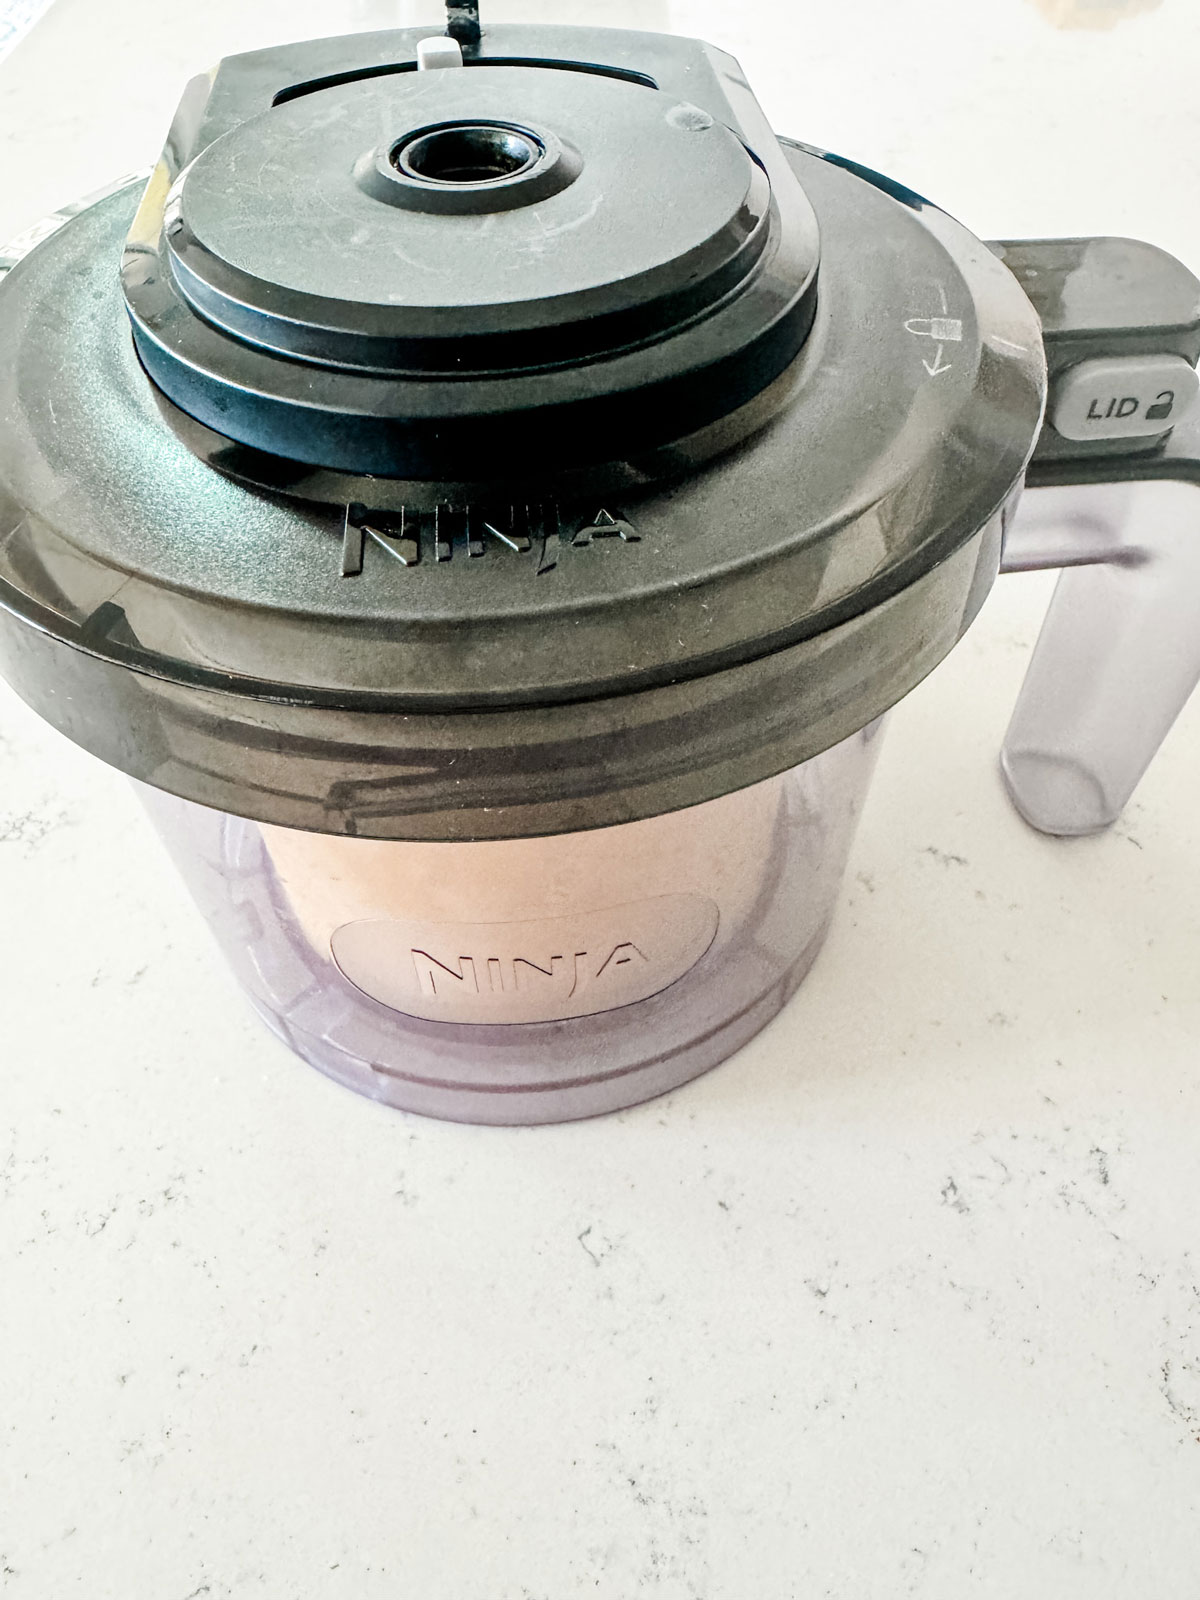
- Remove the lid from the container and place the pint in your Creami base.
- Install the creamerizer paddle and lock the lid in place on the unit.
- Press the gelato button and process according to the manufacturer's instructions. If your mixture looks powdery, you can re-spin.
Michelle says
Hi Wendy!
Could you leave out the powdered milk? (since it’s only 2 tbsp).
I’m lactose intolerant, and am going to be using lactose free milk and lactose free half and half. I do not like the powdered coconut milk.
Thank you
Wendy Polisi says
I haven not tried it this way, but I would imagine it would work.
Meghan says
Just made this and my family LOVED it! My husband said to keep the recipe. Will for sure be making it again! Love that it doesn’t have corn syrup!