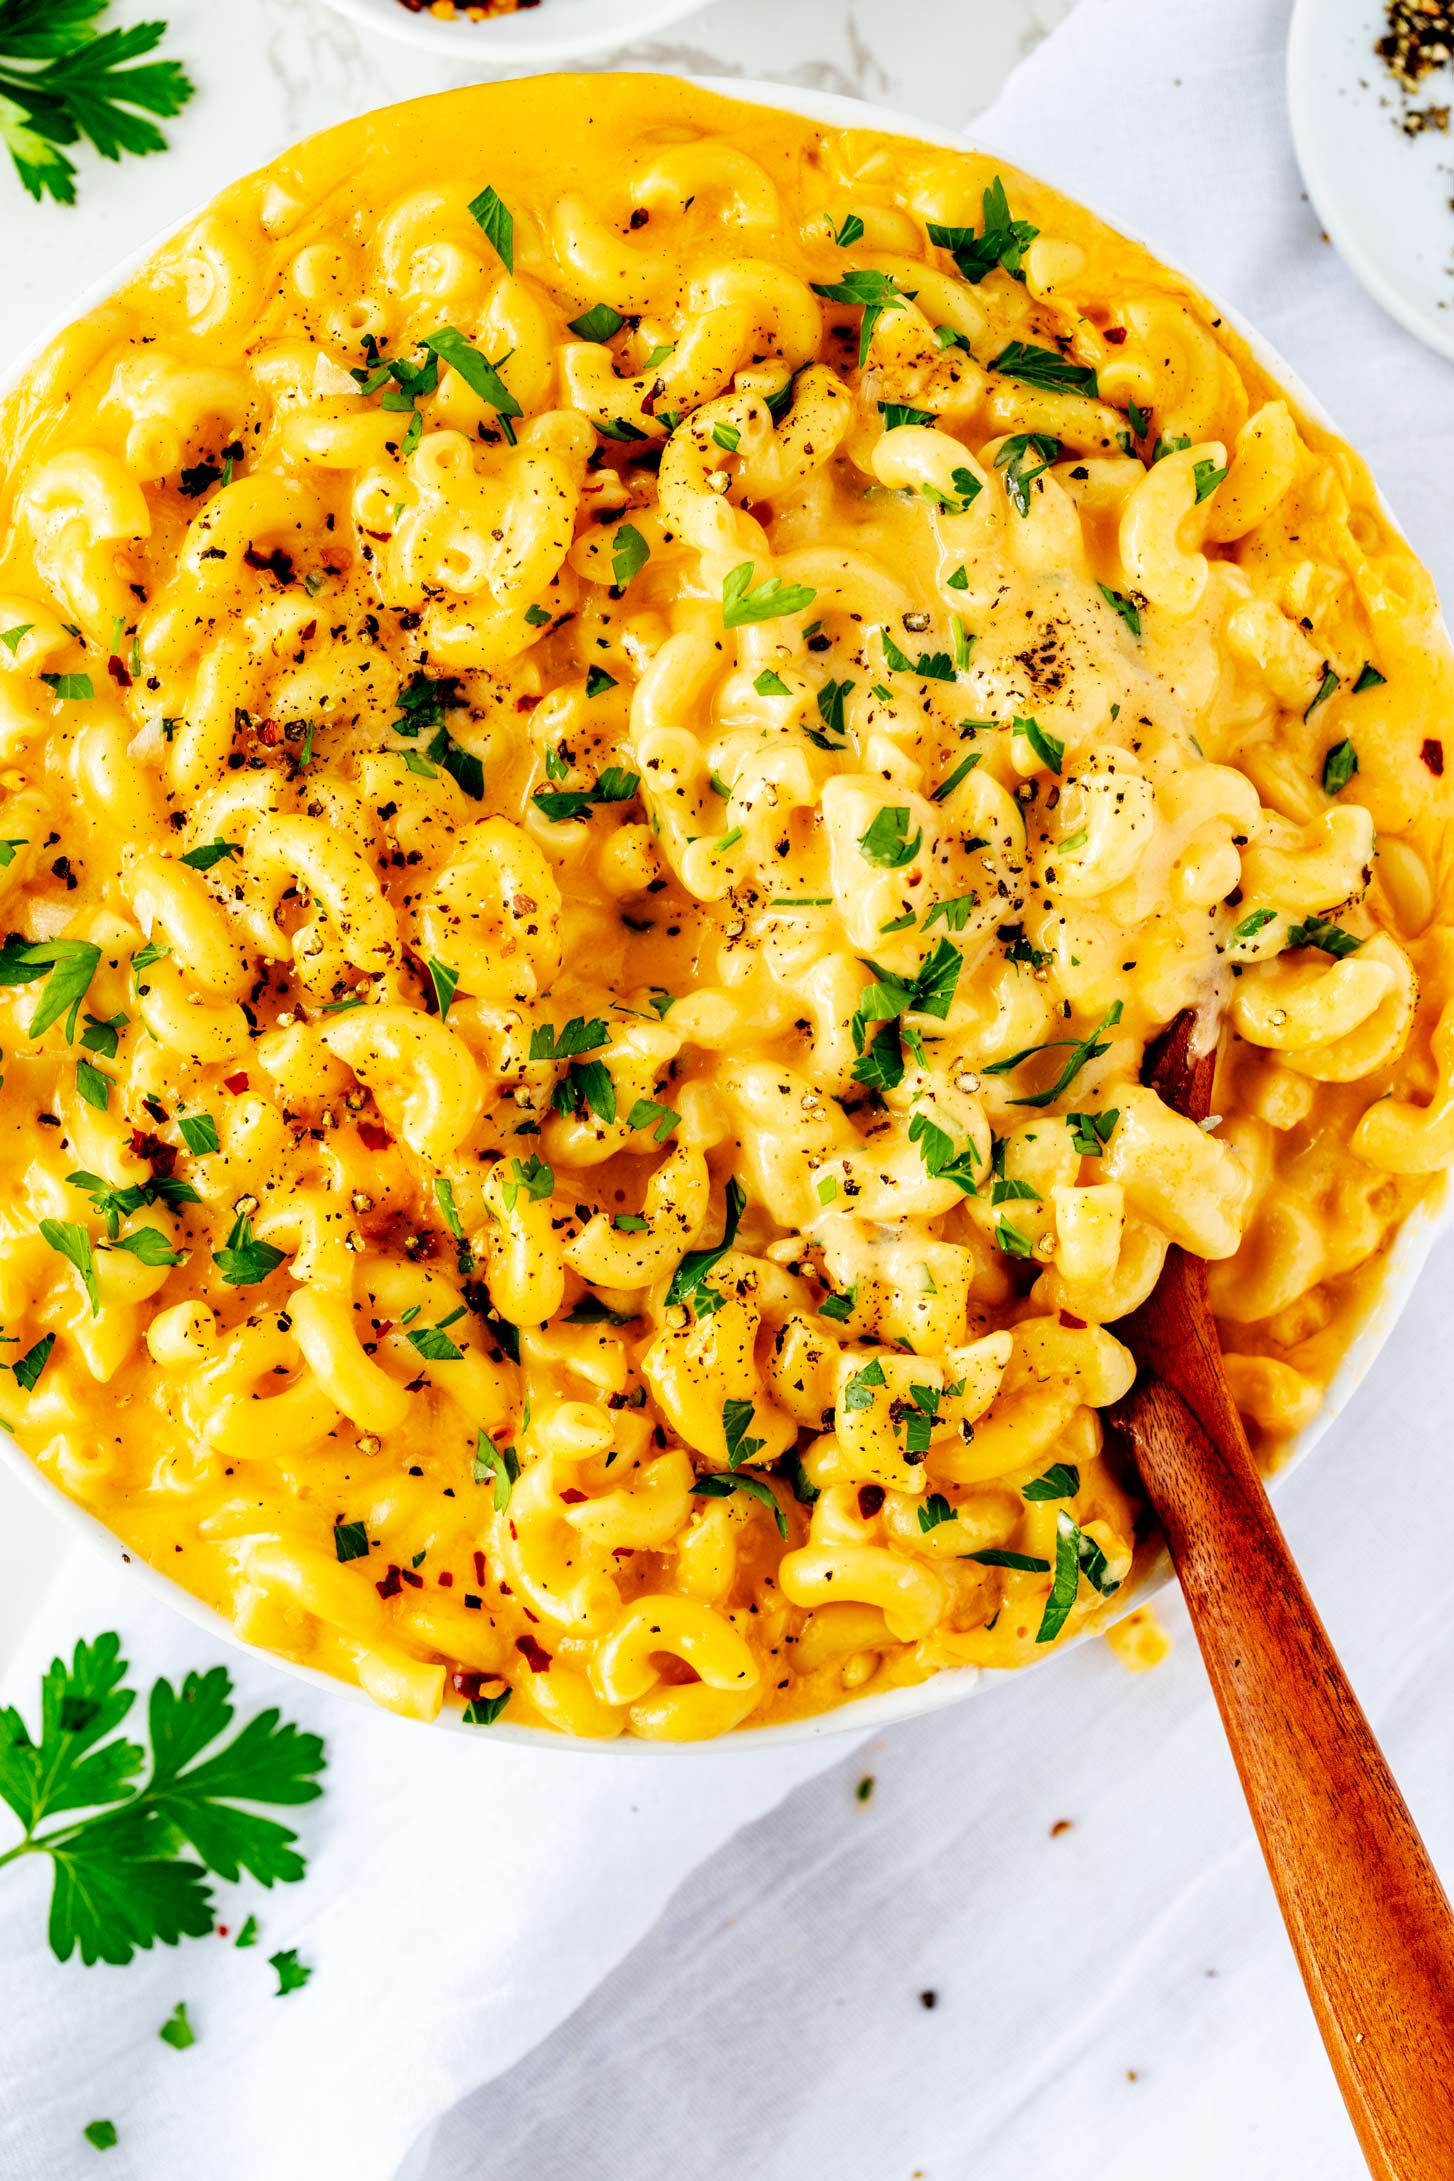
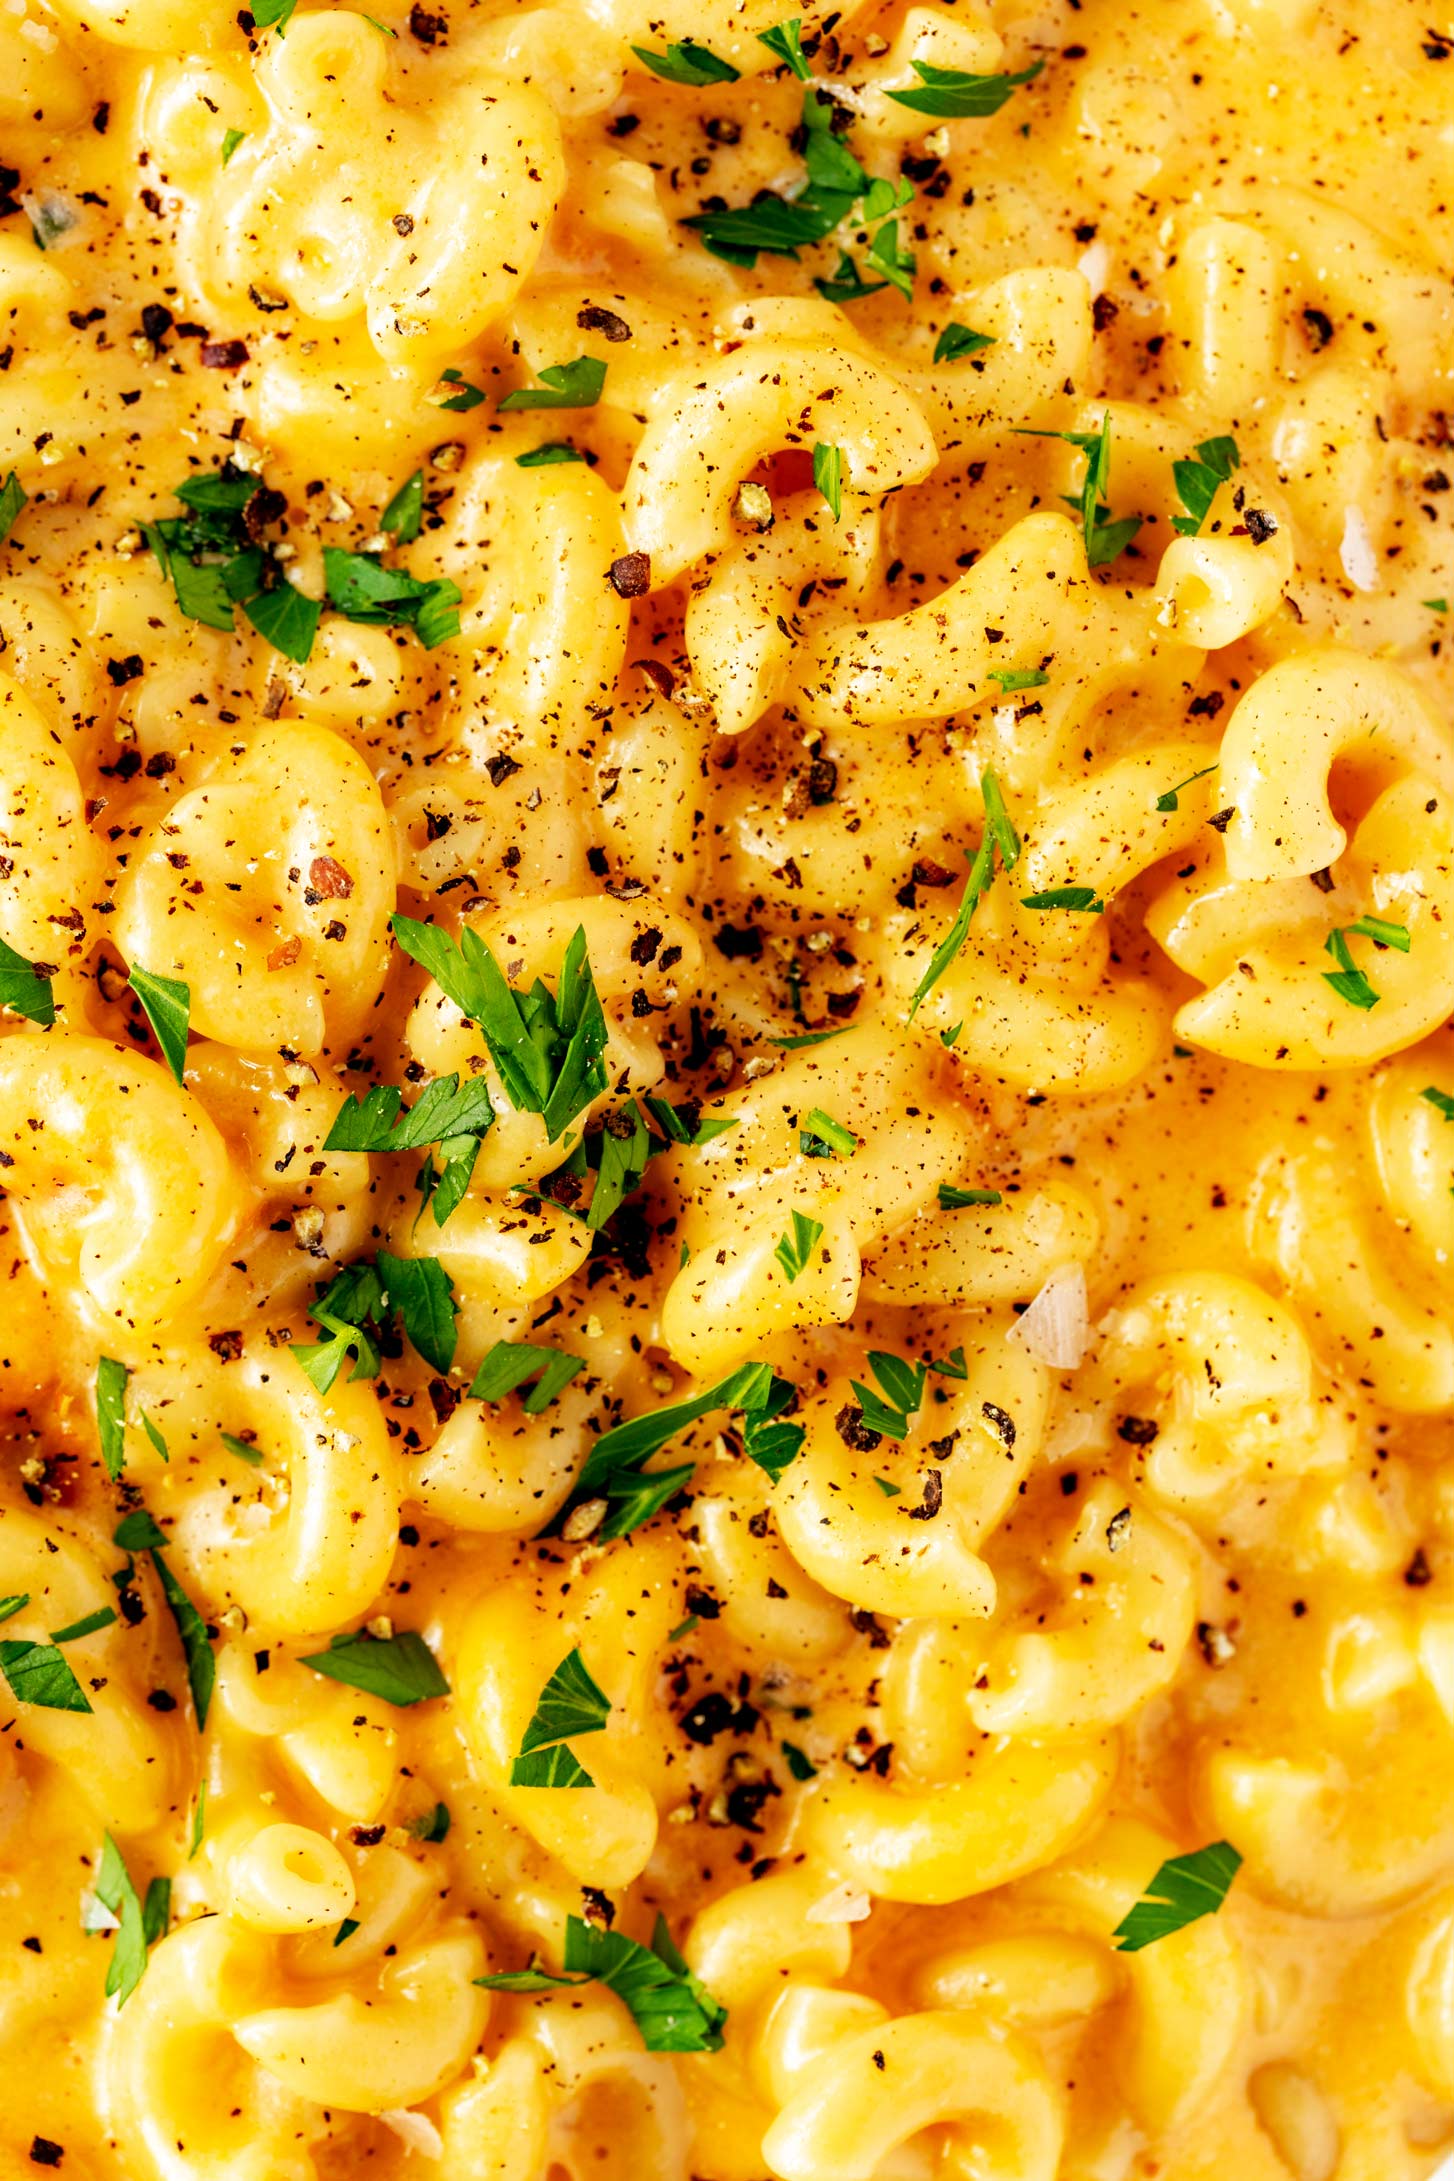
Craving cheesy comfort food without a lot of fuss? You are going to love this easy-to-make Ninja Foodi Mac and Cheese. In less than 10-minutes of hands-on time, you have creamy mac and cheese that the whole family is going to ask for again and again.
It’s no secret that I love kitchen gadgets and appliances, and my latest obsession is my Ninja Foodi.
My Ninja Foodi Grill has long been a favorite tool in my kitchen, so I’m not surprised that my Ninja Foodi is also becoming a favorite. With its air fryer and pressure cooker functions, this little powerhouse can do it all!
Why This Works
I’d make this pressure cooker mac and cheese over a stovetop version most any day.
It’s fuss-free, with no flour or roux. The evaporated milk keeps the sauce silky. The air fryer function gives you a baked texture without needing to turn the oven on. (Perfect for both hot days and the holidays when your oven is otherwise occupied.)
Let's Talk Ingredients
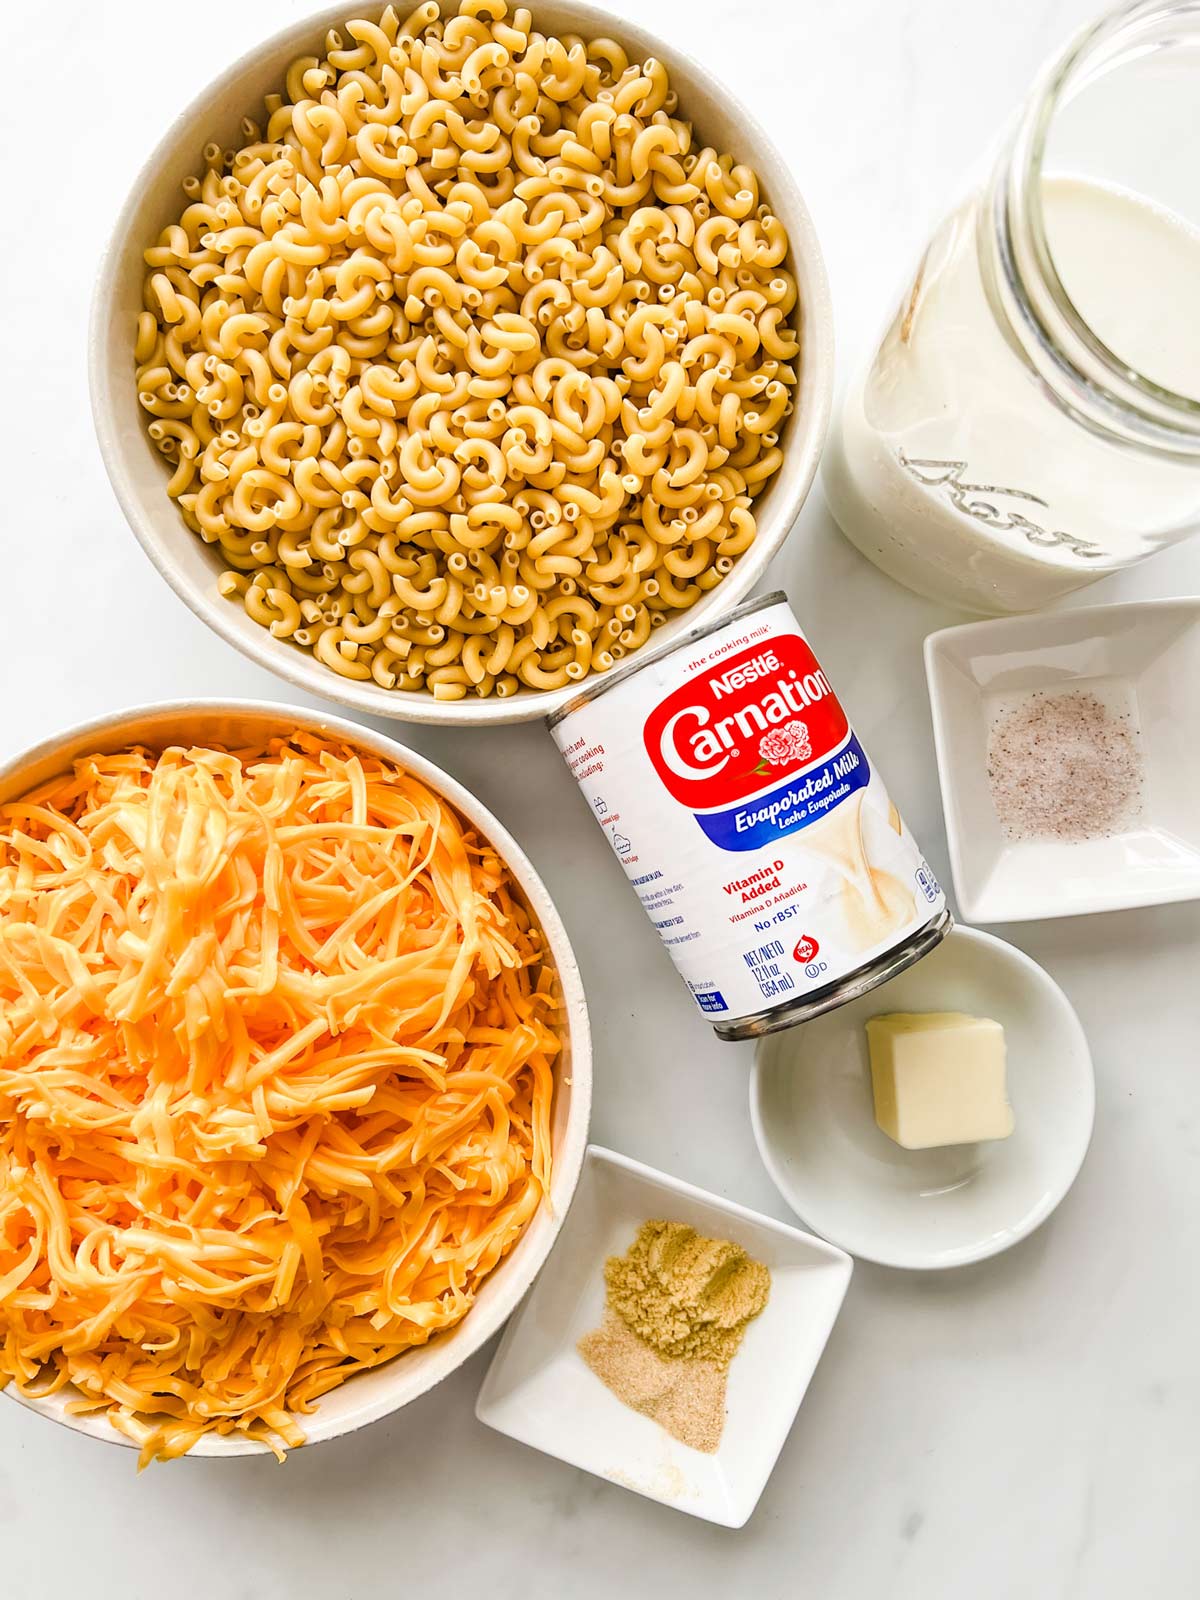
- Pasta: Elbow noodles are a classing when making homemade mac and cheese, but you could sub your favorite short pasta. Keep in mind that different types of pasta can take different cooking times.
- Cheese: I like to use sharp cheddar for this Ninja Foodi baked mac and cheese. It melts smoothly and brings a lot of flavor. My kids love it when I add half deli American. They say it makes them nostalgic for the mac and cheese I made when they were little. For more flavor, stir in a handful of smoked Gouda or gruyere. Whatever cheese you use, I recommend that you grate it yourself. Pre-shredded has a coating that can leave the sauce a little grainy.
- Dried mustard: If you don't have dried mustard on hand or don't want to buy some just for this recipe, you can sub with a little dijon mustard.
Tips & Tricks
- Feel free to add breadcrumbs on top of this ninja foodi baked mac and cheese. I recommend tossing them with a little melted butter and then adding them in the last 10 minutes of cooking.
- Bacon is a great addition to mac and cheese. You can cook it in your Ninja Foodi using the air crisp function just before you begin the remainder of the recipe.
Serving Suggestions
Serve this Ninja Foodi macaroni and cheese with your favorite protein. Some great options are Ninja Foodi Grill Meatloaf, Ninja Foodi Turkey Breast, Oven Roasted Tri Tip, Ninja Foodi Whole Chicken, or Picanha Roast (a family favorite).
Round out the meal with Instant Pot Green Beans, Air Fryer Stuffing, or Roasted Shaved Brussels Sprouts.
Step-by-Step
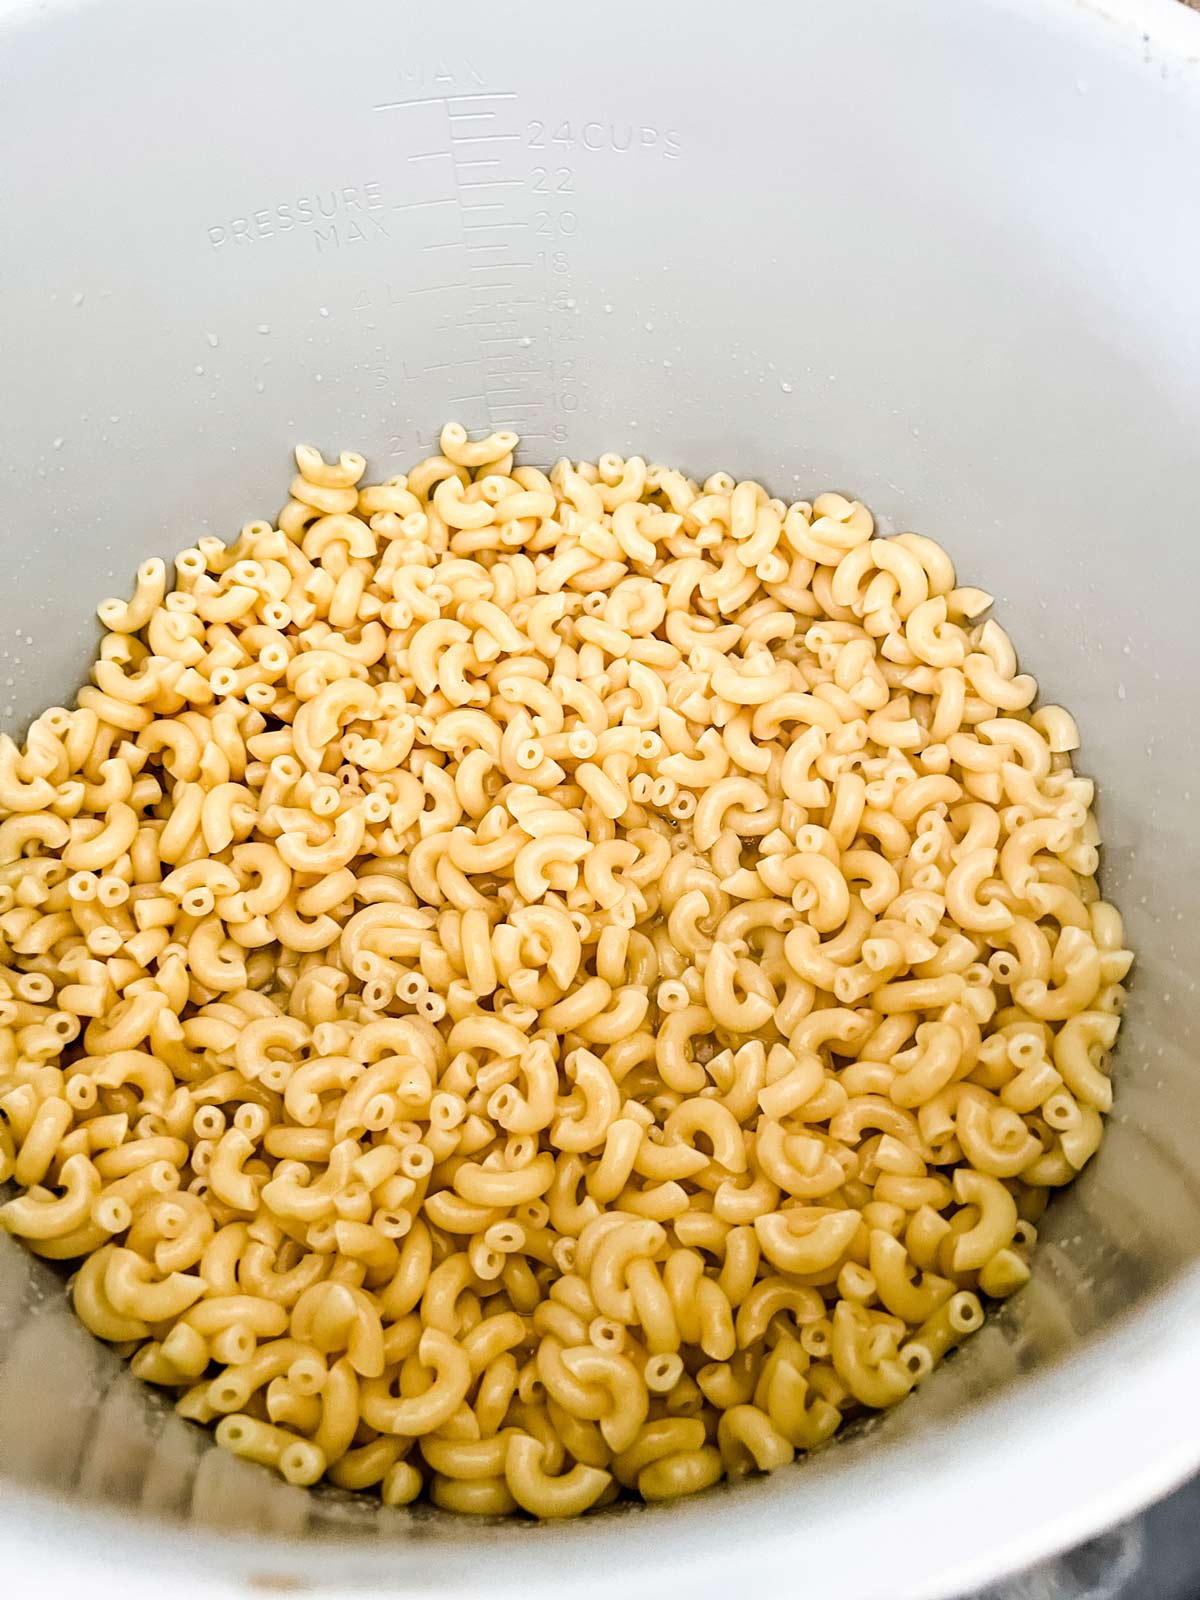
First, start by pouring the water into the Ninja Foodi.
Next, add the macaroni noodles, butter, and salt, and submerge them in the water.

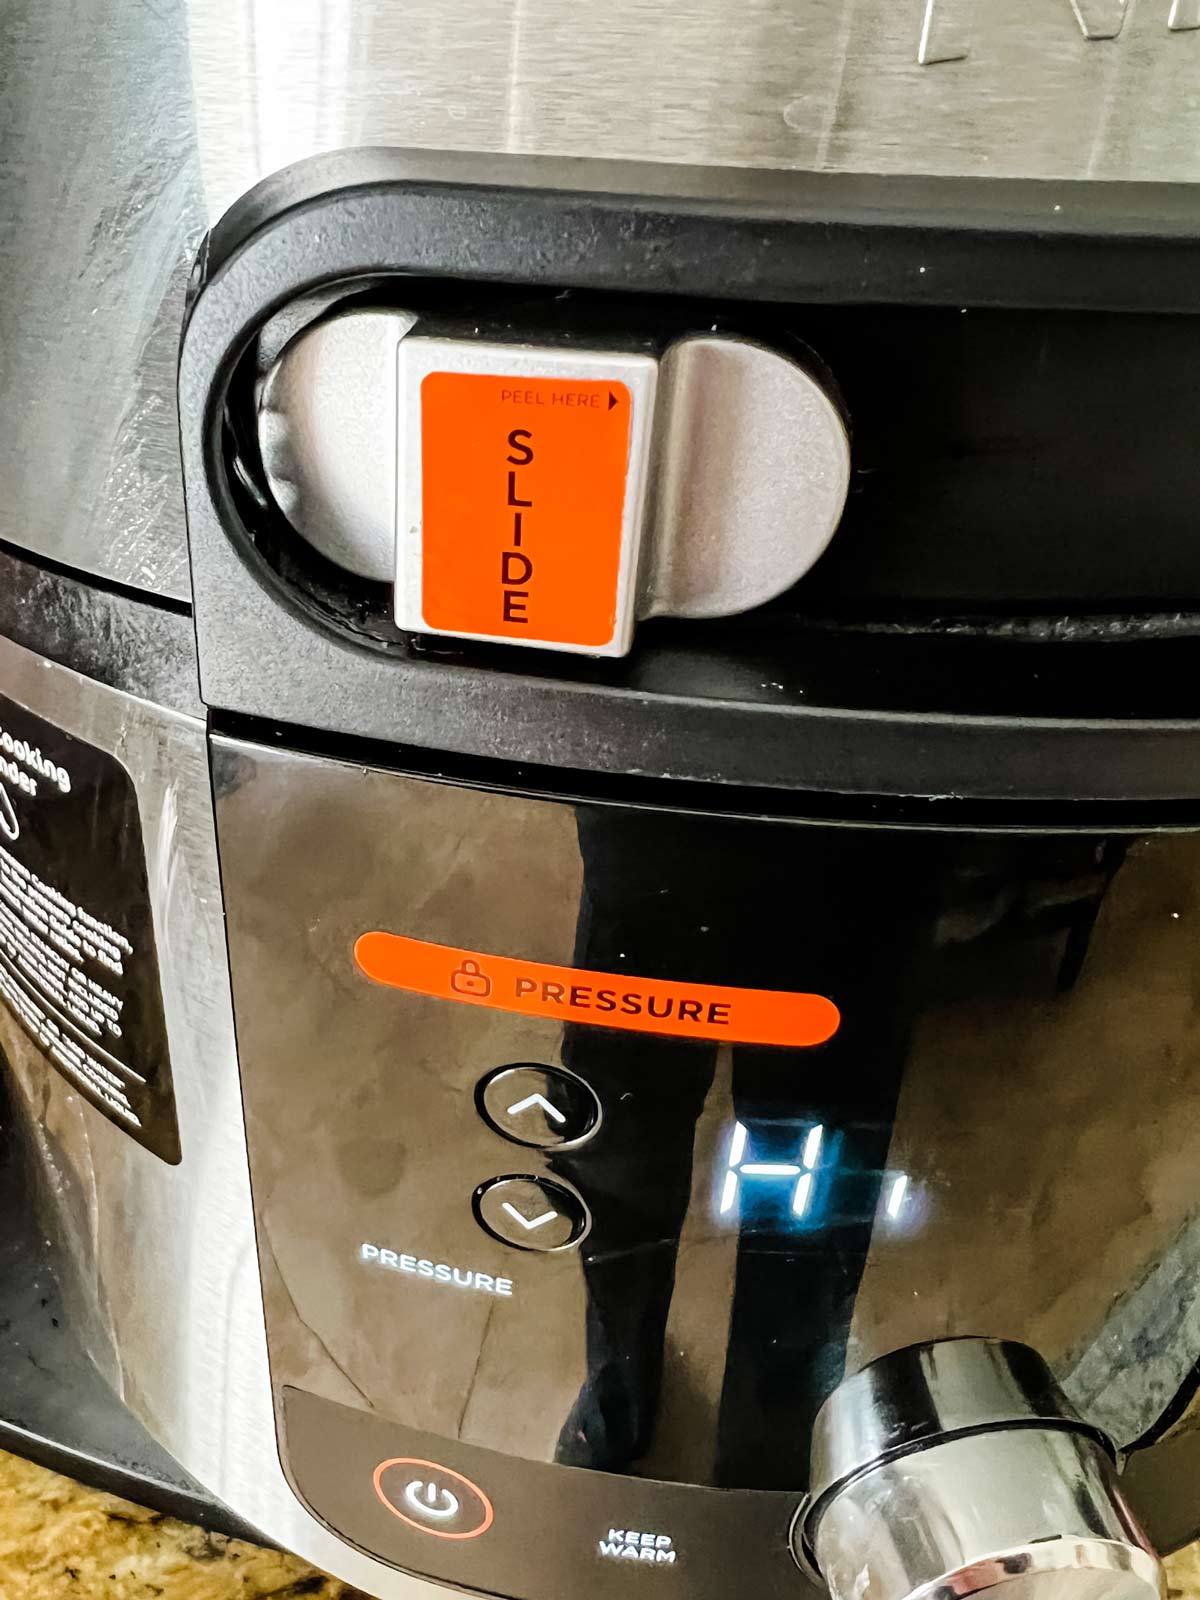
Close the lid and slide to pressure. Cook on HIGH pressure for 1 minute, then do an instant release and carefully open the lid.
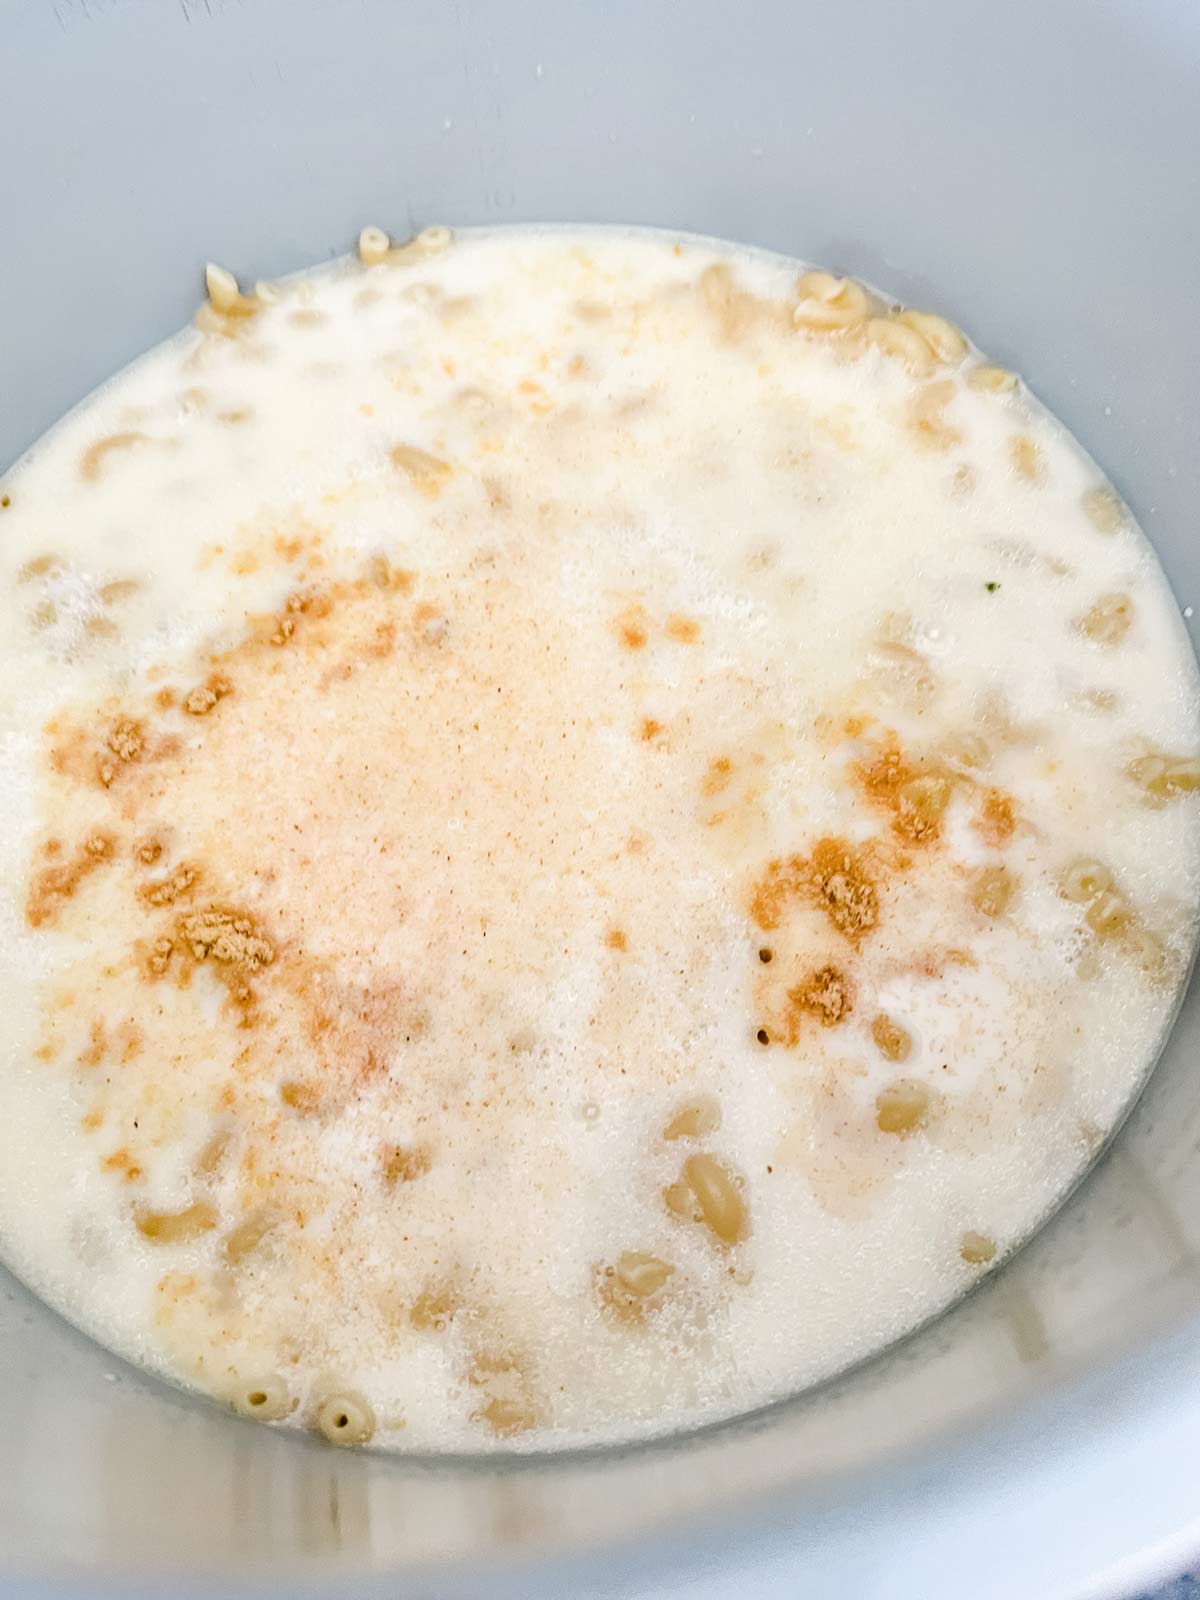
Stir in the whole milk, evaporated milk, 12 ounces of the cheese, dried mustard, garlic powder, and black pepper.
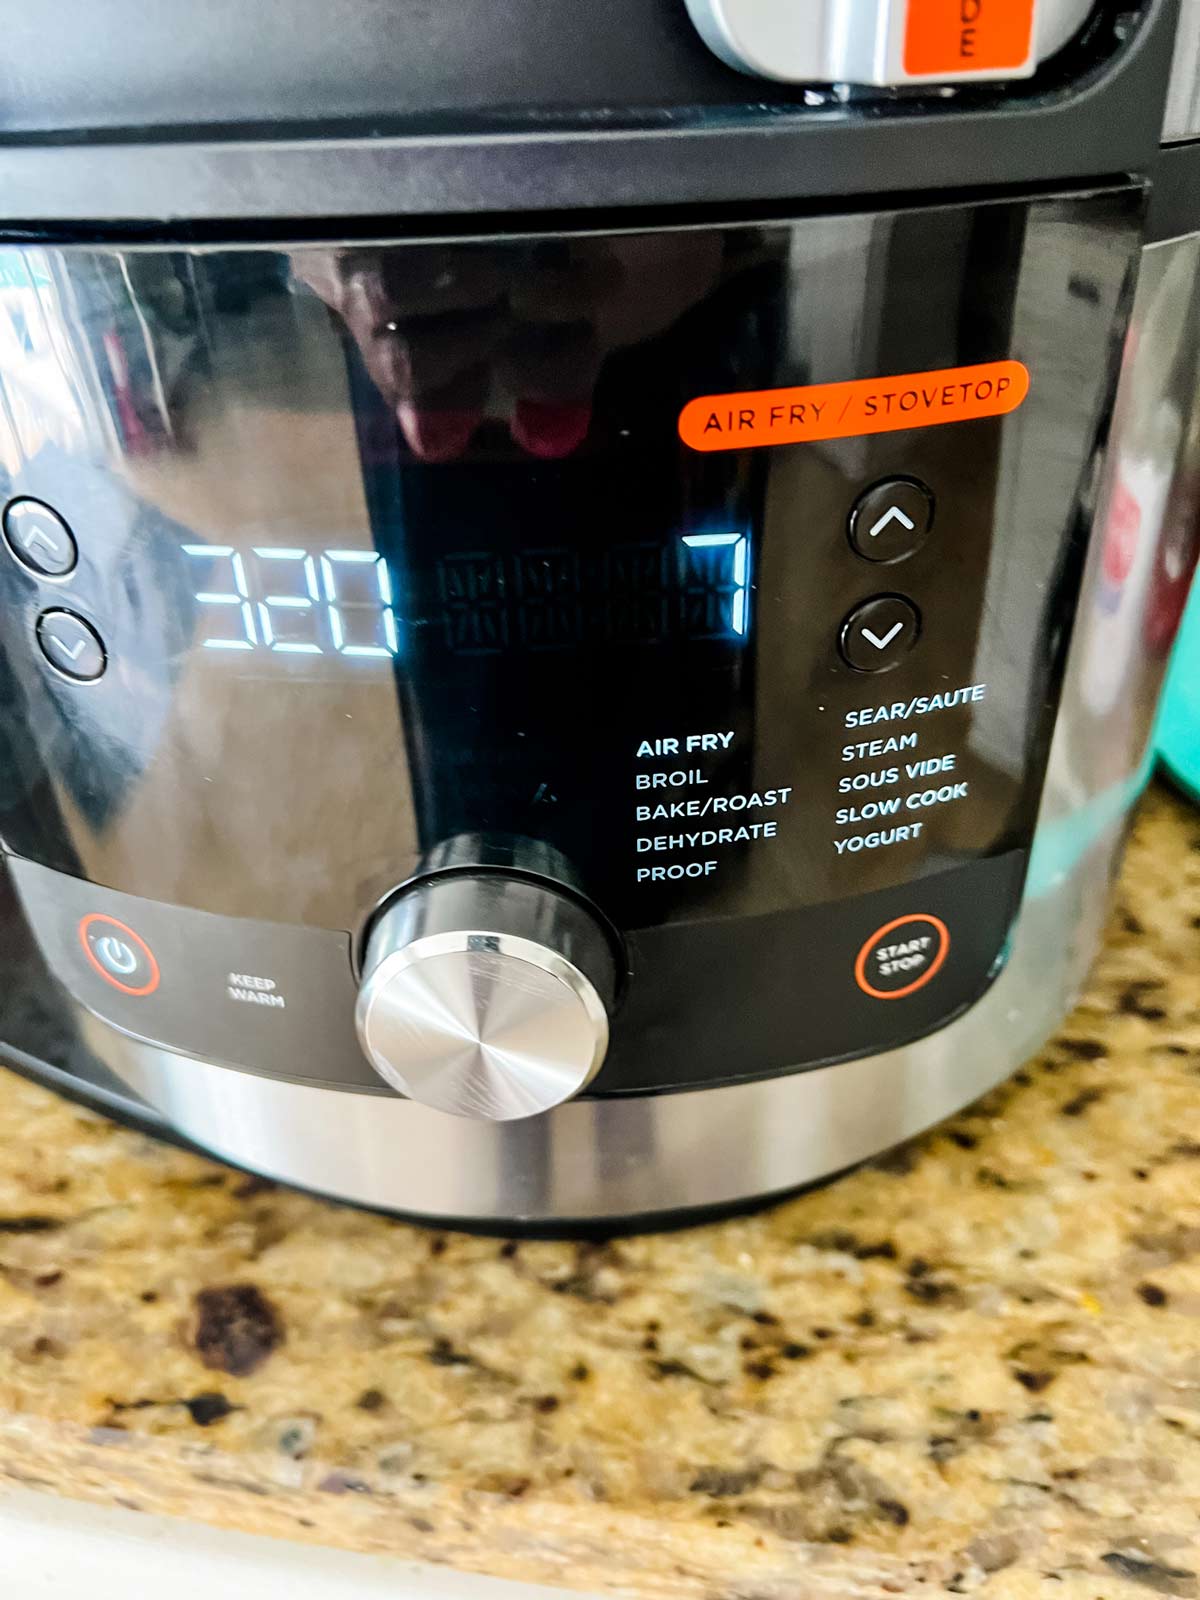
Select the air fryer function on your Ninja Foodi, and set the temperature to 320 ° F. Set a timer for 8 minutes and select START/STOP to begin cooking.

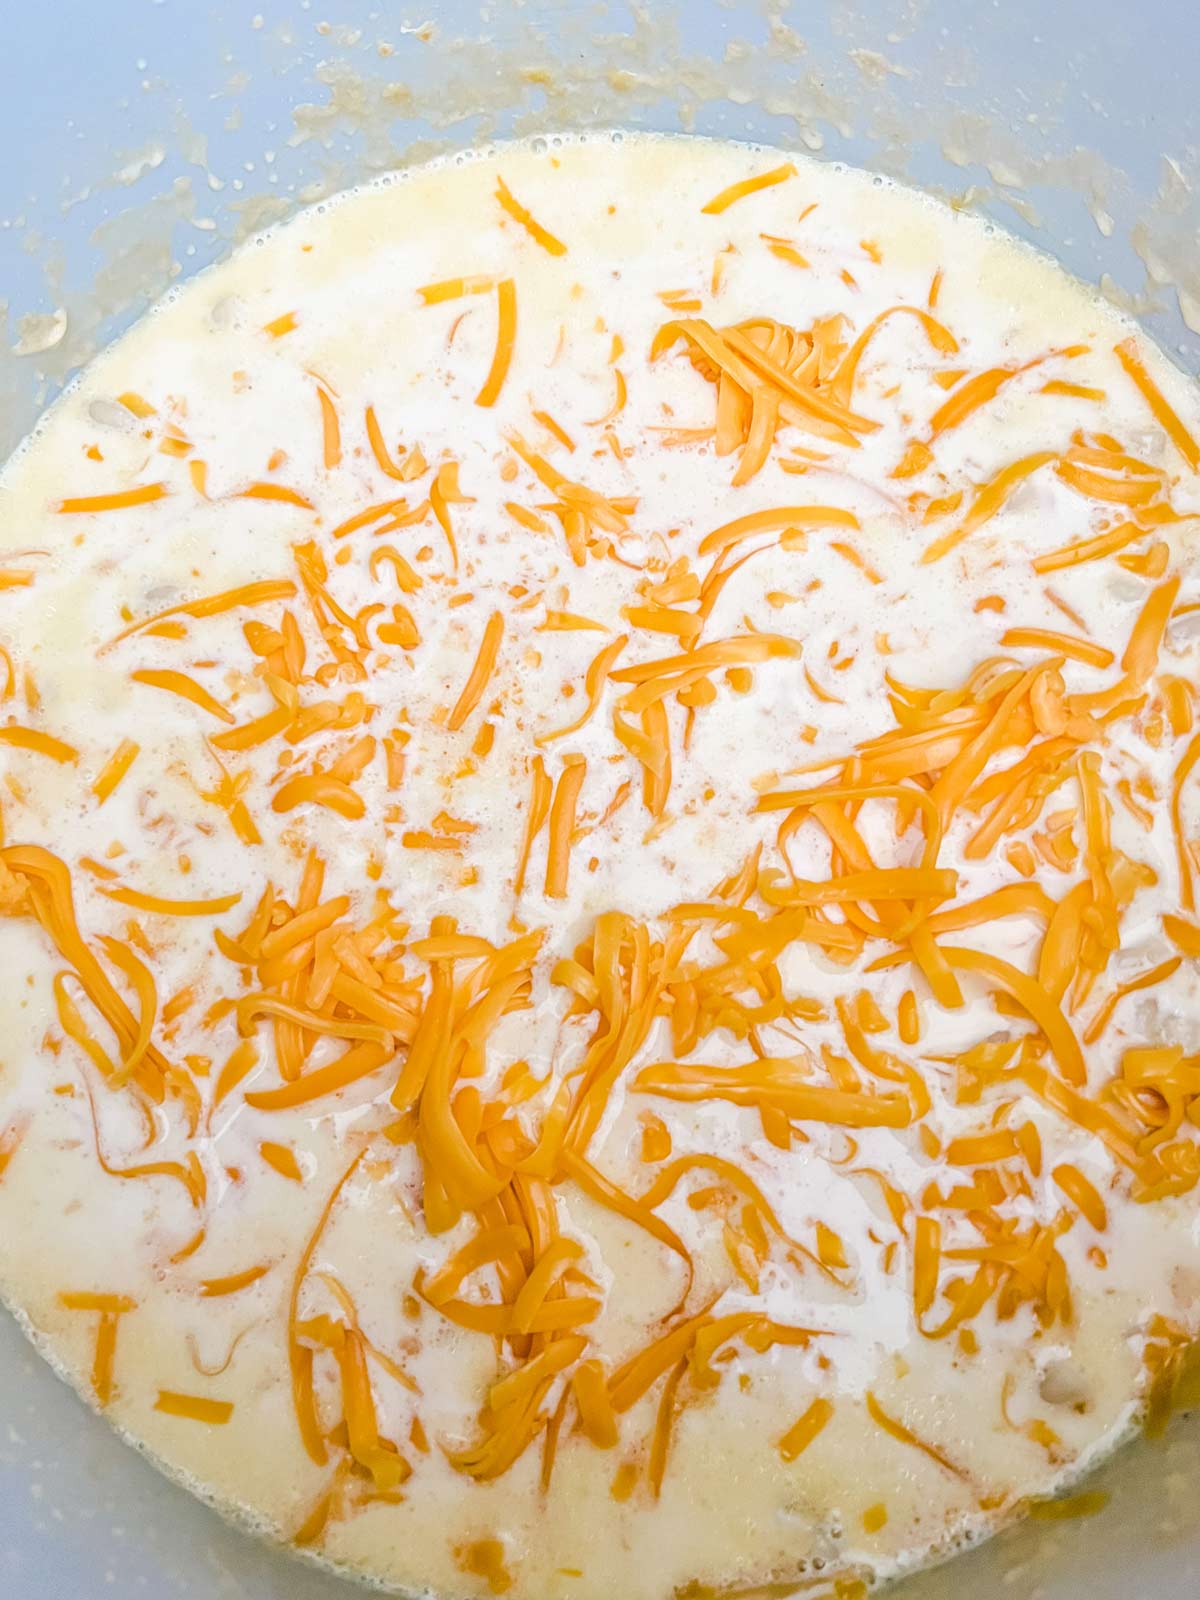
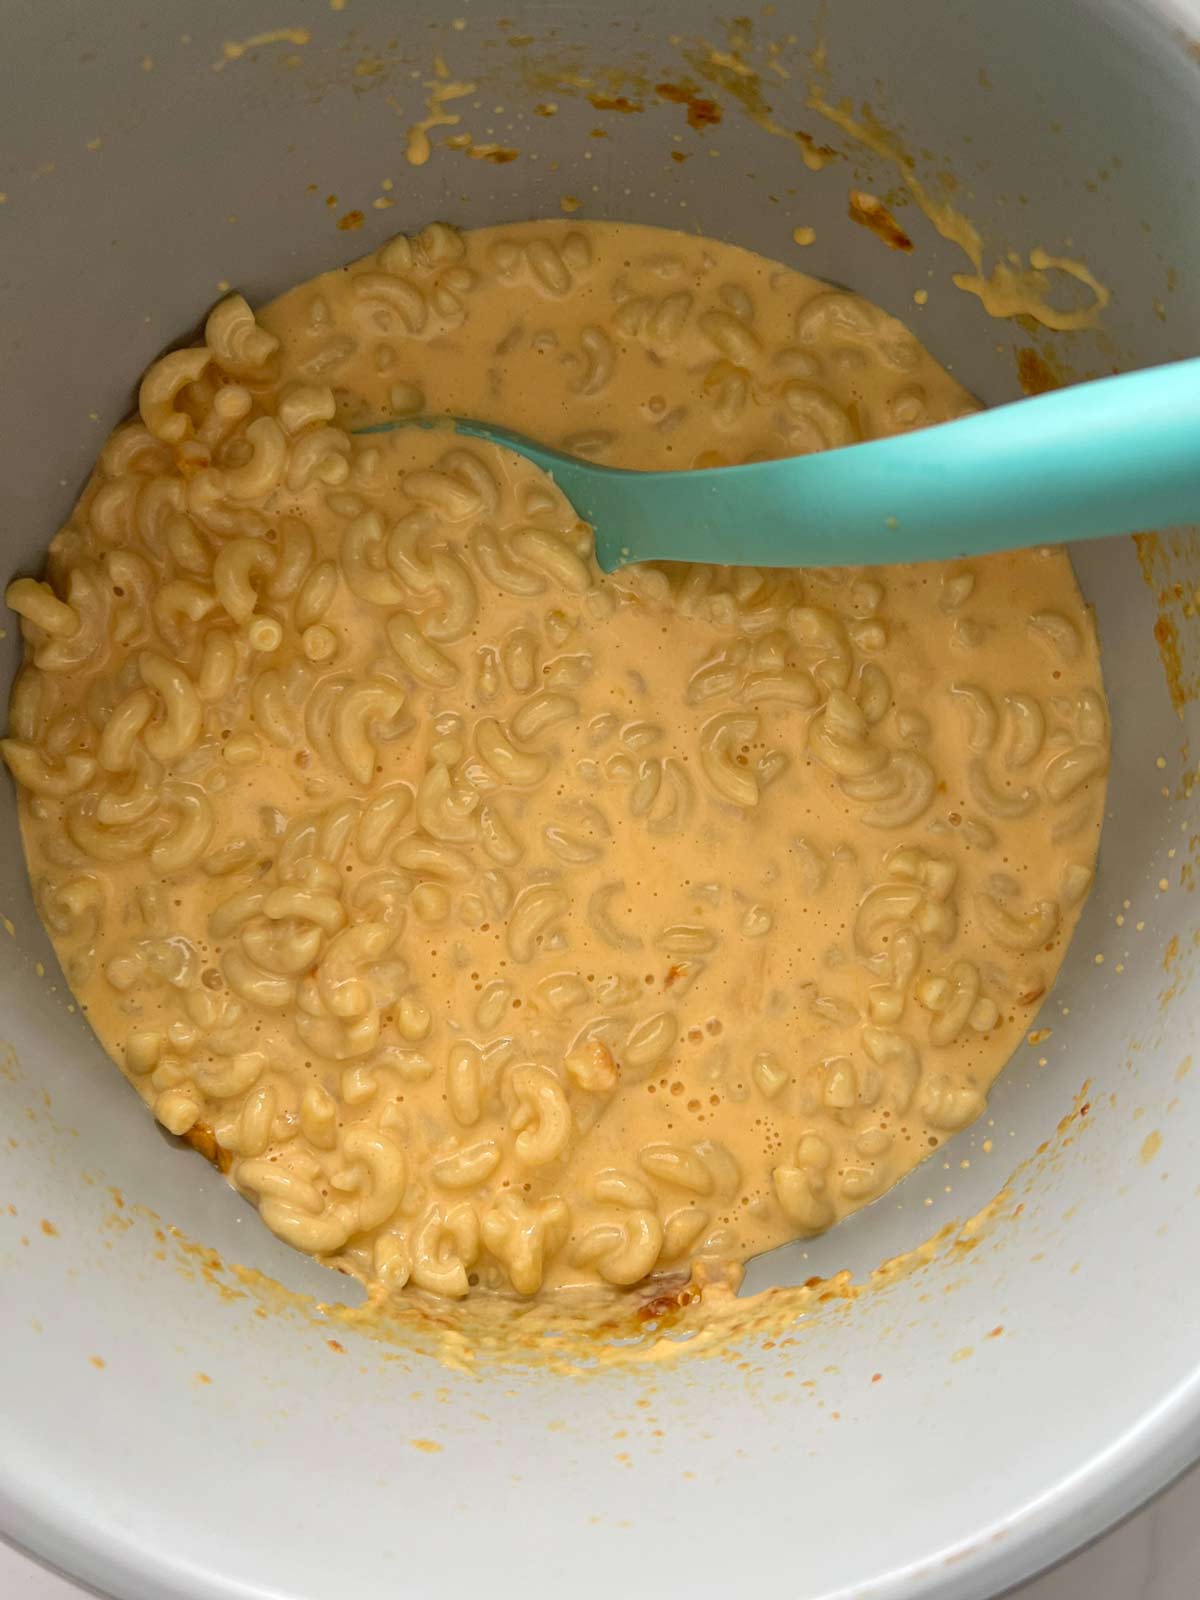
Stir to combine, and then top with the remaining cheese. Cook for another 8 to 10 minutes or until the cheese is melted and bubbly.
When cooking is complete, allow your mac and cheese to sit for ten minutes before serving.

30-Minute Ninja Foodi Mac and Cheese
Equipment
- Ninja Foodi
Ingredients
- 4 cups water
- 16 ounces macaroni noodles
- 2 tablespoons butter
- 1 teaspoon sea salt
- 2 cups whole milk
- 1 15- ounce can evaporated milk
- 16 ounces shredded cheddar cheese divided (or use a blend of mozzarella, American, and cheddar)
- 1 teaspoon dried mustard
- ½ teaspoon garlic powder
- ½ teaspoon fresh ground black pepper
Instructions
- Place the water in the Ninja Foodi. Add the macaroni noodles, butter, and salt and submerge in the water.
- Close the lid and slide to pressure. Cook on HIGH pressure for 1 minute, then do an instant release and carefully open the lid.
- Stir in the whole milk, evaporated milk, 12 ounces of the cheese, mustard powder, garlic powder, and pepper.
- Select Air Fryer, and set your temperature to 320 ° F. Set the timer to 8 minutes, and select START/STOP to begin.
- Stir to combine and then top with the remaining cheese. Cook for another 8 to 10 minutes.
- When cooking is complete, allow to sit for 10 minutes and then serve.

Debbie Cain says
Hmmm- just opened and stored and it appears the milk or cheese has split…Will it be ok?
Wendy Polisi says
They weren't split so much as they haven't yet been stirred together. Once you give everything a good stir, it should be good.
Elizabeth says
My go to just to get the measurements together, I use chicken broth I stread of water and really just tweak recipe as we go along g but always a fav! I add more buter and evaporated milk with a little more cheese as needed. Granddaughters favorite "nana" recipe! So easy! Thank you!