
This Ninja Foodi Turkey Breast has the best of both worlds. Pressure cooking keeps the meat juicy. The air-fry finish gives you the crispy skin you crave. And the drippings left in the pot become an apple cider gravy that comes together while the turkey rests.
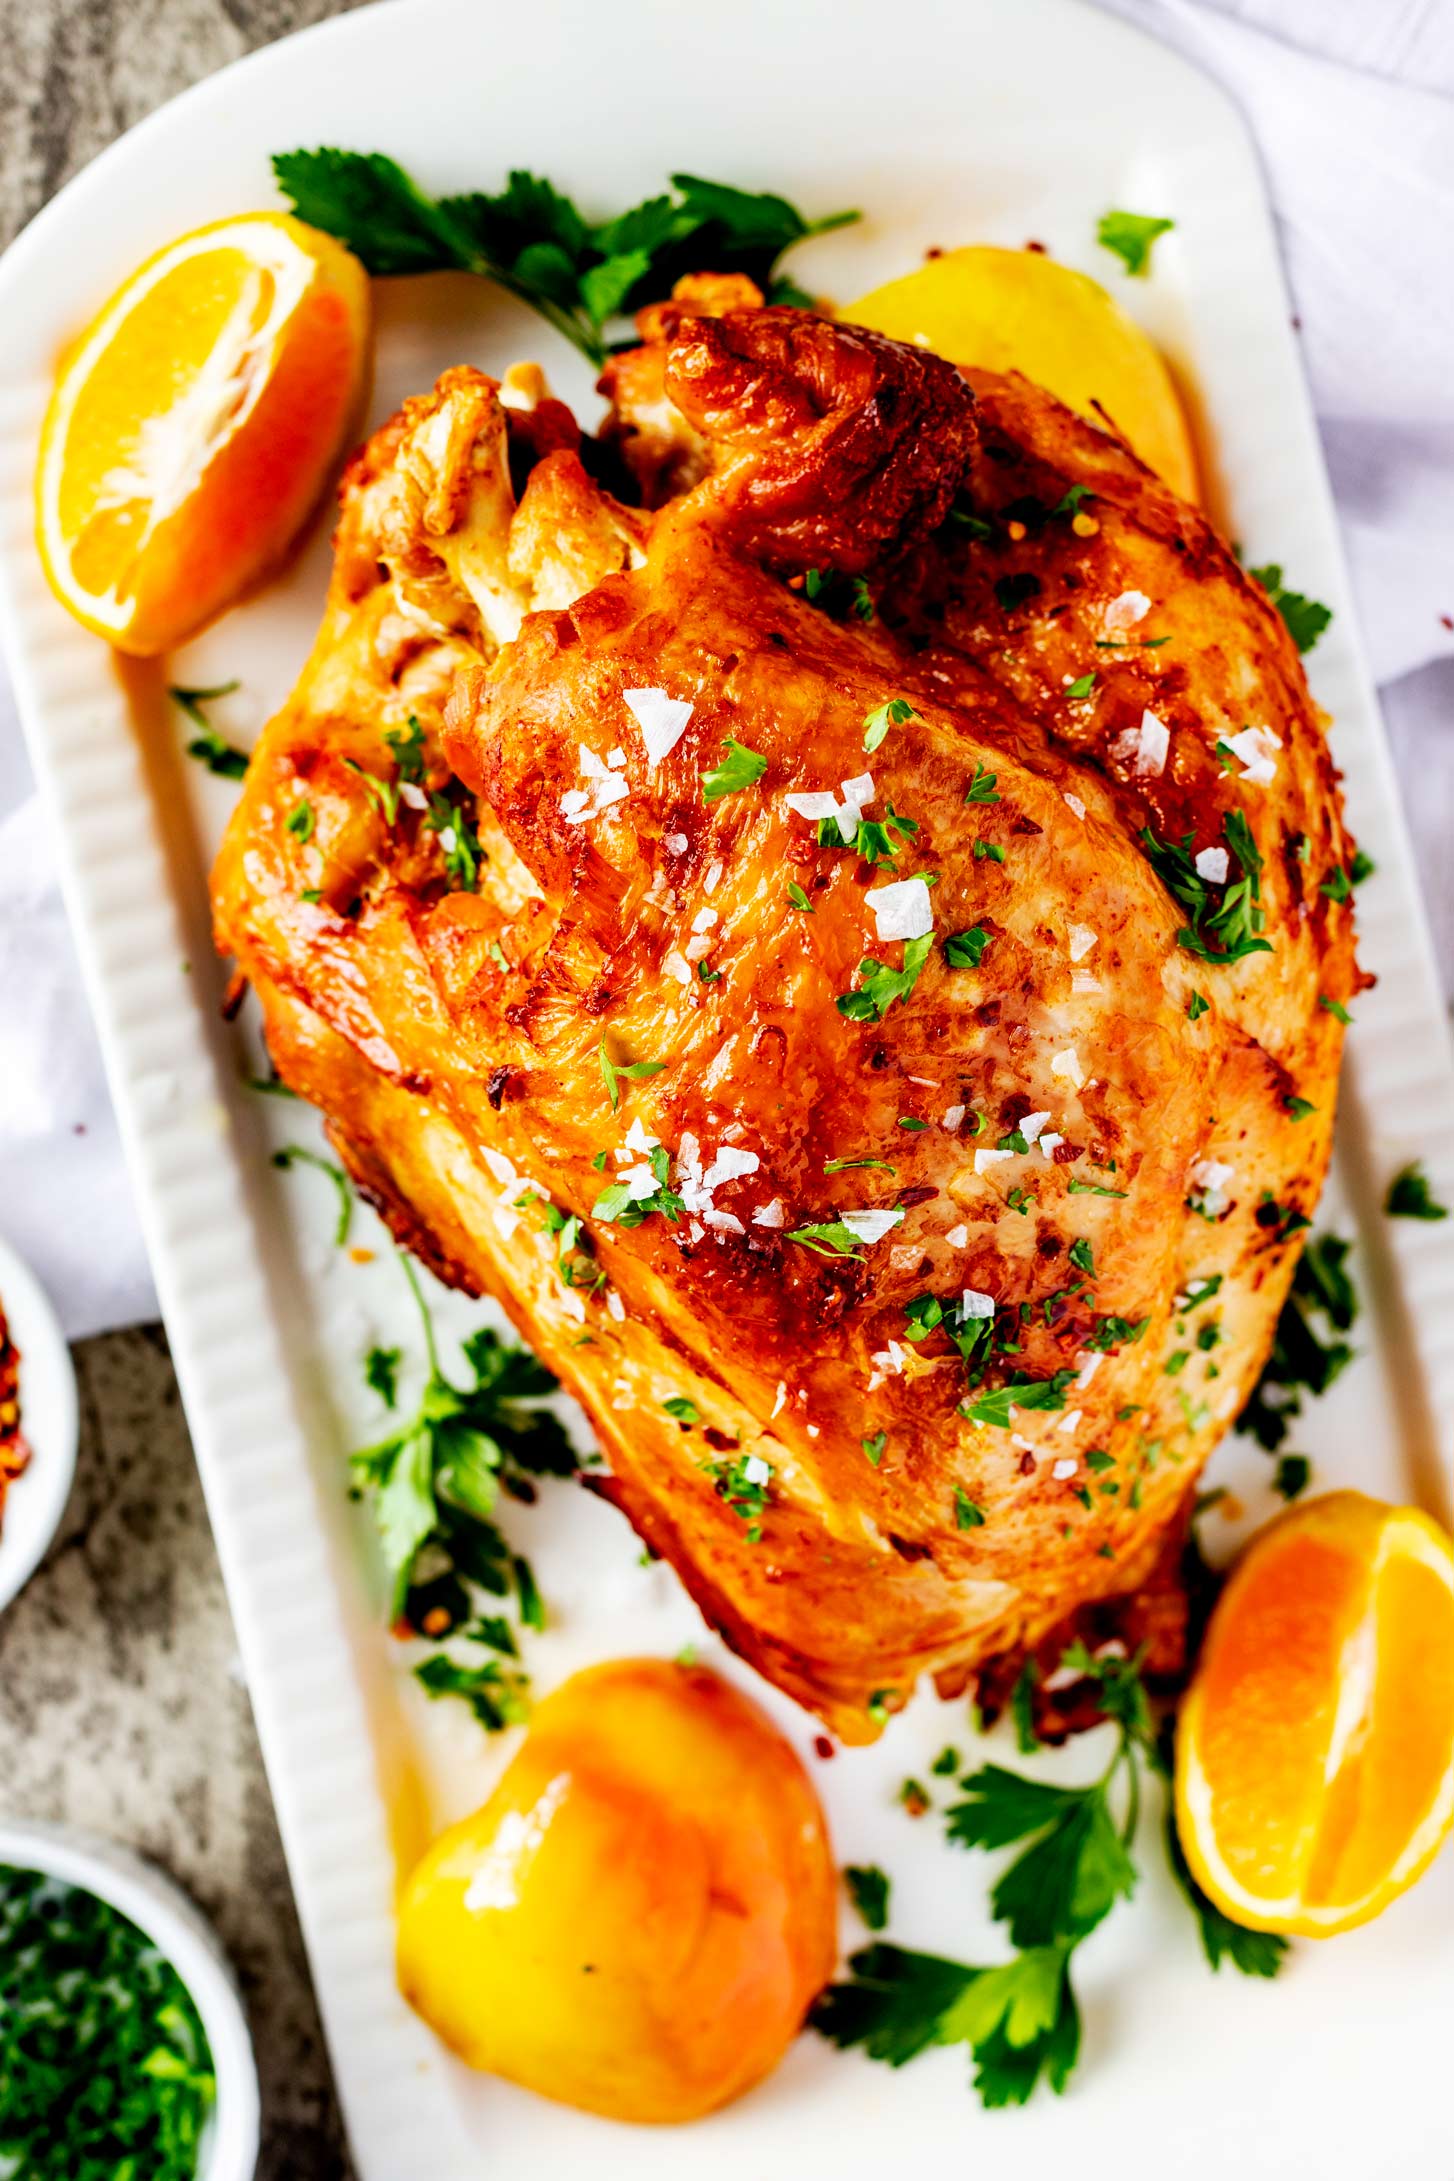
Whether you are hosting a small group or need extra meat without extra oven space, making turkey breast in the Ninja Foodi is a good option. You get all the tenderness of a pressure-cooked bone-in breast, and then the air crisp delivers the crispy skin you crave.
It takes around an hour, making it just as good for the holidays as it is for a random Sunday in October.
Quick equipment check. This Ninja Foodi turkey breast recipe needs a Foodi that both pressure-cooks and air-fries. If your Ninja only air fries, like the Crispi, my air fryer turkey breast is the recipe you want. Got a boneless breast and a Ninja grill? Go with my Ninja grill turkey breast. And for the most hands-off holiday ever, there is my sous vide turkey breast.
Ingredients
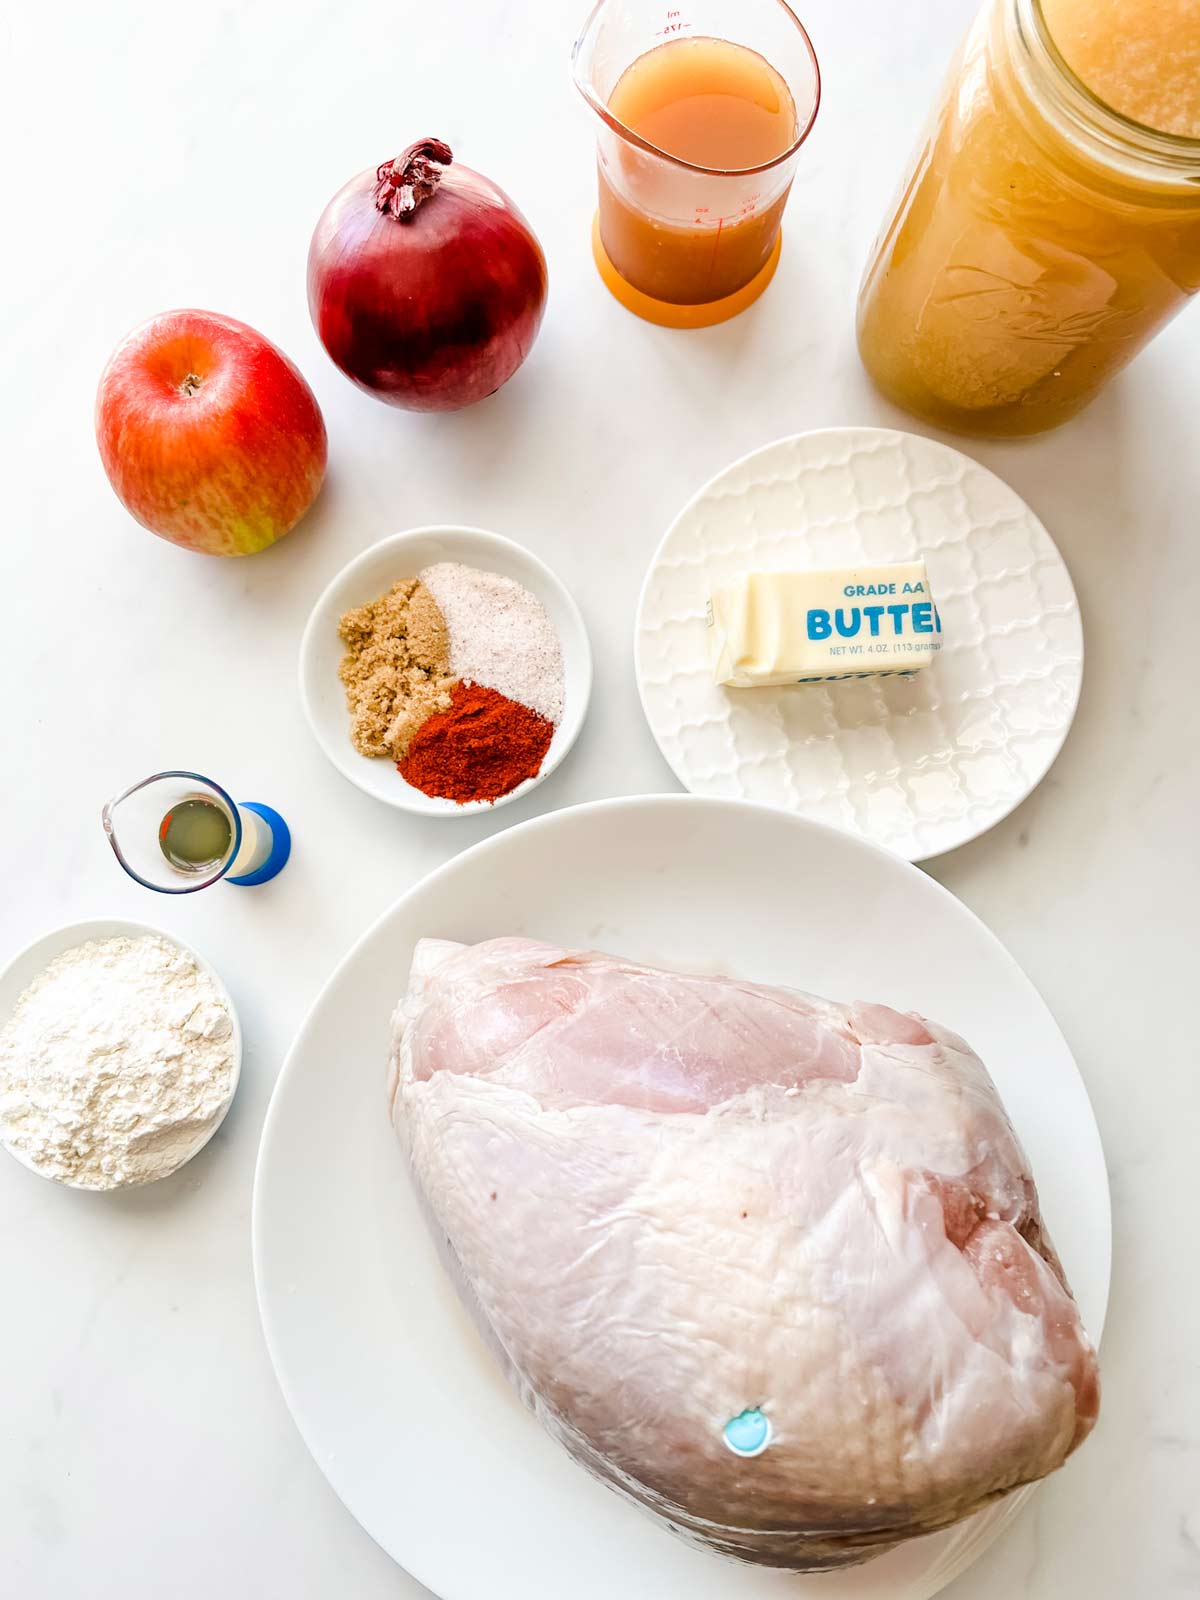
- Turkey Breast: You want a bone-in turkey breast that is between 4 and 6 pounds. Stick with a smaller one unless you have one of the larger Ninja Foodi models.
- Sugar: Light brown sugar adds some sweetness to balance out the savory spices.
- Salt: Always essential in seasoning meat. Use up to 1 ½ tablespoons.
- Smoked Paprika: This adds smokiness and a touch of heat to the turkey breast. Rosemary and thyme can be used in place of or in addition to the paprika.
- Apple and Onion: These add flavor and moisture to the turkey as it cooks. Quarter them so they fit in the turkey breast cavity. You could use carrot or celery in place of the apple.
- Stock: Use turkey or chicken broth or stock, about 4 cups. This will be used in the pressure cooking process, and to make gravy.
- Butter and Flour: These are necessary for making a delicious gravy to serve with your turkey breast.
- Apple Cider: Adds sweetness and depth of flavor to the gravy.
- Apple Cider Vinegar: Balances out the sweetness of the apple cider with some tartness for the perfect turkey gravy.
Why Pressure Cook, Then Air Crisp?
When I was testing this recipe, I fell in love with what pressure cooking does to a turkey breast. The fast, wet heat keeps the breast super-juicy, which is no easy feat.
Then the air fryer lid comes in and gives you crispy skin.
A few other things really help here.
- Seasoning a day ahead. Overnight is best, but an hour still helps. This lets the salt get into the fibers of the meat. It makes for a more flavorful and juicier bird.
- Filling the cavity. The apple and the onion flavor the meat a little. But the real work is flavoring the stock at the bottom of the pot, because this becomes your gravy.
- The 5-minute natural release. This helps keep the meat juicy, because the hard boil that comes with a quick release can pull juice out of the meat.
Tips & Tricks
- Loosely cover the turkey with foil and all it to rest for at least 15 minutes before serving. (I like to let it rest for about 30 minutes before I slice it.)
- If you are cooking a turkey breast that is on the larger side (close to six pounds), you may need to use a shorter trivet than the one that comes with the Ninja Foodi for the meat to fit properly without touching the top. This depends on the exact shape of your meat, rather than the weight.
- Remember that the total time needed to cook the turkey will depend on its size. Make sure you adjust accordingly.
Serving Suggestions
- Air Fryer Stuffing or Gluten Free Stuffing
- Instant Pot Green Beans or Green Beans with Bacon
- Caramelized Onion Risotto
- Kale Beet Salad
- Crockpot Mac and Cheese
- Cheesy Scalloped Potatoes
Frequently Asked Questions
Do I have to thaw my Turkey Breast before cooking?
I recommend it, but technically you can cook a frozen turkey breast in the pressure cooker by cooking it for considerably longer - about an hour.
I have found that cooking straight from the freezer yields a bird that is not as tender or juicy.
If you do decide to cook from frozen, make sure that you use an instant-read thermometer to ensure that the bird is cooked through.
I recommend increasing the pressure cook time rather than the air crisping time to avoid overly crisp (or burnt) skin.
How do I thaw my Turkey Breast safely?
The safest way to thaw meat is in the refrigerator. This can take a day or up to a two days if your refrigerator is really cold, so plan ahead.
You can also thaw the turkey breast in cold water, changing out the water every 30 minutes to ensure that it stays cold. This method should only take about an hour.
Should I brine my Turkey Breast?
Brining is a process where the turkey breast is soaked in a saltwater solution, which helps to retain moisture during cooking and adds flavor.
This recipe includes a good amount of salt, so brining is not necessary but feel free to do so if you prefer. Just make sure to adjust the amount of added salt in the recipe.
How Long to Cook Turkey Breast in the Ninja Foodi
The basic rule is 3 minutes per pound on high pressure.
Here's how long to cook turkey breast in the Ninja Foodi by size:
| 4 pounds | 12 minutes | 5-min natural release, air fry 375°F for 15 min |
| 5 pounds | 15 minutes | 5-min natural release, air fry 375°F for 15 min |
| 6 pounds | 18 minutes | 5-min natural release, air fry 375°F for 15 min |
Those minutes don't count the time the Foodi needs to come up to pressure, nor the resting time. So make sure you plan accordingly.
Make sure you use an instant read thermometer at the thickest part of the breast to check for doneness. Test close to the bone but not touching it. The temperature matters more than the time.
Storage
Store leftovers in the refrigerator for up to three days. I recommend removing the turkey from the bone and spooning some of the juices over it for storage.
There are so many great ways to enjoy turkey leftovers - from casseroles to turkey sandwiches.
The bones can be used to make turkey stock if desired.
How to Make
First, start by seasoning the bird. In a small bowl, mix together the brown sugar, salt, and smoked paprika. Sprinkle the seasoning mixture inside the turkey cavity and over the outside of the bird.
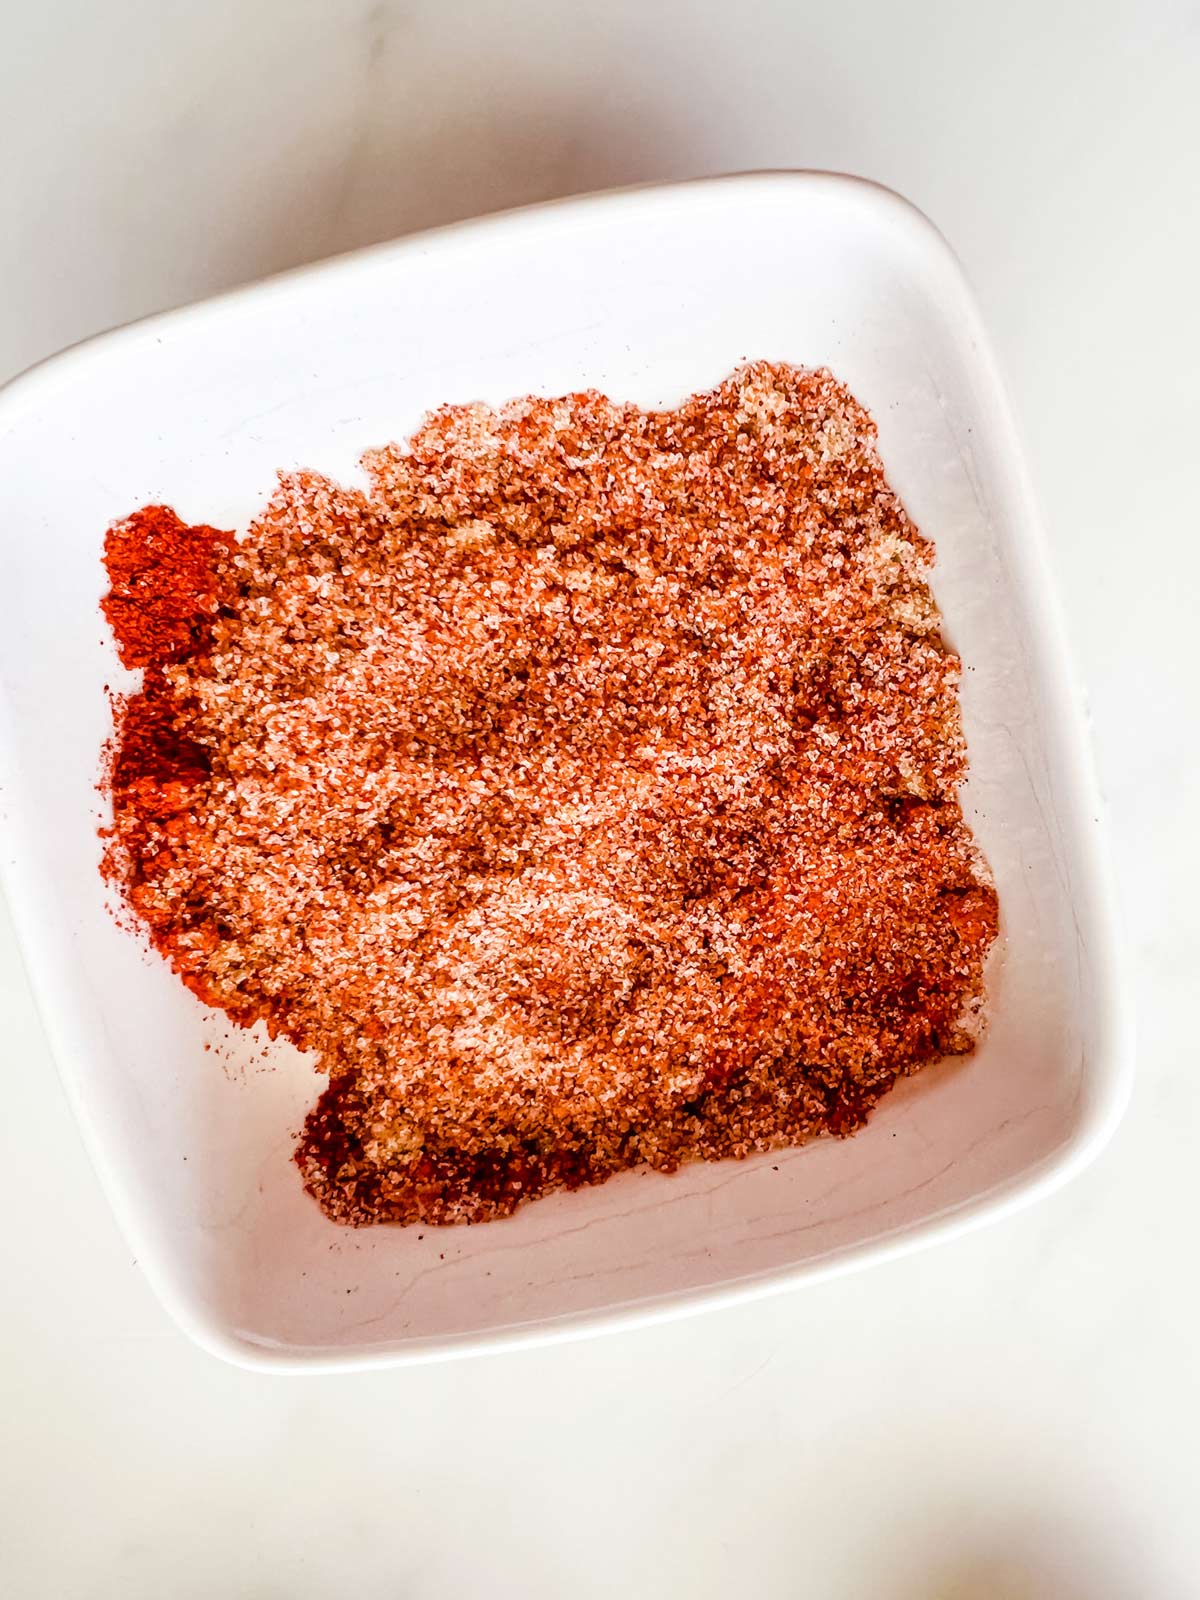
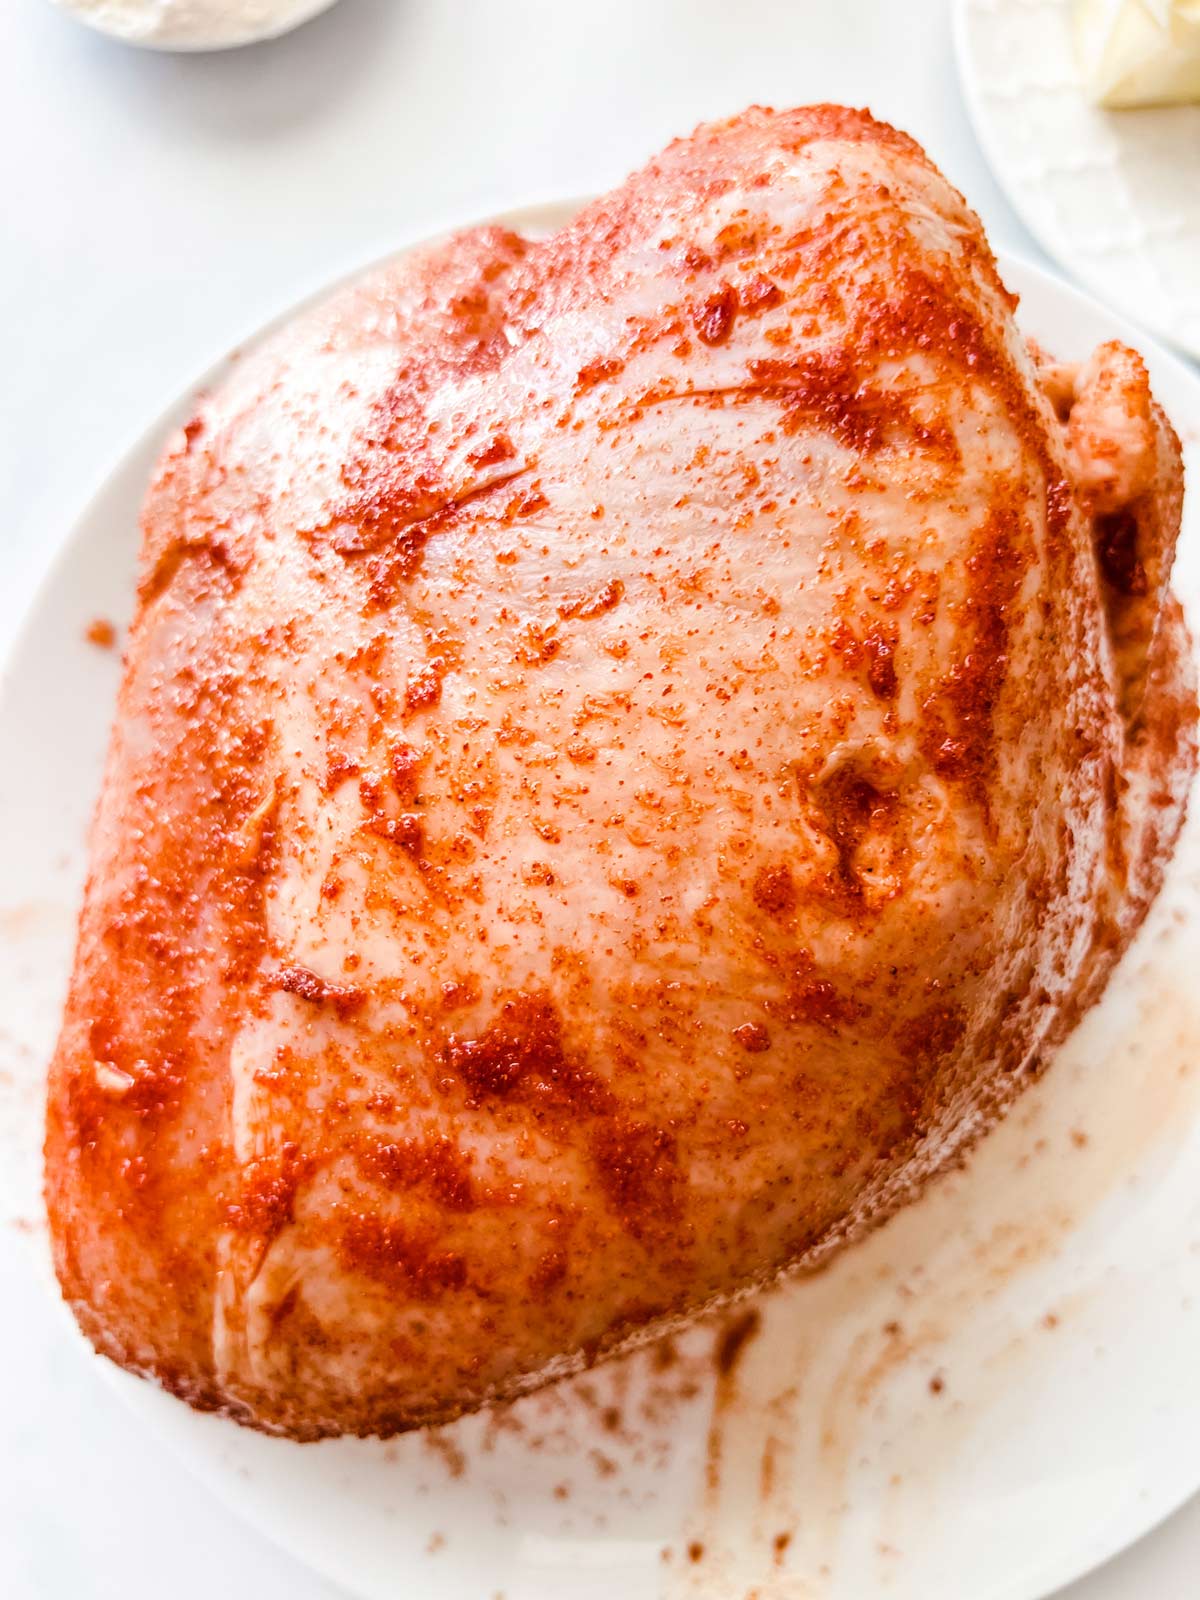
I recommend doing this a day ahead of time and refrigerating overnight. If you haven't planned ahead, try to make sure to let the seasonings sit for at least an hour before cooking.
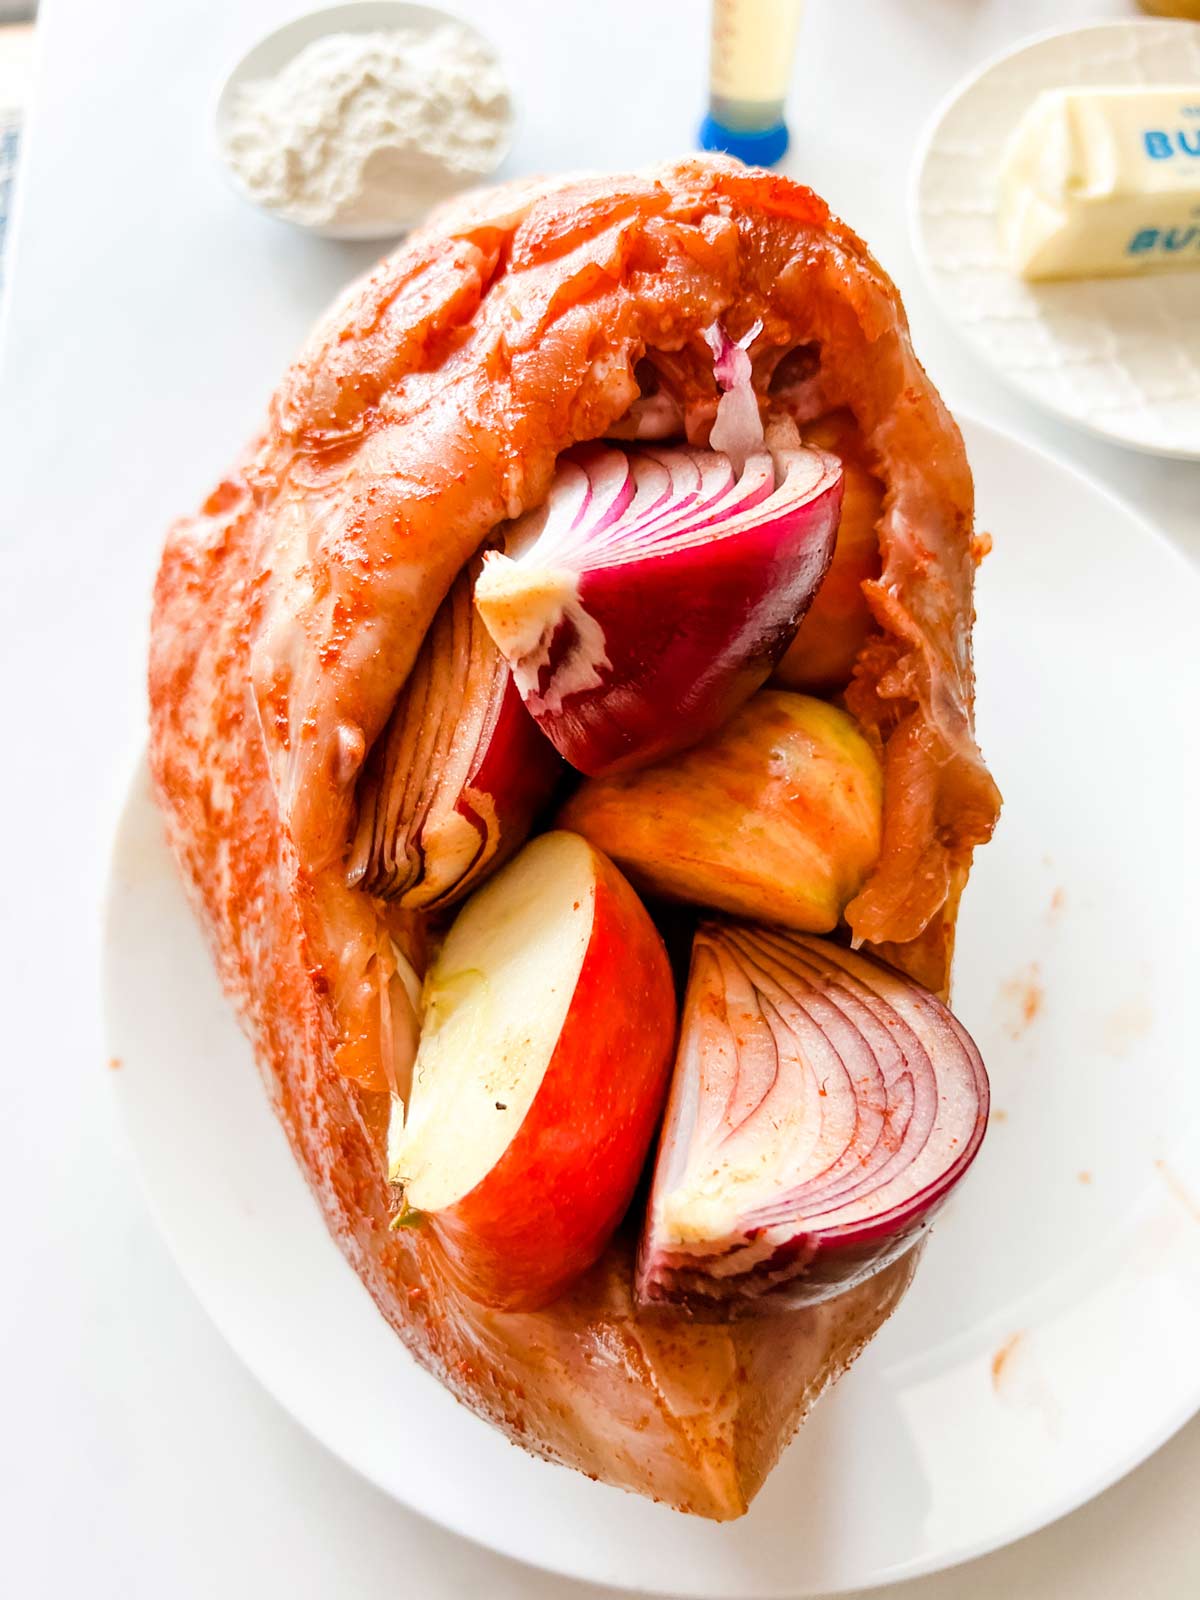
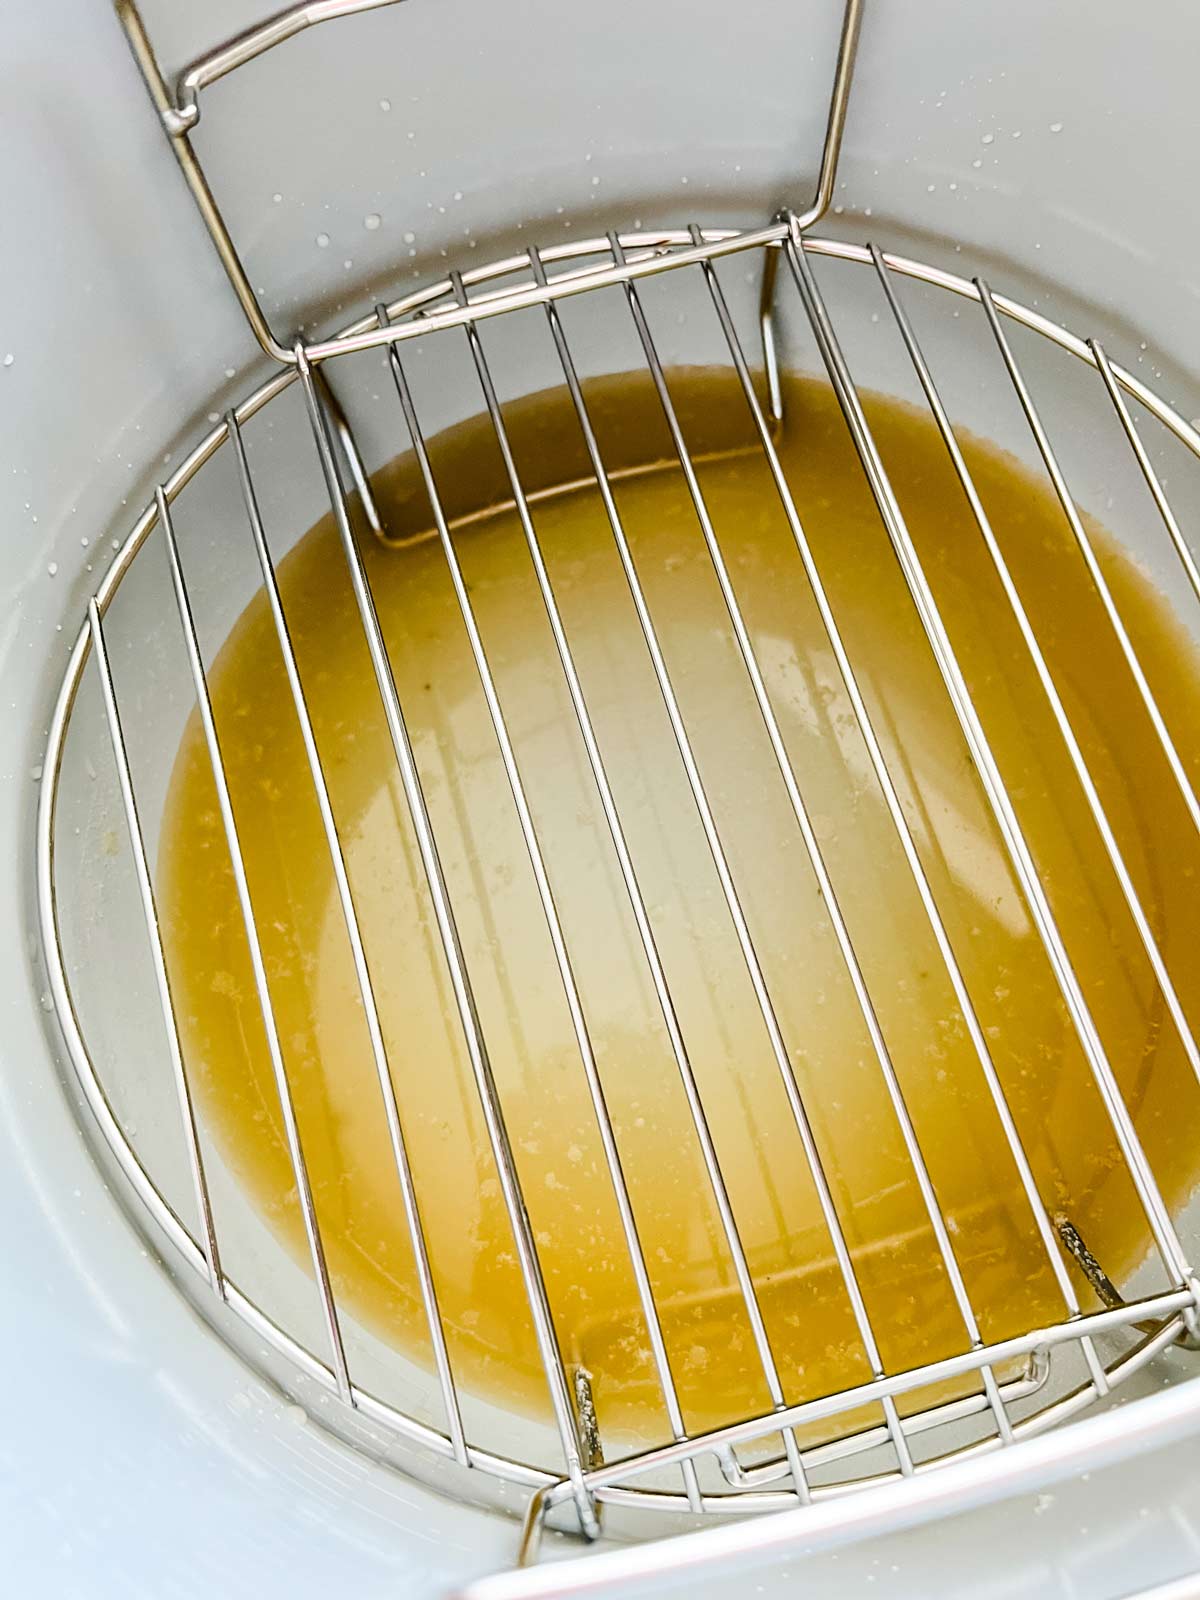
Next, place the apple and onion in the turkey breast cavity and pour 1 cup of stock in the bottom of your Ninja Foodi inner pot. Place the rack on top of it and place the turkey on the rack, meat side up.
If your bird is on the larger side, make sure that it fits in the Foodi without hitting the top. I have had to switch to a shorter trivet (from my Instant Pot) once or twice due to the shape of my bird.
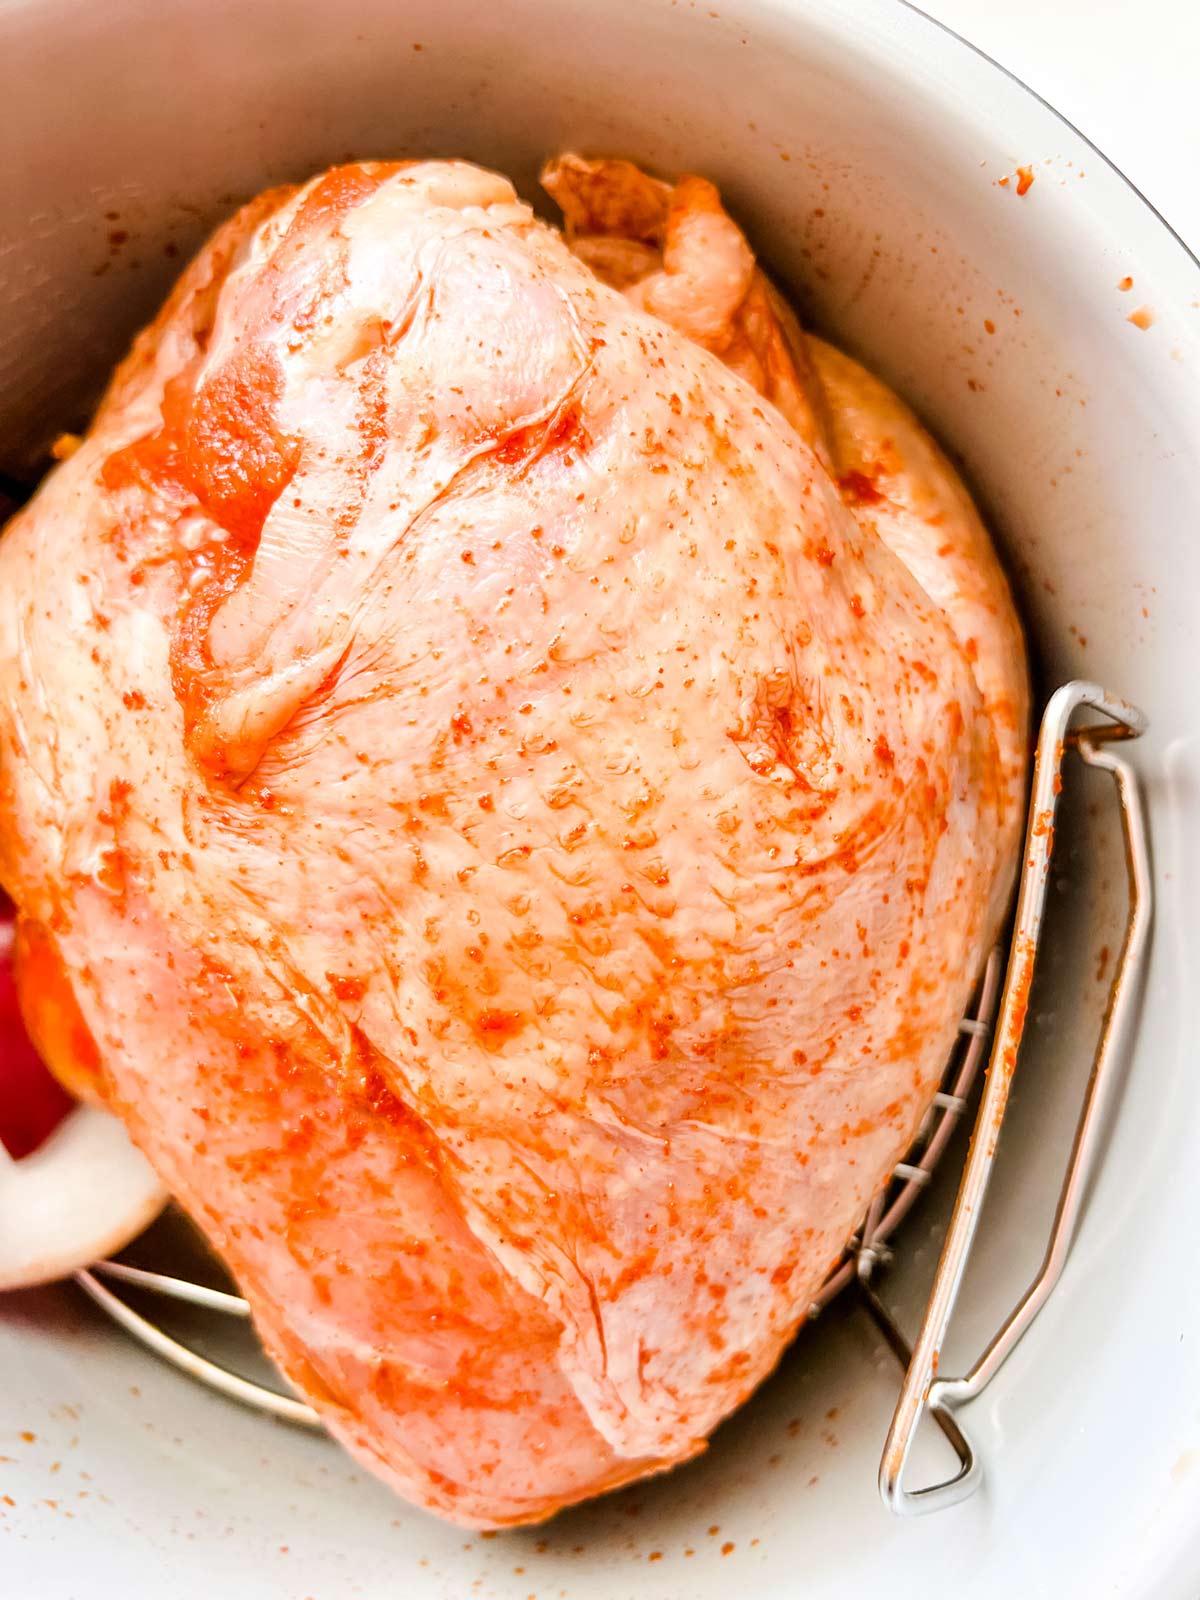
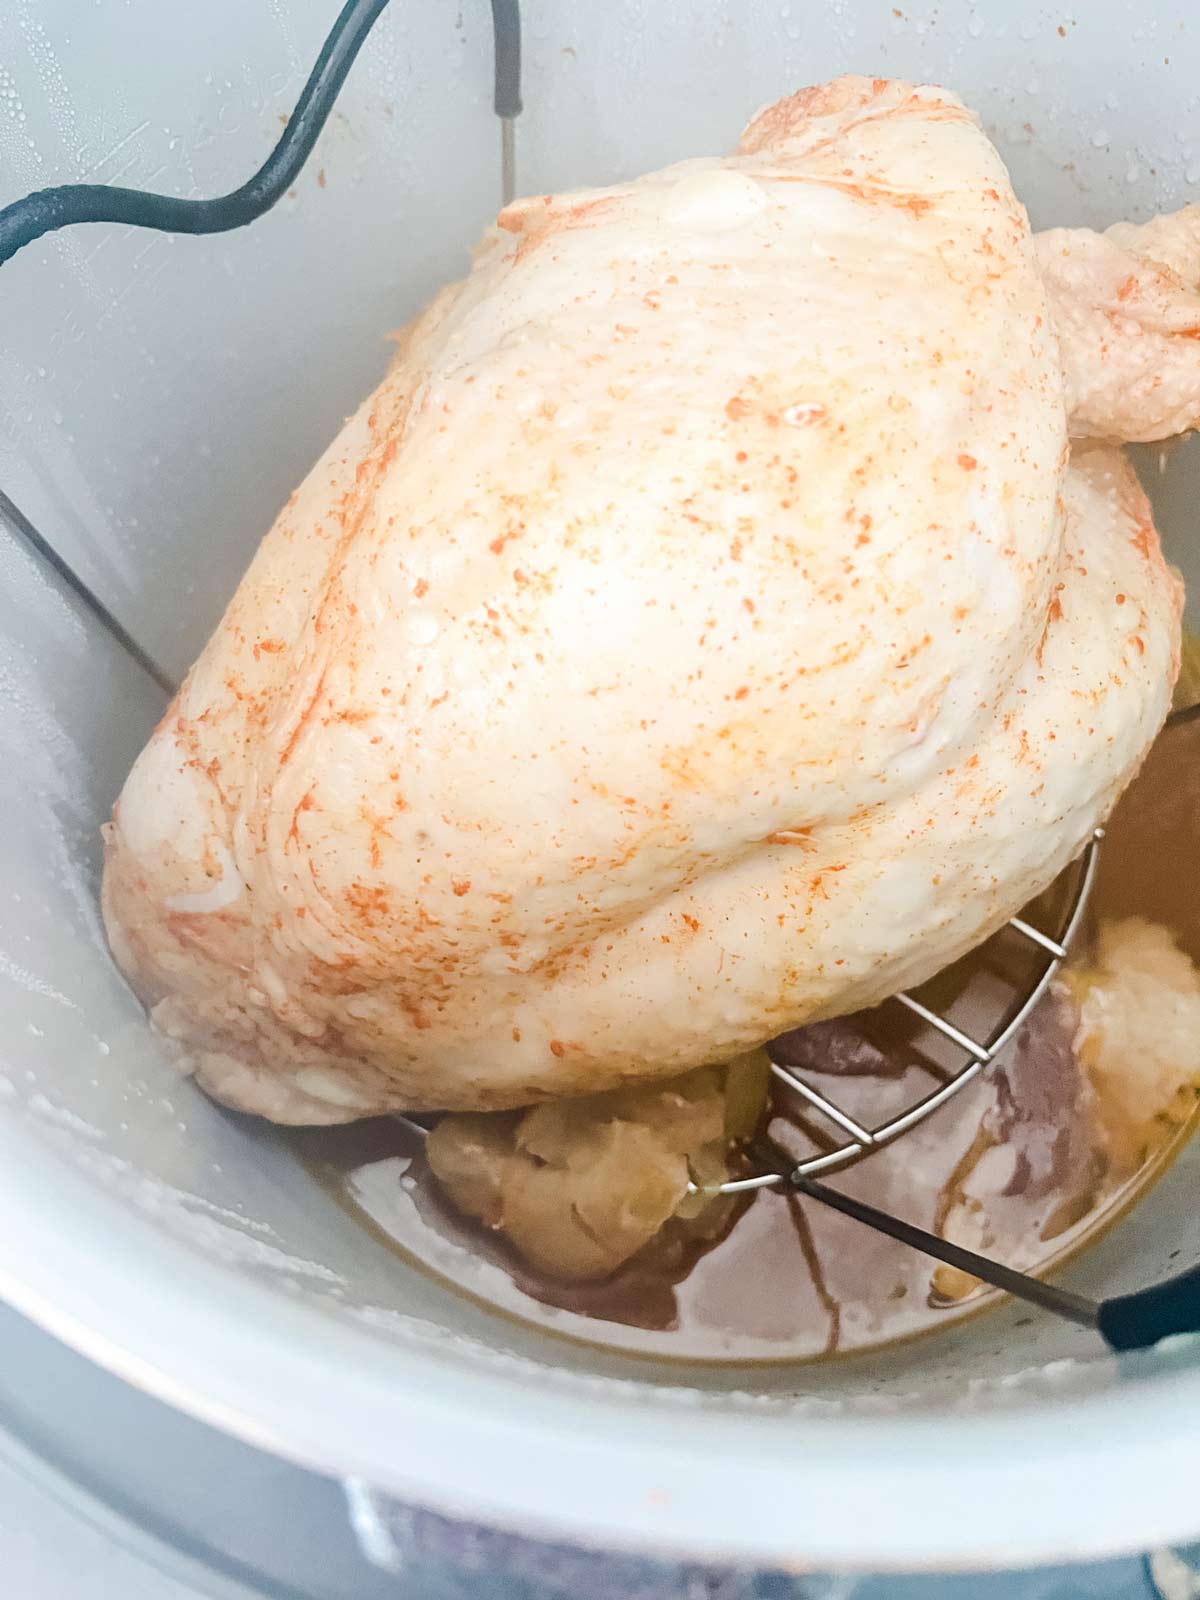
Close the lid and set it to high pressure for 12-18 minutes or about 3 minutes per pound of turkey breast. Make sure the pressure valve is closed.
When done cooking, allow the pressure to release naturally for 5 minutes before doing a quick release.
Brush the turkey with the melted butter, and set your Ninja Foodi to air fry at 375° F for 15 minutes.
Check on it during the last 5 minutes to avoid over-browning.
Remove from the Foodi, tent with aluminum foil, and allow to rest for at least 15 minutes before serving.
The Apple Cider Gravy
I mentioned earlier that part of the point of the apple and onion is to flavor your gravy.
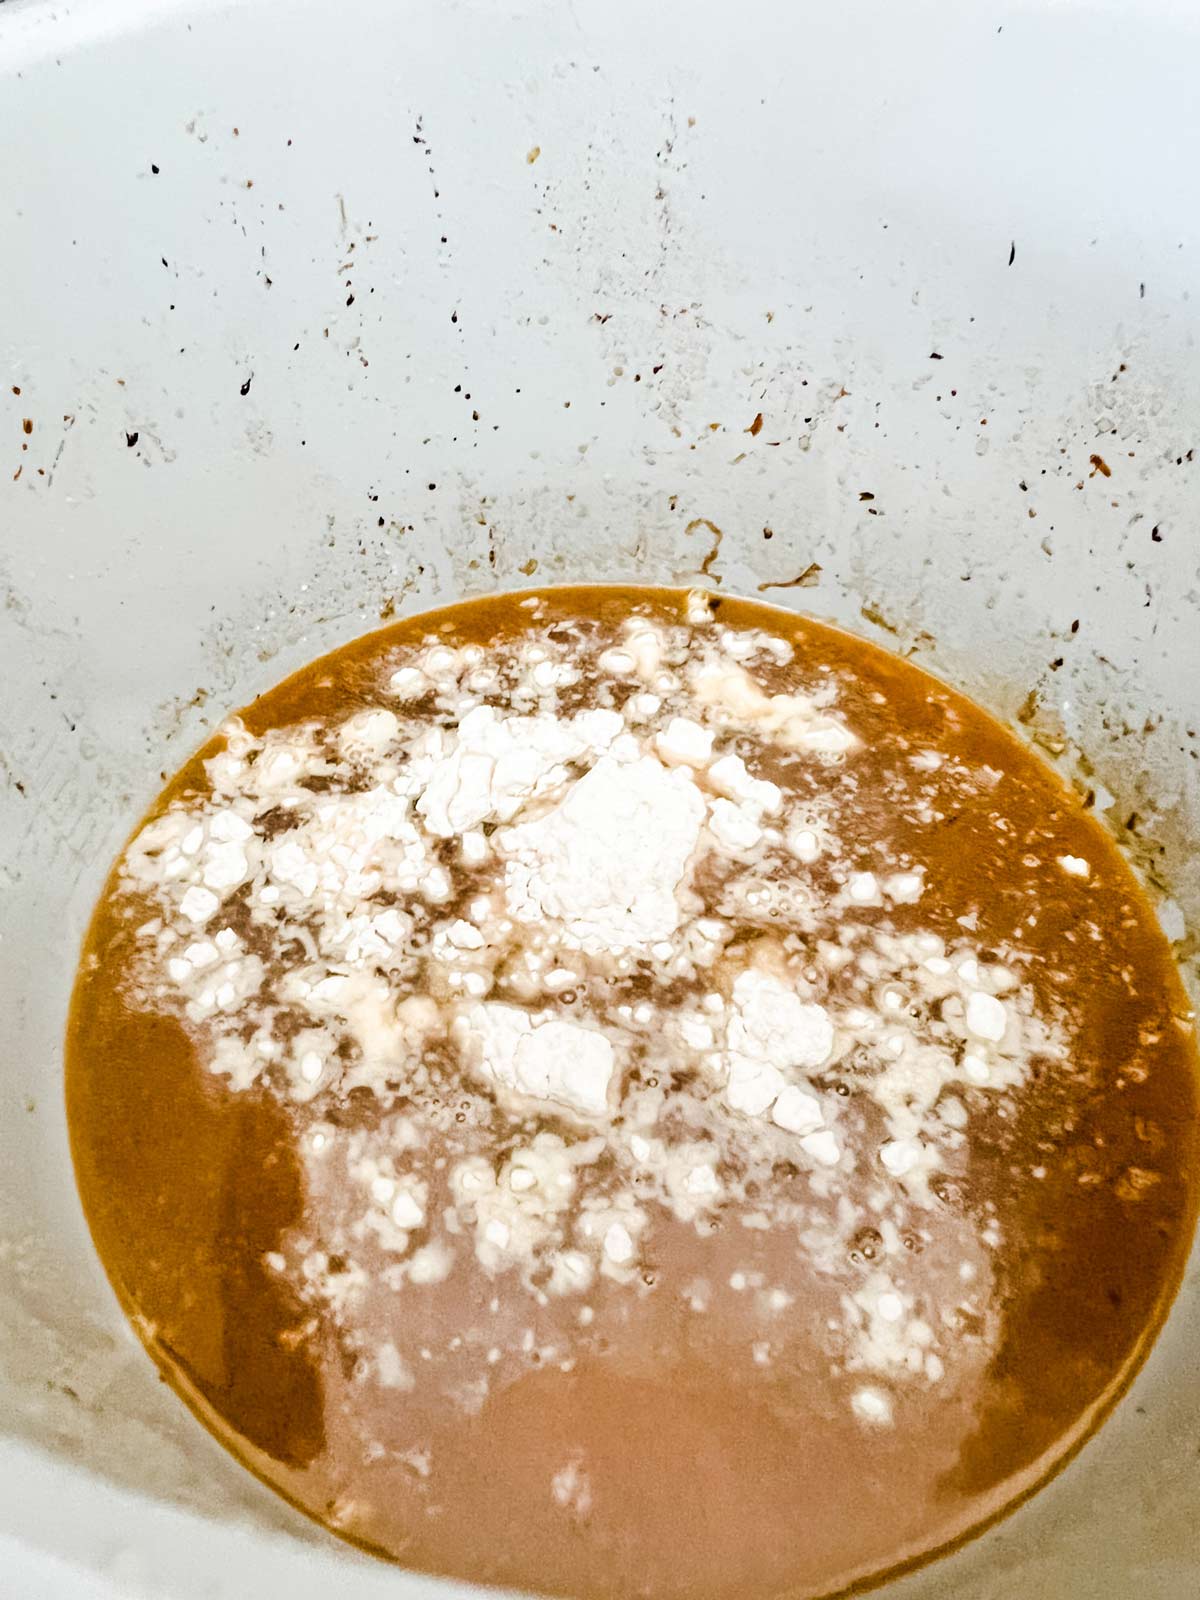
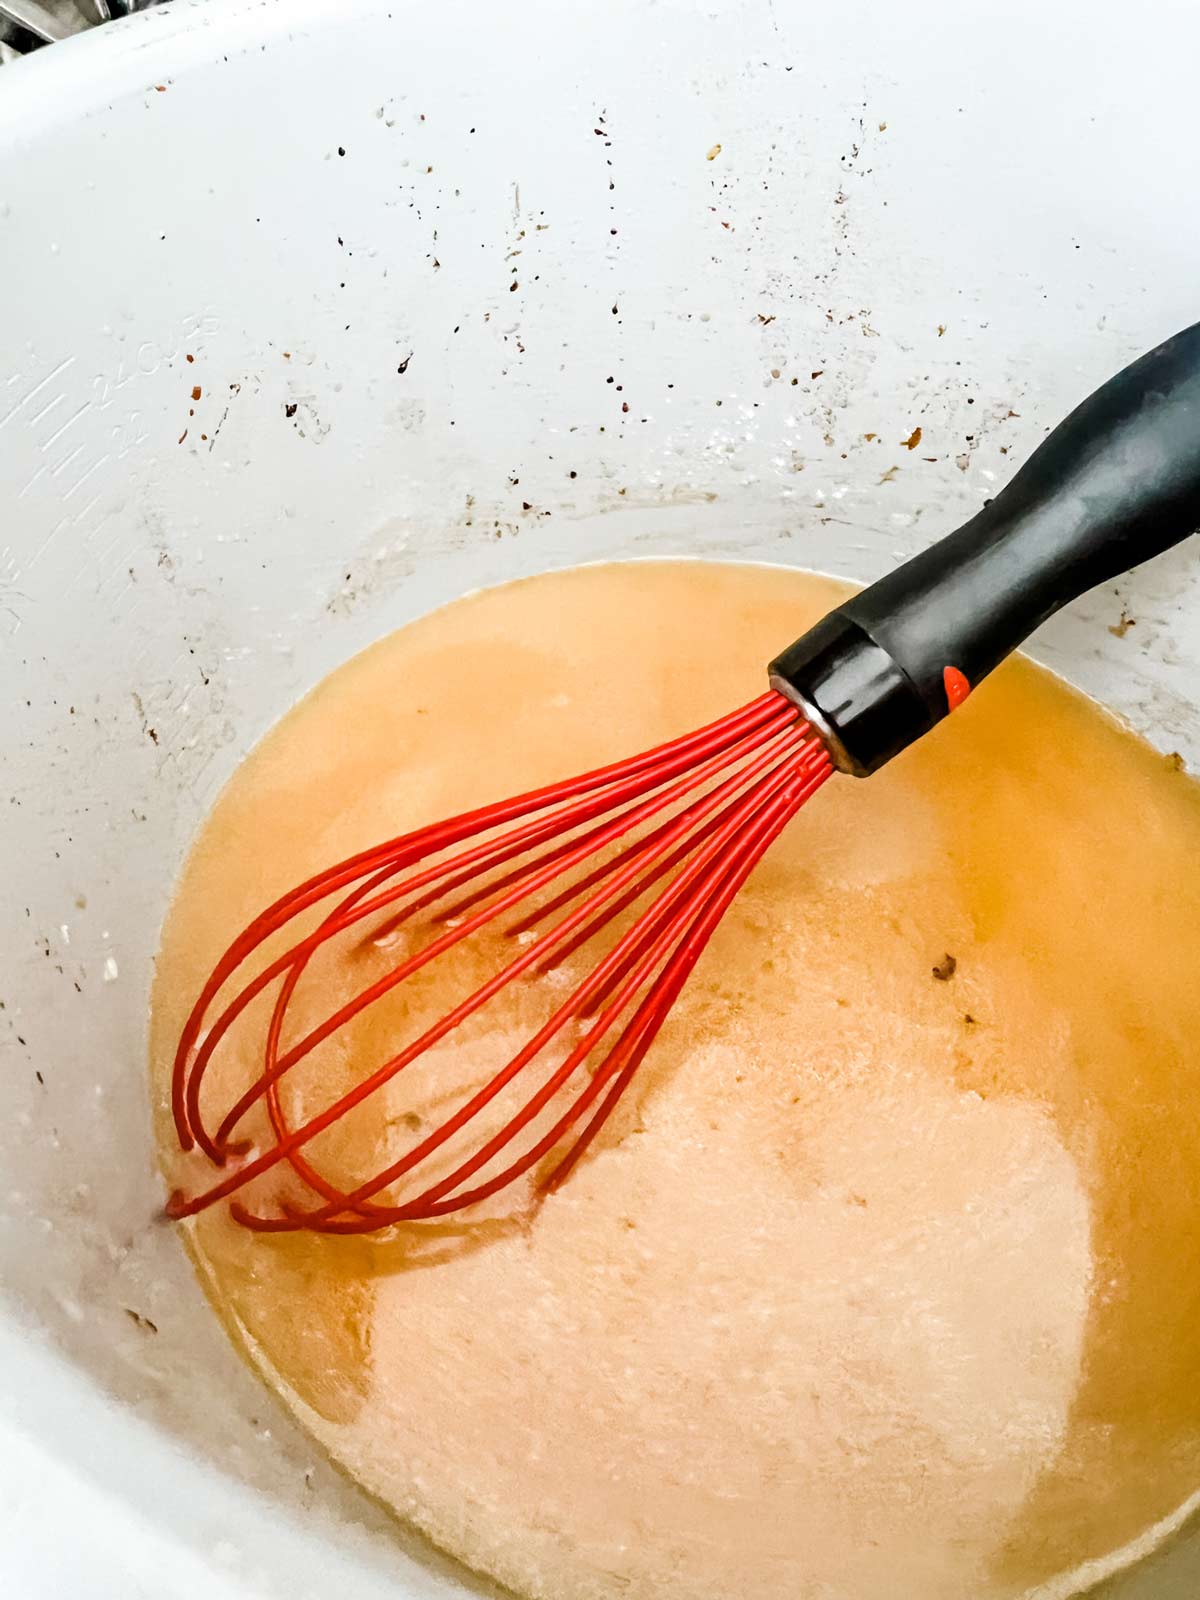
To make the gravy, first use a slotted spoon to remove any solid bits you don’t want in the gravy. Then whisk the flour in.
Turn to high sauté and add the remaining broth and apple cider.
Let it boil about 10 minutes, until it thickens. Add the vinegar and season.
Too thick? Whisk in a little more stock. Too thin? Let it boil a few more minutes.
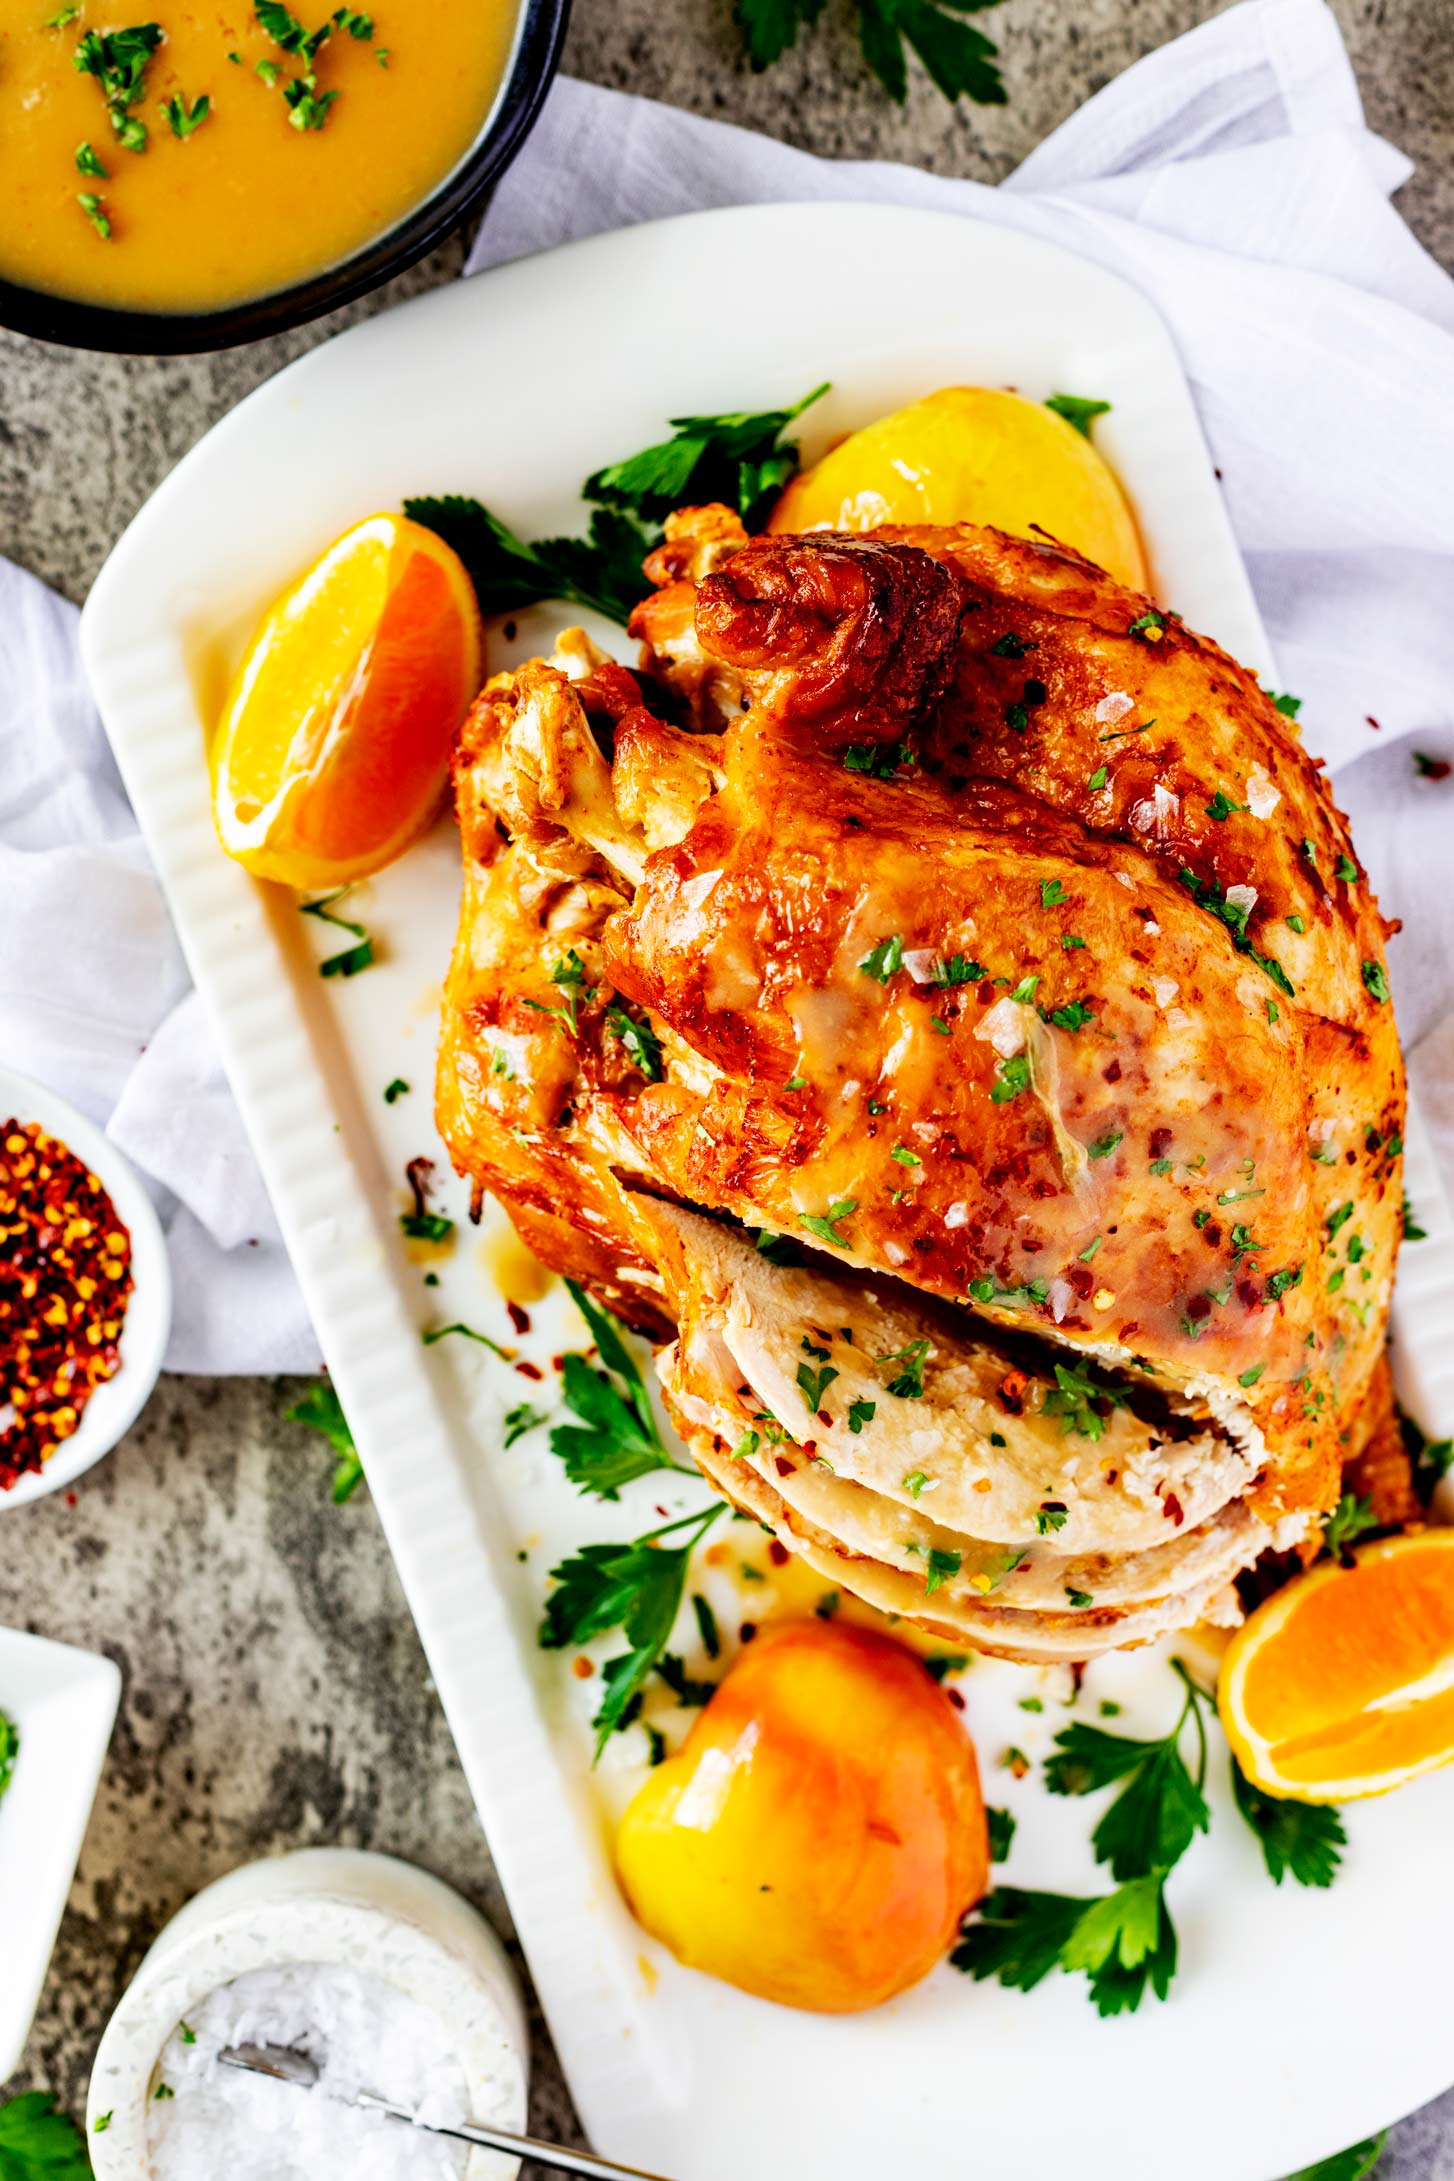

Crispy Skinned Ninja Foodi Turkey Breast with Gravy
Equipment
- Ninja Foodi Pressure Cooker/Air Fryer
Ingredients
- 4 pound bone-in turkey breast
- 1 tablespoon light brown sugar
- 1 tablespoon salt
- 1 ½ teaspoons smoked paprika
- 1 apple quartered
- 1 onion quartered
- 4 cups turkey or chicken stock divided
Gravy
- ¼ cup butter melted
- ¼ cup all-purpose flour or gluten free flour
- ⅔ cup apple cider
- ½ apple cider vinegar
Instructions
Season
- In a small bowl, mix together the brown sugar, salt, and smoked paprika. Sprinkle the seasoning mixture inside the turkey cavity and over the outside of the bird.
- Refrigerate the seasoned bird overnight.
Pressure Cook
- Place the apple and onion in the cavity of the bird.
- Pour 1 cup of the stock in the bottom of the inner pot of your Ninja Foodi and place the rack on top of it.
- Place the turkey on the rack, with the meat side up.
- Close the lid, and set to high pressure. (Make sure the pressure valve is closed.) Cook for 12 to 18 minutes, or about 3 minutes per pound of meat. When the time is up, allow the pressure to release naturally for 5 minutes and then do a quick release.
Air Fry
- After the pressure has released, brush the turkey with the melted butter. Set the Ninja Foodi to Air Fry, and set the temperature to 375° F. Set the time to 15 minutes.
- Close the lid, and cook for 15 minutes, or until the meat is browned. Make sure you check during the last 5 minutes to avoid over browning your meat.
- Carefully remove the turkey and the rack from your Foodi. Brush with the remaining butter, and tent with aluminum foil. Use a slotted spoon to remove any solid bits remaining in the pot before you make the gravy.
Gravy
- While the turkey rests, whisk together 1 cup of the remaining stock and the flour in the Foodi. Set to high saute and add the remaining stock and the apple cider to the Foodi.
- Boil, whisking often with a silicone whisk, for 10 minutes or until the gravy thickens. Stir in the apple sider vinegar. Season with salt and pepper. Carve the turkey and serve with the gravy.

Leave a Comment & Rate this Recipe