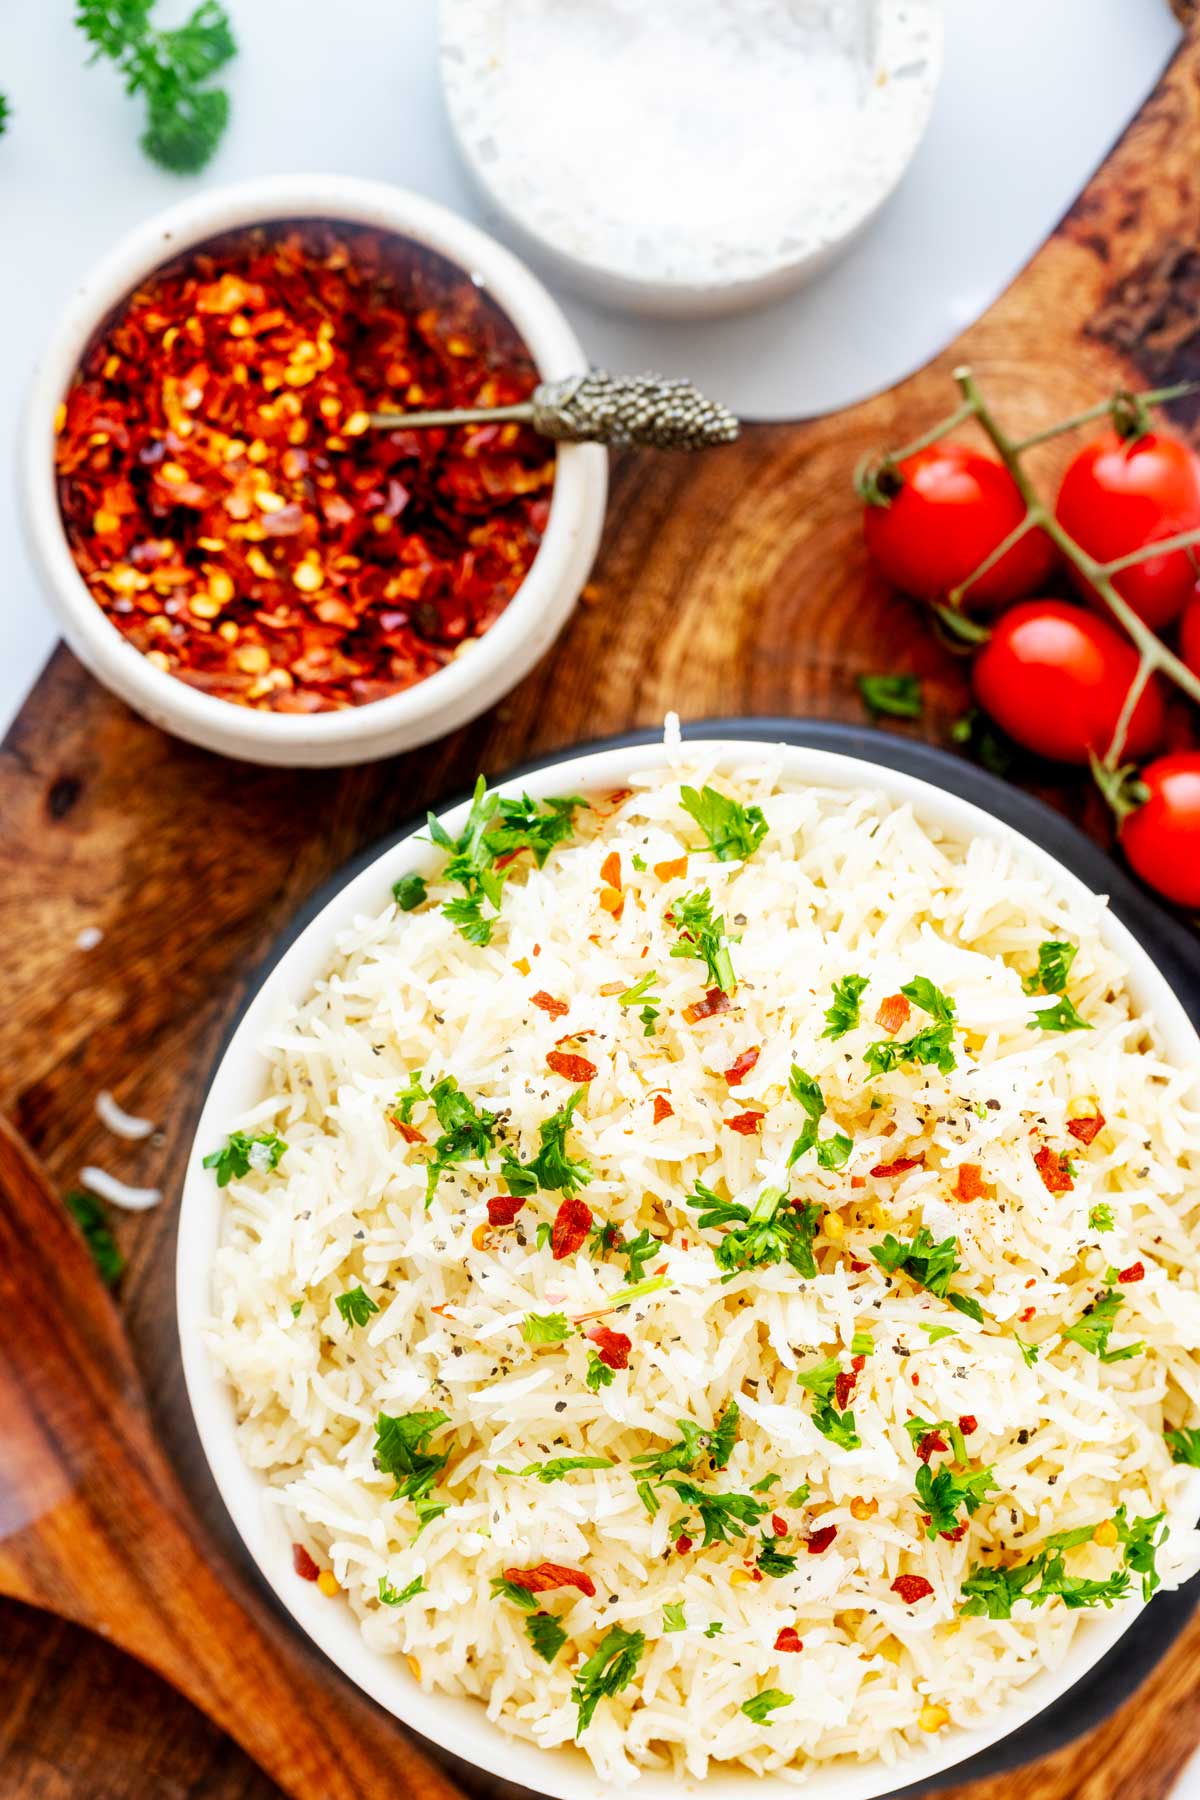
Are you ready to revolutionize your rice cooking game? Say hello to the magic of Ninja Foodi rice, where you can achieve perfect, fluffy rice every time! With less than 5 minutes of hands-on time, you can create an easy and delicious side dish that will have your family asking for it again and again.
Cooking rice on the stovetop can feel a bit fussy to me when I've got a lot going on. You have to babysit it to ensure it isn't burning at the bottom and take it off the heat at just the right time.
With Ninja Foodi white rice, you just add your rice, liquid, and a few other simple ingredients, shut the lid, flip the switch, and let the Foodi work its magic.
The added benefit of making rice in the Ninja Foodi is that your Ninja will keep the rice warm until dinner time. I call that winning!
Don't forget to check out my other Ninja Foodi recipes! Swing by my collection for some lip-smacking good dishes that'll make dinnertime downright easy. Can't decide where to start? How about my go-to favorites like the Ninja Foodi Steak, the scrumptiously comforting Ninja Foodi Spaghetti, or the effortlessly quick Ninja Foodi Brussels Sprouts? Each one is a serious game-changer in the kitchen. Don't forget to bookmark 'em for your next foodie foray! 🍽✨
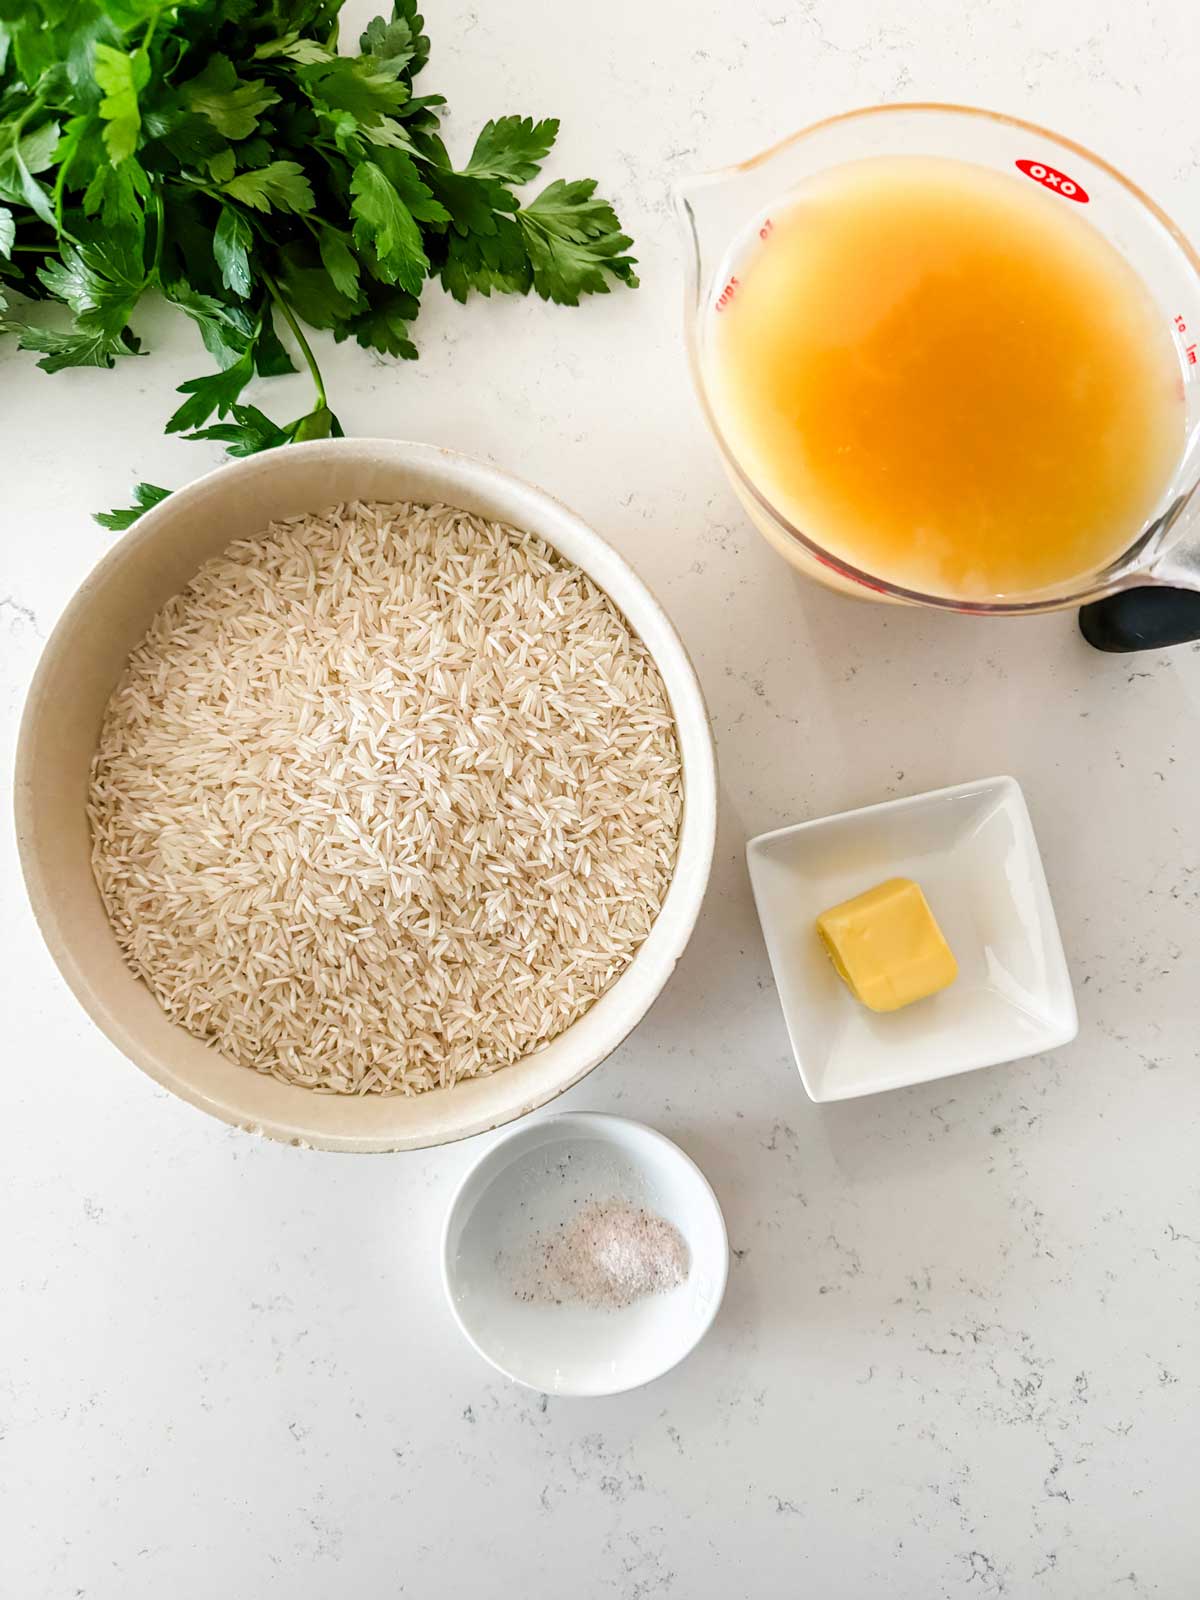
Ingredients and Substitutions
- White Rice: Use a long grain rice like jasmine or basmati rice.
- Broth or Water: Broth infuses your rice with an underlying richness, but if you're in a pinch, water works perfectly fine, keeping things light and simple. When scaling the recipe keep a ratio of 1:1.25 ratio between rice and liquid.
- Butter: If you're dairy-free, olive oil or even a vegan butter substitute will work just fine.
- Sea Salt: Just a pinch of sea salt can wake up the entire dish. If you're watching your sodium intake, feel free to cut it down or swap in a potassium-based salt alternative.
How to Cook Rice in the Ninja Foodi

Tips & Tricks
- Liquid Gold: For an extra rich and savory batch of rice, use homemade stock. It's liquid gold compared to store-bought and will make your rice dish stand out from the crowd!
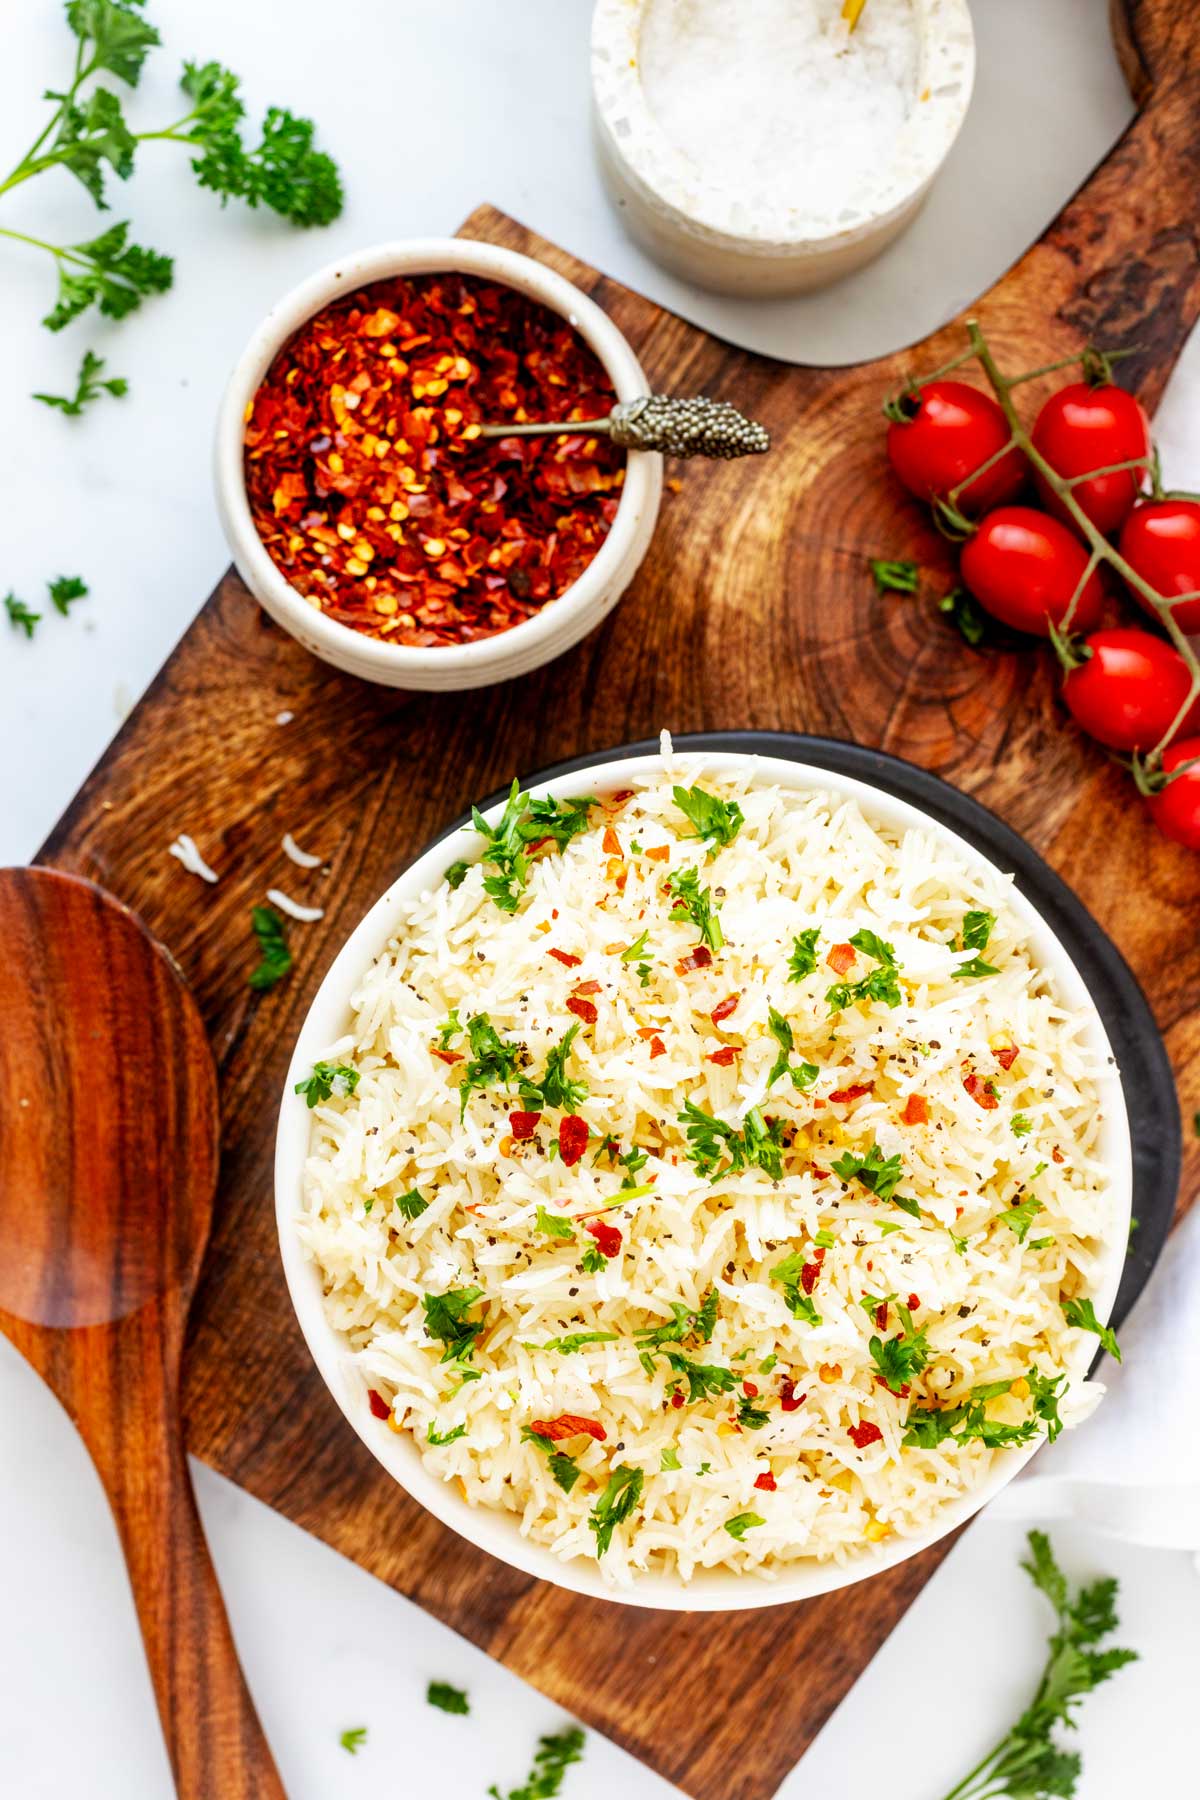
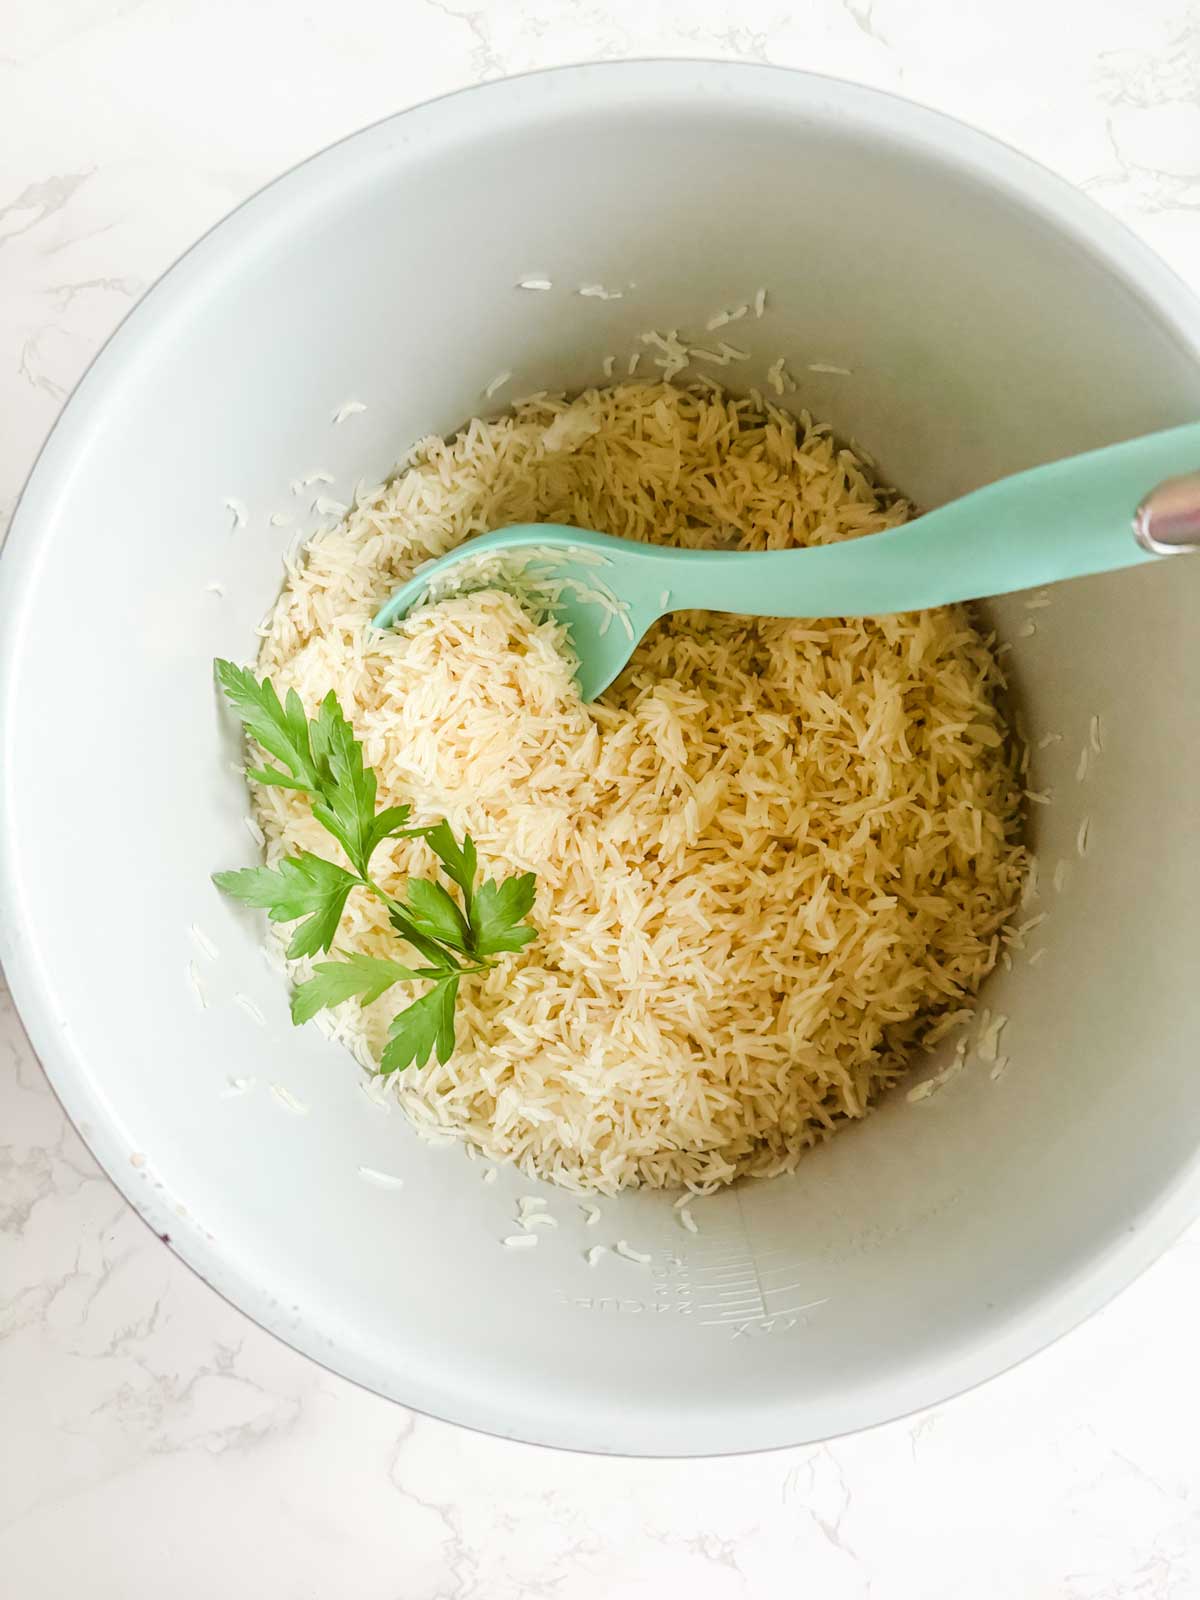
- Herb-Infused Finish: After the rice is done, fold in some freshly chopped herbs for a refreshing flavor pop—think cilantro, parsley, or dill. It's like a splash of color on a canvas.
- Rice Re-Run: Have a rice mishap? If it's too dry, sprinkle a little water on top, and use the 'keep warm' setting for a few minutes to let it steam. Too wet? Close the lid and let the moisture absorb.
- Accessorizing Your Rice: Don't forget that your Ninja Foodi rice can dress up with all sorts of mix-ins! Stir through some golden raisins, toasted nuts, baby peas, or even chunks of pineapple to elevate your side.
- Ninja Foodi Brown Rice: Brown rice in the Ninja Foodi needs more time than white rice. Set your Ninja Foodi on high pressure for 15 minutes. Then, give it a 10-minute natural release period.
Storage
Store any extra cooked rice in an airtight container in the fridge for up to 3-4 days. To reheat, simply add a splash of water and microwave until warmed through.
You can also freeze cooked rice for up to 6 months by storing it in a freezer-safe container or bag. Just thaw and reheat when ready to use! Don't let your leftovers go to waste! 🍚❄️
More Rice Recipes to Try
- Slow Cooker Rice: Discover the ease of setting and forgetting with my Slow Cooker Rice recipe.
- Cheesy Chicken and Rice: This Cheesy Chicken and Rice will have the whole family asking for it again.
- Instant Pot Jasmine Rice: Cut down your kitchen time with fragrant Instant Pot Rice. It's a foolproof side that pairs perfectly with just about anything.
- Blackstone Fried Rice: Turn up the heat on outdoor cooking with my Blackstone Fried Rice.

20-Minute Ninja Foodi Rice
Equipment
- Ninja Foodi
Ingredients
- 2 cups white rice jasmine, basmati.
- 2 ¼ cups broth or water
- 1 tablespoon butter
- ½ teaspoon sea salt
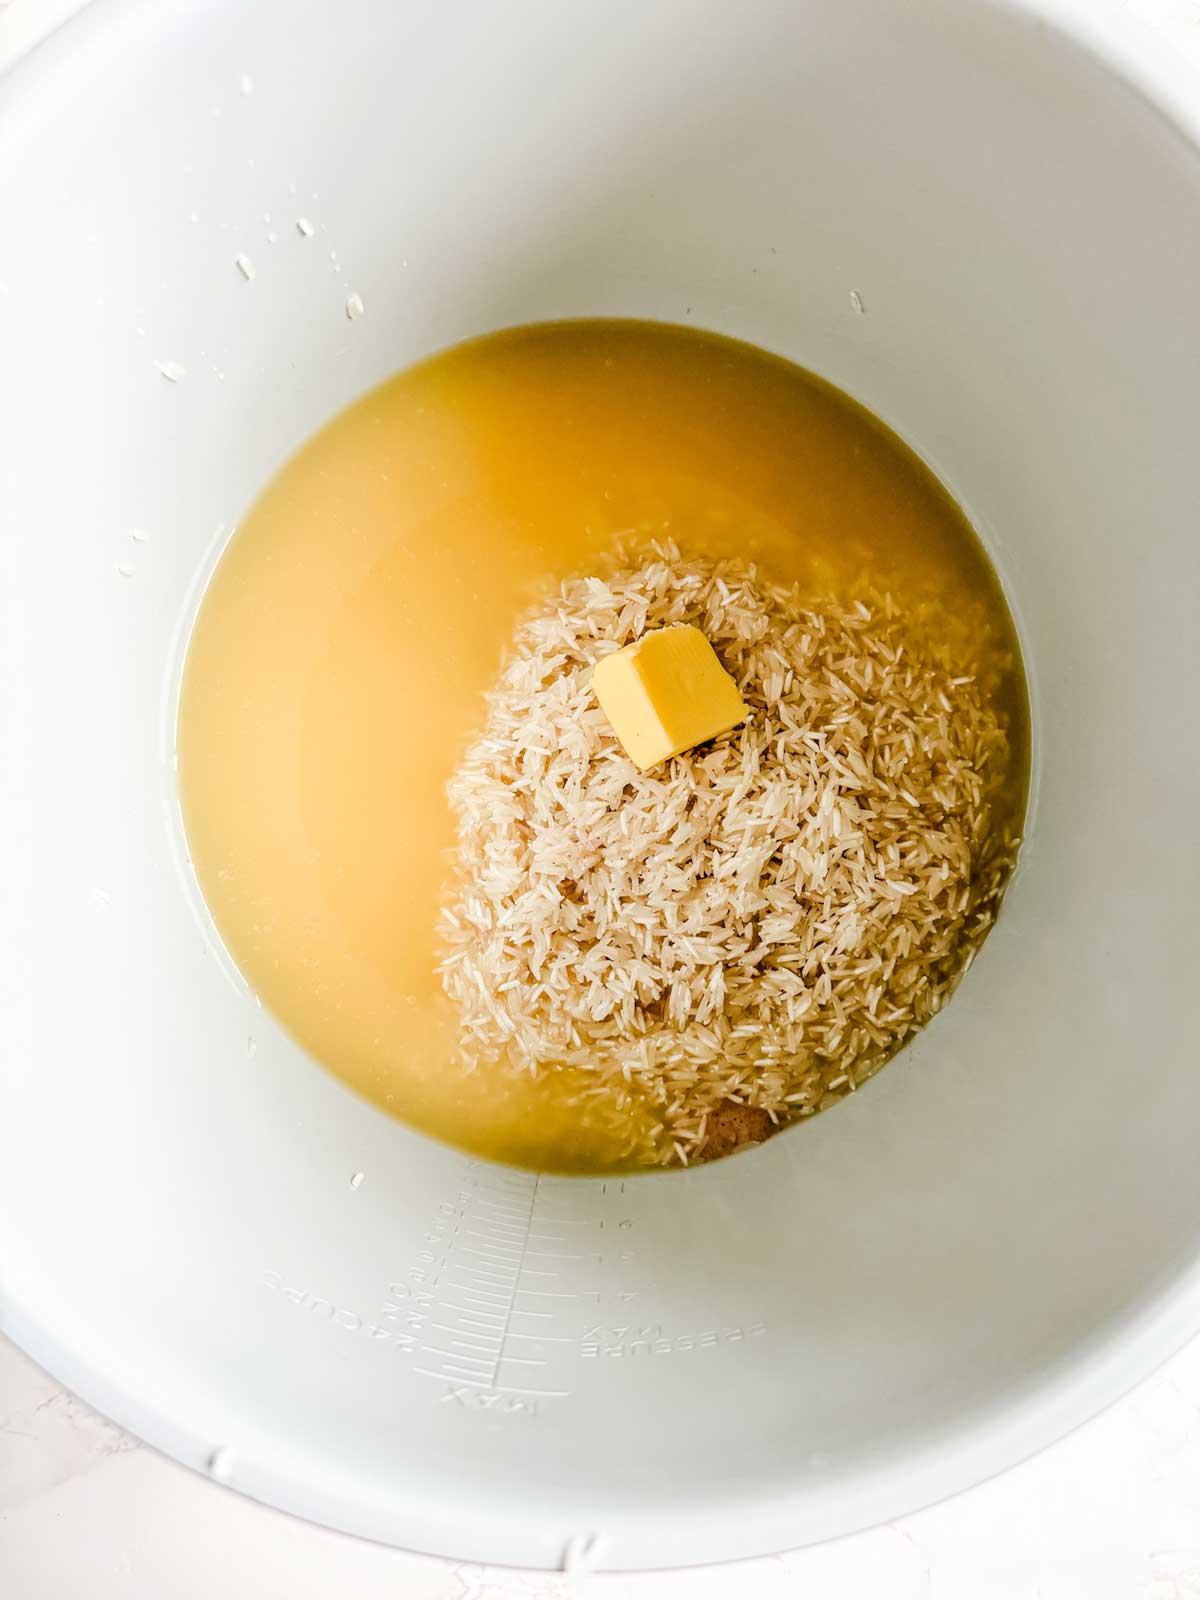
Instructions
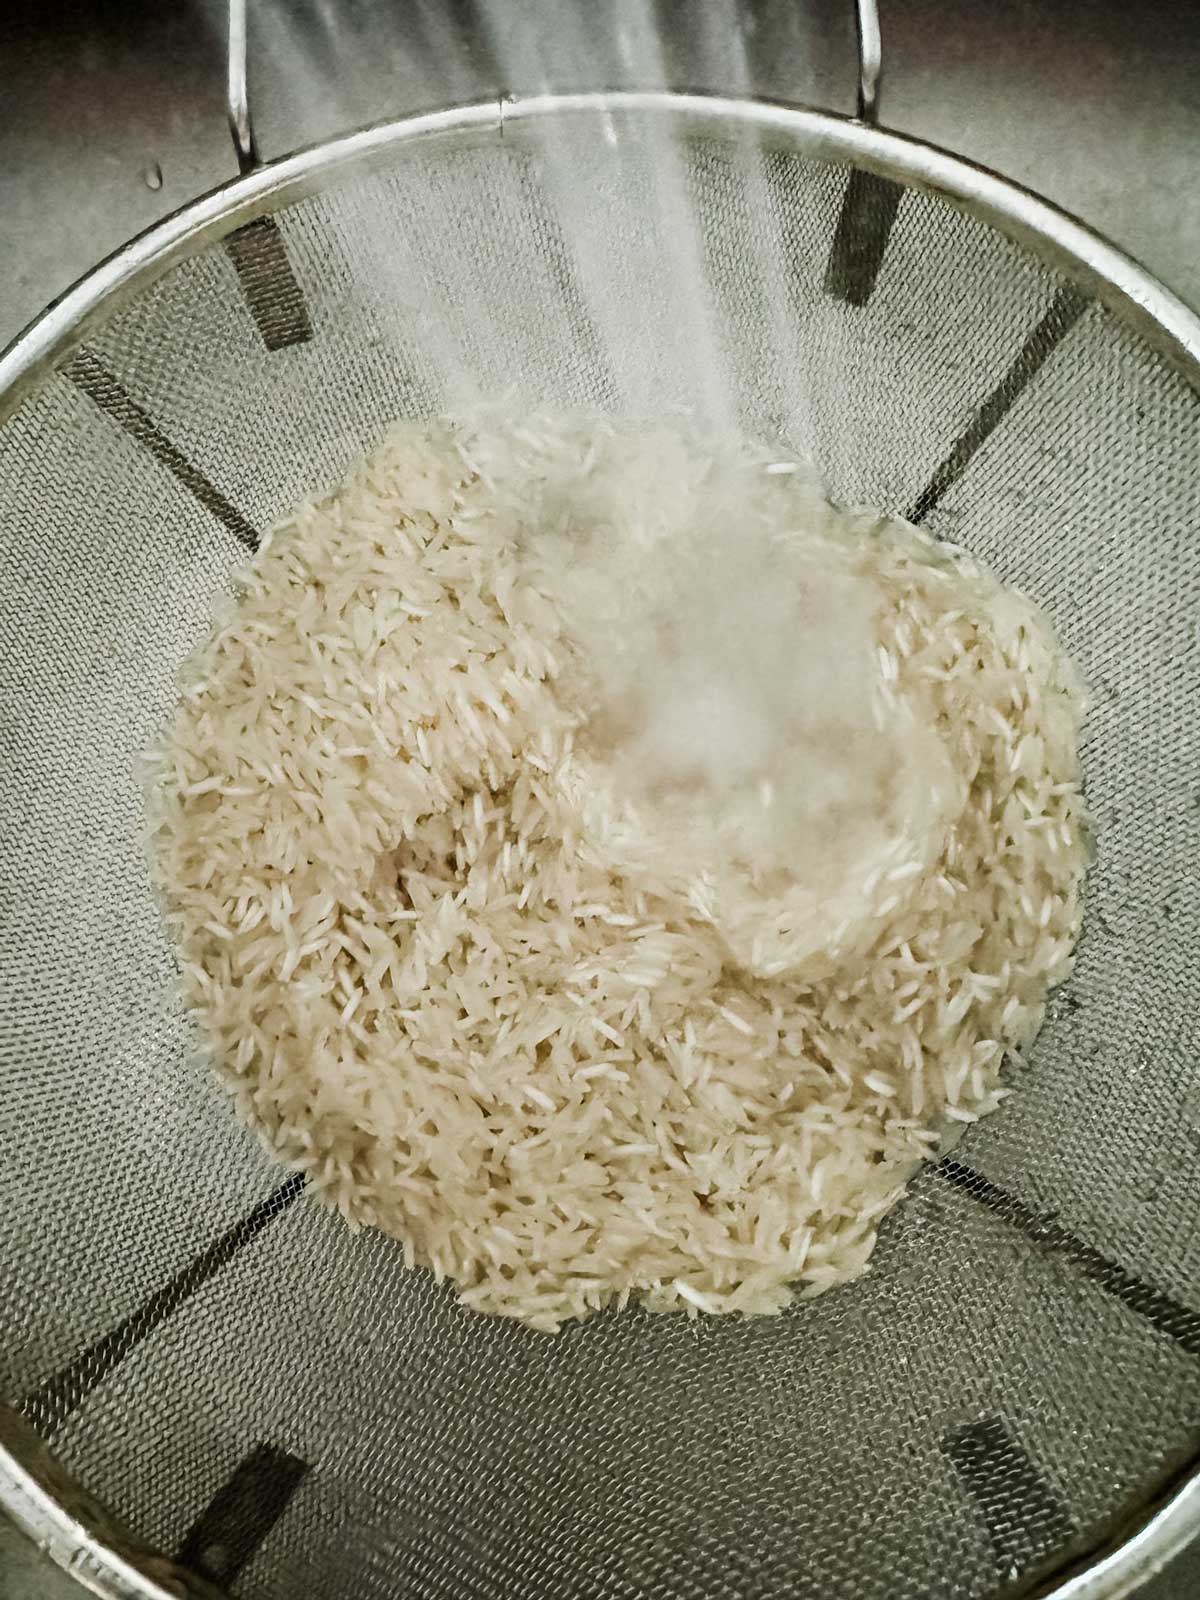
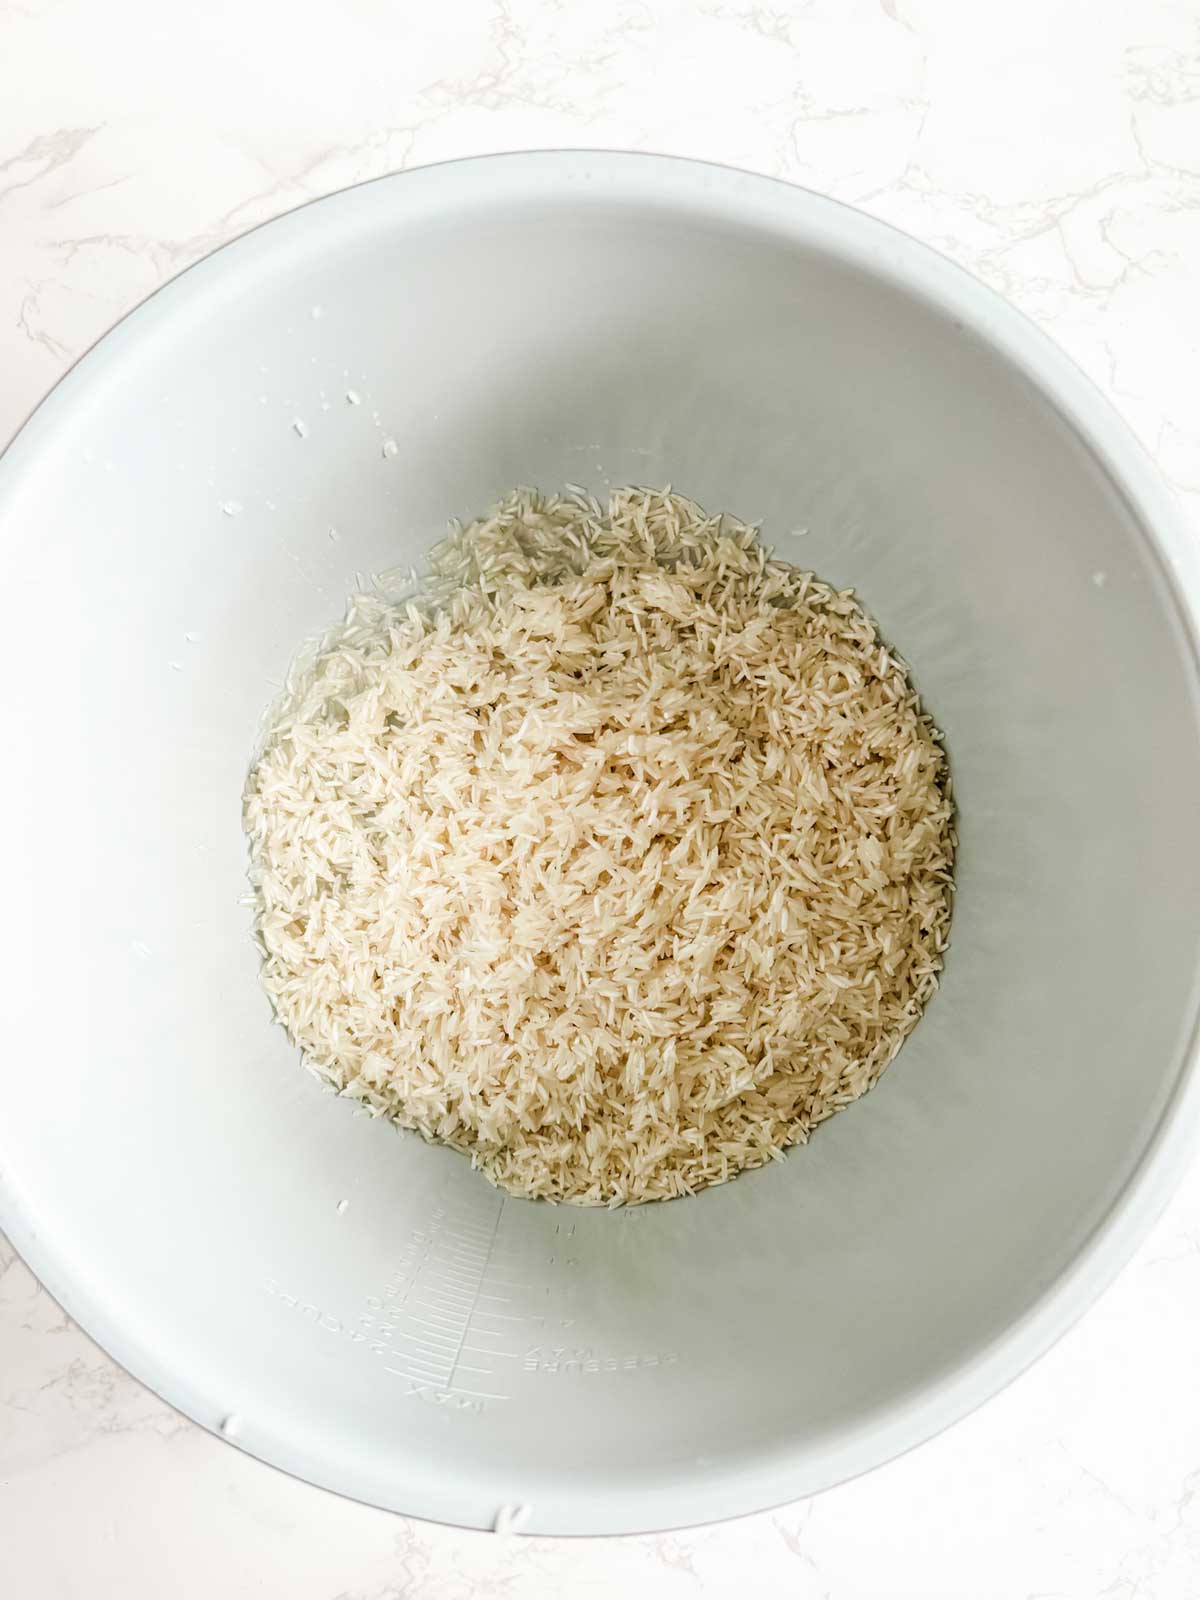
- Place the rice in a metal strainer. Rinse until the water runs clear.
- Place the rice in your Foodi. Add the broth, butter, and salt.
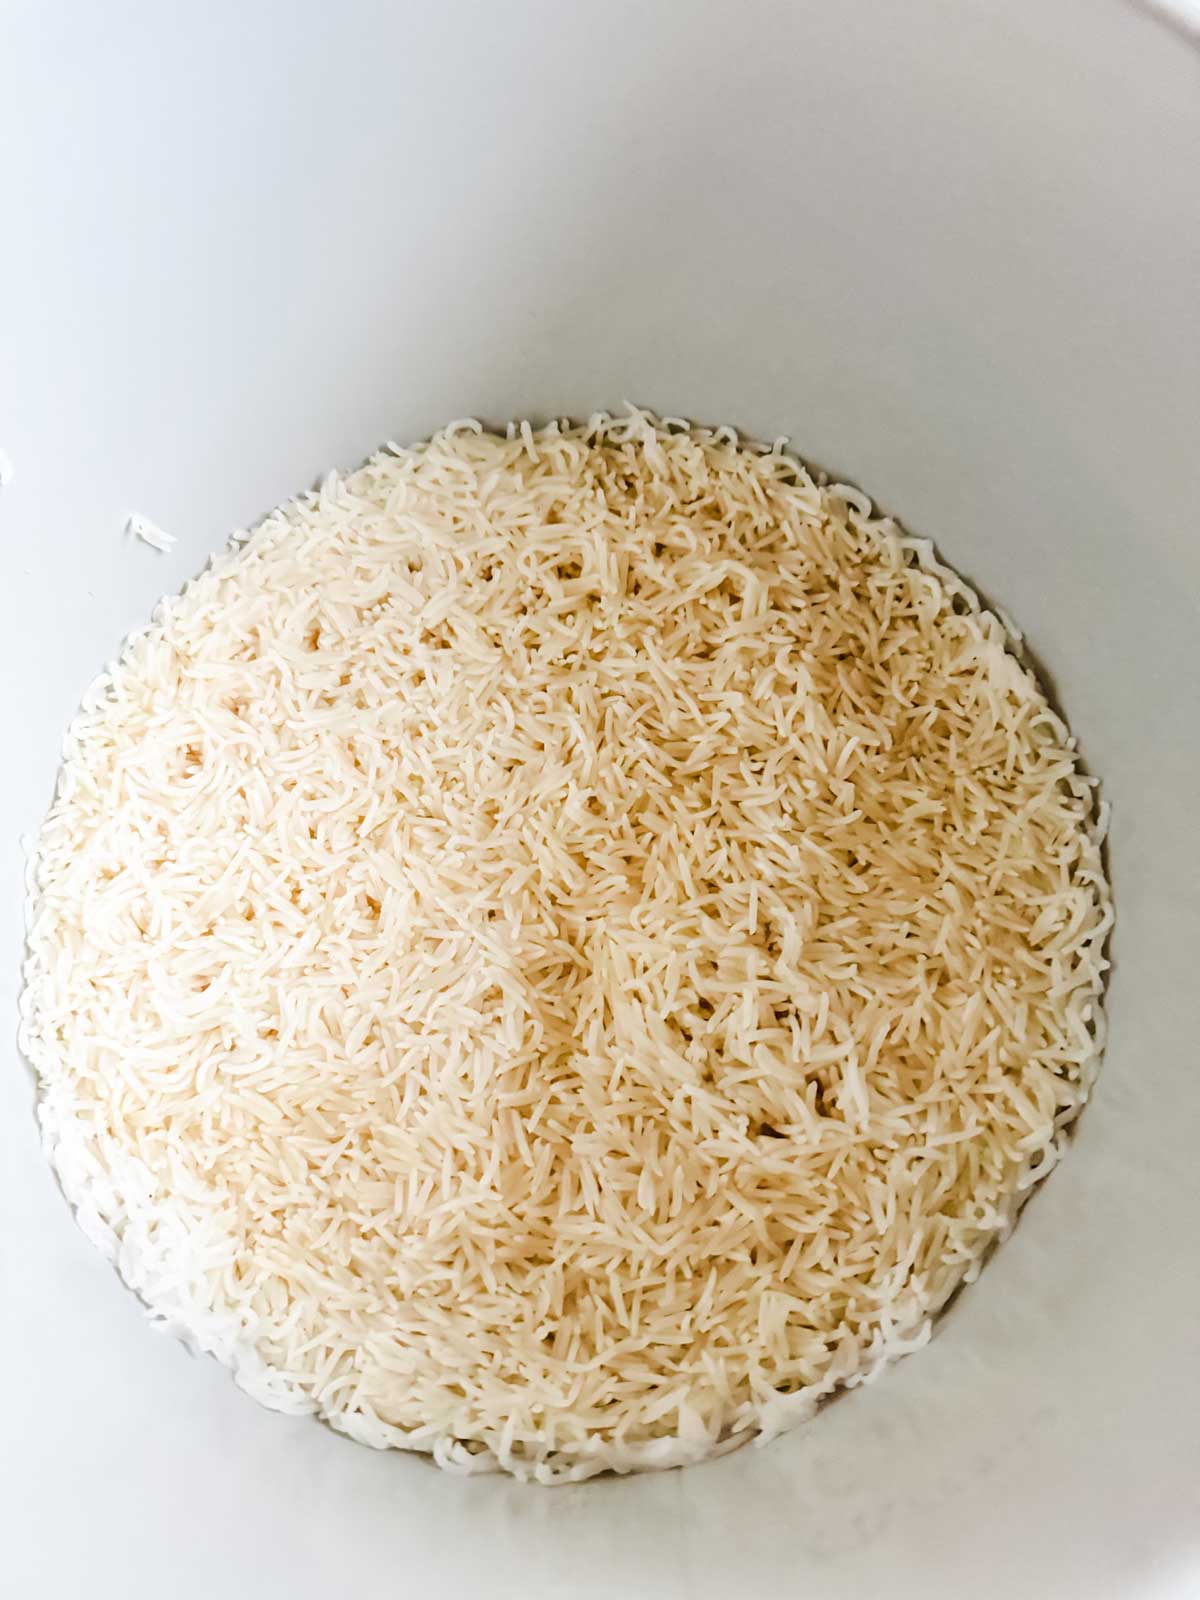
- Close the lid, and seal. Turn to high pressure, and set the time to 2 minutes. Make sure the pressure release valve is closed.
- When the time is up, allow the pressure to release naturally for 10 minutes.
- Fluff and serve.

Dana Hatfield says
Great rice in my Ninja Foodi! Thanks for posting it! I lost my book that came with it.
Wendy Polisi says
I am so glad that you enjoyed it!