Quinoa Recipes Index
If you love quinoa this is the category for you. Browse hundreds of recipes using quinoa as a base. From quinoa mac and cheese to quinoa taco salad bowls to even quinoa hamburgers, we have you covered. Find a recipe for every occasion and taste right here. And if you need to know how to cook quinoa, I've got you covered with that too! Make Instant Pot quinoa or learn to cook quinoa in a rice cooker.
Looking for even more quinoa recipes? Check out my quinoa cookbooks with quinoa-inspired recipes will thrill even the fussiest eater.
-
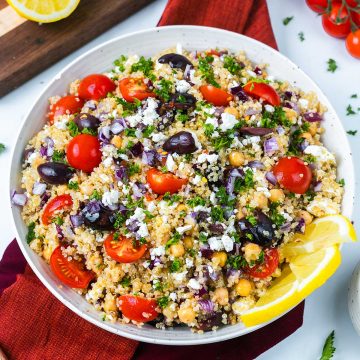
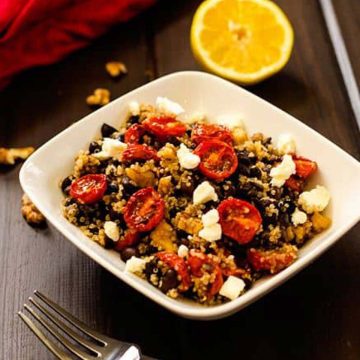
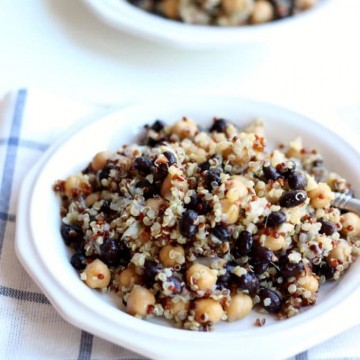
Quinoa Chickpea Salad
-
25-Minute Instant Pot Quinoa
-
Vegetarian Butternut Squash Quinoa Casserole
-
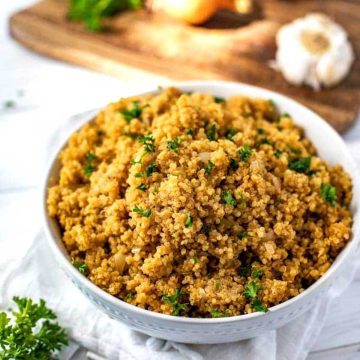
How to Cook Quinoa Perfectly
-
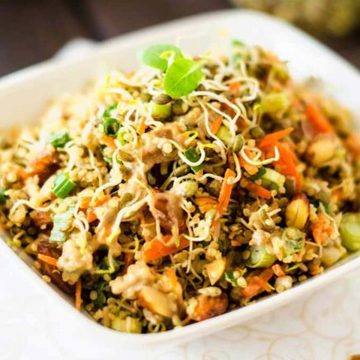
Crunchy Quinoa Salad with Sunflower Seeds
-
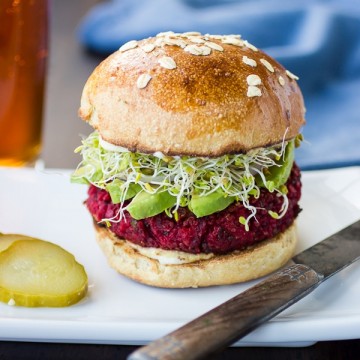
Beet Burger with Chickpeas and Quinoa
-
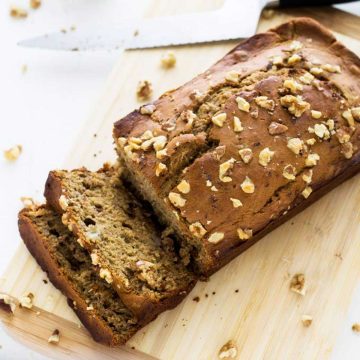
Quinoa Banana Bread
-
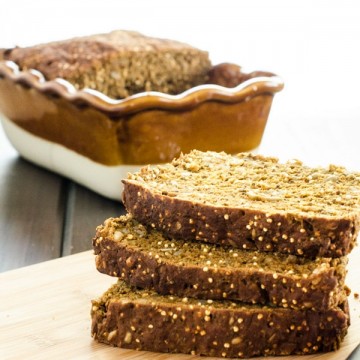
Gluten Free Quinoa Bread
-
Quinoa Bread Recipe - Gluten Free & Flavor Packed!
-
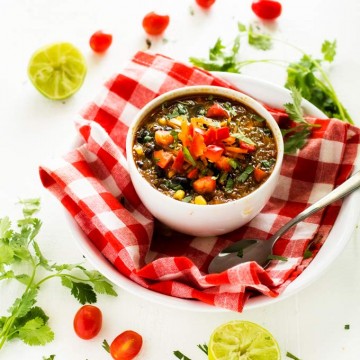
Vegan Quinoa Black Bean Soup
-
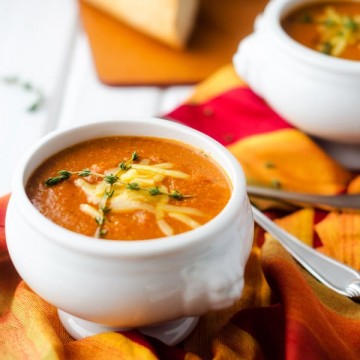
Tomato Quinoa Soup
-
Crazy Good Quinoa Black Bean Salad
-
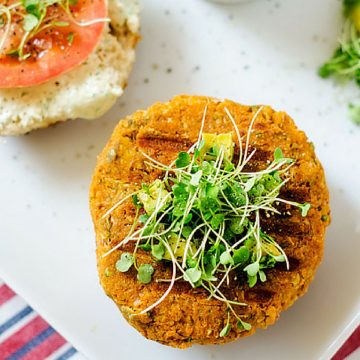
Sweet Potato Quinoa Burger
-
Spinach Sausage Quinoa Breakfast Casserole
-
Spicy Pesto Quinoa Balls
-
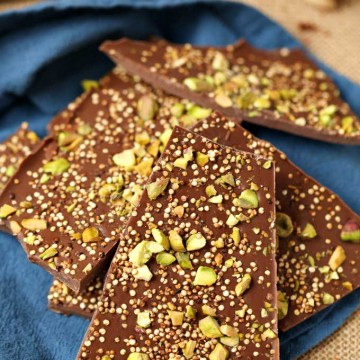
Salted Quinoa Chocolate Bark with Pistachios
-
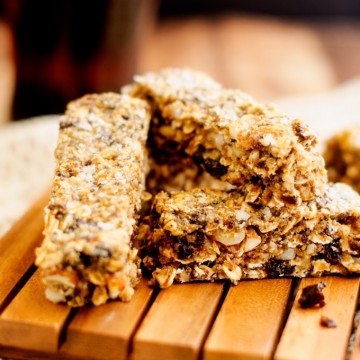
Salted Fruit & Nut Quinoa Bars
-
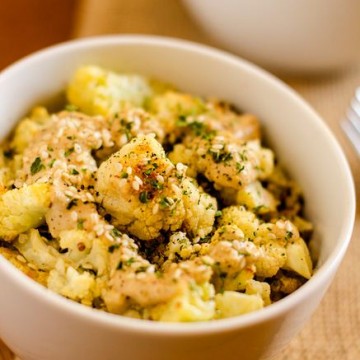
Roasted Cauliflower Quinoa with Lemon Tahini Sauce
-
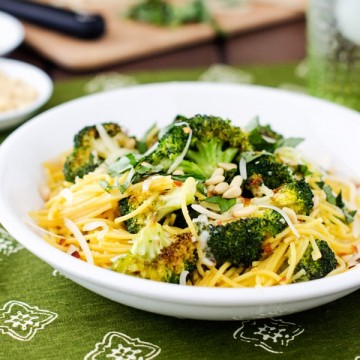
Roasted Broccoli Pasta
-
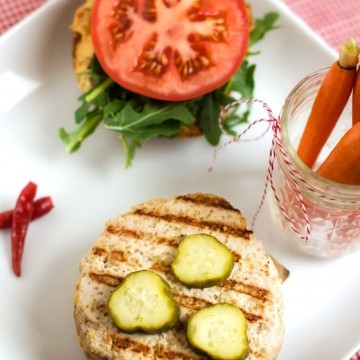
Quinoa Turkey Burgers with Sun Dried Tomato Aioli
-
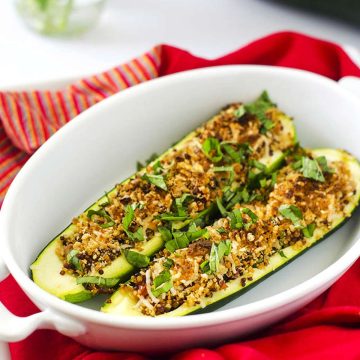
Crispy Quinoa Stuffed Zucchini
-
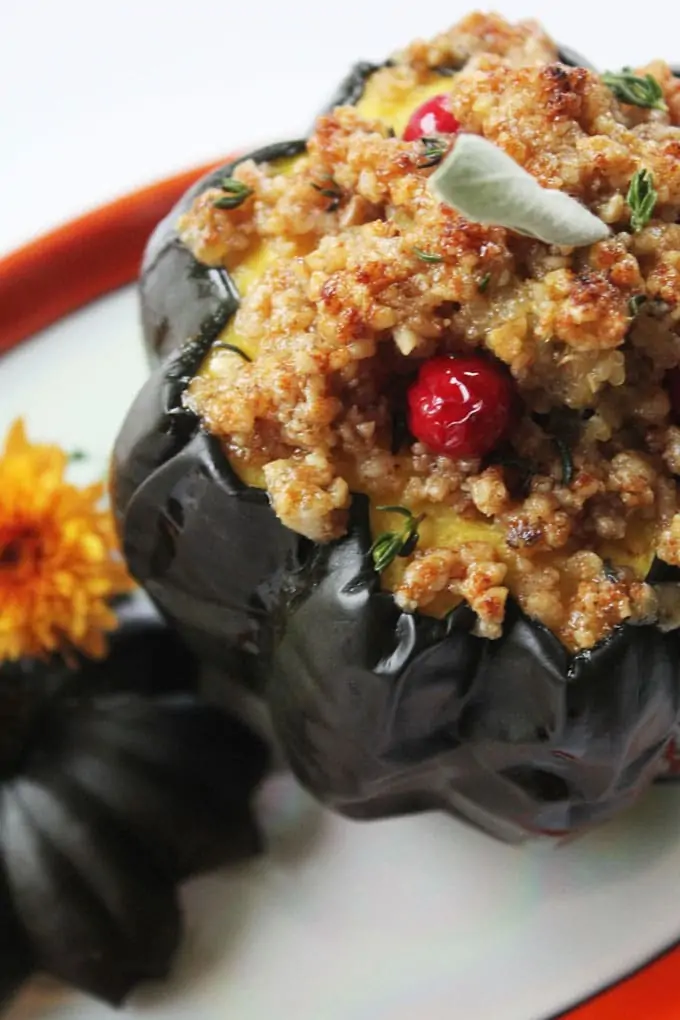
Quinoa Stuffed Squash
-
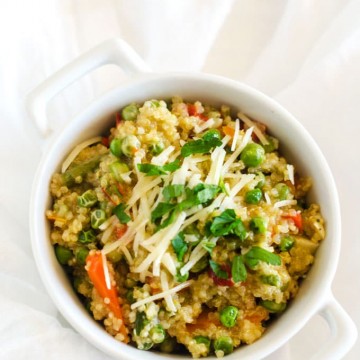
Quinoa Primavera
-
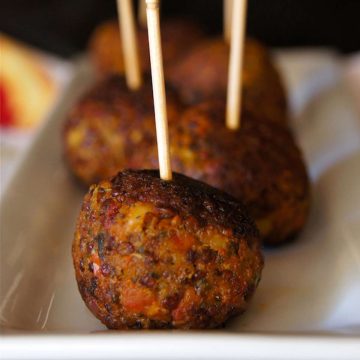
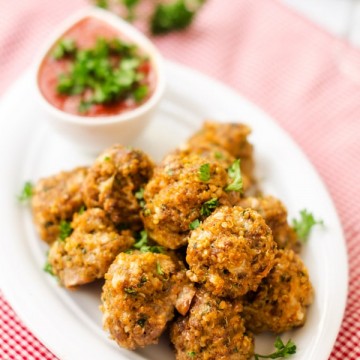
30-Minute Beef and Quinoa Meatballs
-
Quinoa Lettuce Wraps with Easy Peanut Sauce
-
Quinoa Falafel with Yoghurt Tahini Sauce
-
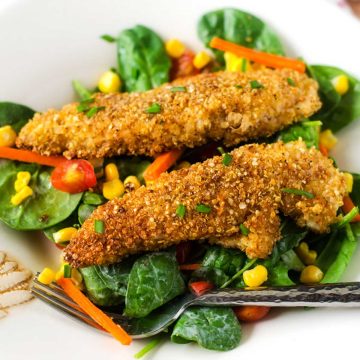
Quinoa Crusted Chicken
-
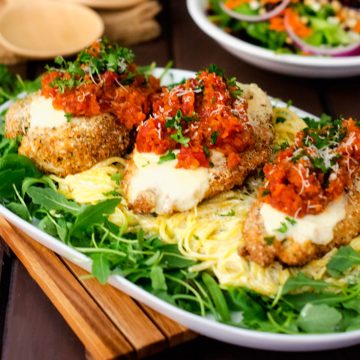
Chicken Parmesan
-
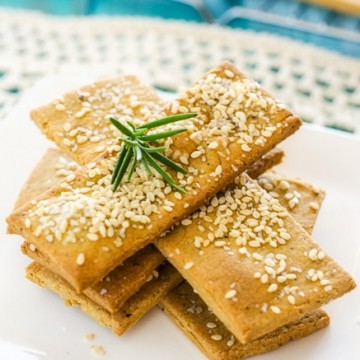
Quinoa Crackers
-
Chickpea Crackers with Quinoa
-
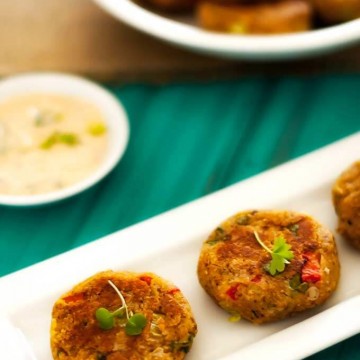
Quinoa Cakes with Chickpeas & Creamy Cucumber Sauce
-
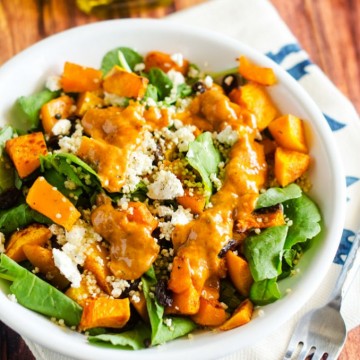
Quinoa Butternut Squash Salad
-
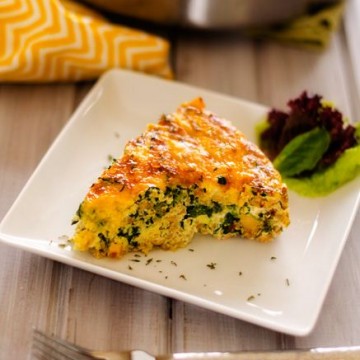
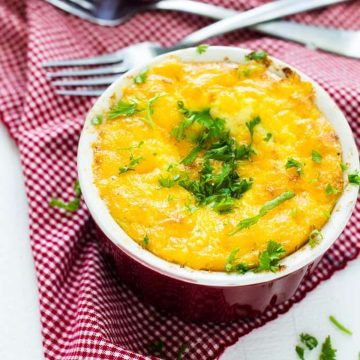
Cheesy Quinoa Egg Bake
-
Quinoa Chickpea Salad with Black Beans
-
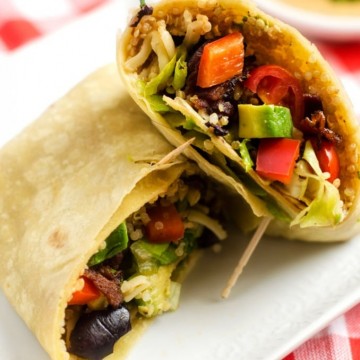
Quinoa Bacon Club Wrap
-
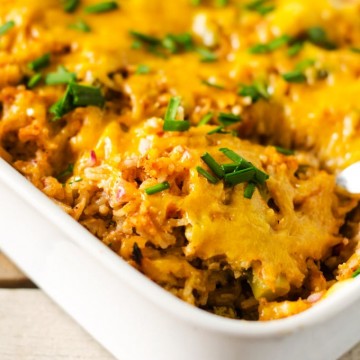
BBQ Ranch Chicken Casserole
-
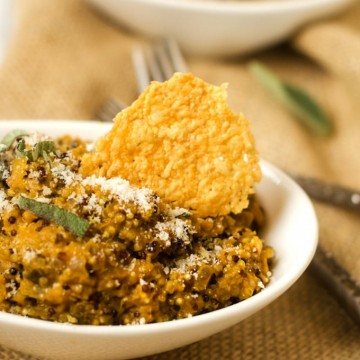
Pumpkin Quinoa Risotto
-
Pumpkin Breakfast Cookies
-
Pumpkin Breakfast Casserole with Quinoa and Oats
-
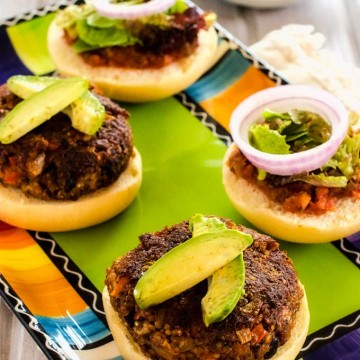
Mexican Quinoa Burgers